
how to create built ins using IKEA Hemnes…
The biggest feature in our finished basement is the wall of built-ins using the IKEA Hemnes line. It is the most Pinned about, Tweeted about, and commented on item in my home. It was featured on Houzz when I was interviewed on my basement. I also wrote an ideabook for Houzz with a step by step tutorial on how to create built ins using IKEA hemnes furniture. It’s like the popular girl at high school who gets all the attention.
When the basement was ruined I was so sad to see it go. I knew it would be back so it all ended well. My contractor would be installing it like he did before so I didn’t worry about how it would happen or what it would look like. I did the exact same thing as before but learned a thing or two along the way.

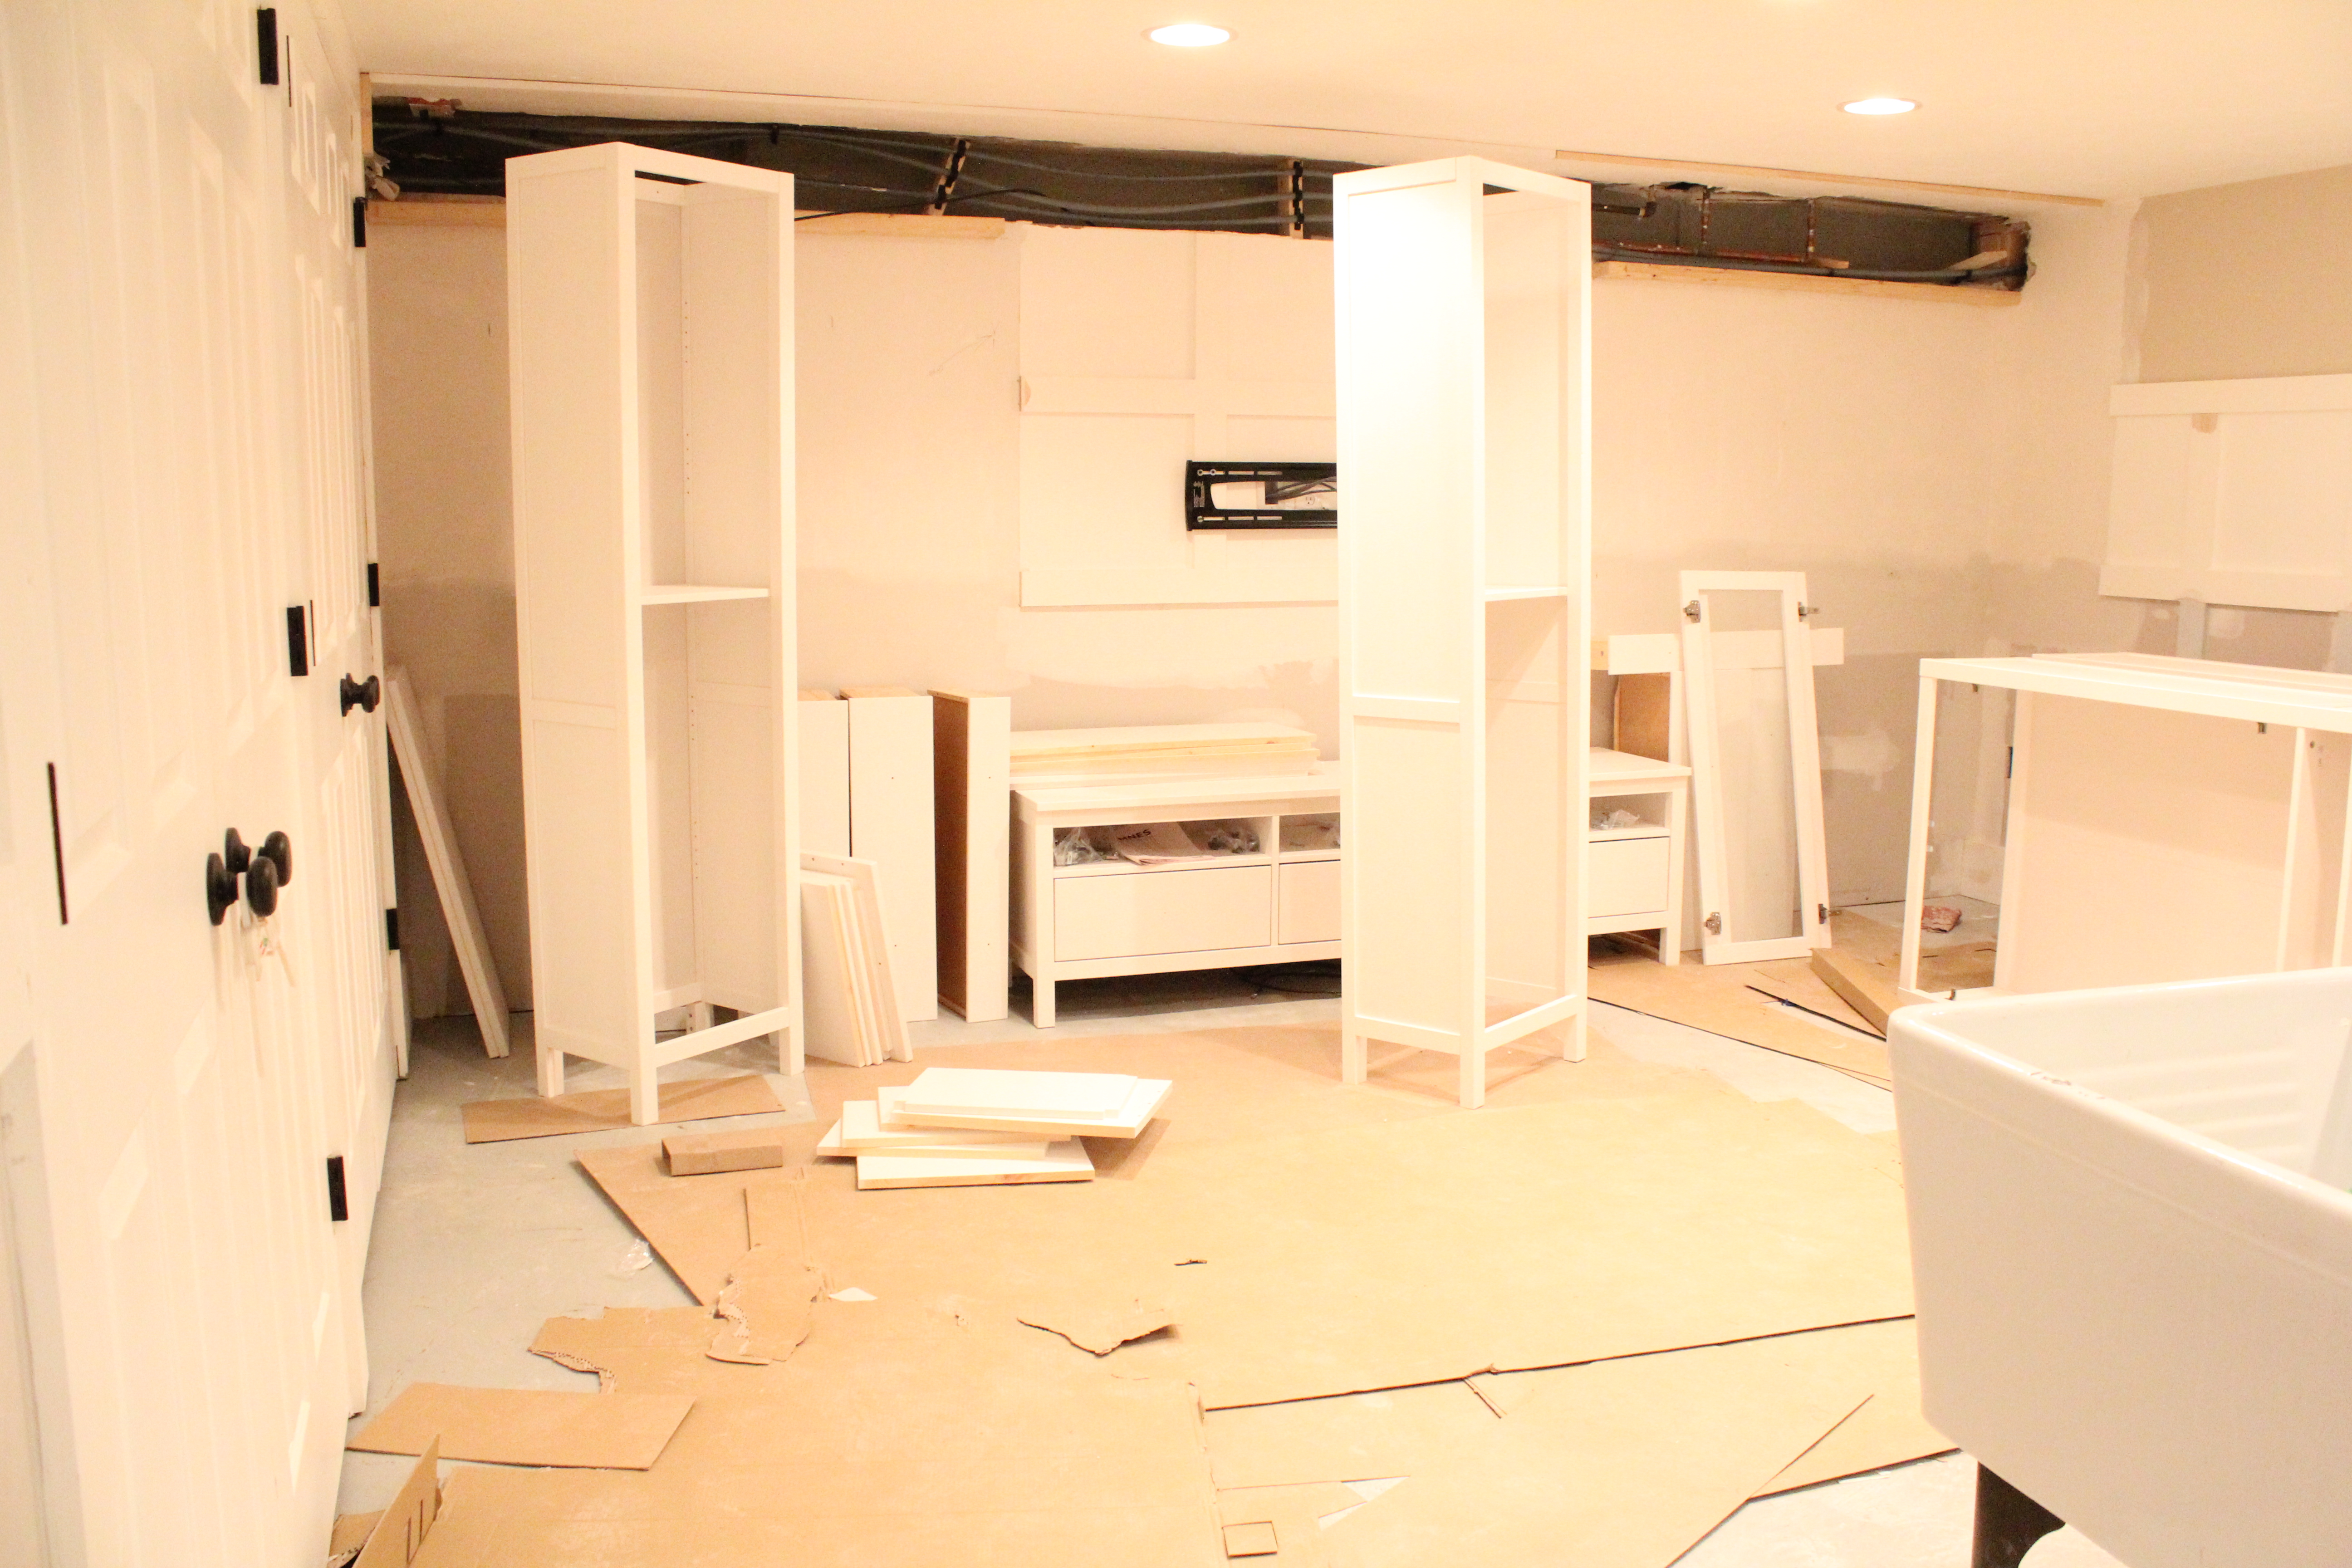
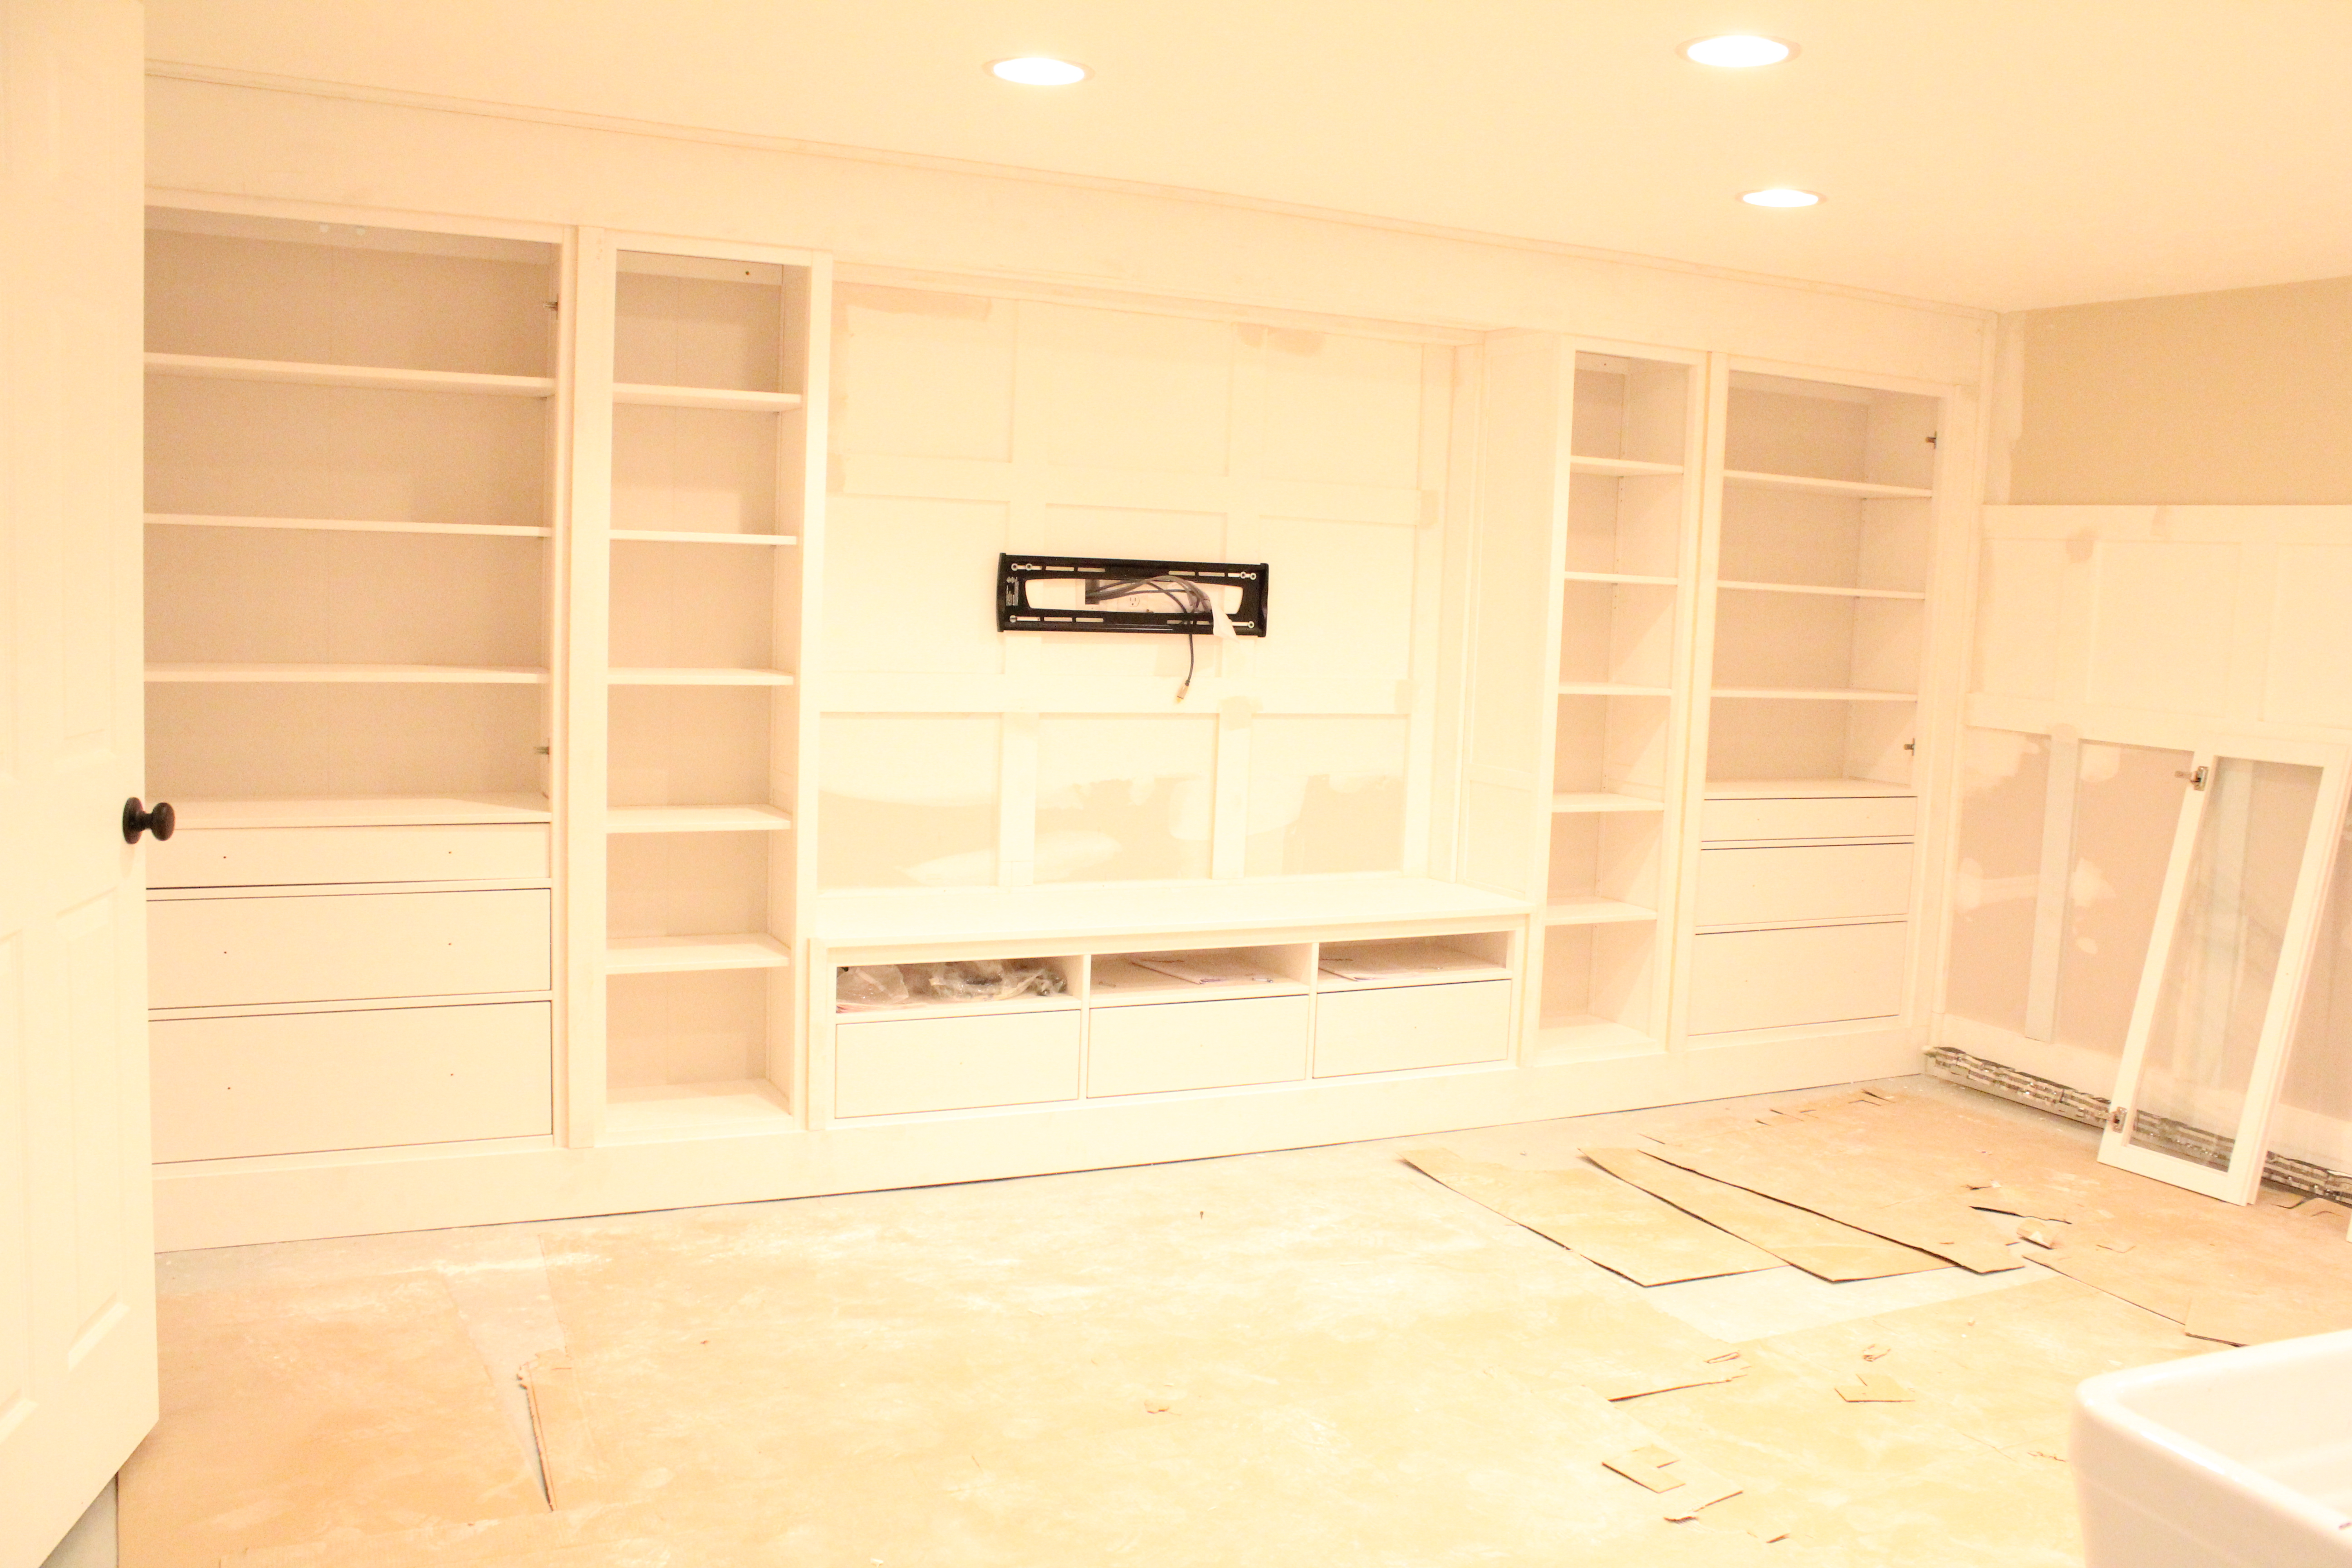
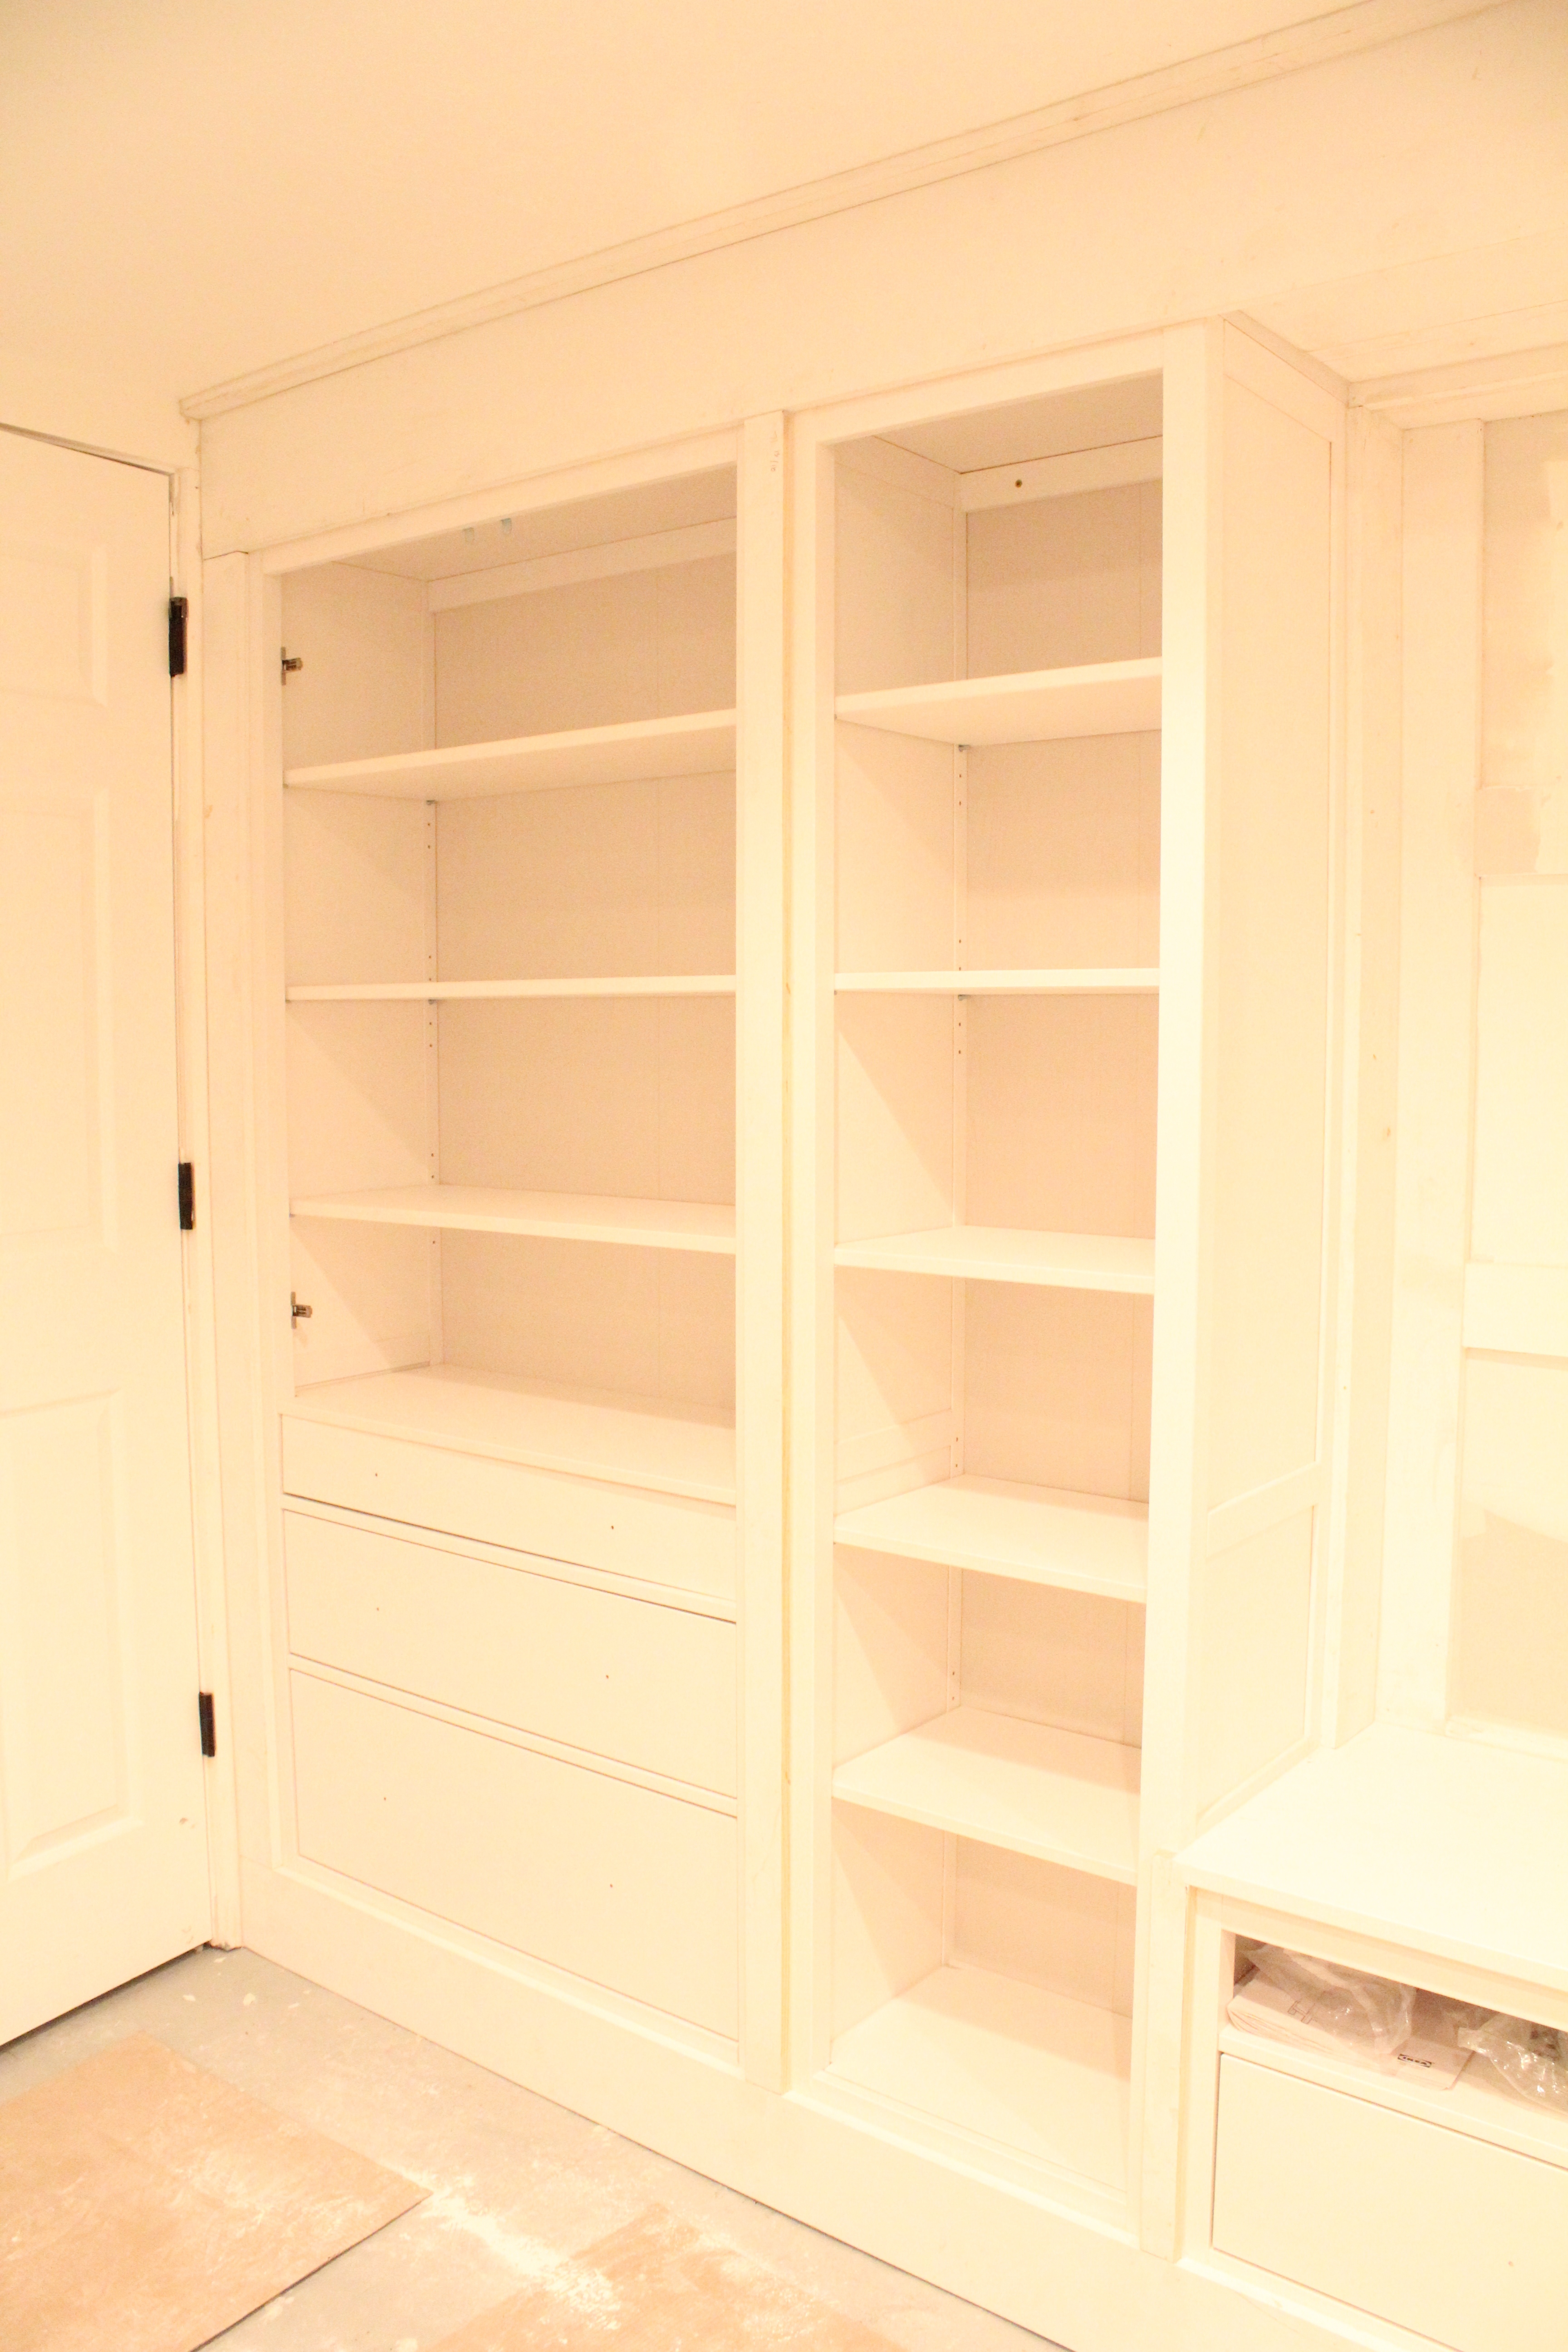
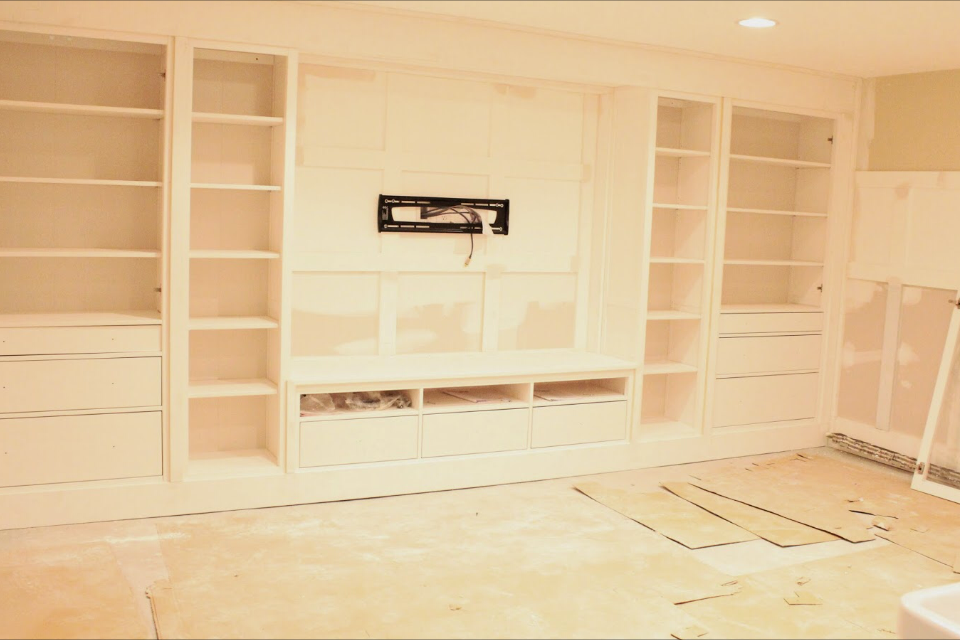
I purchased the same five pieces to recreate the media wall. Two Hemnes glass door cabinets with drawers, two bookshelves and one tv unit. Same configuration and everything. The drawers hold all our games and puzzles. We have books and family albums which were all salvageable since they were behind glass. The drawers under the television hold DVD’s and Wii components. It stores A LOT!
Lesson Number One
This time I saved some money. Two years have gone by since these were last installed and my children are older. Instead of having our contractor to put them together (and paying for the hours to do so) I put the five individual pieces together with my two youngest. My boys had a great time following the simple IKEA insturctions while I monitored. Tools were used. Lefty loosey, right tighty was repeated over and over, and they had fun. They were actually dissapointed when we were done. I have proof…


Lesson Number Two
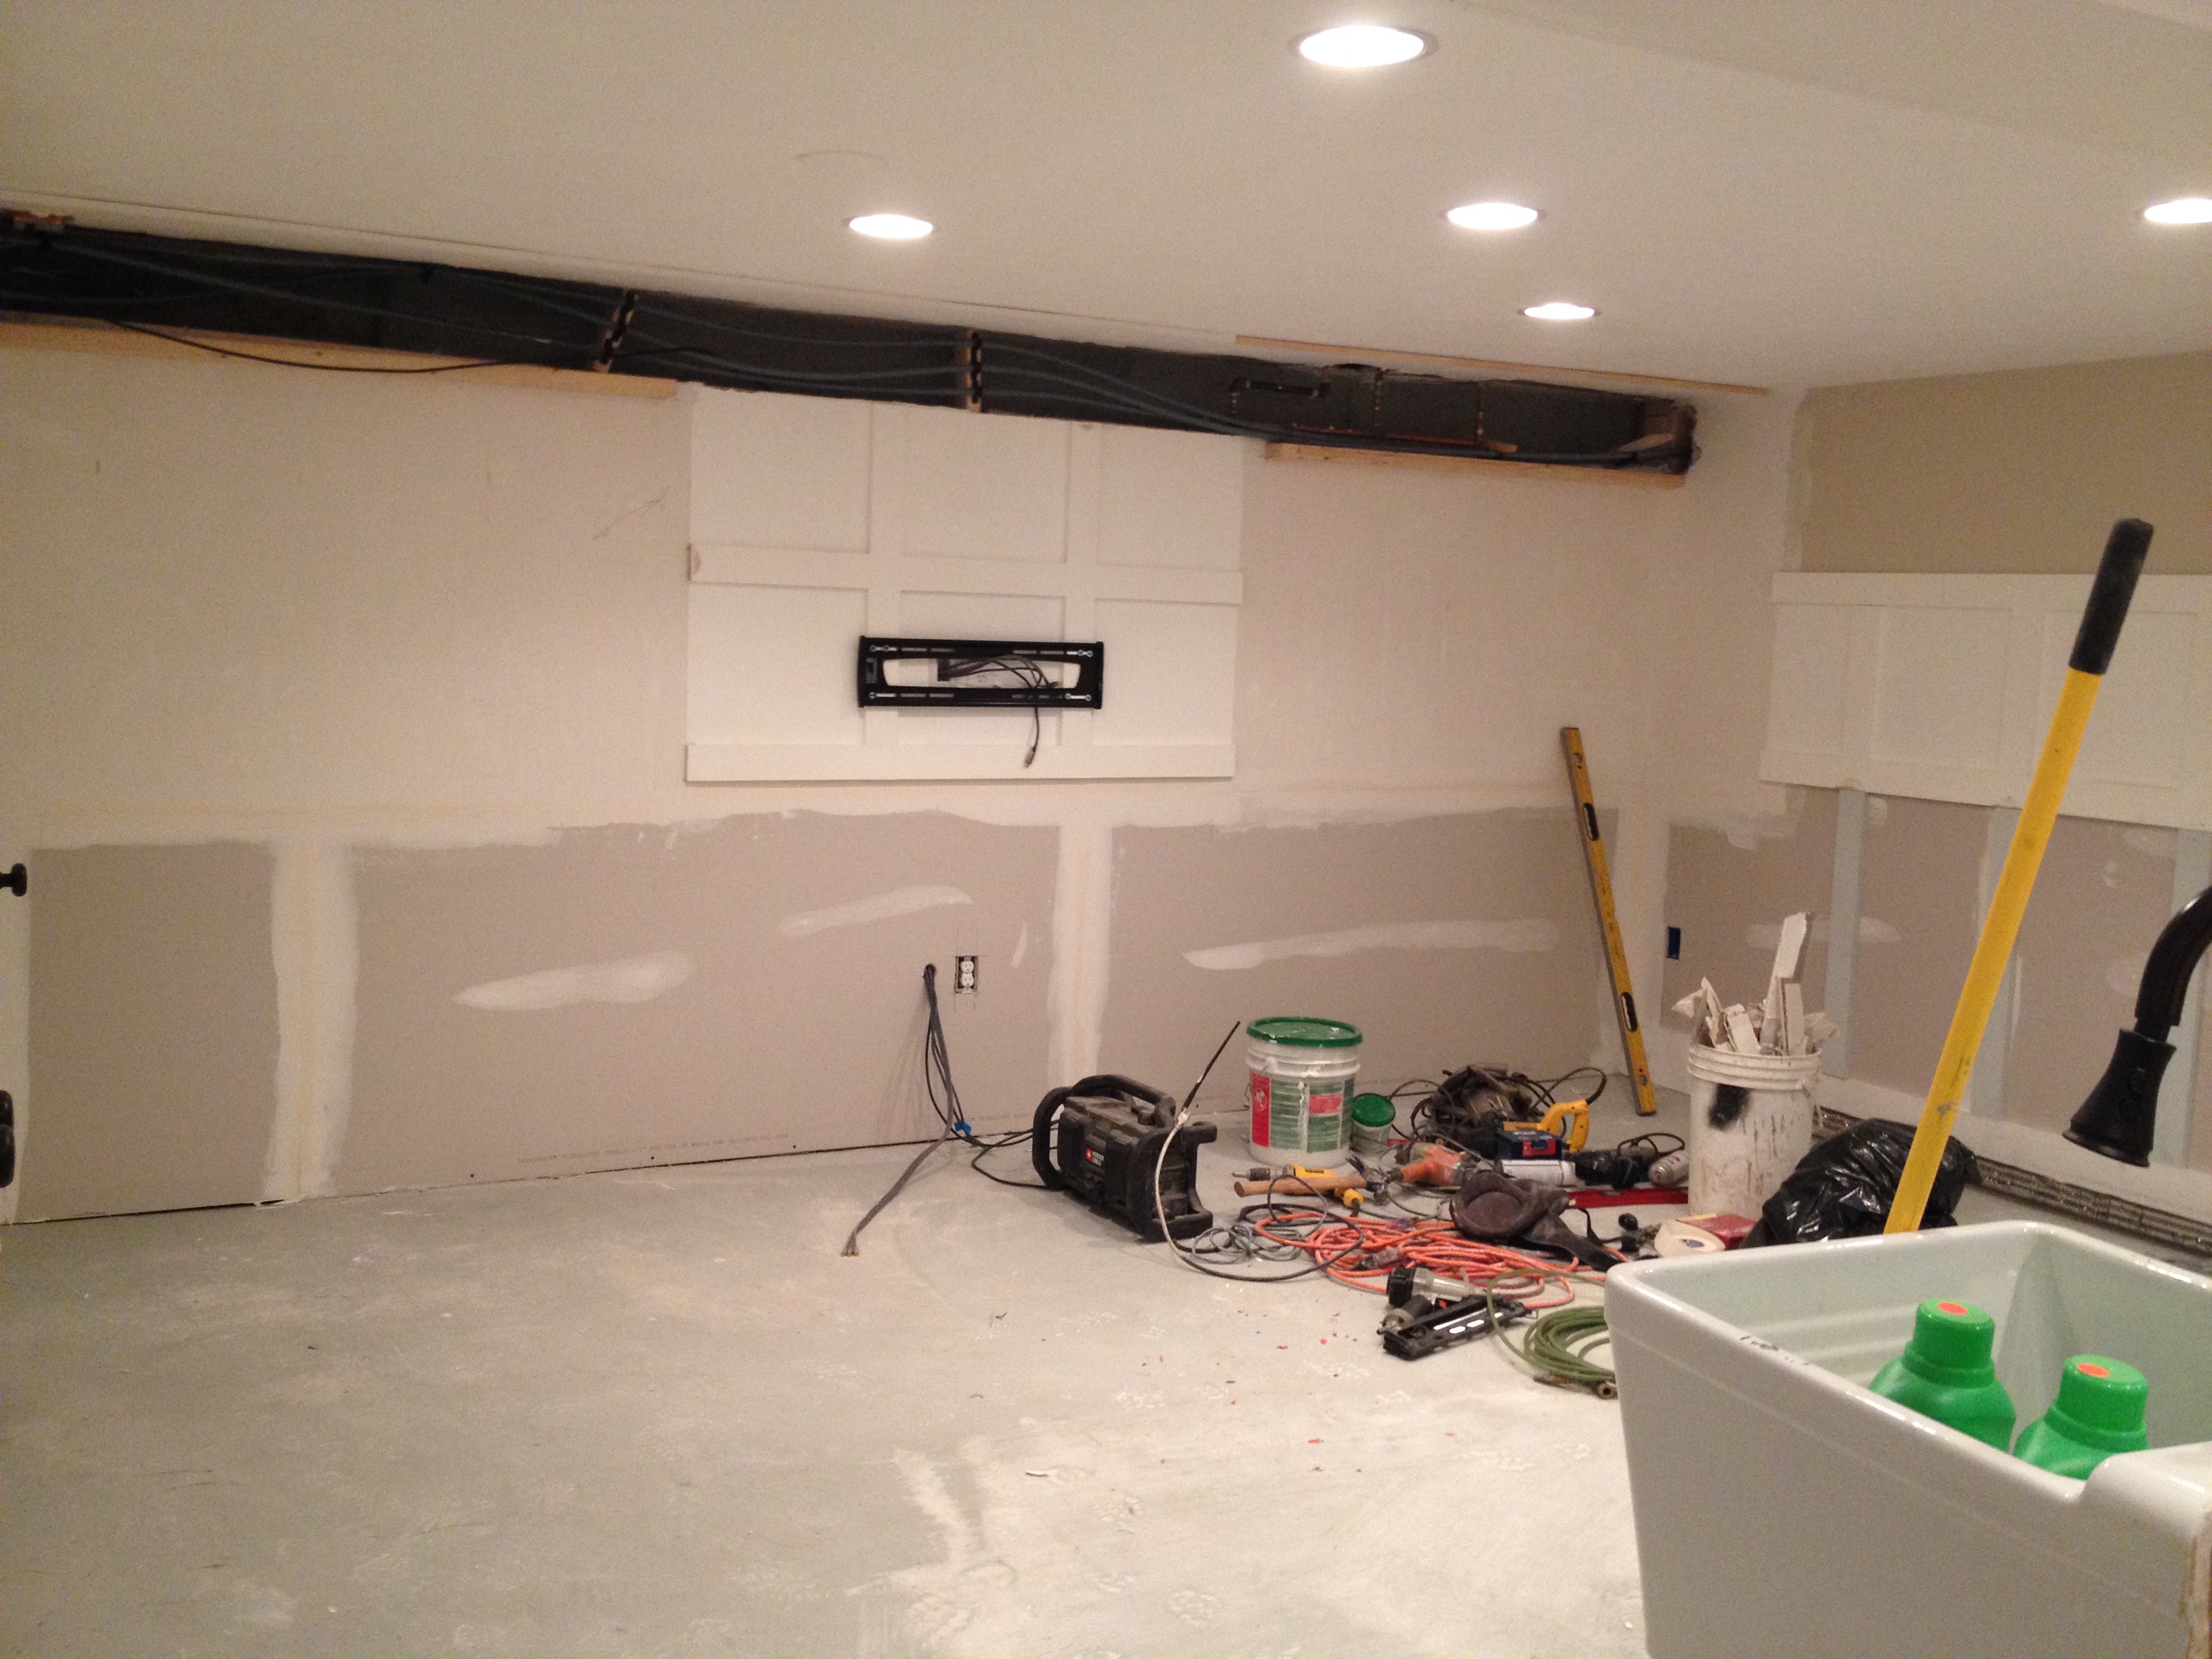
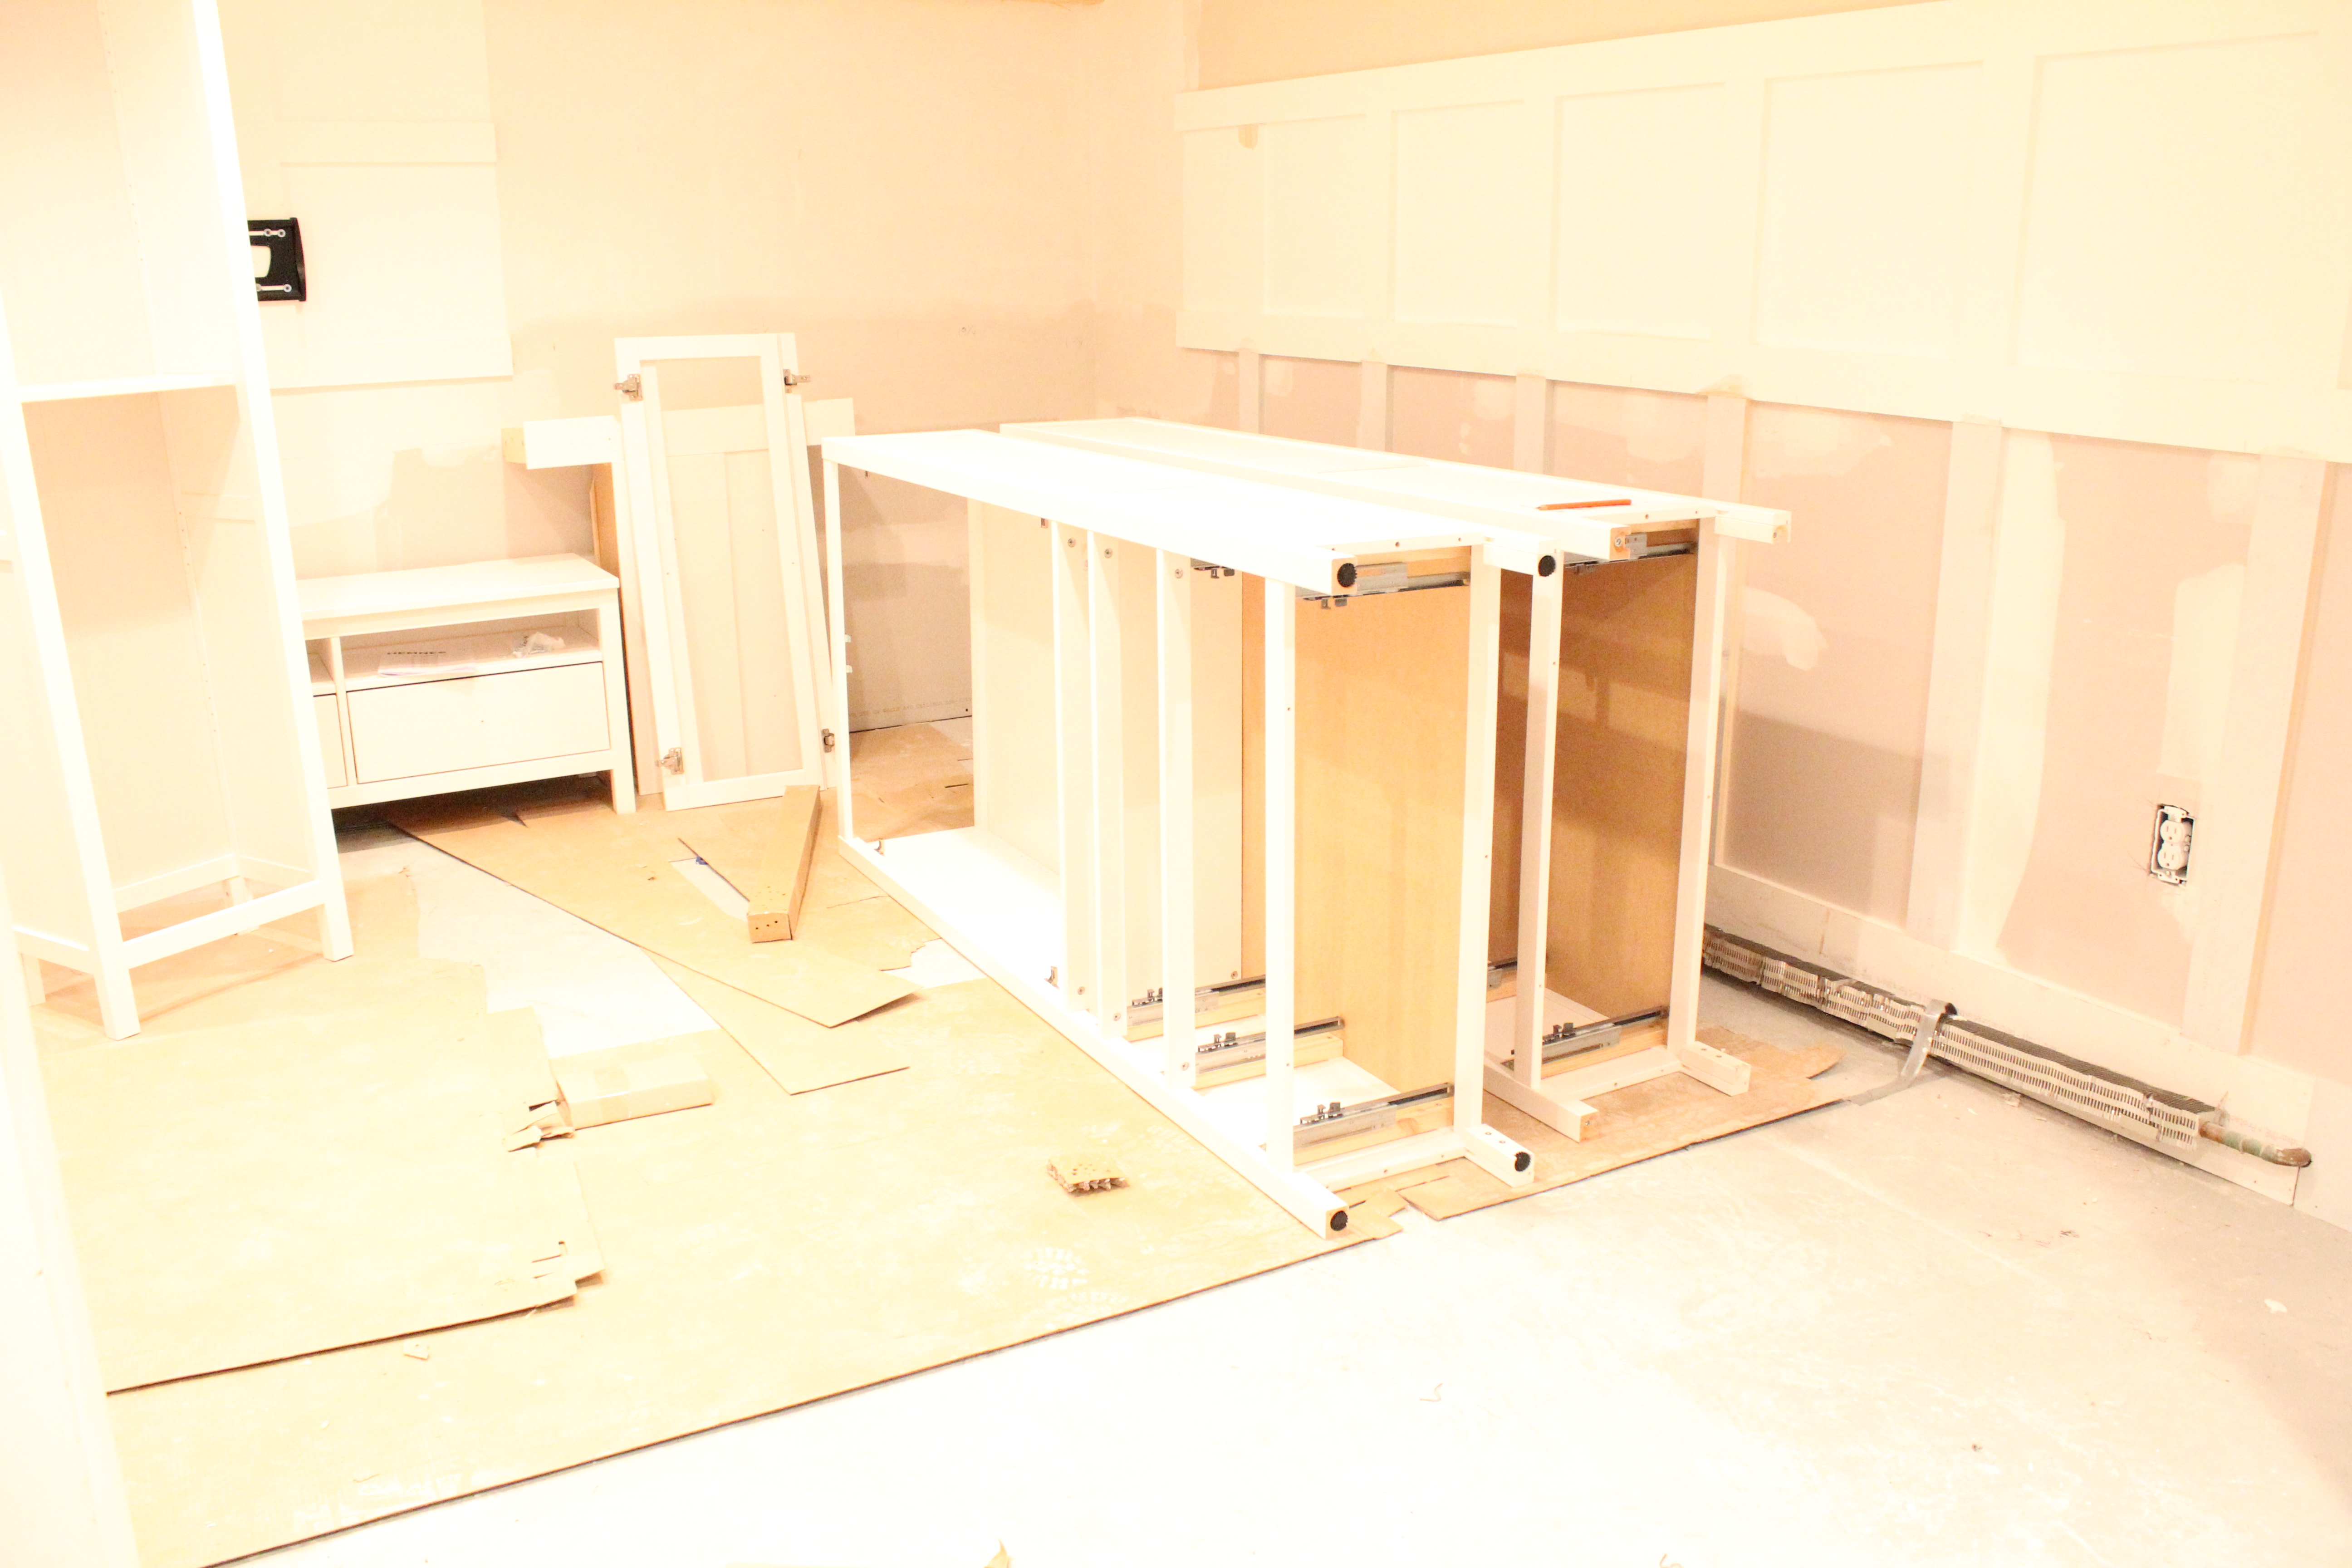
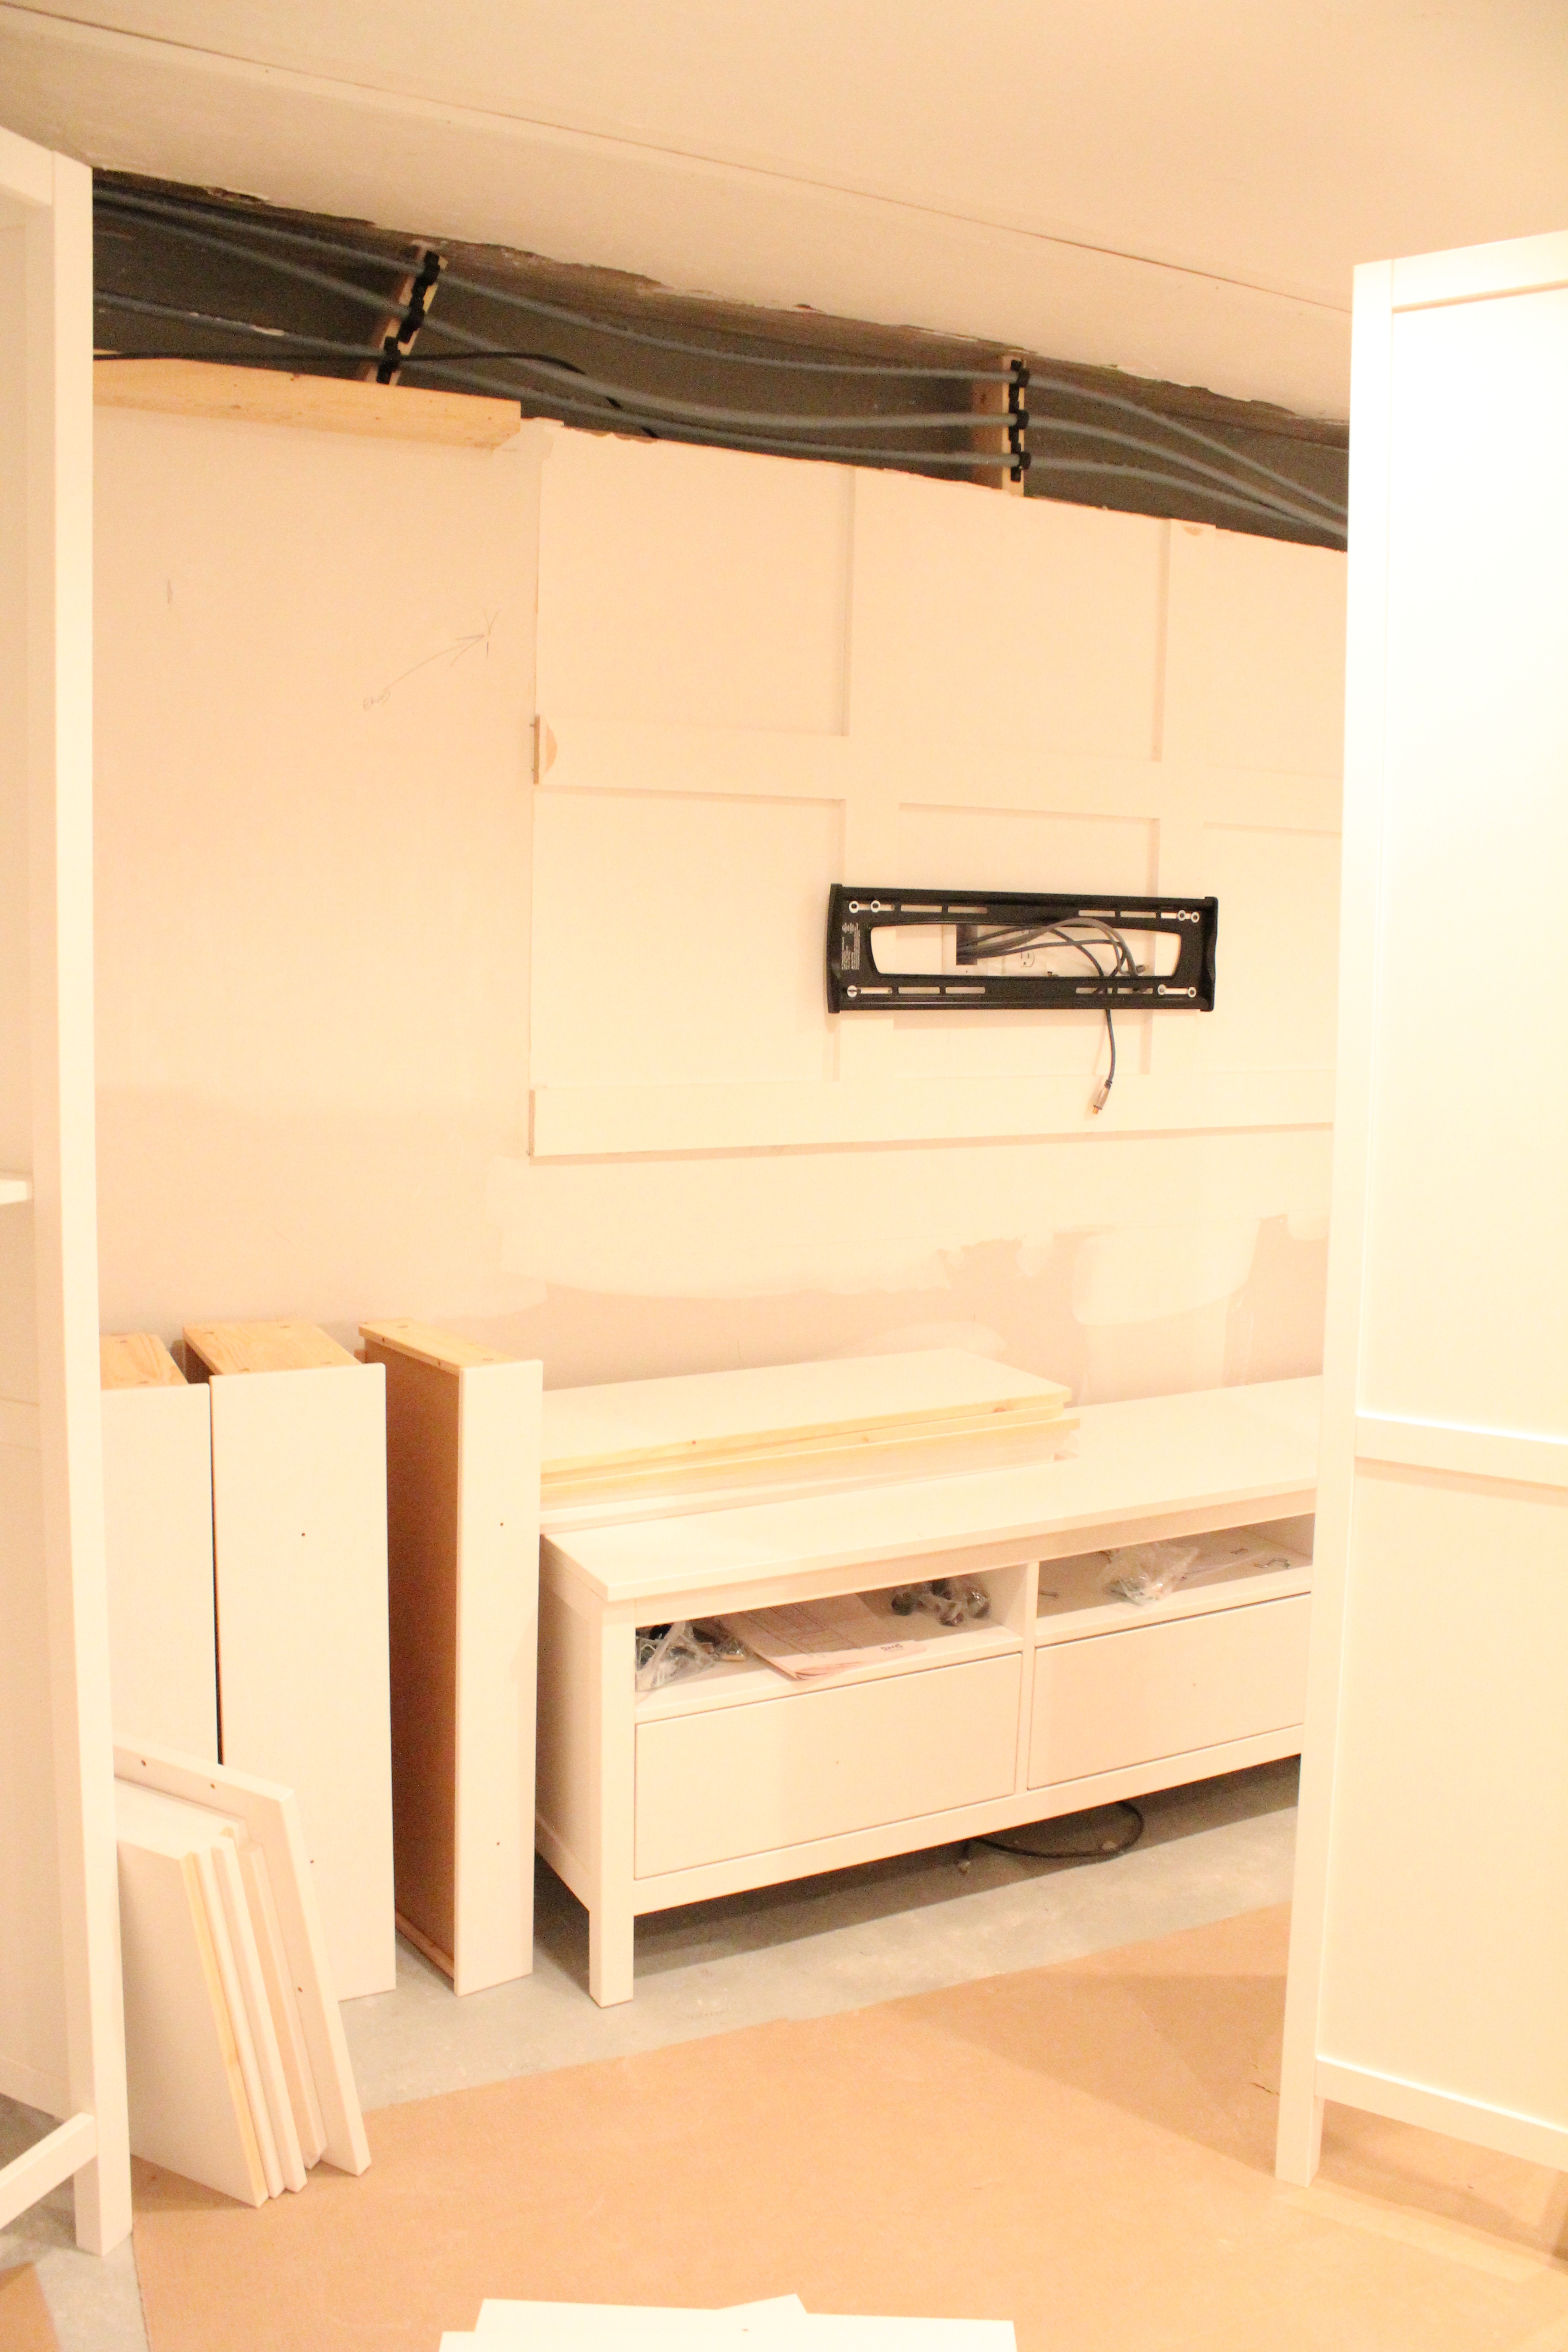
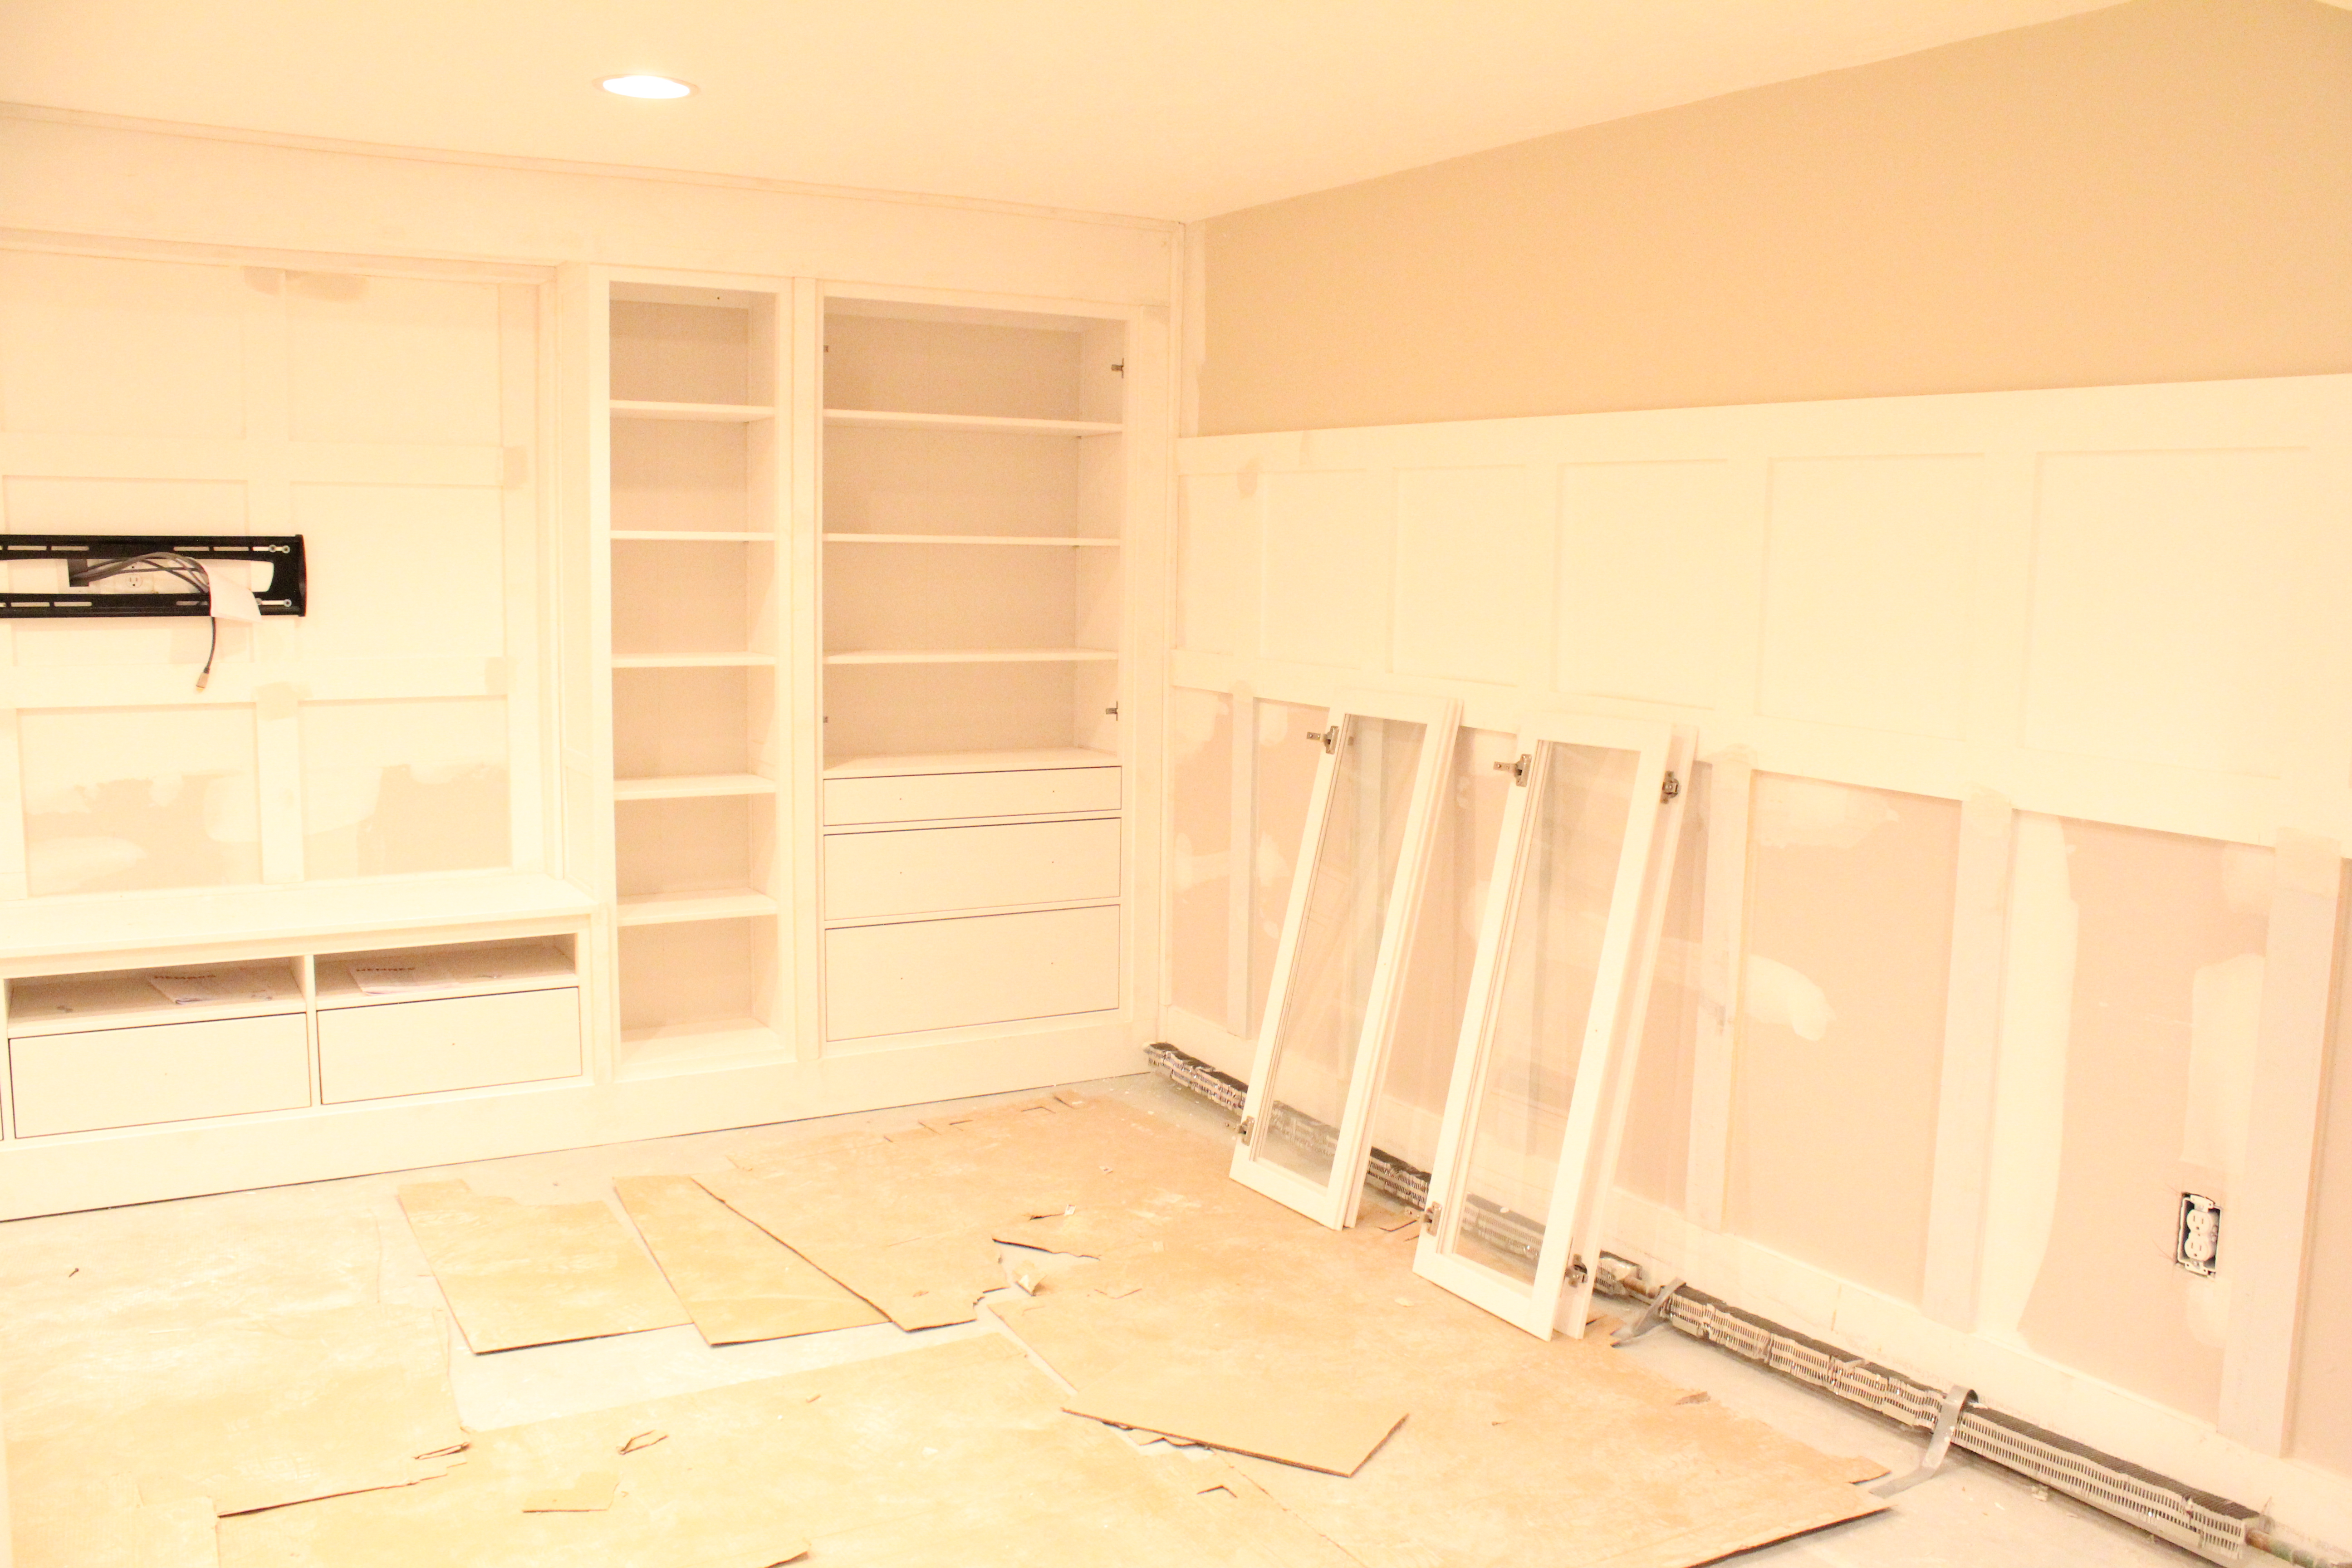
When all the pieces were completed it was time for my contractor to add the built in touches. Here is where we ran into a problem. I purchased all the same pieces but never double checked the measurements. When my contractor started spacing them out along the wall he discovered that the tv unit was wider than the original tv unit. It was the same exact piece just a couple inches wider. This ended up working to my benefit since I was spacing all the pieces out along a 17 foot wall. All this meant is that each piece was spaced a bit closer. I like the current setup better than the old one. If my measurements weren’t so flexible I’d be in trouble though. Always double check even if you are ordering the exact same thing!! You can see in the image below where the white paint ends on the wall. That is the width of the old bench. The new one is a couple inches wider.

Lesson Number Three
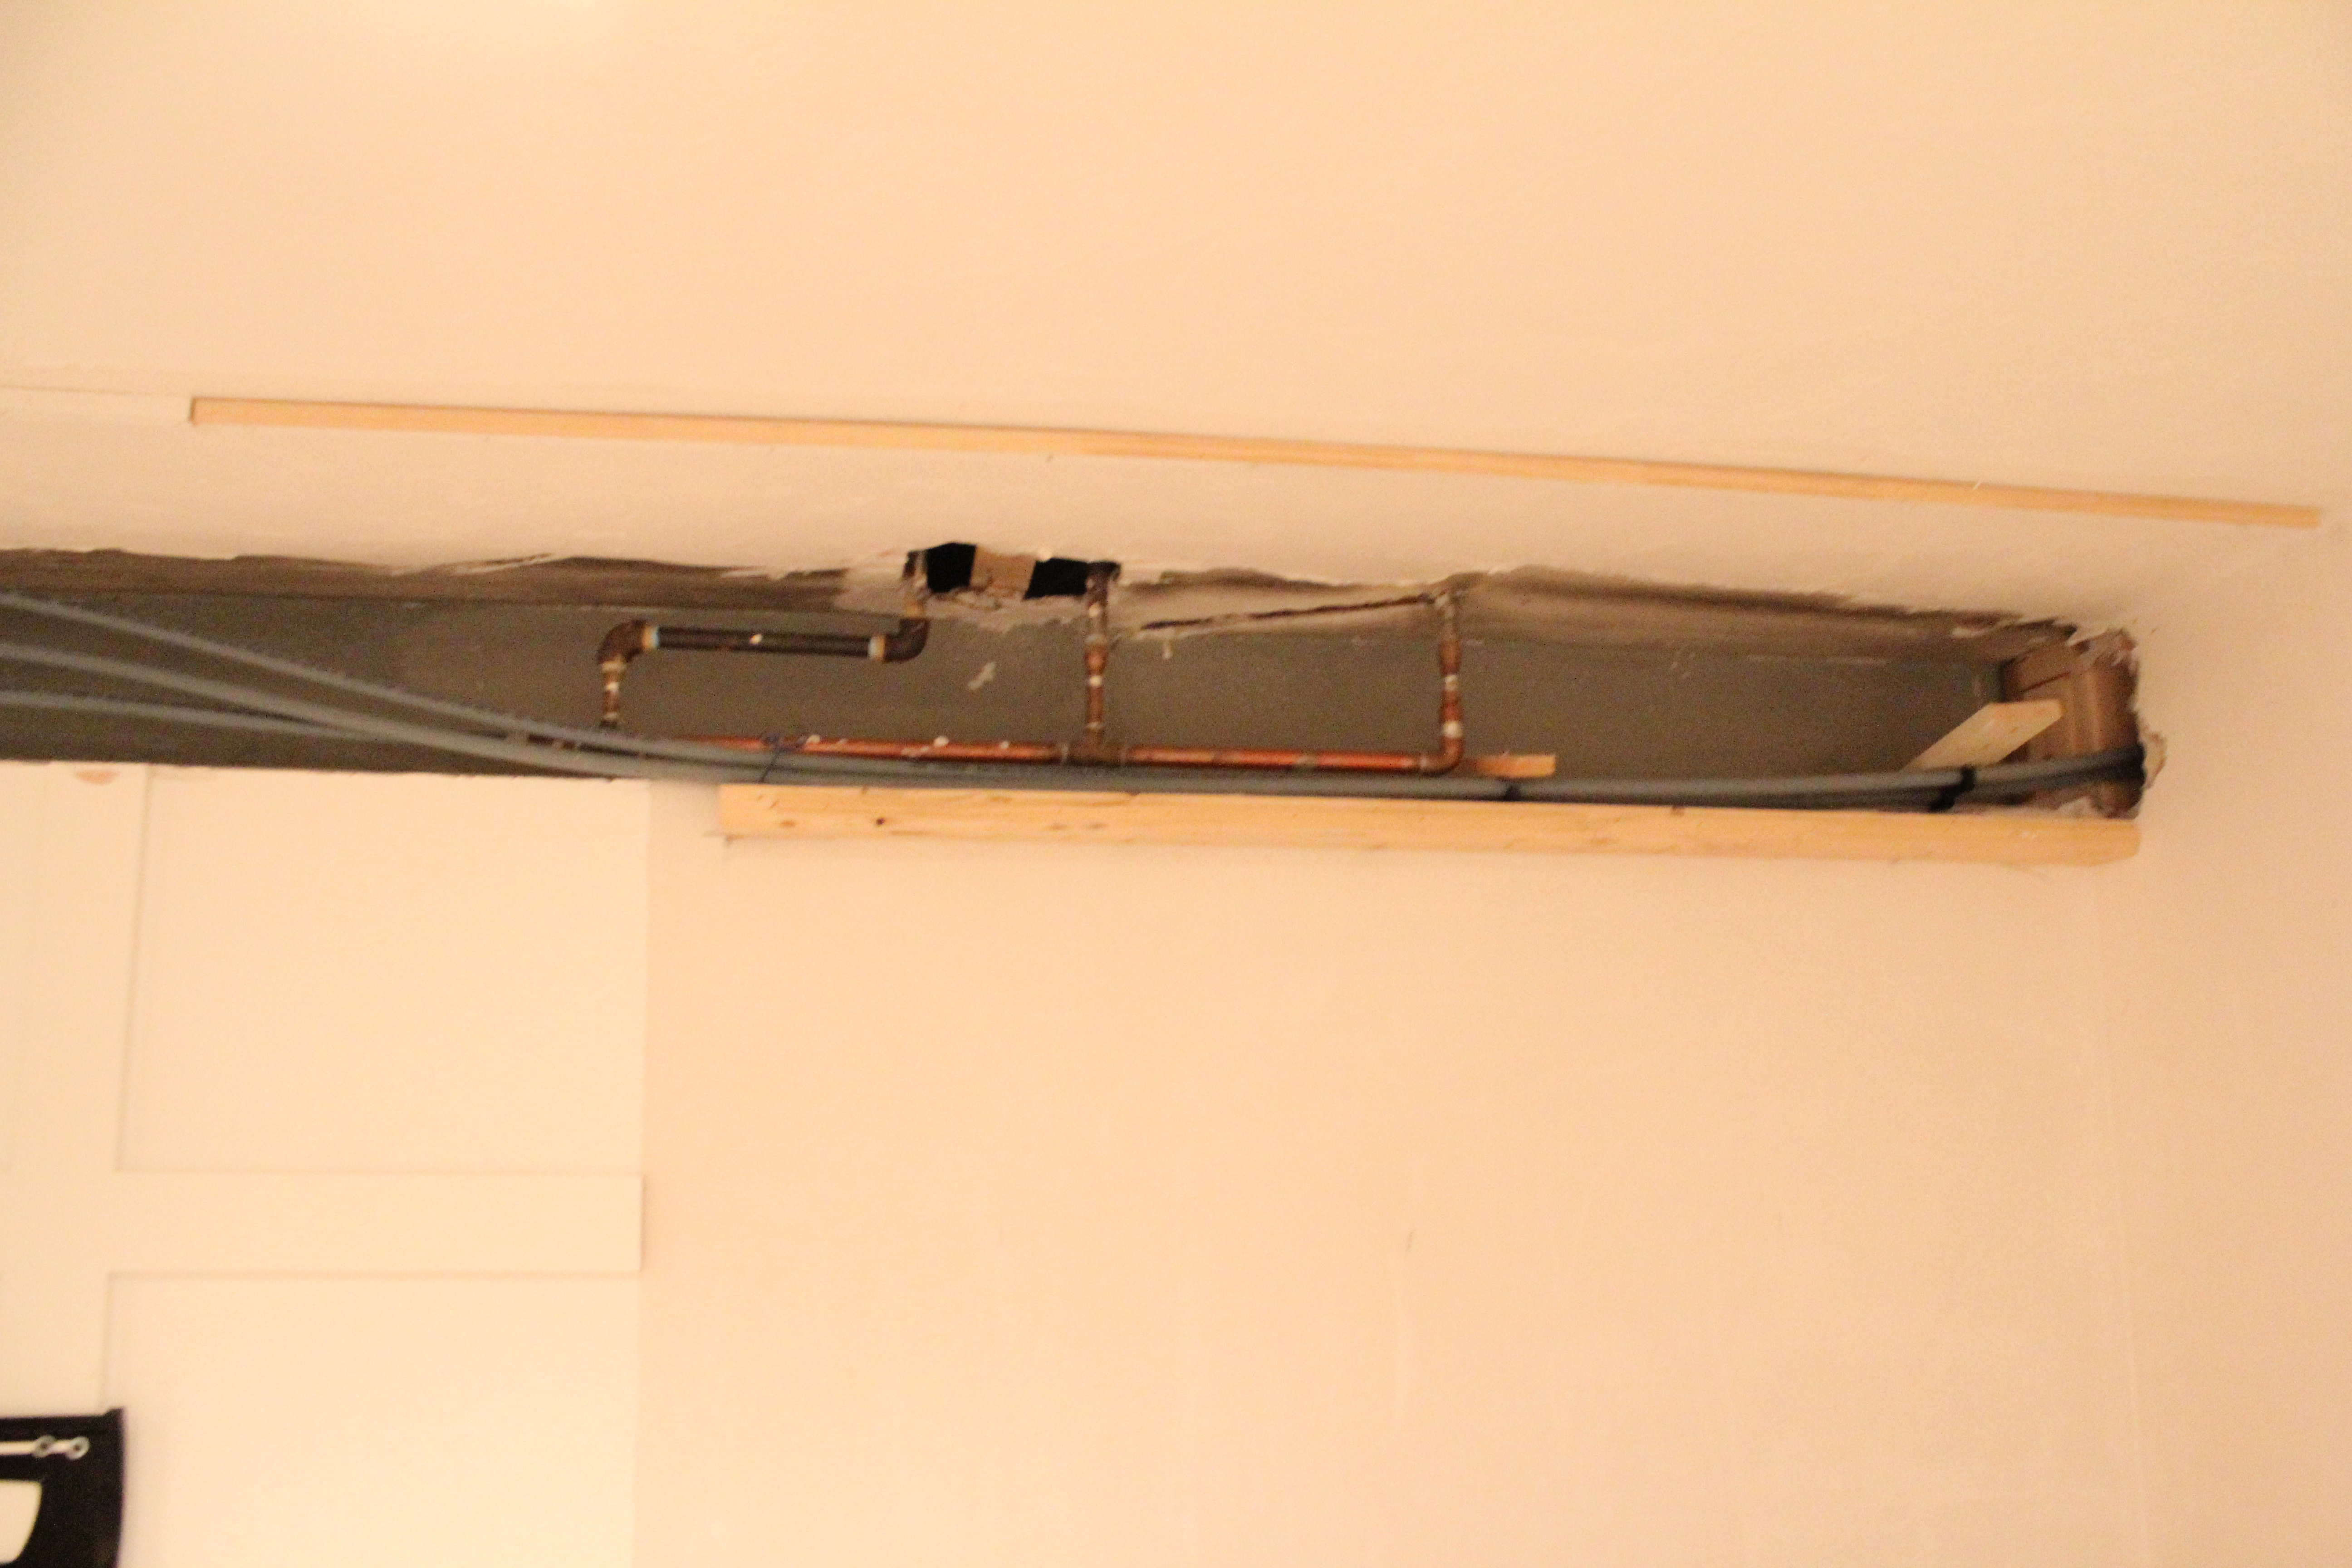
I went the same route as before when it came time to hide some pipes and wires. The cabinets were mounted against the wall with a box created along the top to hide everything. Before the pieces were all attached I made sure that the correct wires were running through from the back of the tv to the outlet within the tv unit. The wires run through the wall. This time I made sure I had enought HDMI and component wires to handle anything we want our television hooked up to. No wires dangling from behind the television.


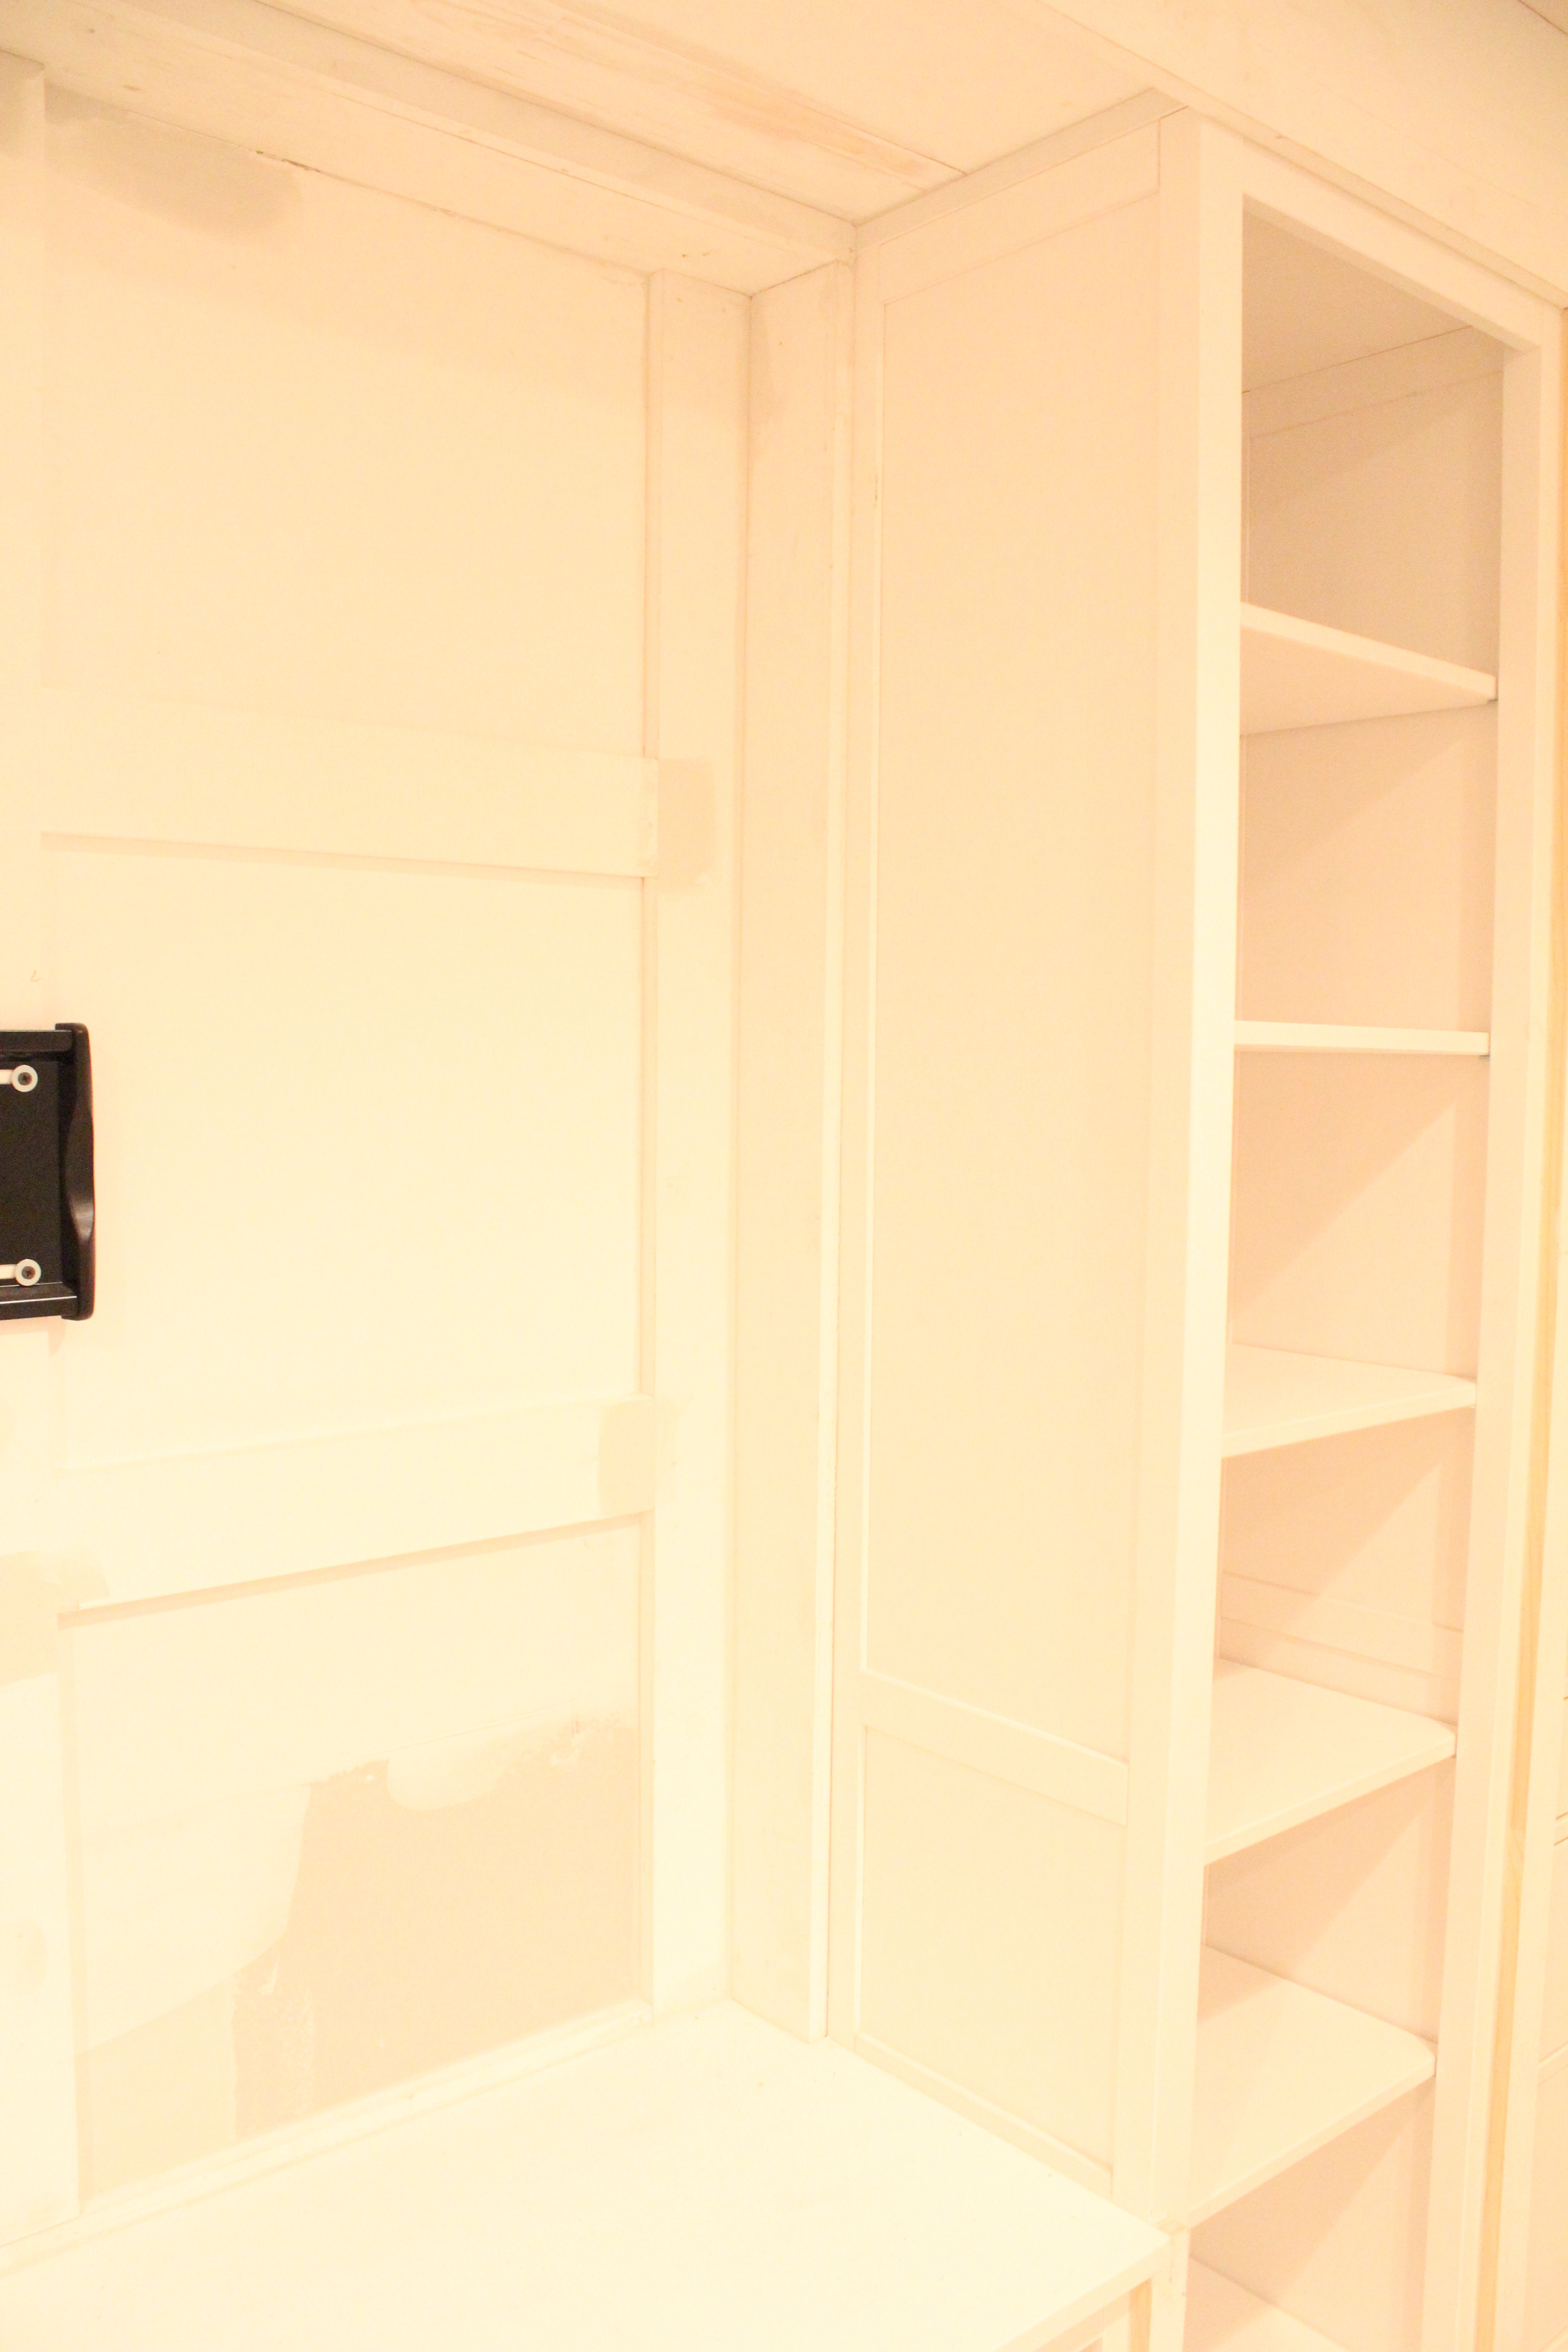
After that everything was cut, trimmed, nailed in and caulked. Extra trim needed to be added because of the tv unit width issue. I knew that once it was all painted white the additional trim would just blend in with the rest.


I highly recommend this line if you are looking to create built ins using IKEA Hemnes. The biggest selling point is that they are wood and not particle board. There was never any issues with sagging or wharping during the two plus years that we had them before. If you are creating built ins in your office, bathroom, closet, or bedroom they are a great and affordable option. There have been tons of hacks on the IKEA Hemnes line. I even have another one of my own in the works!
The post how to create built ins using IKEA Hemnes… appeared first on No. 29 Design.