Susan Santoro

DIY Craft Room Organizing

I wrote this post as part of a paid campaign with Plaid Crafts, Michaels and Blueprint Social. The opinions in this post are my own.

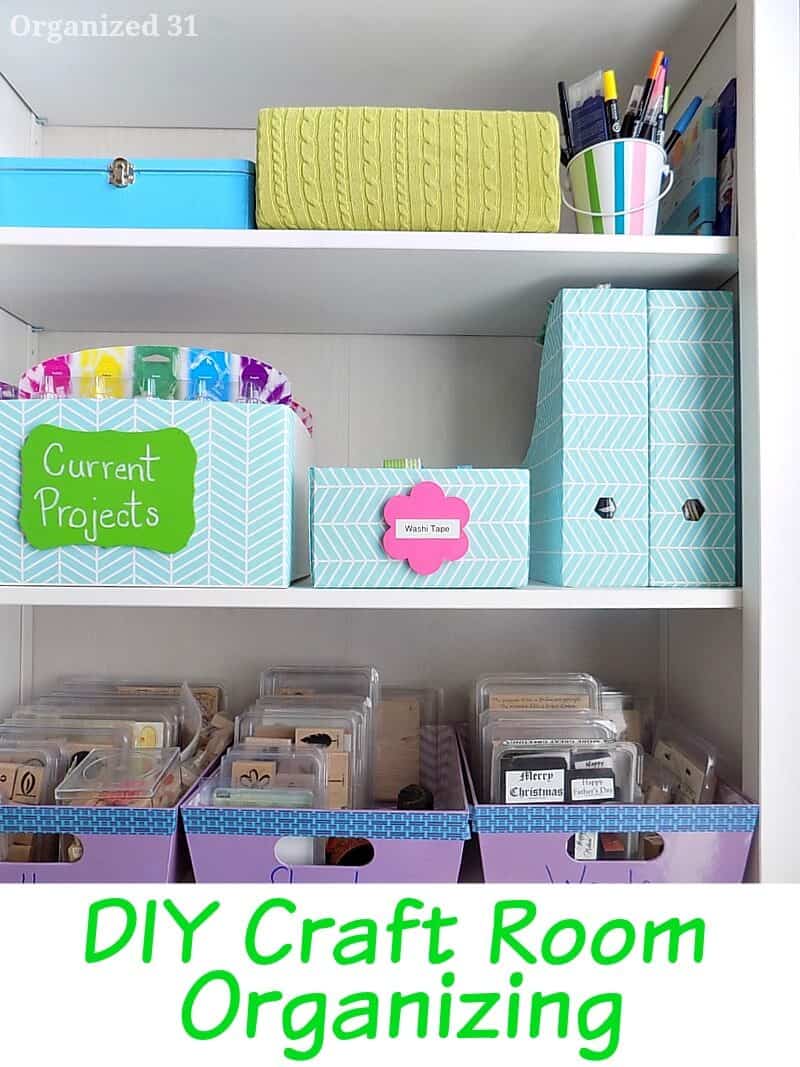
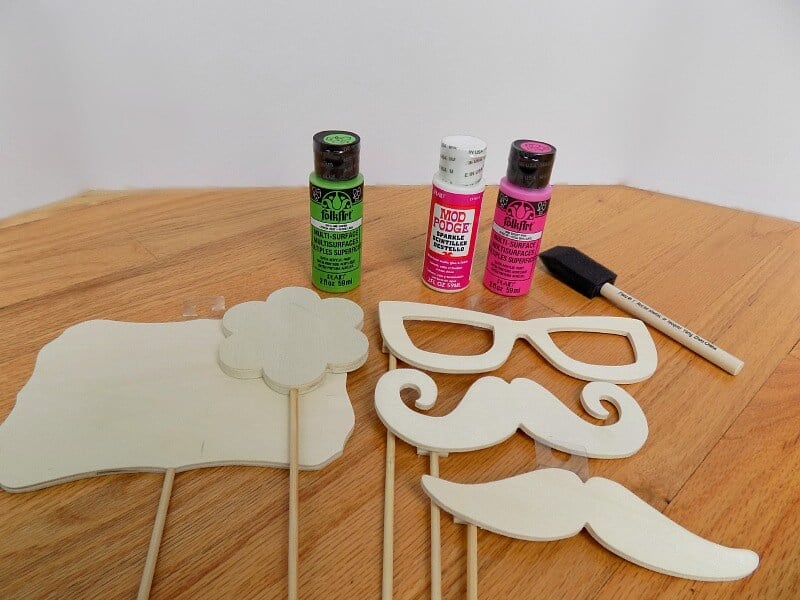
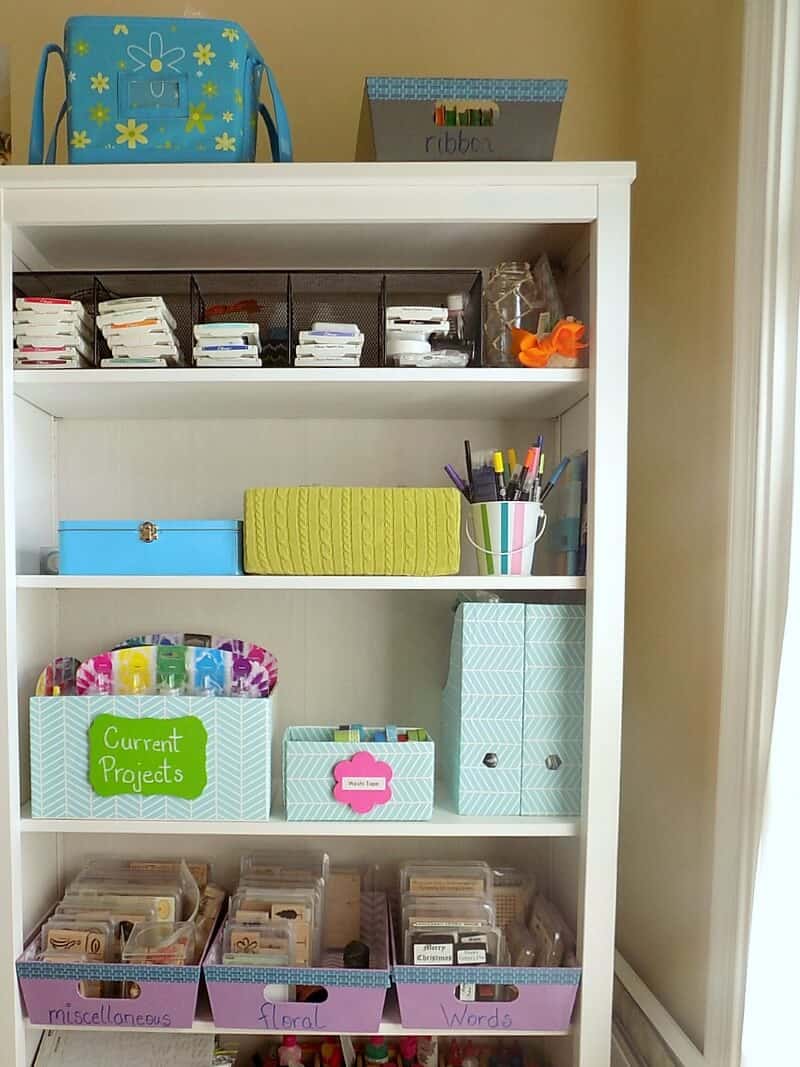
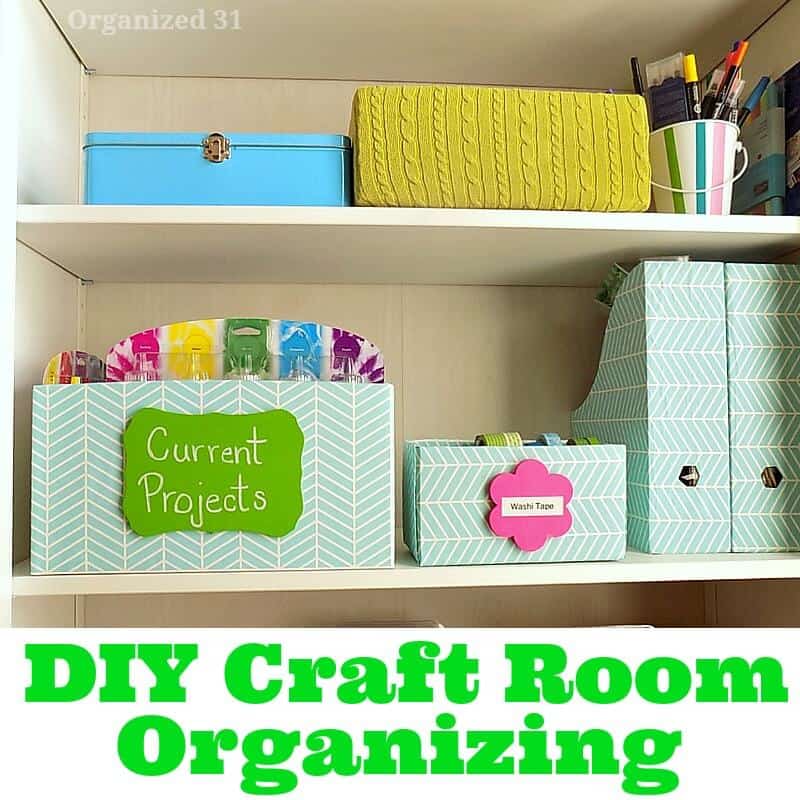
I’m so excited that I’ve got my own craft room in my current house. First. Ever. Craft room! In all our 20 homes before, my “craft room” was the dining room table and tubs of craft supplies shoved in the back of my closet behind my clothes and shoes. It was incredibly inconvenient to pull my supplies out from the back of my closet, lug them to the dining room and then have to clean everything up a few hours later for dinner. I’m beyond thrilled to have my own craft room. (Can you hear the teen squeal in my voice?!) I’m slowly figuring out exactly how I want to set it up and organize it. Of course, most of my organizing involves DIY craft room organizing projects. To make my organizing projects even more fun, I’m using Spring Wood Surfaces as inspiration.

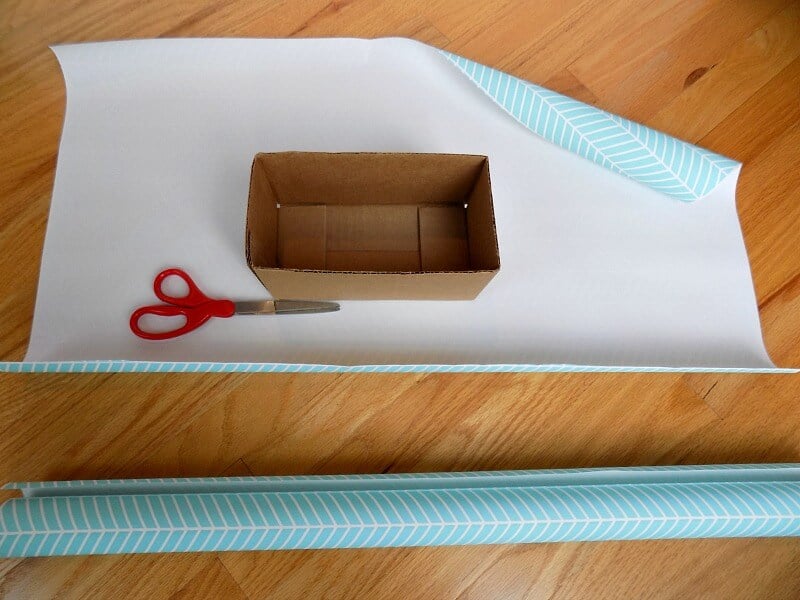
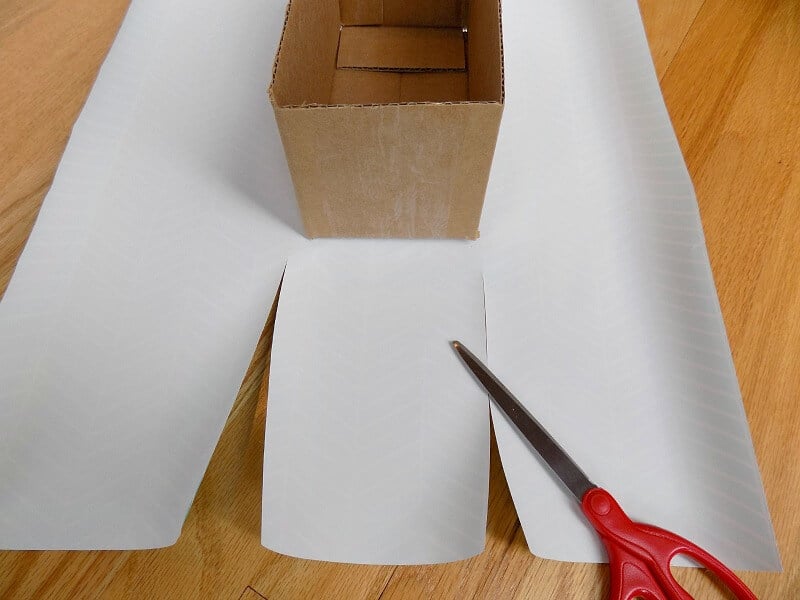
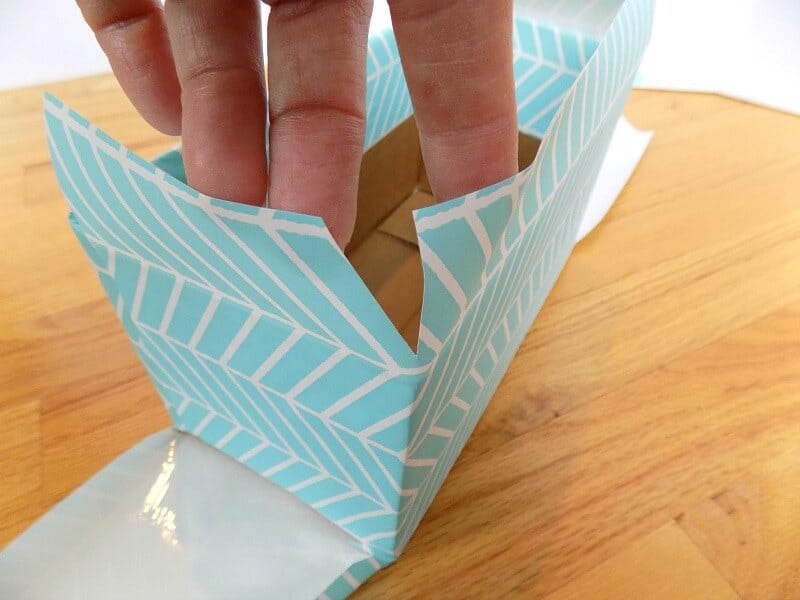
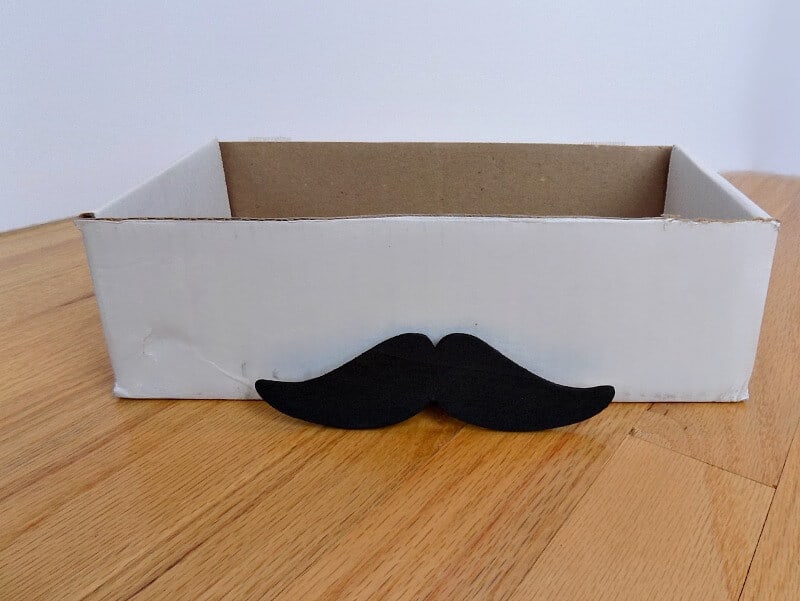
If you’ve been hanging around here more than about 2 minutes, you know that I love repurposed craft projects and I lo-ove repurposed organizing projects. When I get to do both together at the same time I’m one happy girl. I find using recycled cardboard boxes perfect for organizing craft supplies. You can easily access the supplies and they’re neatly organized. And if you decorate the box, they look pretty, too.

Thanks to Plaid for these supplies and Spring Wood Surfaces that I used in making my craft organizing bins. I found the wood photo booth props so cute that I knew immediately that I wanted to use them to label my organizing bins.
It was easy to clip the sticks off of the wood plaque. I just used craft scissors and cut/scored around the stick at the base of the wood plaque. Be careful to hold the plaque close to the edge when you snap the stick off to keep the wood plaque from splintering.
In about 20 minutes, including drying time, I had painted 2 coats of craft paint on each plaque. I chose not to use the sparkle Mod Podge, but if you’re a glitter kinda girl, it would jazz up the painted plaques before you add the labels.
I used a paint pen to label the larger plaque and printed out the other label with my label maker. You could also use a Sharpie, letter stickers or Mod Podge (yes, I think it should be verb, too) a label you printed out on your printer.
While the paint on the plaques was drying, I grabbed a couple of boxes from my boxes-too-good-to-go-to-the-recycling-bin stash and measured wrapping paper to cover them.
I trimmed flaps for the shorter side of the box. I Mod Podged the paper on the longer side of the box and the edge flaps from the longer side around the box.
I clipped a “V” on the corner of those longer pieces so they’d tuck neatly down into the box. Lastly I folded the edges of the shorter side flaps and Mod Podged them neatly tucked into the box.
I’m an impatient crafter, so I let the boxes dry an entire 5 minutes and hot glued the label plaques onto my new craft organizing bins. I love having a larger box to hold the projects I’m currently working on. This helps me to clean up the mess and whisk it out of sight, but still keep it accessible for the next time I find a few available minutes to craft. My new craft organizing bins fit perfectly on my bookcase and hide my stuff out of sight while looking pretty cute. But because the bins are open, everything is still easy to access. (I just noticed that I need to straighten my stamp pads up. Is that bugging anyone else now?)
I’m so charmed by these wood surface labels that I’m on a run making more. Next up – a mustache label for my neighbor’s son to organize his toy cars. How cute will that be?!
In addition to how pretty my DIY craft room organizing bins are, I love that I can simply recycle them the next time the military moves us and I haven’t spent a fortune on them.

Do you share my obsession with using recycled boxes for organizing?

For more fun crafting ideas, check out these resources: the Plaid Website , the Plaid Pallete Blog, the Plaid Newsletter, Plaid’s YouTube channel, Plaid on Pinterest, Plaid on Facebook, Plaid on Twitter, Plaid on Instagram and Plaid on GooglePlus.

More amazing Spring Wood Surfaces project ideas:

The post DIY Craft Room Organizing appeared first on Organized 31.

  • Love
  • Save
    1 love
    Add a blog to Bloglovin’
    Enter the full blog address (e.g. https://www.fashionsquad.com)
    We're working on your request. This will take just a minute...