
The Princess Phase Has Hit & So Have The Princess Crafts

It has been building for a while. I knew it was coming. It was inevitable. After almost 3 years of living under the same roof with Elsa, Cinderella, Rapunzel & my personal favorite Merida, my daughter has become a princess. She tells me all the time. “Mama, I a princess.” Tutu skirts must be worn every day. She even puts them on over her sweats when she goes to gymnastics. She loves Elsa just like all little girls these days, but still her favorite princess is Rapunzel. Rapunzel towers are built out of Legos, blocks, Play-Doh containers & just about anything else that is stackable. I have a collection of paper towel tubes saved up for crafting. Mai will get into them sometimes. She likes to use them as robot arms. Today, she grabbed them. She stuck one in a Dixie cup & said “Look mama, I made Punzel’s tower.” That sounds like a great idea.
Princess Castle Craft
What you will need:
Paper towel rolls
Dixie bathroom cups
Tissue paper box
Paint
Pipe cleaner
Construction Paper
Optional: Glitter, gems or other embellishments
Directions:
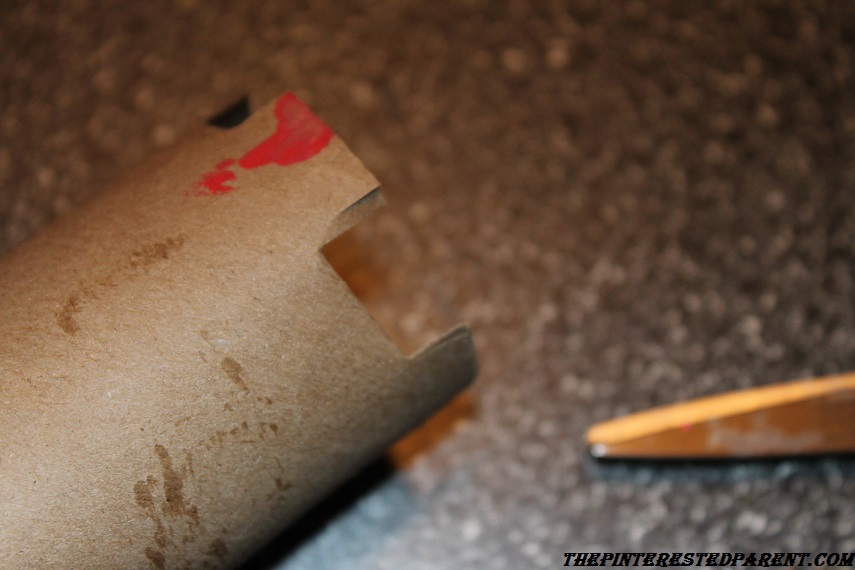
Cut out castle tops around the top of paper towel rolls & cut out windows. Cut rolls into different lengths to add different sized towers.


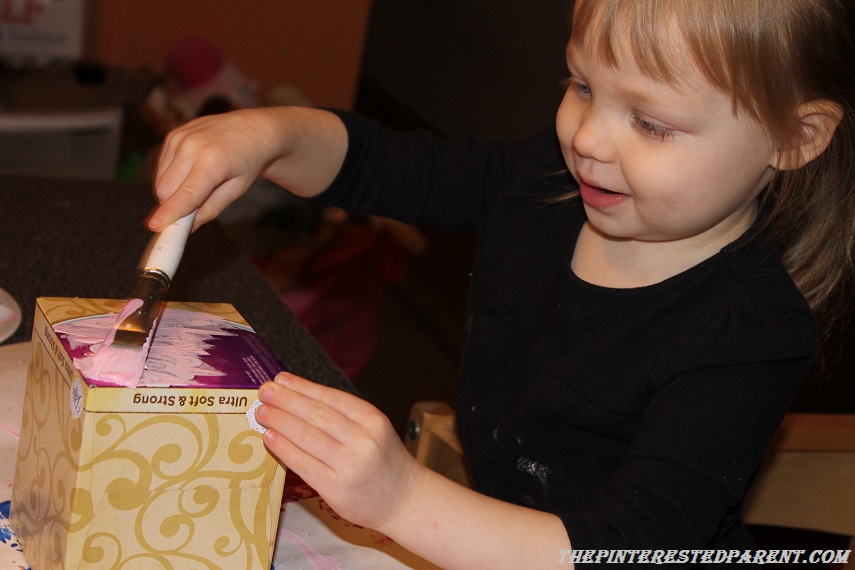
Stick the bottom end of a Dixie cup into the bottom of the uncut end of your tube. This will give it balance. Paint your towers in whatever colors you choose. For Mai, it had to be pink. She is getting really good at painting every inch of her projects.


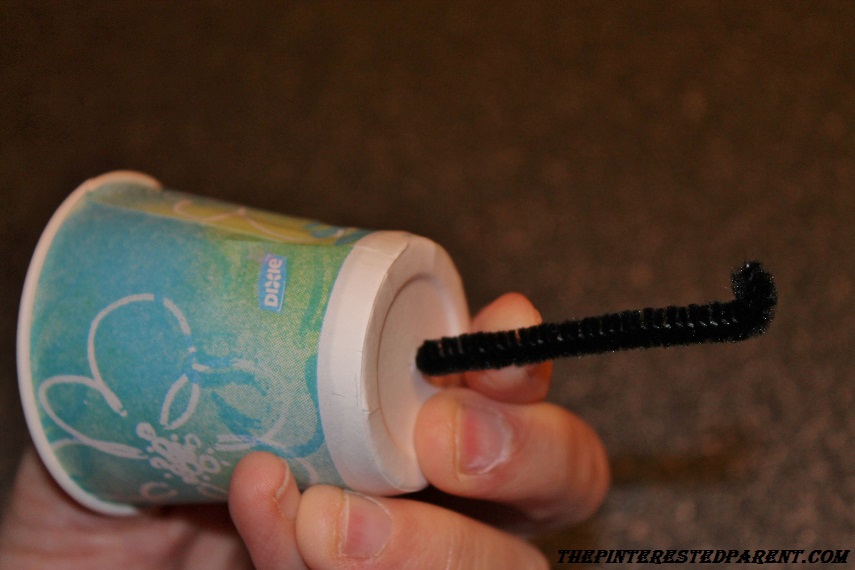
Cut out a door on your tissue box & also paint. Stick a pipe cleaner into one Dixie cup. You will use this pipe cleaner to attach a construction paper flag to later. Paint the cup.


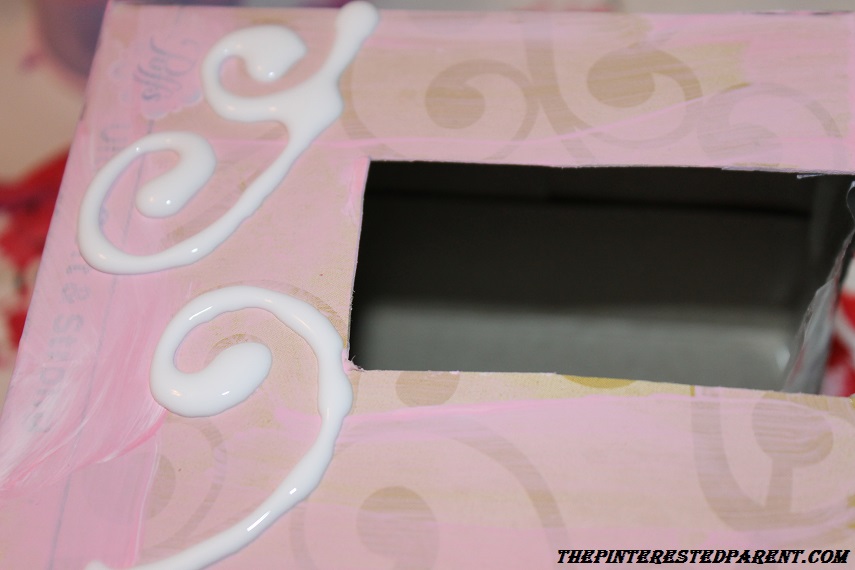
Add designs in glue & then sprinkle with glitter. Add gemstones or other embellishments of your choosing. Let dry & shake off excess glitter.


Our princess has her castle, now she needs to look the part.
Paper Princess Hat
What you will need:
Poster board
Glue
A few drops of water
Tape or staples
Tissue paper
Ribbon
Optional: glitter & gems
Directions: Cut out two pieces in a fan shape. Size will depend on the size of your child’s head & how high you want your hat. The pointed side will be the top. Overlap the two pieces facing each other until they form a cone. Leave a small opening at the top of your cone. If you have something conical, use it as a template to wrap around. Tape, glue or staple your hat into place once you have it positioned the way that you want it.


Rip up colored tissue paper. Mix up school glue with a few drops of water. With a paintbrush paint on glue in patches & place & overlap the tissue papers.


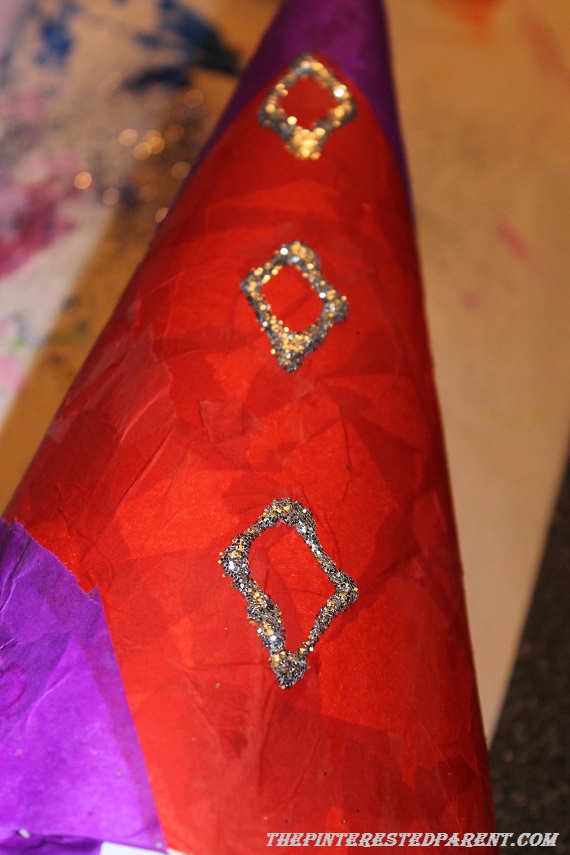
Overlap with tissue all the way around until the entire hat is covered. Let dry. Draw designs with glue & then shake on glitter. When glue dries, shake off the excess glitter.


Add ribbon pieces to the opening at the top of the hat. Glue, tape or staple your hat into place. We used a hot glue gun for our ribbon.

Filed under: Arts and Crafts Tagged: activities, arts, castle, crafts, family, hat, motherhood, parenting, princess, recycled, toddler, toilet paper roll