
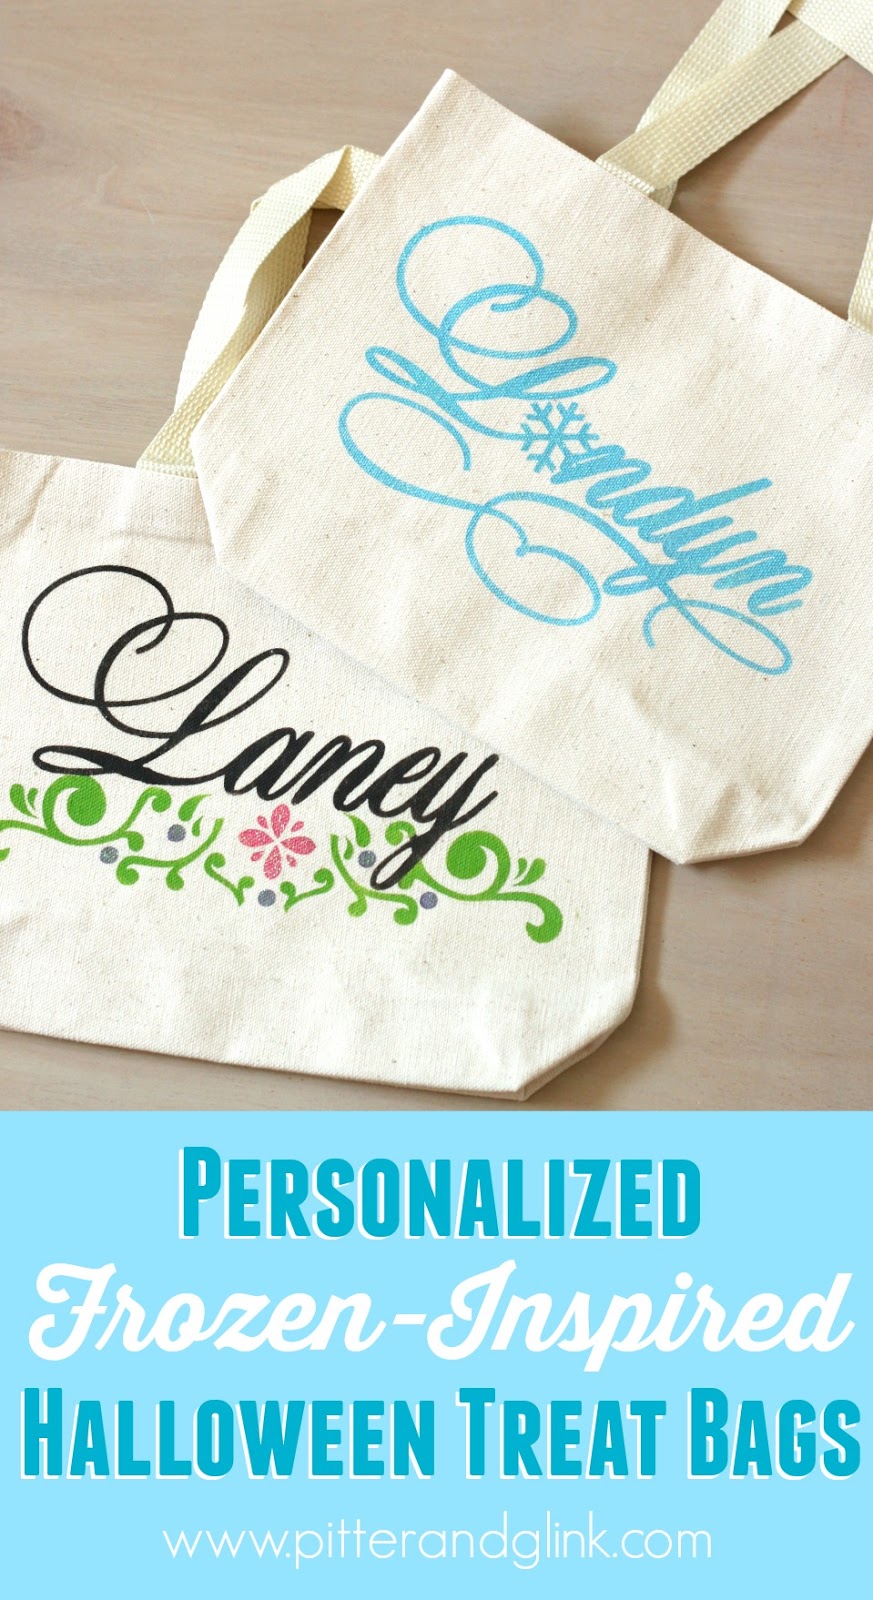
{Personalized Frozen-Inspired Halloween Treat Bags}
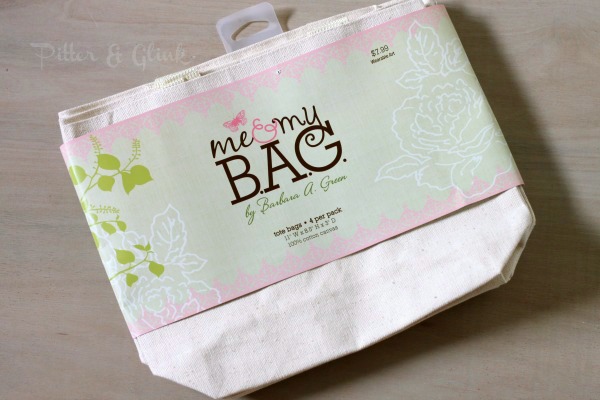
Hey, y'all! My adorable nieces had birthdays recently. They, like most other little girls their ages, are Frozen obsessed, so this weekend they had a joint Frozen-themed party. They dressed up as Anna and Elsa, and their mom created themed games and snacks. Knowing in advance that they were going to be having a Frozen party, I bought them lots of Frozen goodies. I realized this weekend that I needed some type of gift bag to hold the goodies. I had some small canvas tote bags already, so I decided to whip up some Frozen-inspired gift bags that could double as their Halloween treat bags since they're going to be Anna and Elsa for Halloween too. I used my Silhouette to personalize the bags, and I love how they turned out!


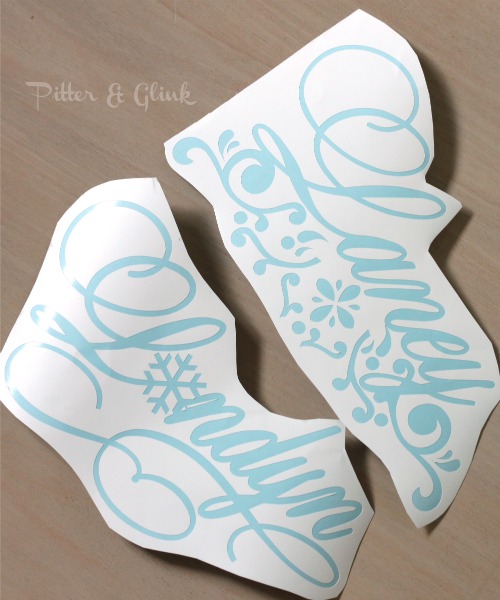
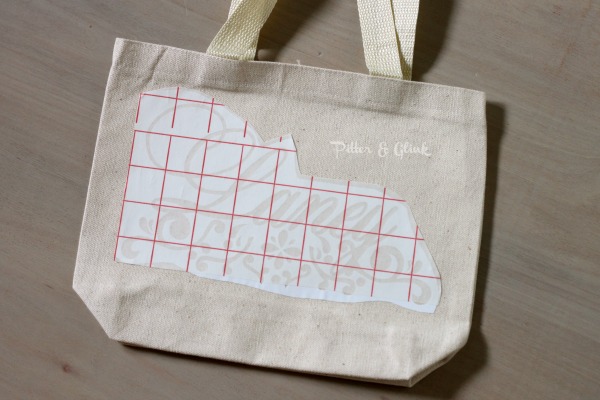
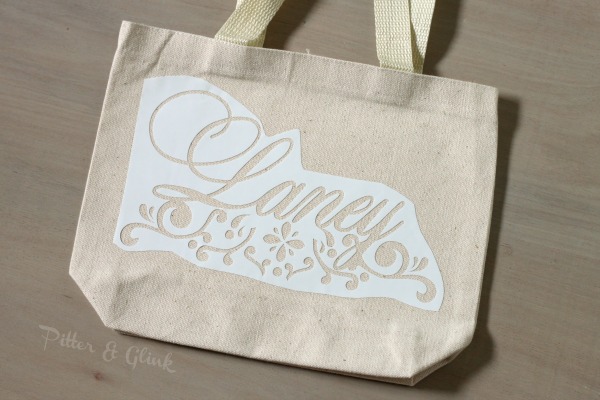
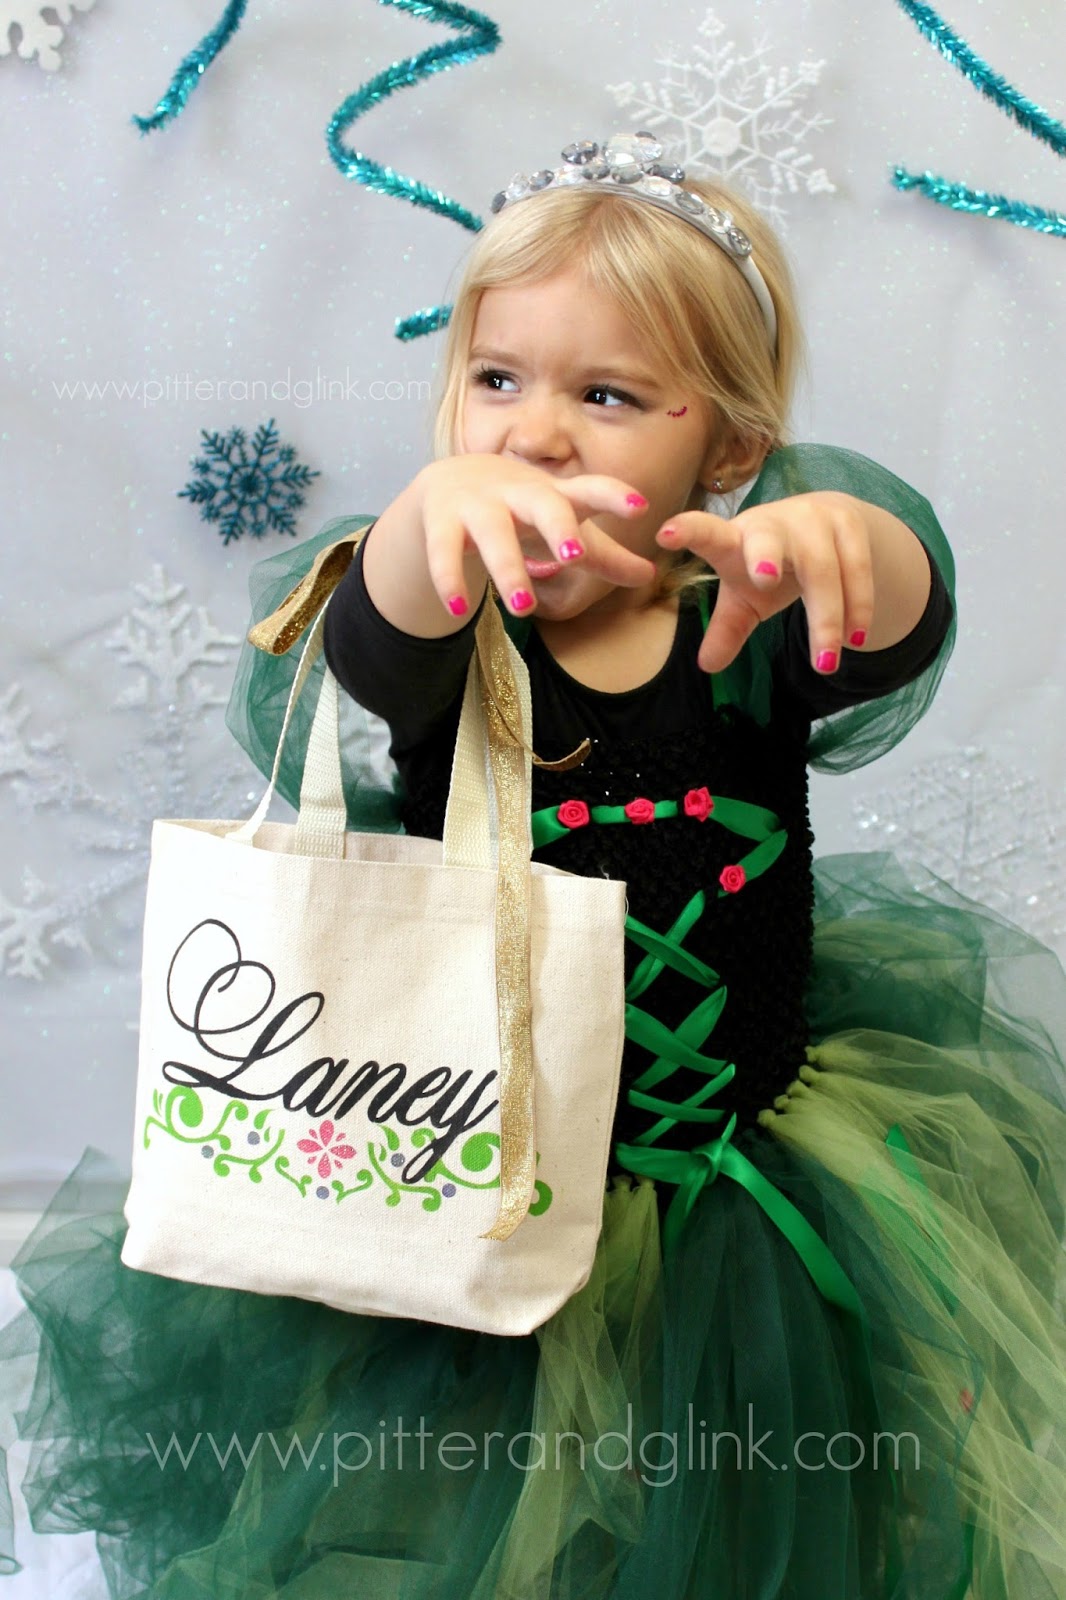
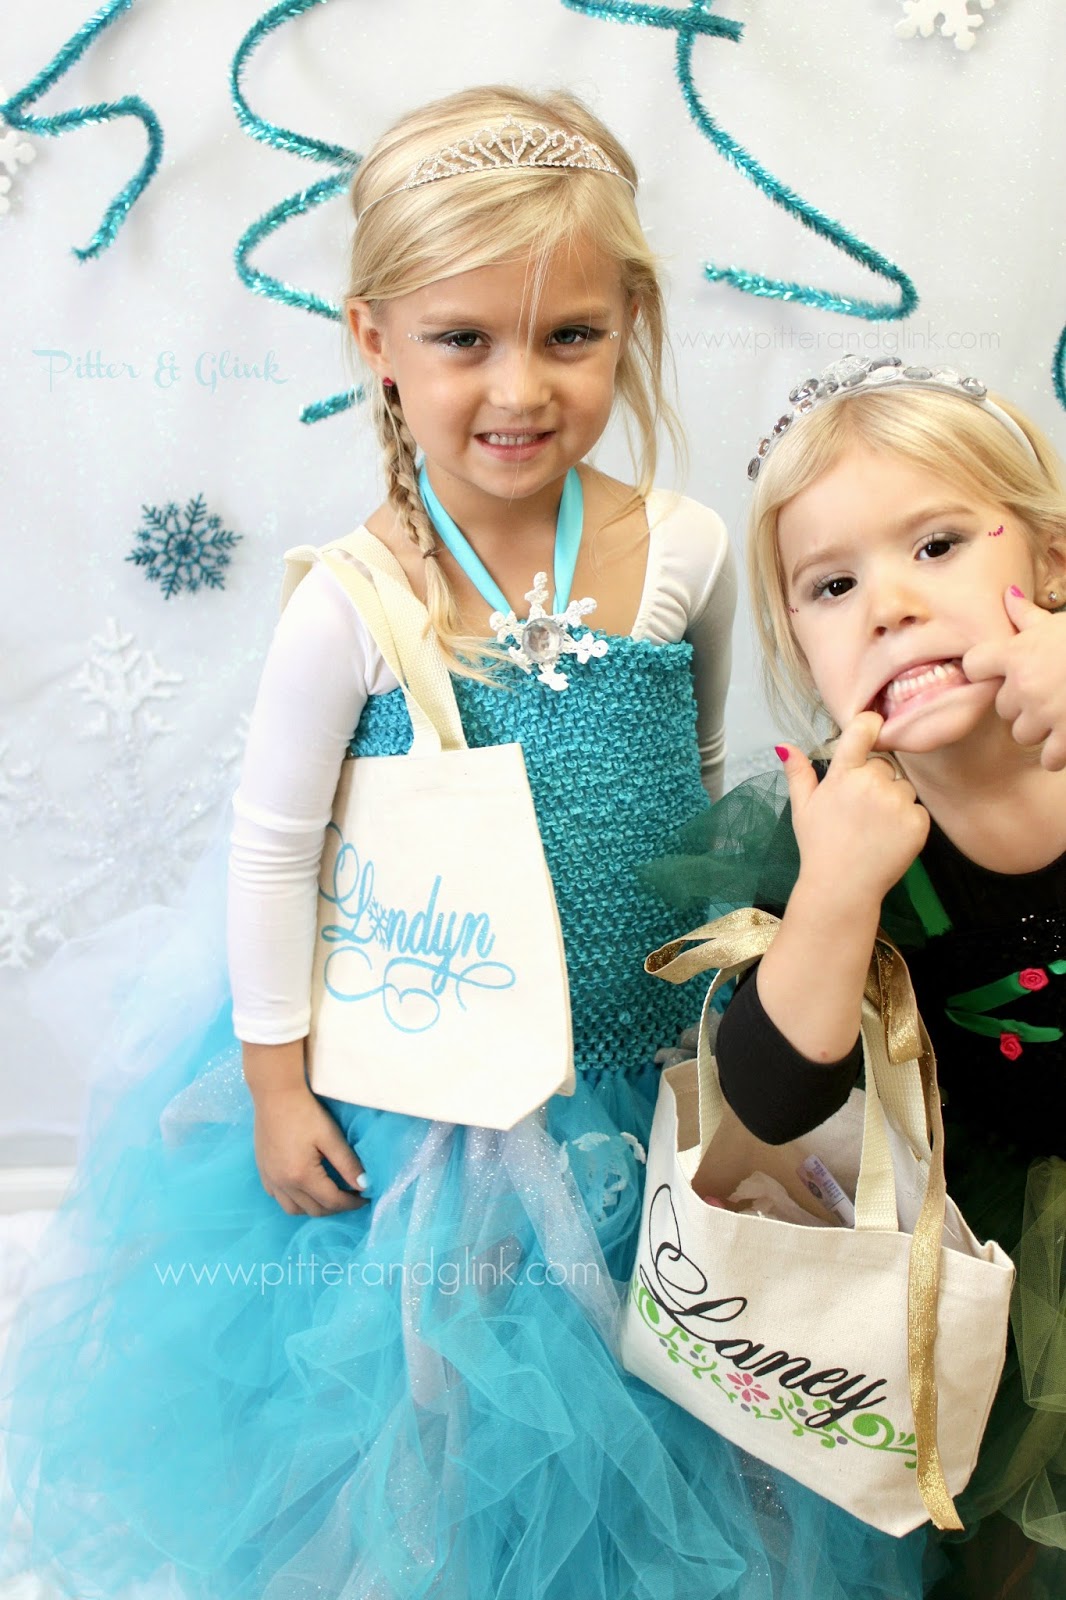
I used my Silhouette to cut two stencils from vinyl. I used the font Maratre. I typed each of my nieces' names, welded the letters together, and offset them to make the font thicker. For Londyn's Elsa bag, I used the cut tool to remove the "o" from the name. I inserted a snowflake in its place and welded it to the name. For Laney's Anna bag, I used Flourish 1018, a moroccan flower, and circles to create a design mimicking the front of Anna's dress. (The design may look like it has more components than those three shapes, but I cut the flourish and used pieces of it in parts of the design.) Once I cut the design from the vinyl, I weeded it to prepare for stenciling.

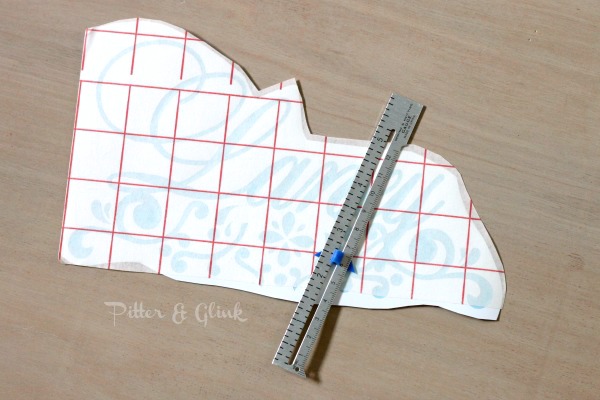
I covered the vinyl design with lined transfer paper and removed the backing to ready it for the front of the bag.


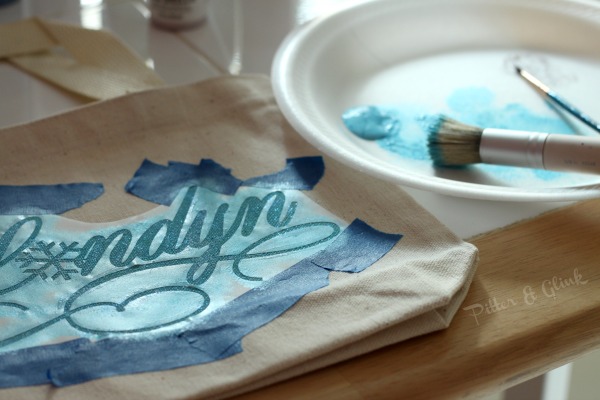
Once the vinyl stencil was on the bag, I put blue painters tape around any places where I thought I wouldn't have enough room to apply paint to the design without getting any on the bag. This may seem a little crazy, but I would much rather use inexpensive painters tape than extra vinyl for this purpose. (Also, you may want to put a piece of cardboard inside the bag. I didn't because I knew from experience that I wouldn't use enough paint to seep through the front of the bag onto the back.)

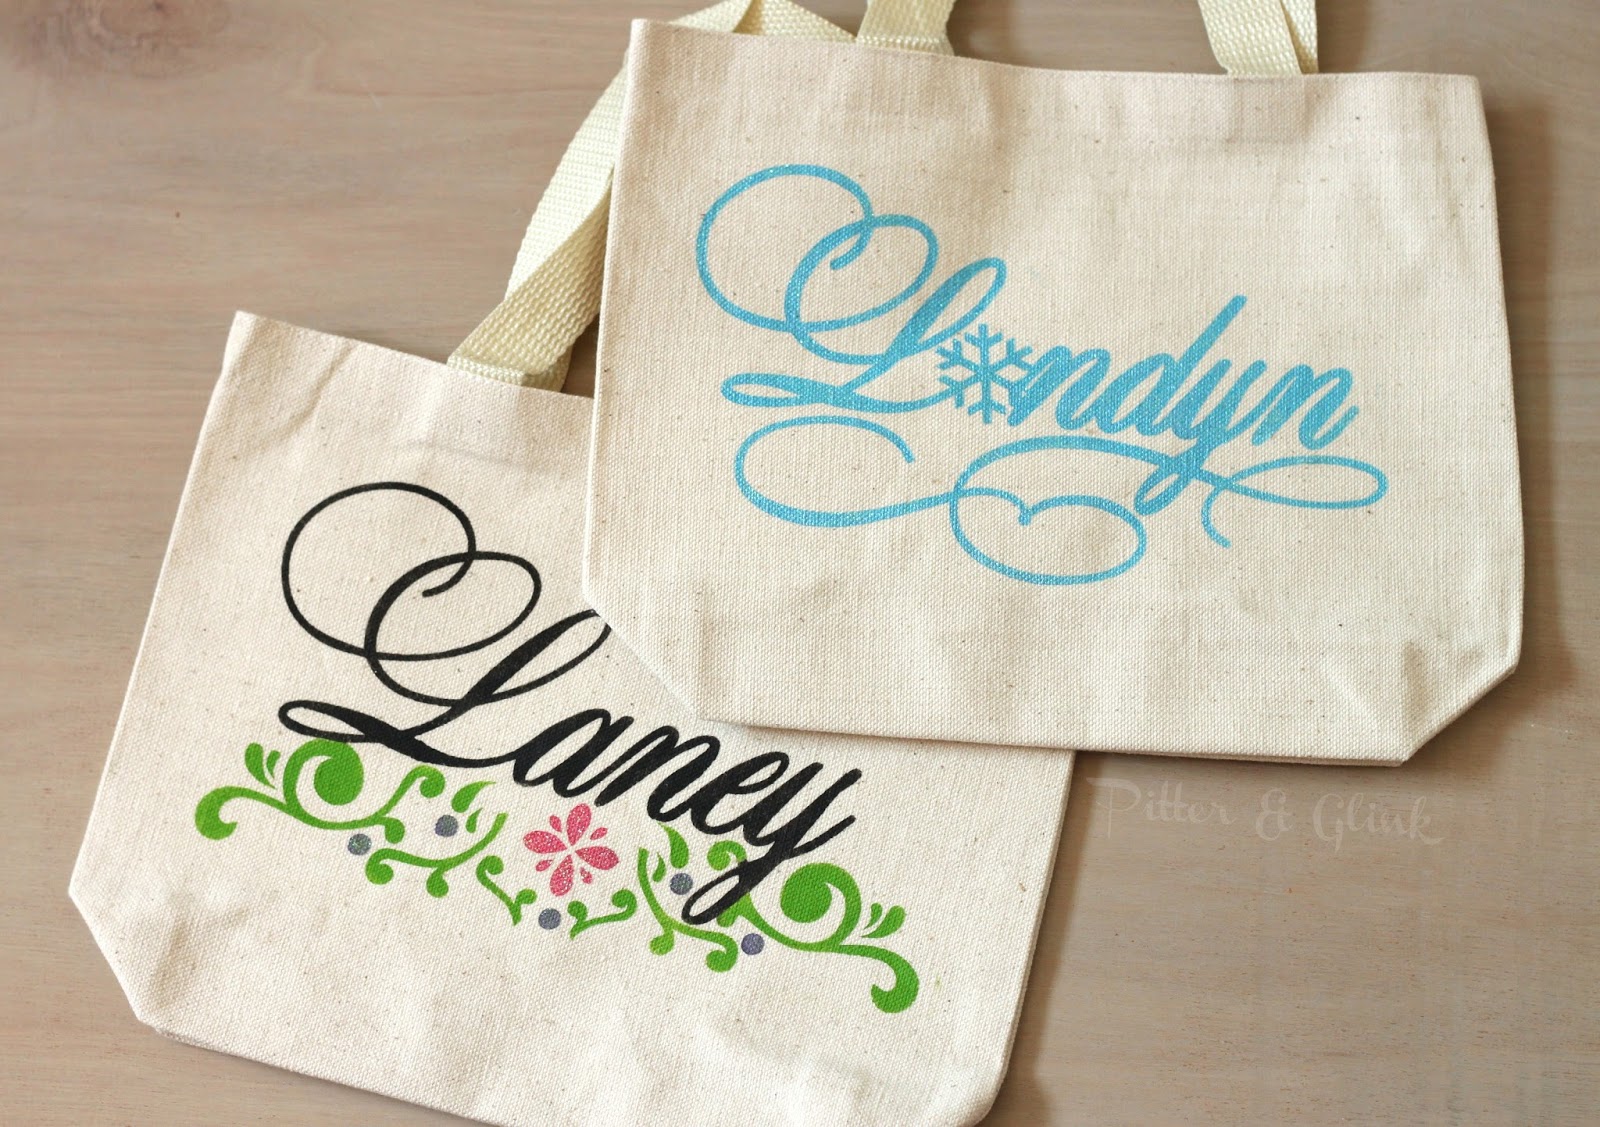
Since the bag won't be washed like clothing, I used regular paint to stencil. I specifically used Martha Stewart brand pearlescent paint and glitter paint on Londyn's bag. I used regular acrylic paint on Laney's bag, with the Martha Stewart glitter paint over a couple of small portions of the design. I used a round stencil brush to apply the paint. If you use this type of brush, carefully unload your paintbrush of excess paint, and then apply your paint in a pouncing motion, you will get a really nice stenciled image. I let the paint dry, and my gift bags/treat bags were finished.

I packaged Londyn and Laney's gifts in the bags, and they loved them. I had the girls pose with the bags in front of the Frozen backdrop that I used as a photo booth for the party guests. Let's just say that their personalities REALLY shined through.


Laney? She was as cute as a button as Anna, but her silliness was on full display when I was trying to take her picture. (This pic is a perfect example of why my husband and I call her Laney-Monster.)

I tried to get a pic of the two princesses together. Since Laney was in full Laney-Monster mode, this is the best I could do. I actually really like the picture though because it shows both of the girls' personalities. I'm really glad that I was able to add a personalized, crafty element to their gifts with these treat bags, and I hope that they enjoy using them when they go trick-or-treating. They definitely won't have to worry about getting their treat bags mixed up with someone else's!

More posts from Bethany Lee