
How To Sew with Faux Leather
Today’s post is brought to you by Liz from Moments… She is an avid sewer of faux leather, and I thought it might be nice to pick up some of her tips for sewing with leather, as it’s not something I commonly do (but would like to!).

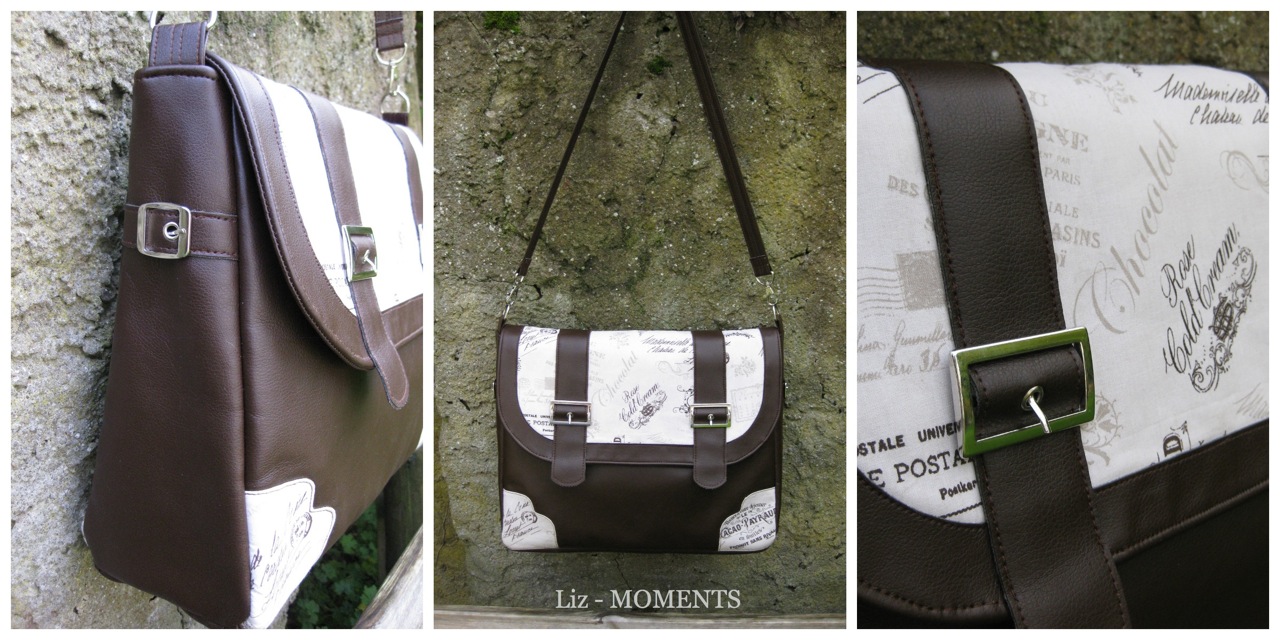
pleather, PVC leather, fake leather …whatever you call it … is way easier to sew then you think!Sara’s had notice that I started to use a lot of faux leather in testing her bag patterns …so she asked me to do a guest post about sewing with Faux Leather.Let me start by saying that I am a normal home sewer with a normal sewing machines ( Pfaff Performance 5.0 & a Husqvarna D1…for embroidery).
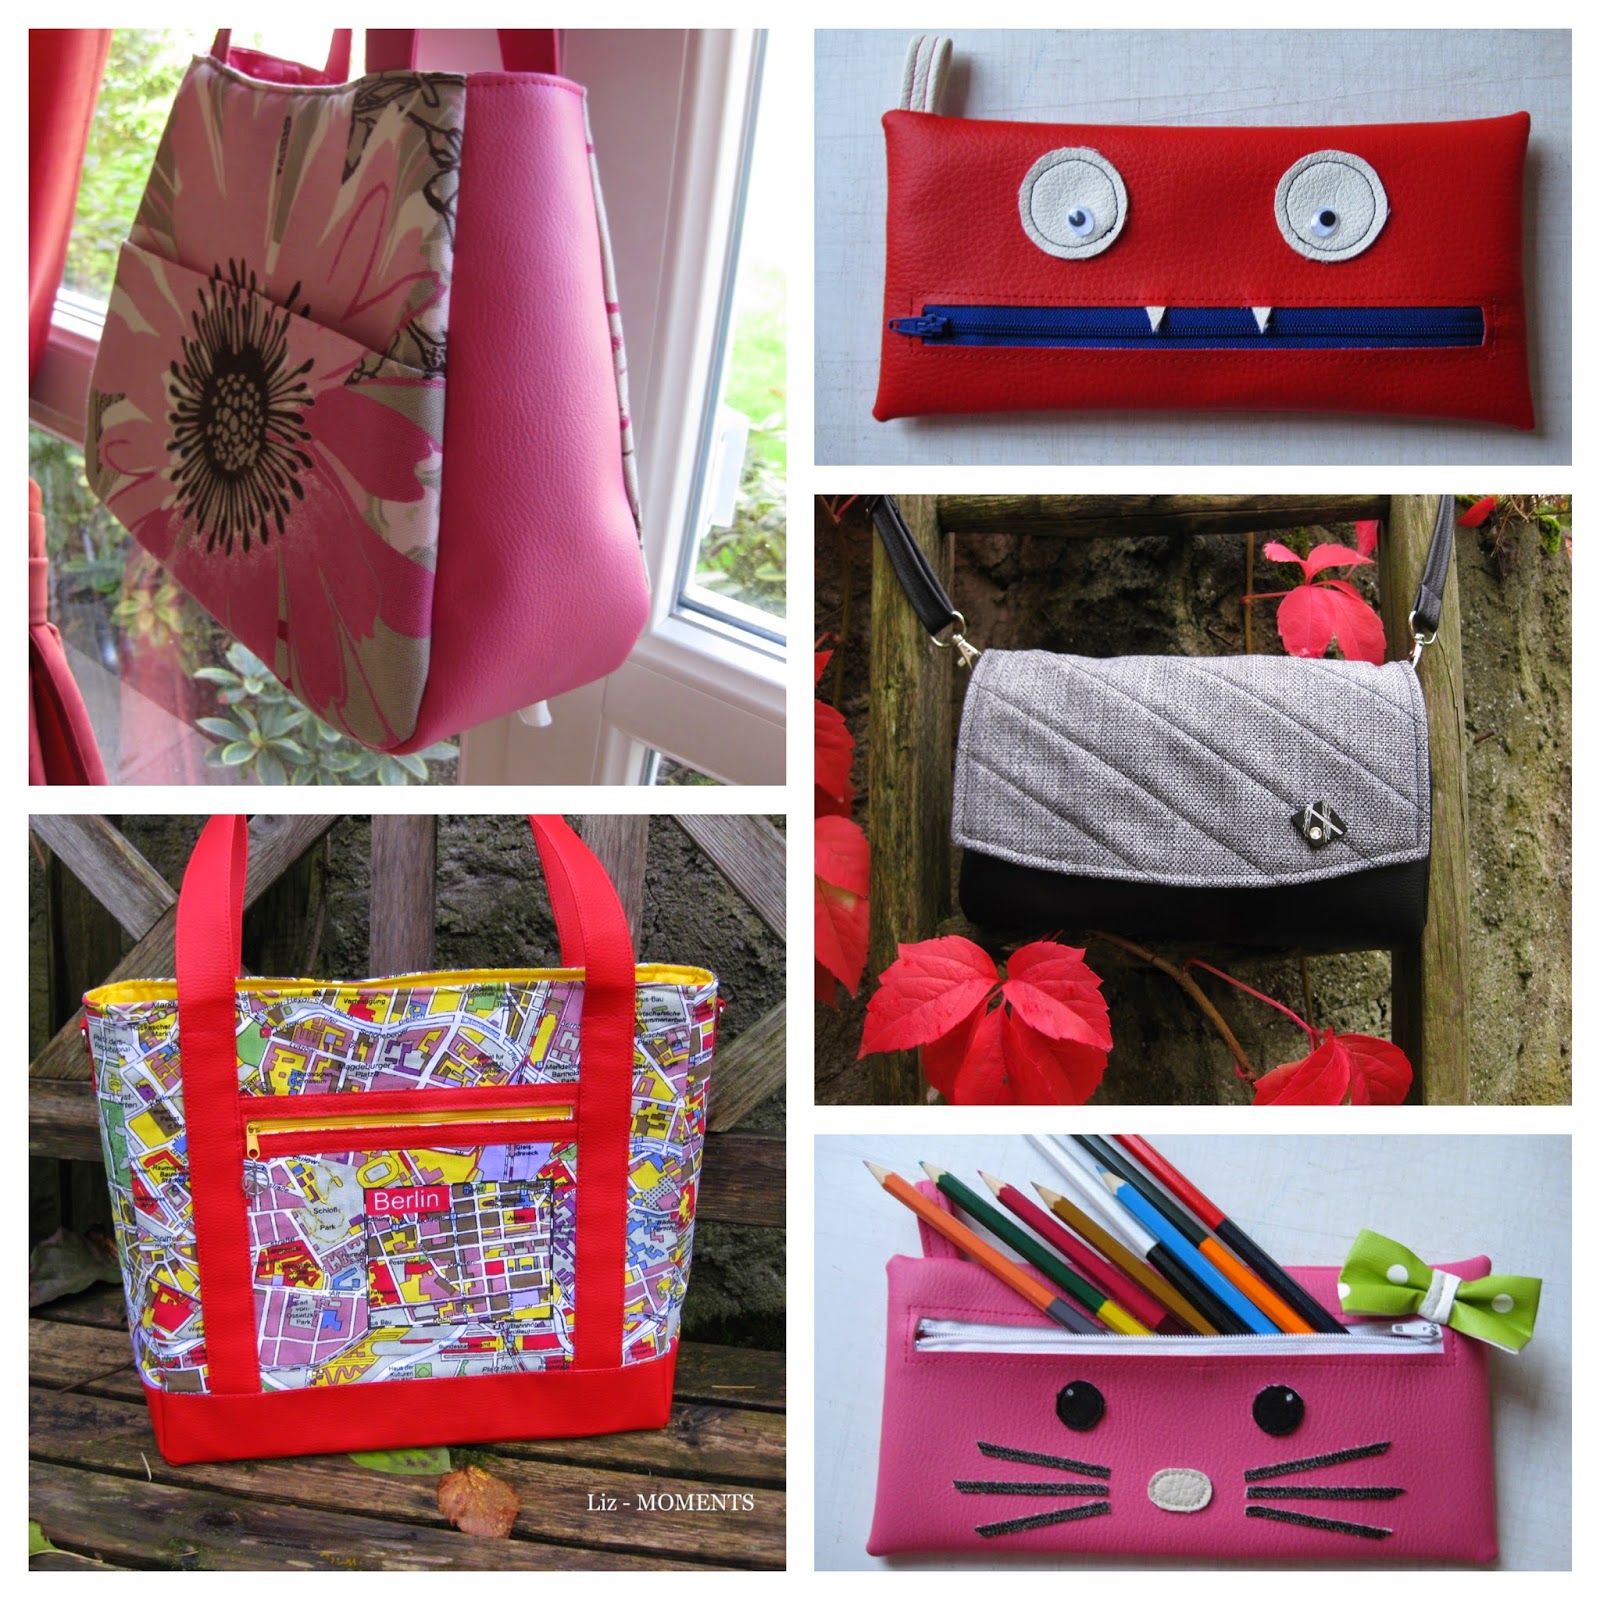
….I am addicted to making bags and lately I have discovered my love for faux leather and decorator fabrics!
Like you, I was always afraid to sewing with faux leather & vinyls…I figured it had to be difficult! Then one day, my favorite fabric shop had a piece of faux leather in the “rest” bin for super cheap…so I snatched it up and figured I’d give it a try. To my surprise I had no problem sewing it…and the addiction began!
Here are a few things you will need :

- Faux Leather
- Teflon foot
- Schmetz Universal #90/14 ( or #100/ 16) needles (I don’t use a leather needle..I find it makes to big of holes)
- Masking tape (cheaper the better..we don’t want it to stick super good)
- Clover clips or binder clips
- Weights to hold your pattern down..tuna cans work also
- Rotary cutter with a fresh blade…you want clean sharp cuts
- Threads…thicker threads than you would normally use….here in Germany I use a #50 weight Polyester threads….you can sew with normal threads but I find the thicker ones make a lovely topstitching.

Faux leathers are not all the same…some will sew wonderfully even with your normal sewing foot…most will require a teflon foot ( I recommend investing in one…you will save yourself a lot of headaches) I also have a roller foot but I rarely use it …go for the teflon one!
Faux leather …come in all kinds of colors, prints & thicknesses.
How do you decide which will work the best?? Trial & error!
It does not have to be the most expensive. I have had great results with a rather inexpensive faux leather that is used for the interior of cars.
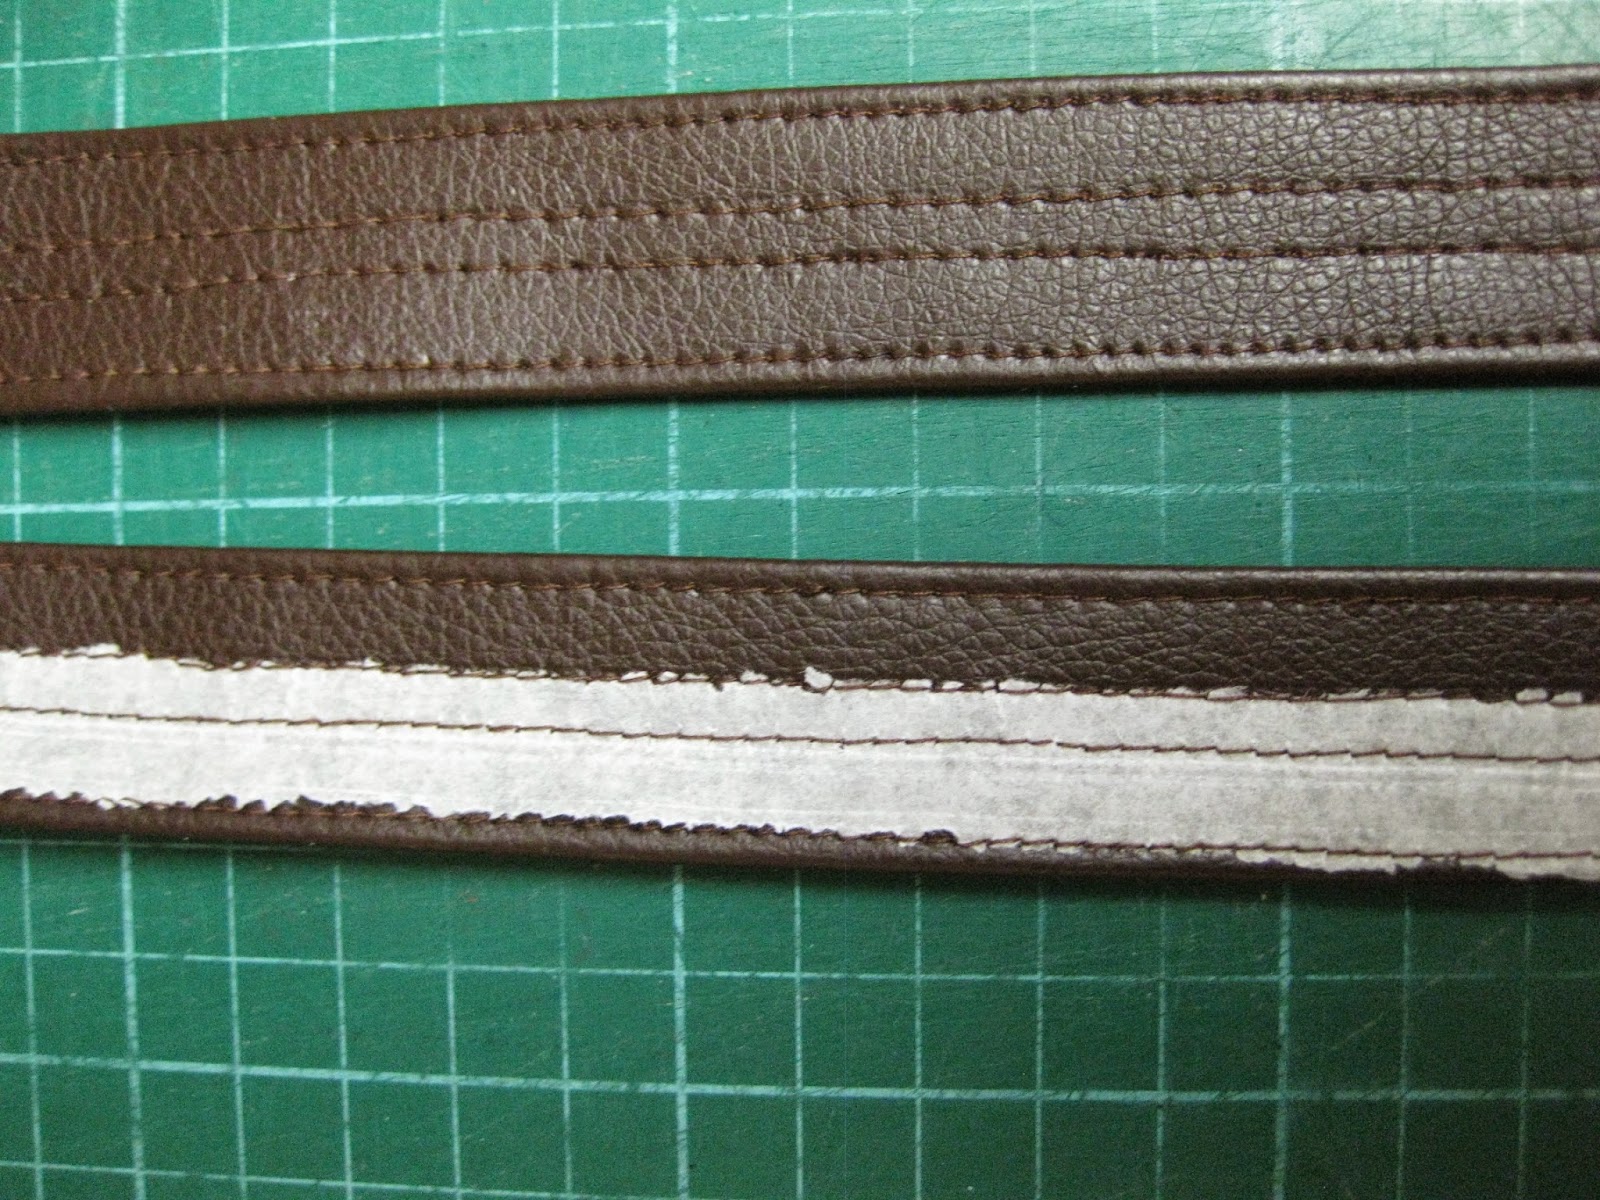
Here are some examples …I also tried showing the backside of the faux leather since they are also differnt.


The inexpensive faux leathers have a texture and a thin mesh backing….these are great for beginners…


To show you what I mean… I stitched these samples, first with a 4.0 stitch length and it had a hard time moving the pleather causing a smaller stitch …it also curled the pieces…then I lengthened the stitch length to 5.0, it was better but I would avoid using this kinds for faux leathers for beginners.

If you really have to have one of those “headache ” kind of faux leather…try topstitching it through a piece of wax paper.

Enough theory…lets get sewing …
Always press your faux leather from the backside….I have been know to iron from the front with a pressing cloth ( an old tea towel) but I wouldn’t recommend this for the weak at heart!

Place you pattern on the back side to the faux leather …use the weights or the masking tape to hold your pattern in place. You will notice that I have printed the pattern piece out a couple times and taped it together so that I have full piece …no cutting faux leather on the fold!

Cut the pieces out with a rotary cutter…you can cut through the masking tape…
Pin your pieces together with the clover clips. Never ever use pins to hold your pieces together. Holes are not faux leathers friend.

*Use the same thread in the top and bobbin….
Set your stitch length to at least 3.5 or 4.0 (topstitching I’ll use 4.5)…a longer stitch looks better on faux leather .
Do not back-stitch when sewing faux leather…leave long threads at the beginning and the end…tie them off and then bury the threads between the layers.


Most important rule….. ****always test your stitching on a scrap *** That’s it!I forgot one important thing…I didn’t want to mention it earlier and scare you off …but ..you can’t remove stitches from faux leather…it leaves holes. So please take care to sew as neatly as possible (no drinking wine beforehand, unless it makes you sew straighter) …use your needle down position when you need to stop and breath. It will get easier with each piece you sew.
If you do get wobbly stitches…just make the bag a tiny bit smaller..thats what I do!…I hope I took some of the fear out of faux leather ??
…pick up a small piece and give it a try.. you might be surprised how easy it is! Thank you Sara for having me as a “guest poster” …I wonder if your next pattern will have faux leather in it ?? I’m will be doing a post about making your faux leather handles on my blog…be sure to check it out. Happy Sewing !

P.S: In case your wondering how I store my faux leathers…. on rolls of course…it prevents creases….the shops will gladly give you their empty rolls….just ask !

The post How To Sew with Faux Leather appeared first on Sew Sweetness.