
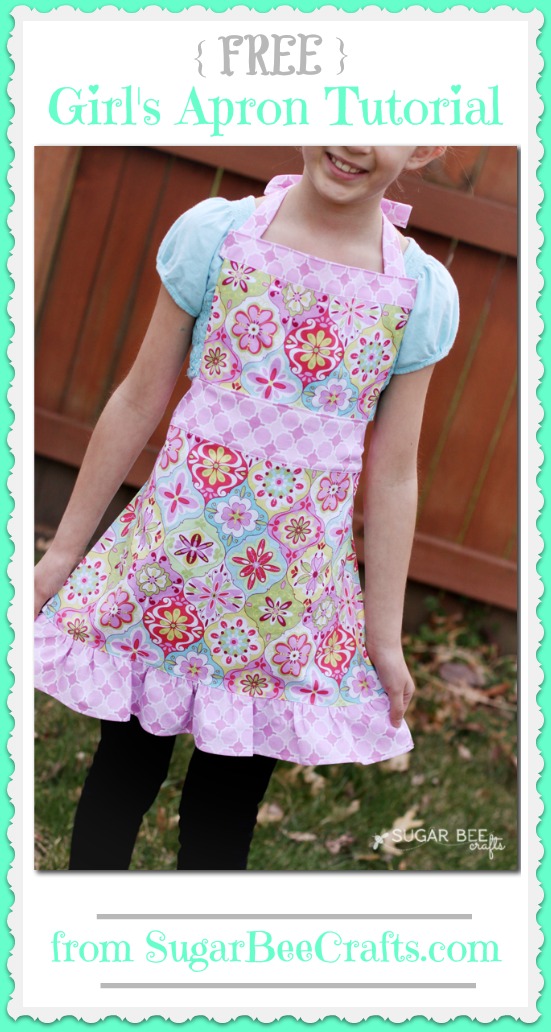
Simple Girl’s Apron
Do you have a new goal this year to try a few sewing projects? I love love love simple sewing projects and so I want to share this easy DIY sewing project- a Simple Girl’s Apron. Even a beginner sewer can tackle this one – and you can make it in under 30 minutes. So Cute!

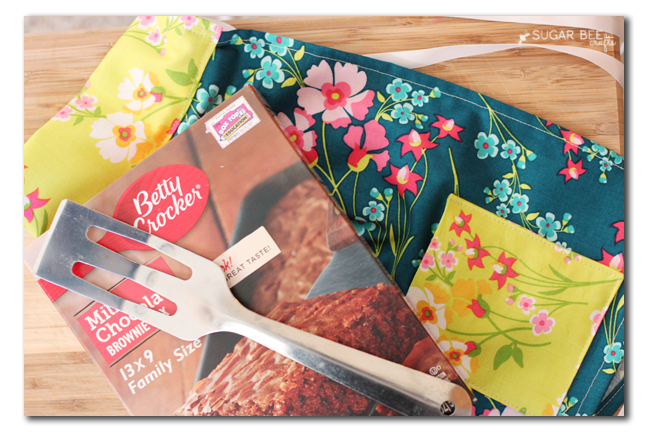
It takes minimal fabric and can be made for just a few dollars. And it can be a great gift as well – pair it with a brownie mix and spatula, and you have the perfect gift set for a girl who is excited to try her hand at baking.

You’ll need:
–fabric 1/3 yard of main fabric and 1/4 yard of contrasting fabric – – and you should be able to make 2 aprons with those cuts!
–ribbon for ties
–basic sewing supplies (thread, scissors, sewing machine, etc)
Let’s jump right in. First cut your fabric. Out of the contrasting fabric you’ll need a waistband that is 12in x 5.5in and a pocket (cut 2) that is 4in x 4.5 in (the pocket is optional). The apron panel is cut out of the main fabric and it is 22in x 12in.

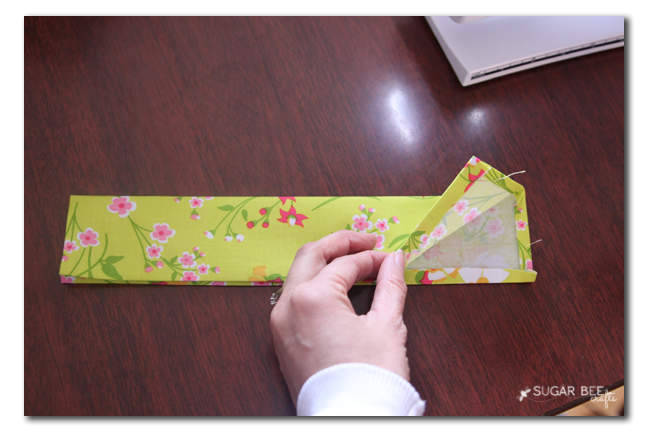
Next, prep the waistband. Iron 1/4 turned edge all the way around, like shown below:


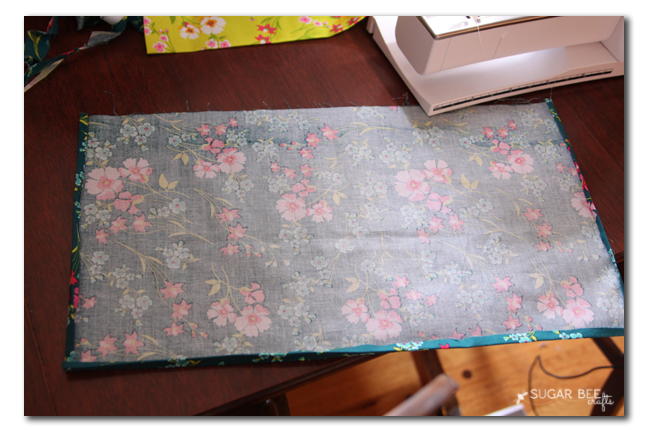
Now on to the apron panel. Iron a narrow hem on the sides and bottom – so that means iron 1/4 over then 1/4 again, so you can’t see the raw edge.


Now we’ll be working on the top edge of the apron panel. Fold it in half and mark the center. Then fold it again so that you can mark it into 4ths. So you’ll have 3 pins marking along the top, as shown:

You can then remove the center marking pin. Use the other two to make a box pleat – it’s where you fold both sides of the fabric in – you can see it in the picture below:

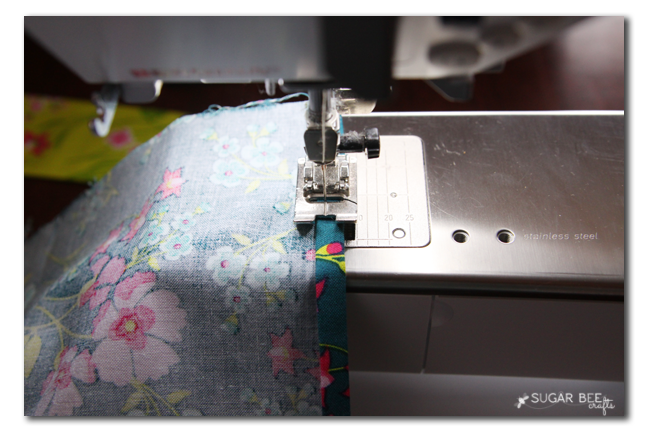
You can guesstimate on how big to make the box pleats – you are aiming for the finished apron panel to be the same width as the waistband. Sew the very top of the box pleats just to hold them in place. Then slide the apron panel into the open edge of the waistband and sew it down. This will attach the two pieces with a finished seam.

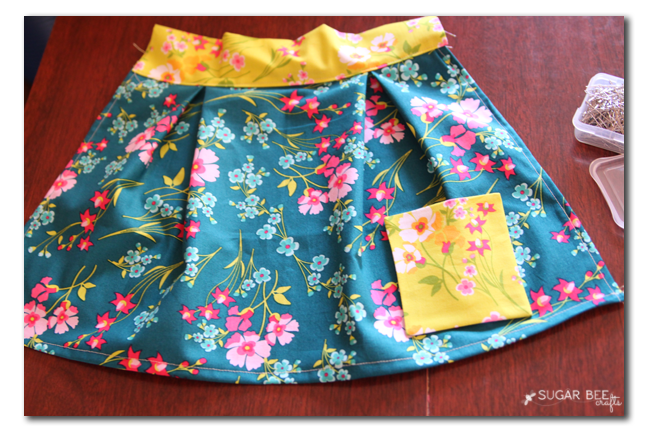
Pocket is optional, but to make it you just sew both pieces you cut right-sides together all the way around, leaving an opening about 2 inches wide. Clip the corners then turn it right-side out through the hole you left.

Then determine where you want it on the apron and sew down the sides and bottom. Sewing it to the apron will close the small hole you had left open. This will give you a lined pocket with finished edges.

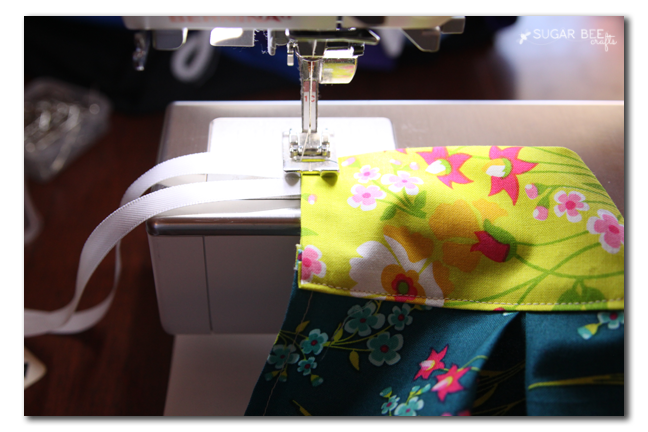
Cut ribbon to desired length to use as ties – I used two ribbons on each side just for fun. Slide the ribbon into the side of the waistband:

Then just sew up that edge of the waistband, catching the ribbon inside the seam. Repeat on the other side.


She’ll wear it proudly!

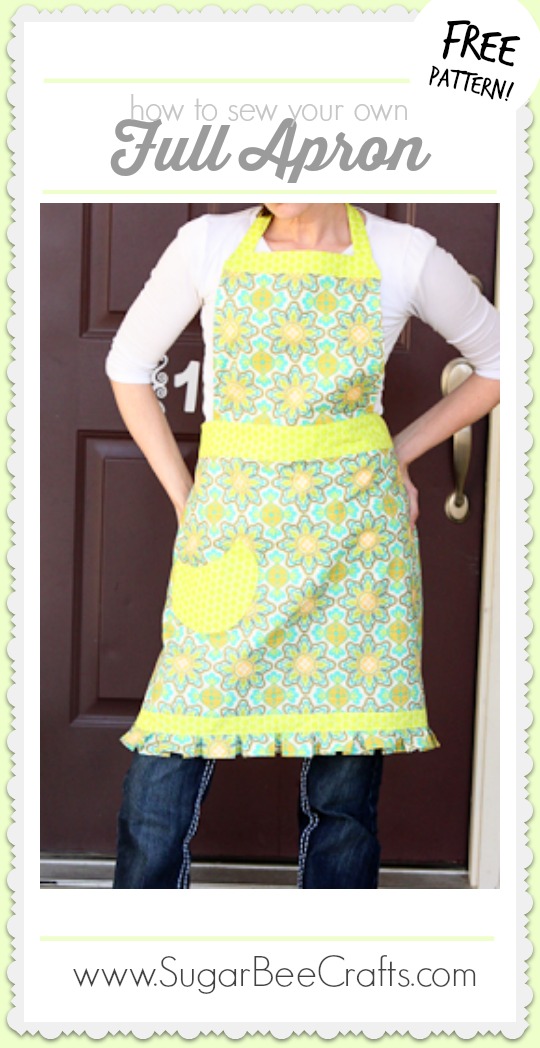
If you’re a little more ambitious with your sewing, and want to tackle a full apron or a mommy and me gift, I have other tutorials with free patterns here on my blog, just find them via the links below – -


Happy sewing!!
The post Simple Girl’s Apron appeared first on Sugar Bee Crafts.