Our Remodeled Utility Room Is Finally Done!
Our utility room is finally finished and I couldn't be more pleased with how it turned out.
We hired a contractor to remodel our kitchen last year but our budget just couldn't be stretched enough to work on the connecting utility room.

When asked what I wanted for Christmas last year, I asked if we could work on the utility room/pantry this year. Poor Hubs, I think he would have rather purchased a gift from the mall. Even with a very limited budget and schedule, we worked on it steadily all year and just finished last week. It took several months of planning to figure out the layout but my Hubs is a genius and is very good at space planning. He was so sweet to carefully consider all of my storage needs. He measured all of my containers to make sure everything would fit.

Some of the walls and all of the cabinets and the ceiling were torn out during our kitchen demo. We hobbled along with our little torn up utility room for almost a year. It was already an awkward, narrow space with two doors and a hot water heater. The lighting was poor, the walls were a mess, there was a lack of storage, and our electrical panel was smack dab in the middle of one of the usable walls.

We purchased a stacking washer/dryer set when we bought our kitchen appliances to take advantage of a great sale. Parts of our old set were literally held together with a paperclip and some duct tape. We also bought a larger deep freeze to replace our smaller one.

Hubs built a wall in sections to separate the long, skinny room into two spaces. The space with the hot water heater has become a closet that holds our vacuum cleaner, cleaning supplies, and the high chair we use for our grandchildren.

There was a lot of staring, discussing, and mumbling in that odd space. I think it taxed Hub's brain to the max. Plumbing and wiring is never fun.

Our ceiling was a drop ceiling with florescent lighting hanging within it. Broken, stained, and pathetic - it needed to go.

The old lighting was certainly not flattering. We had the electricians add an additional light switch to the room when they rewired our kitchen, but Hubs did the actual addition of the new lights.

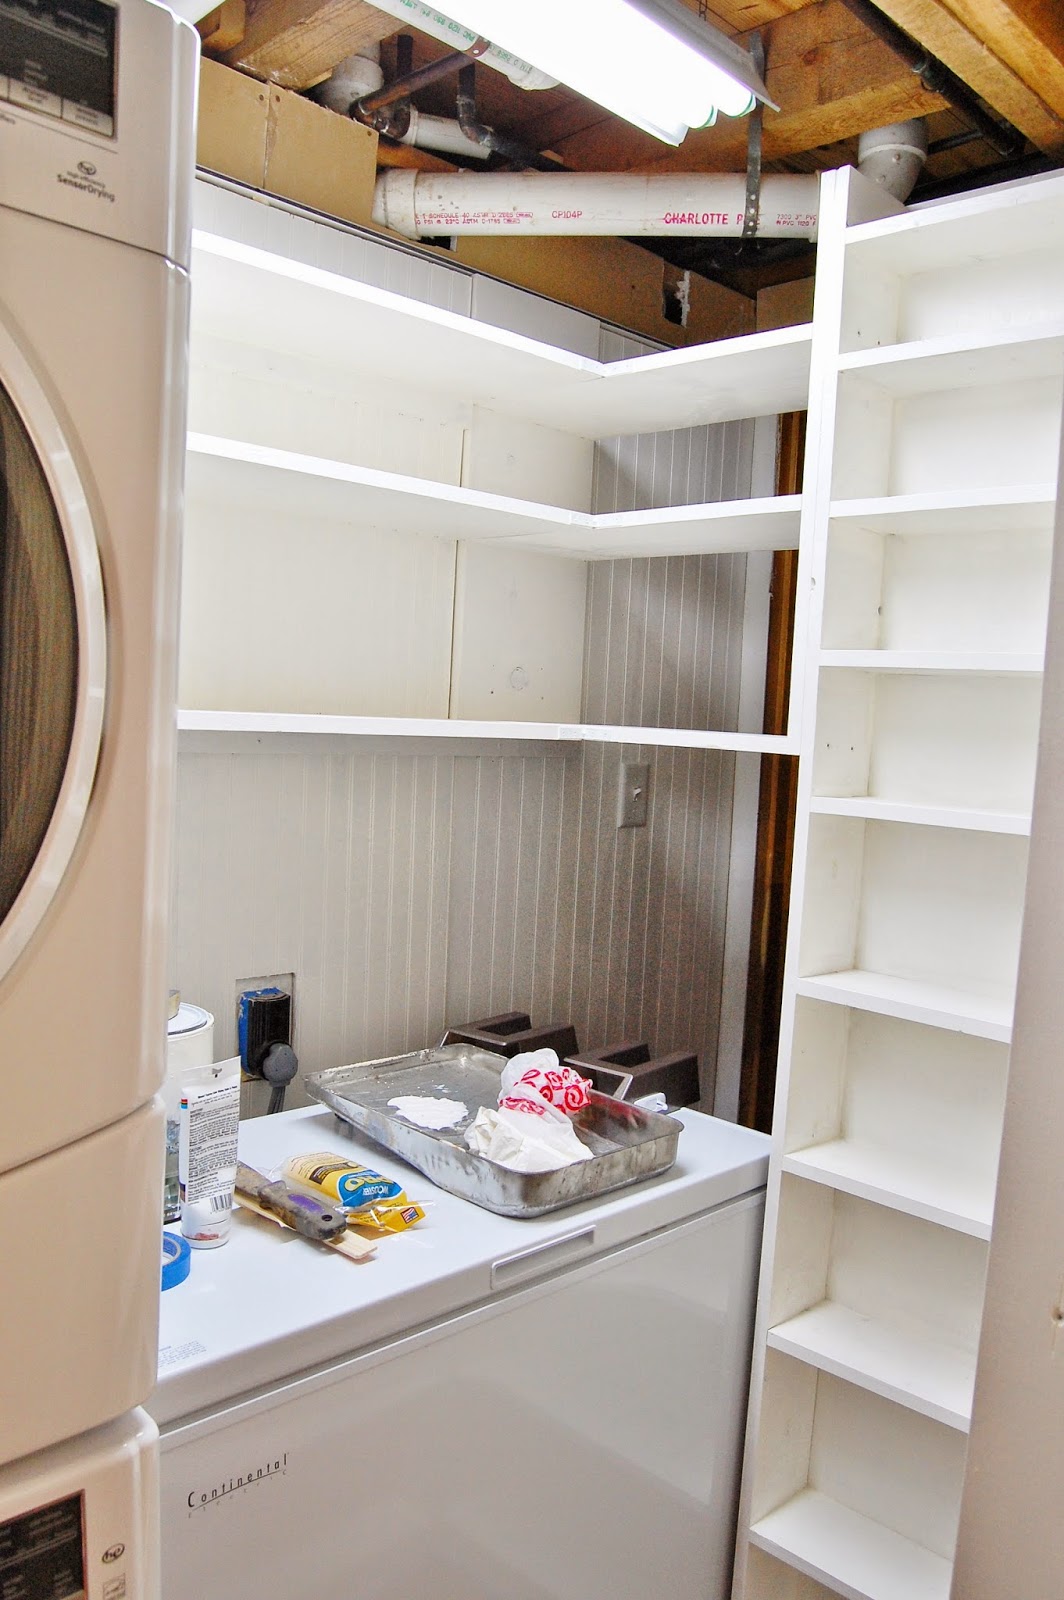
Our new ceiling is made of bead board panels that can be removed, if needed, to get to the plumbing pipes. The lighting is just small recessed lights (4 in total). The hanging system hanging over the freezer is from Ikea. I wanted something to hide the large, black dryer outlet.
With the old cabinets removed, all of the many paint colors were exposed - I'm only responsible for 2 of the colors and yellow isn't one of them. The black rectangle is the electrical panel that I previously painted with chalkboard paint.

Our son was able to help with the heavy lifting. Hubs built each shelf unit separately and added them one at a time.

After everything was painted and a counter top was added, it was starting to look like what we had imagined it could be.

I used baskets that I already had to store paper products and extra food. The chicken picture was a painting my mother-in-law painted many years ago. She passed away and never finished it (notice there is only half a chicken?). I'm looking for a piece of chicken wire or basket to place under the chicken to finish it off. The picture is attached to a bead board panel that can removed to reveal the electrical panel.

The right side of the washer dryer is the spot for the deep freeze and lots of shelving. I wanted to have shallow shelving for my jars of baking supplies and dry goods.

I already had a lot of large jars, but I added a few more that I picked up at Walmart and World Market.


I made chalkboard labels by cutting ovals out of chalkboard contact paper. I used a chalk/bistro marker to write the ingredients on each label. So far, they are holding up pretty well.

More posts from