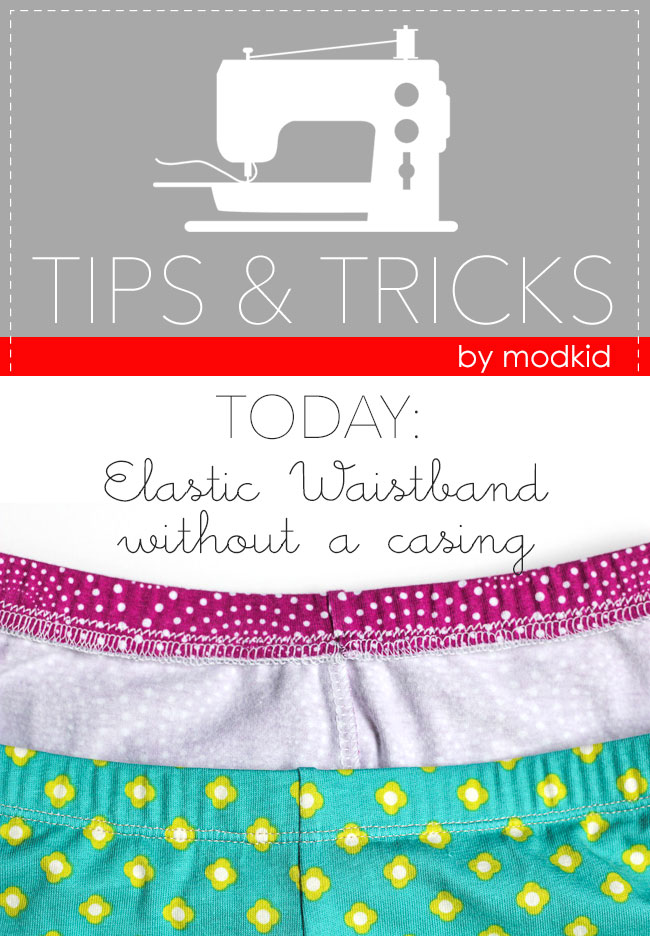
Tips & Tricks: Elastic Waistband

Included in the Modkid Perfect Legging pattern is our favorite knit waistband tutorial. What makes it so great? NO CASING!! Plus, it lays flat, and the elastic won't twist inside a casing. You just might find it to be your favorite too! We are going to show you just how we do it here too.

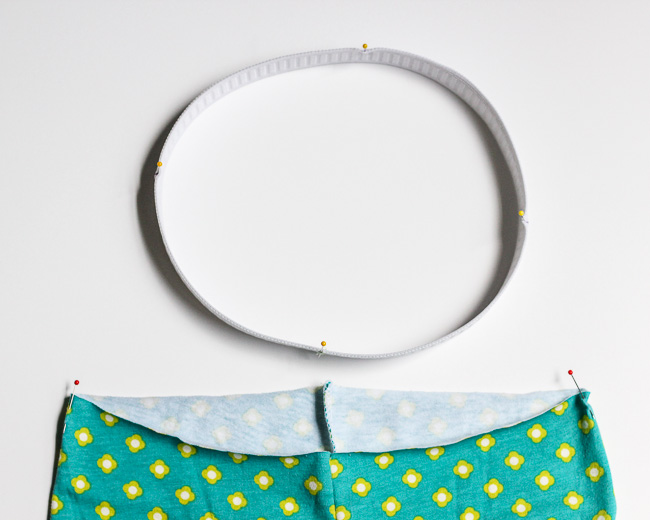
Stitch your pre-cut elastic into a circle. If you don't have a length provided in your pattern, 1-2" less than the length around the wearer's waist is a good rule of thumb. The elastic should be cut shorter than the waist measurement since it will stretch out when sewn and worn. To minimize bulk, just meet the ends of the elastic and stitch a wide zigzag across the edges. You may stitch several times over the area to reinforce the seam. Give it a tug, and you will find a nice sturdy connection.

Quarter mark your waistband and elastic. Do this by folding the elastic at the seam and marking the opposite fold. Now, bring the seam and the new mark across from one another to divide the band in the other direction. Similarly mark the leggings.

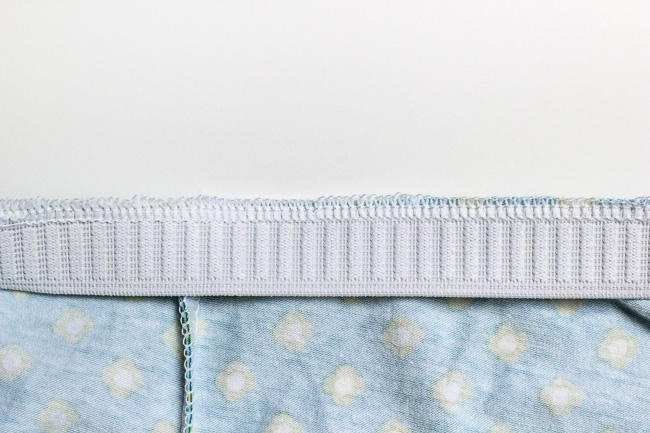
Align the elastic seam with the back seam of the leggings and pin to the wrong side of the fabric. Align the elastic edge with the raw edge of the leggings. Continue to pin at the quarter marks stretching the elastic to fit. Pin in between the quarter marks if desired. Serge or zigzag the top edge of the elastic, catching the raw edge of the fabric beneath. Stretch the elastic slightly as you do this, but do not stretch the fabric. I like to make sure my serger knife is disengaged at this point.

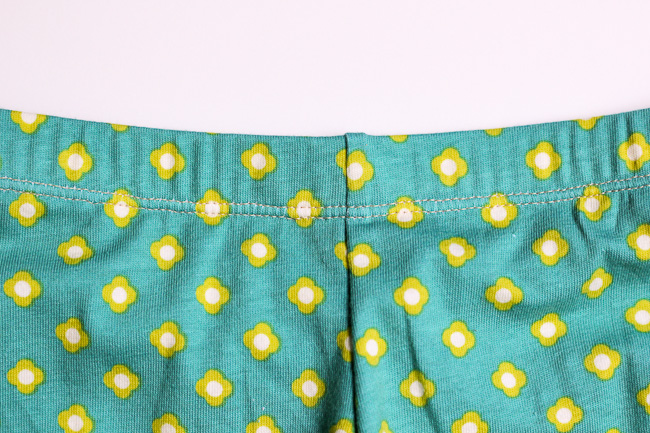
Fold the elastic down toward the wrong side of the garment, encasing the elastic and keeping the fabric taut around the elastic. Pin in place. From the right side of the garment, topstich the bottom edge using either a Coverstitch machine, a twin needle on your sewing machine, or a wide zigzag stitch.

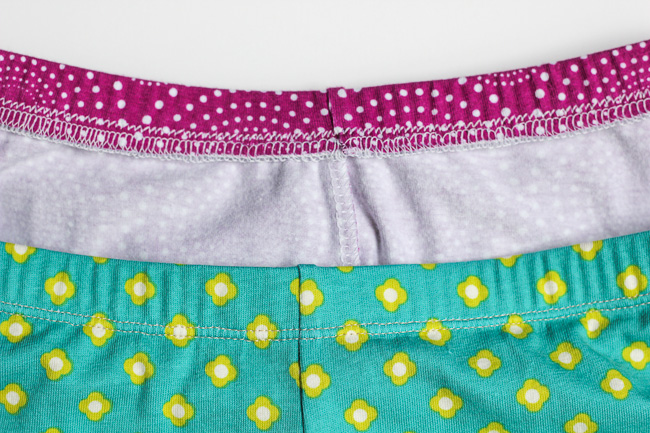
A flat and easy finish, just like we like it!!
More posts from