Corey Short Decker

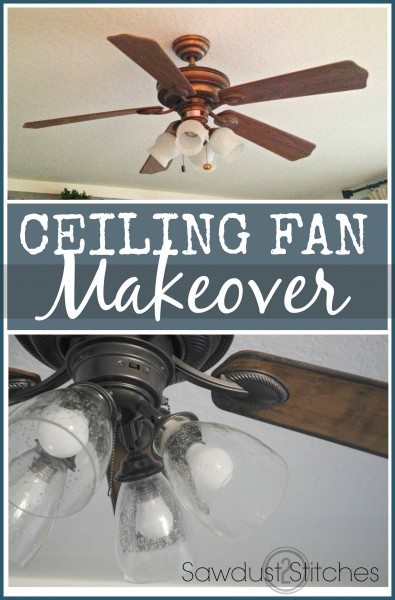
Ceiling Fan Makeover

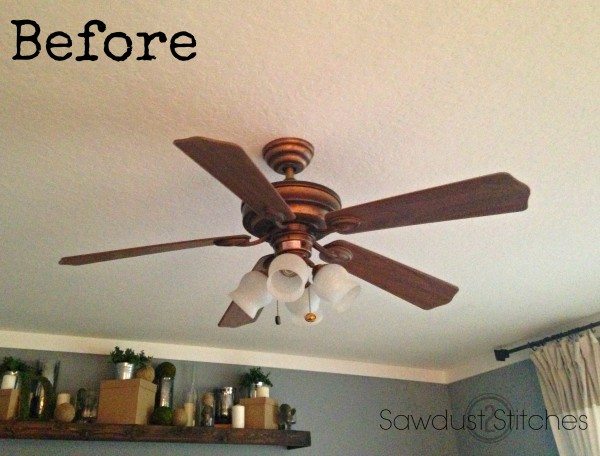
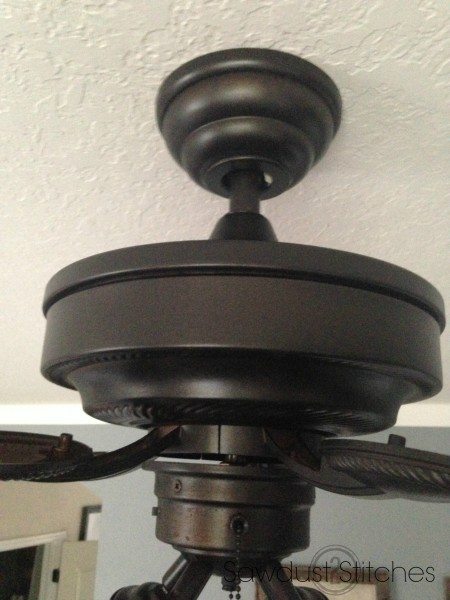
I have a very dear friend, who was over at my house one afternoon. We were chatting about what my next project would be. I must have said something along the lines of , ” I am not sure.” To which she responded. “Well, when are you going to change your fan? It doesn’t match .” HA. I love that lady. She was right, it didn’t, but I didn’t think it was absolutely horrendous. Regardless, now, nearly 1.5 years later. I did it, Michelle, I finally made it “match”!

So, let’s dive in. First step ? Remove that sucker from the ceiling. (Unfortunately, all fans are going to vary slightly, so I can’t help much with that part.) Once the fan was down, I decided to remove, and refinish the blades first.

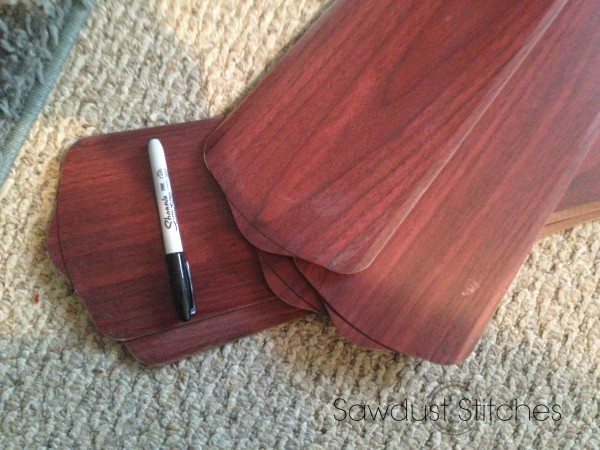
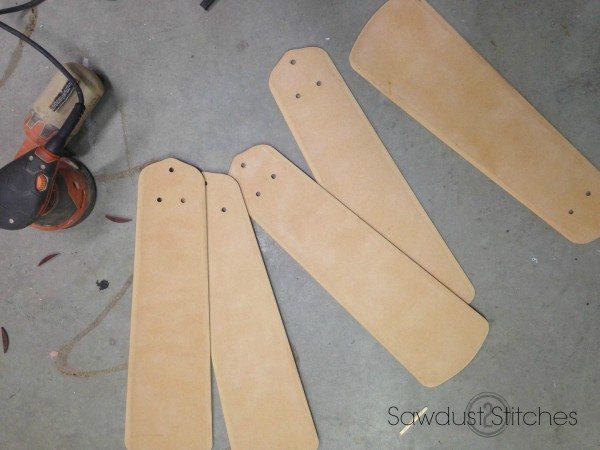
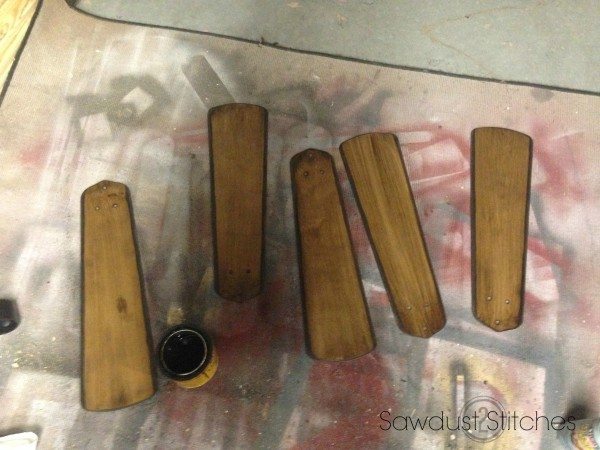
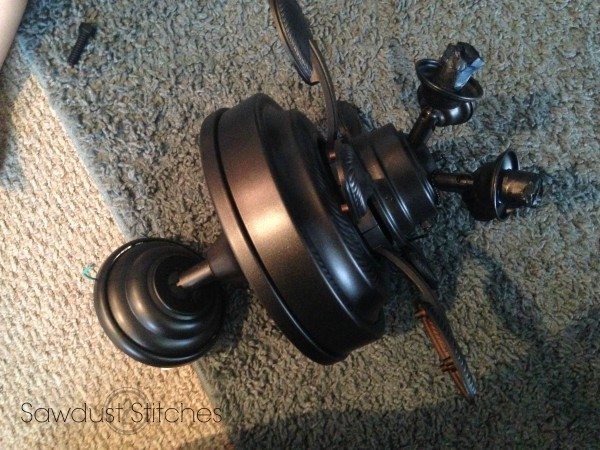
I didn’t really like anything about the fan, even down to the shape of the fan blades. So , I took matters into my own hands. I drew out the new shape on the blades.

So I took a jigsaw and chopped off the tips.

I used a sander to round out the edges. While I had the sander, I sanded off the finish and prepped it for a new one!

I used a stain on the fan blades. You can use a traditional stain, or you can use a stain/poly blend.

I had to disassemble the entire fan in order to refinish it. The one suggestion I would strongly caution is take pictures of the process! It may help when you put it back together.

Once disassembled I used a foam sand block to scuff up all the metal pieces. ( You will need to have them scuffed up for the spray paint to adhere.)

When prepping for paint, I needed to tape off the bulb socket to prevent paint from getting in the sockets.

Thoroughly wipe down all pieces and lay them out for painting. Once it is all laid out, I was ready to paint! I used Oil Rubbed Bronze Metallic Spray Paint by Rustoleum. Remember to use several light coats, as opposed to one heavy coat. It will harden much quicker, and produce a much more even finish, without drip marks. If you feel like you need a little more direction, here is another tutorial where I showed how to refinish a light fixture .

Once all pieces are dry, it was time to re-assemble. Now might be an ideal time to pull out the pictures of the disassemble process.

There, that finish is much more fitting for my space.

The last thing it needed was new glass shades. The old ones were very dated. This one simple change drastically improved the whole fan. I used “seeded” glass shades. I found mine at Lowes for $3.98 a piece. Not too shabby!

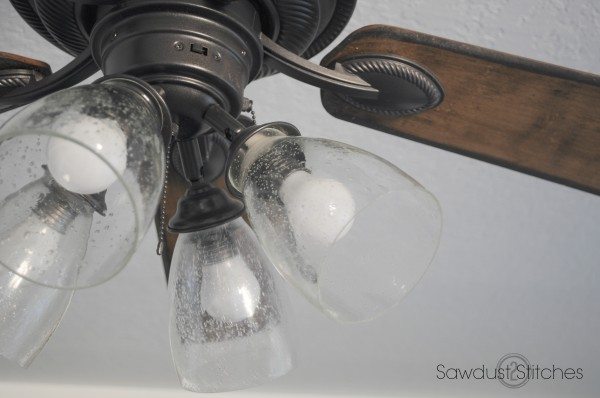
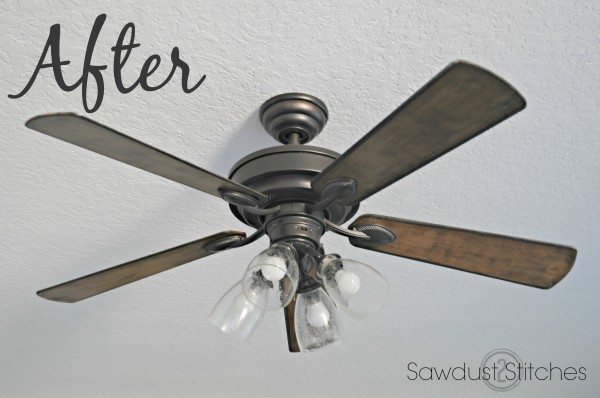
I don’t know about you, but I think it was a night and day difference, once I swapped out the shades.

Ta-da !

So let’s break it down.:

Spray Paint $5.97

Glass Shades (x4) $3.98

Stain $0 ( I had some on hand from a previous project)

For a little under $22.00

I was able to completely update dated, somewhat ugly ceiling fan . So, look up. Do you have an ceiling fans that could use and update ?

Take luck,

Corey

  • Love
  • Save
    2 loves
    Add a blog to Bloglovin’
    Enter the full blog address (e.g. https://www.fashionsquad.com)
    We're working on your request. This will take just a minute...