Snap Bags with the Art Sisters
The
Art Sisters are gathered together to create
Snap Bags
We are creating
class samples and class kits
Virginia is hosting our Snap Bag sew day...
This is just a portion of the snap bags
she has made!
These are the
snap bag kits we put together for our students
The Art Sisters have contributed their personal
surface design fabrics to be included in the kits.
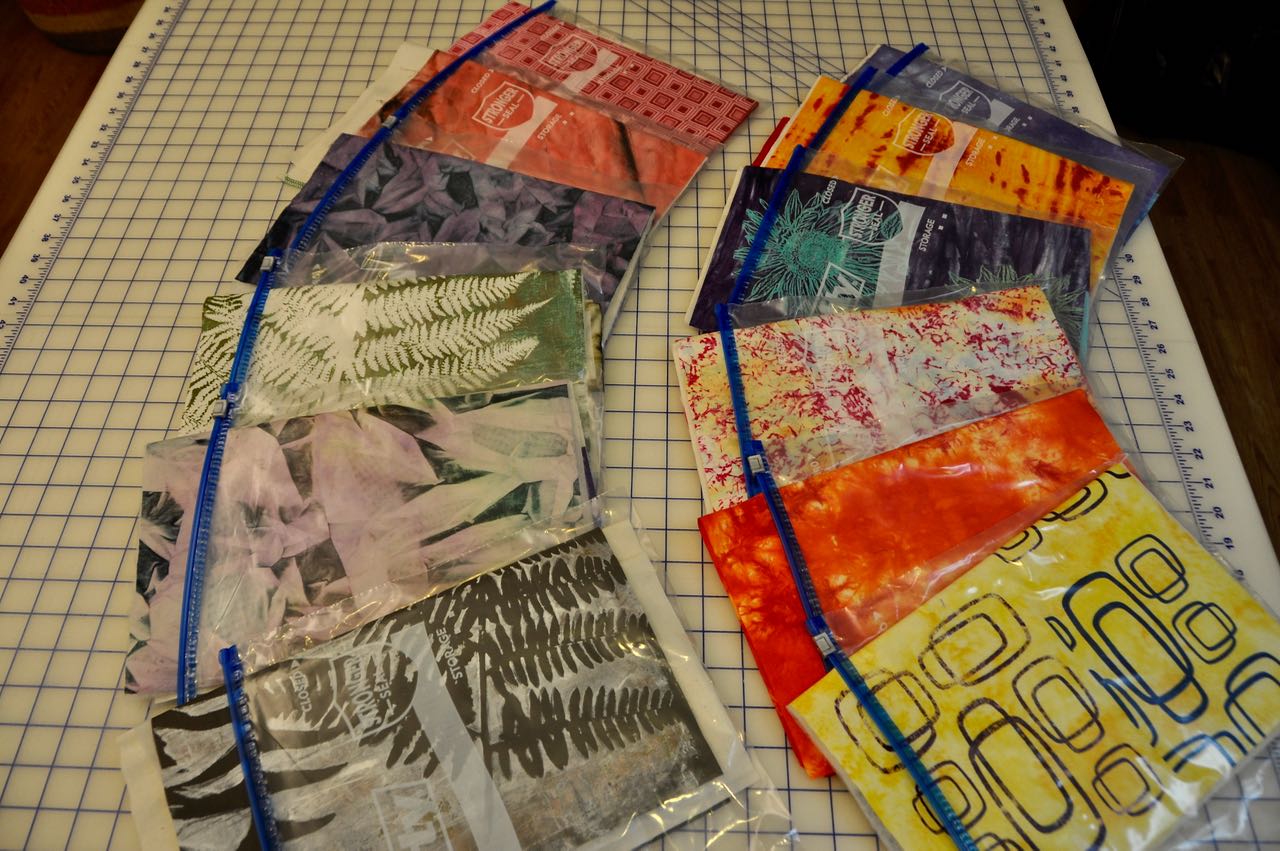
Jello Prints, Hand Dyes, Sun Printing,
Thermofax Printing, Stamping....
A variety of
surface design treatments
Kathi creates a snap bag
from her
jello printed ferns
Snap Bag.....Class Samples:
Jello Printed and Potato Stamped Fabrics
Hand Dyed and Stamped Fabrics
Here is a brief Snap Bag Tutorial:
Snap Bag Kit:
Basted Sandwich of backing, batting and
hand dyed fabric
2 narrow strips for casings for metal ruler
2 squares for prairie points
The Press makes quick work of
fusing the sandwich together...
We are using fusible batting.
Machine Quilting the Snap Bag sandwich
Stitch the casings to the back side
of the sandwich
Pinning the prairie points and casing
to the front side of the bag.
Topstitching the casing to the front side
The casings and prairie points are topstitched
on both ends of the bag
With right sides together,
one side of the bag is stitched together.
The metal measure tapes are cut to size
Blue Painters tape is wrapped on the ends
of the tape,
then the tape is inserted into the casings
The side of the bag is stitched together
In order to create a flat bottom on the bag,
we are measuring 1 inch at the corners...
A square is cut out from each bottom corner
Looks like Sponge Bob Square Pants:
The bottom cut outs are ready
to be stitched together...
Pin the edges together...
Stitch the bottom corners together...
Turn it right side out and here is your Snap Bag!
You can watch the video below
to see this Snap Bag sewn together...enjoy!
CLICK HERE to see more Snap Bags CLICK HERE: to see My Quilts May Your Bobbin Always Be Full,
LuAnn Kessi