
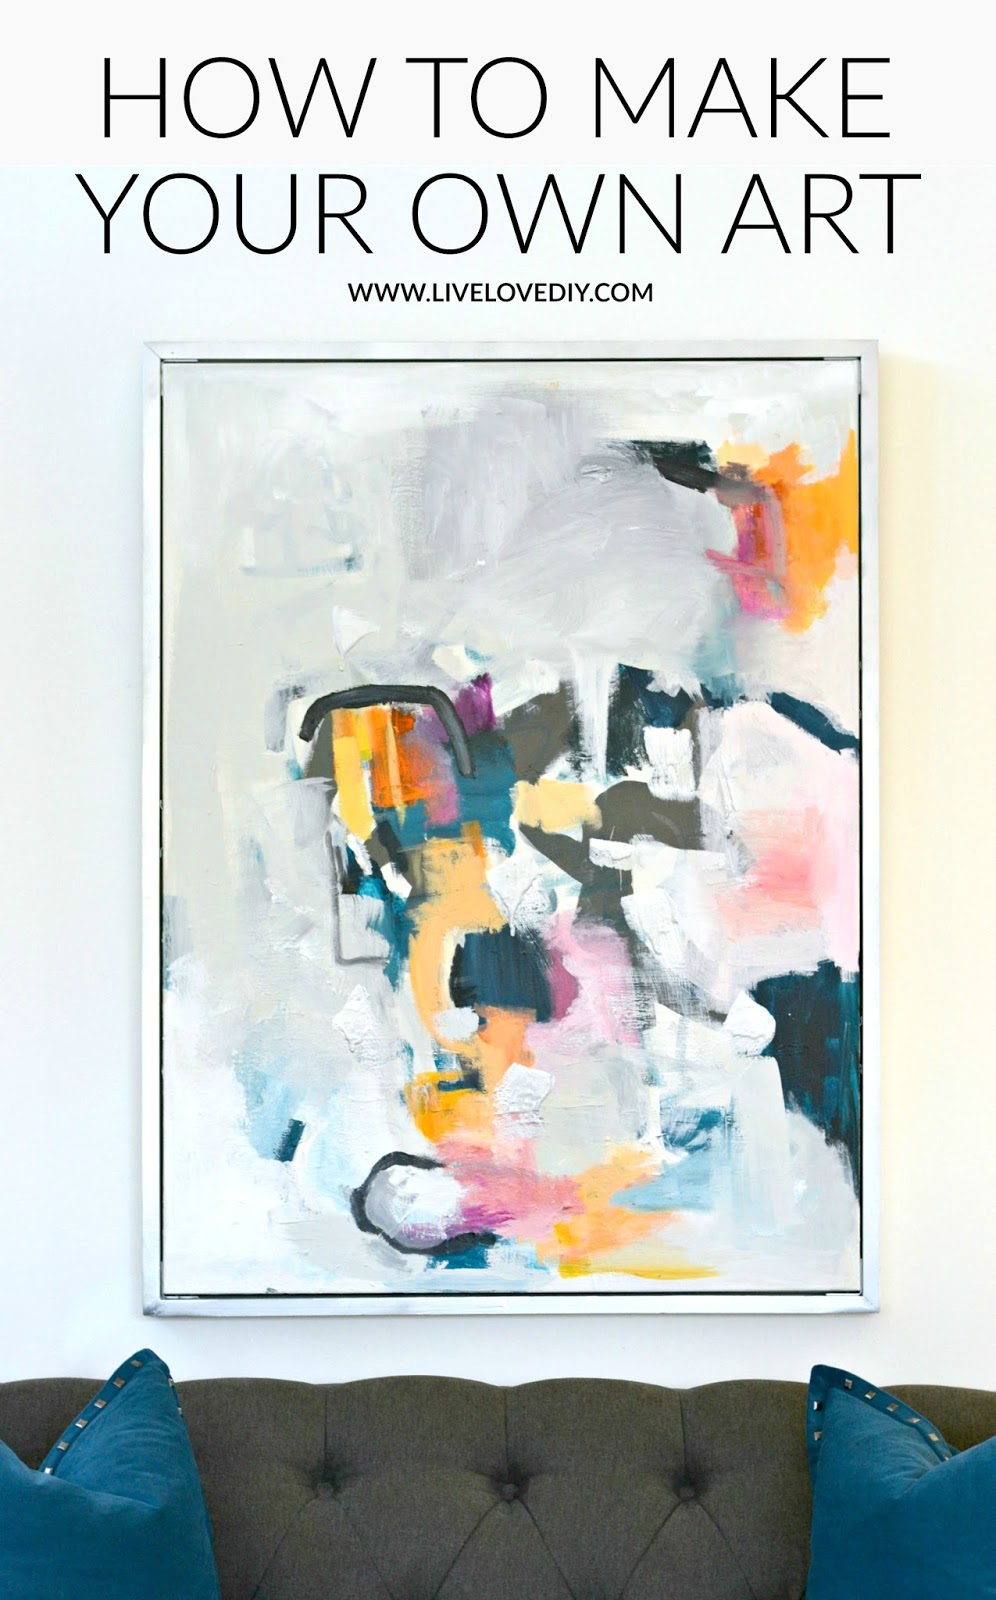
DIY Abstract Wall Art

Hey guys! I have a really easy wall art idea for you today, but before we get started, I just wanted to thank everyone who came to follow me on Instagram after my bathroom makeover post. I usually post over there about once a week, and even though most of my posts these days tend to be about my personal life rather than my creative life, I still love having the chance to interact with you on a regular basis.
I haven't had much creative energy since Ava was born, but as she gets older and I get a better grasp on this mommy thing, I'm slowly finding more time to get back to the things I love doing
(outside of being a mom, of course).
Granted, this only happens after Ava goes to bed at night, and I usually end up in a ball on my sofa, covering my head with a blanket, and occasionally emerging to tell Netflix that yes, I am still watching.
So, yes, I want to be a sloth 90% of the time when Ava is asleep, but we are making progress here. There's a full 10% of the time when I am back to being a functional, driven, creative, has-plucked-her-eyebrows, person.
A few weeks ago, I was staring at the painting in my living room (the questionable one I recently did), feeling productive, and was finally able to admit to myself that it was not good. I think I already deep down knew that, but sometimes you spend HOURS making something and you let yourself sit in denial for a few months, just being mildly annoyed everytime you see the thing.
So, this weekend, I finally harnessed my 10% self and fixed it.
I'm really so happy with this painting, and my feelings were totally validated when Jesse asked me to please not paint over it.
You'll understand way more about this than you could ever want to know in just a minute. Please hold.
He seems to like everything I do, or at least trusts my vision enough to let me hash it out over time, but he's never told me that before. He probably doesn't even remember that moment, but I definitely do.
So, here are some pictures.

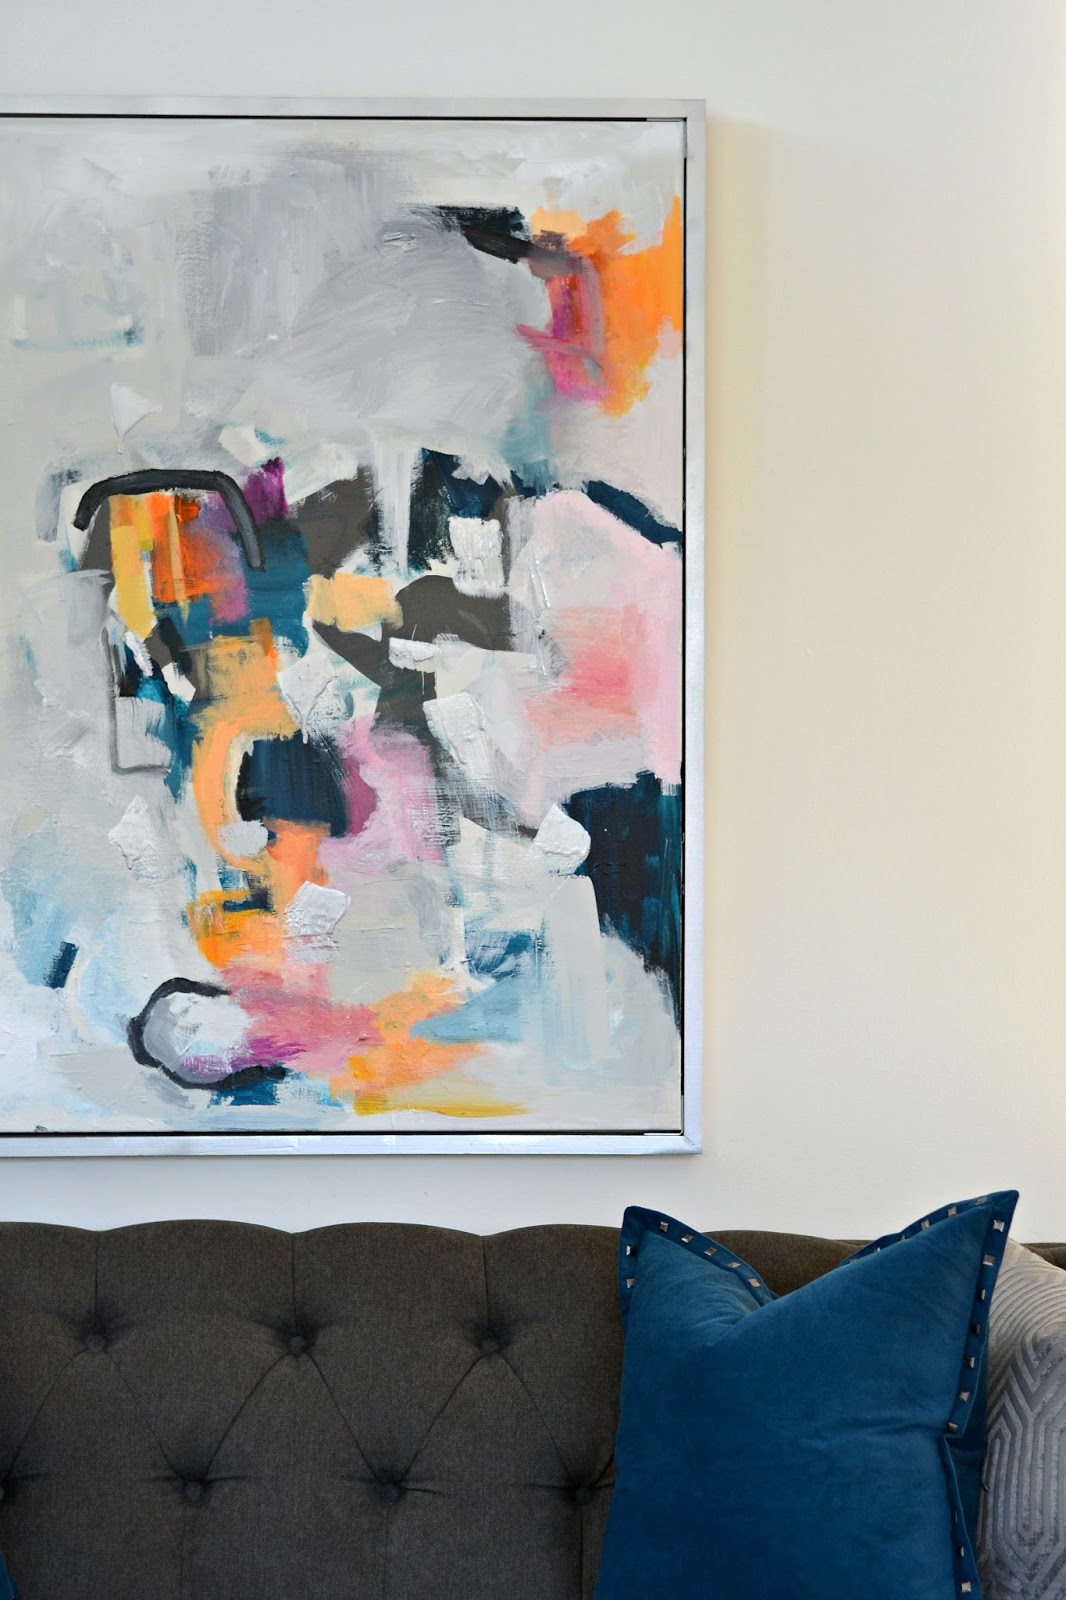
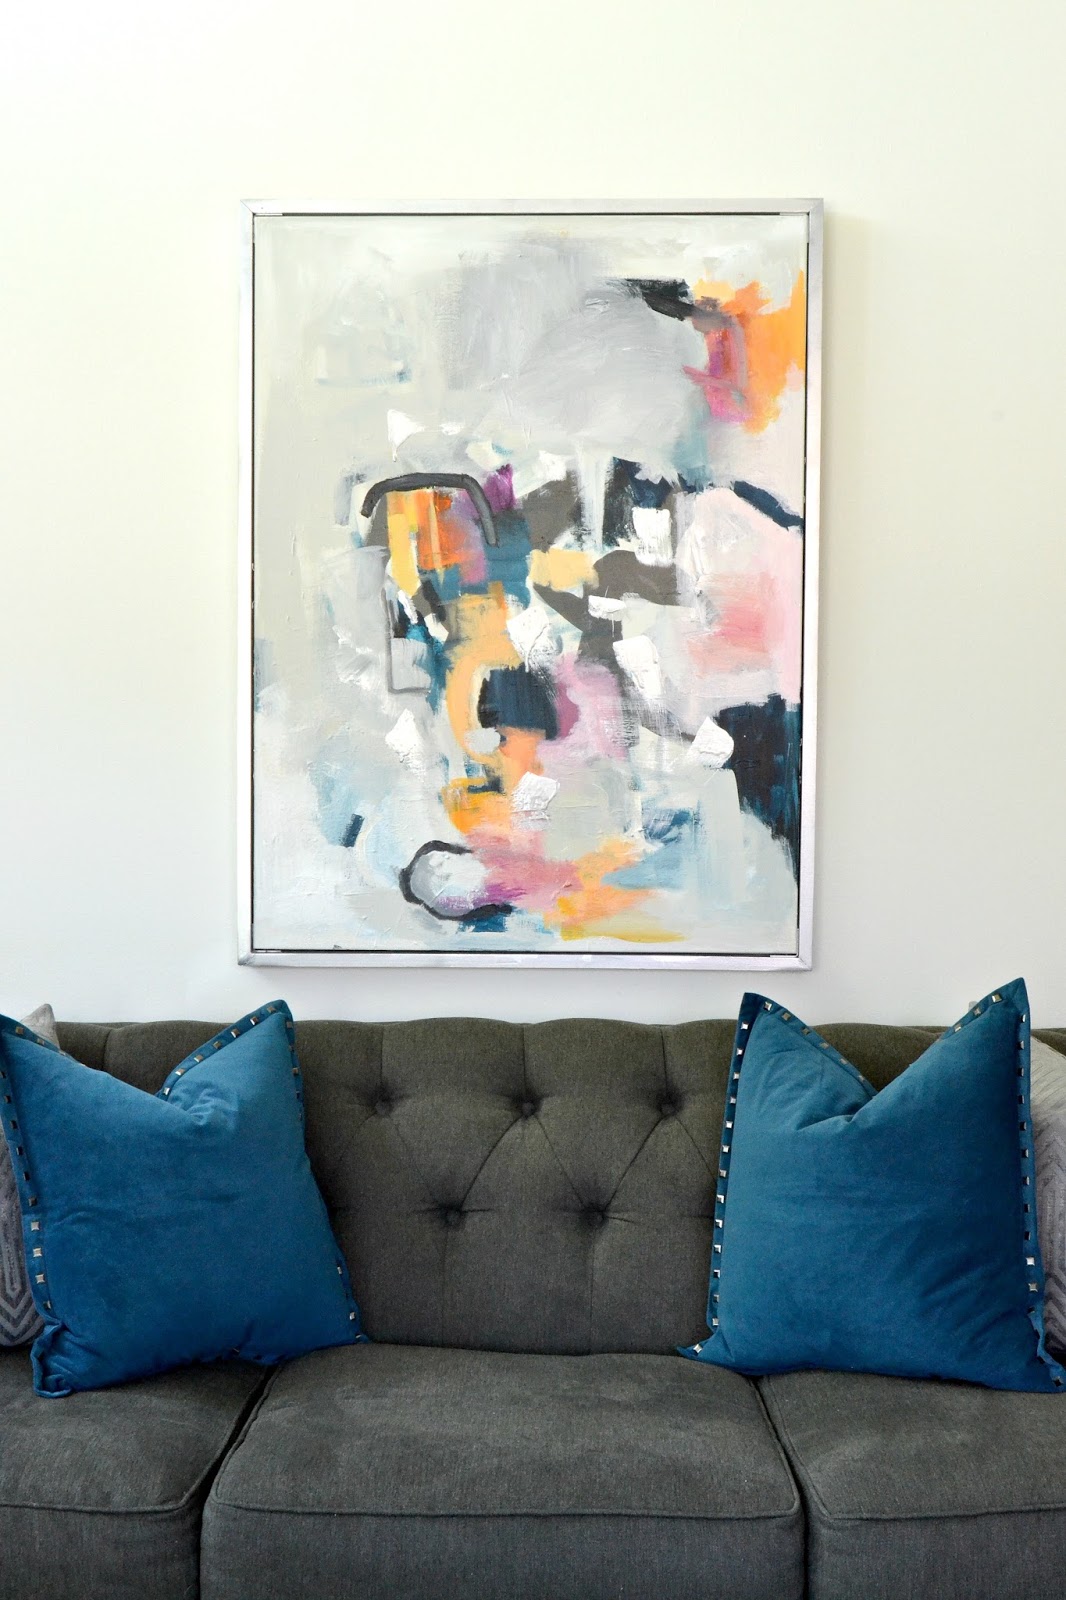
I have swapped out the pink pillows in my living room for blue and gray ones, and I think the pops of color in the painting really play nice with the new scheme.

I'm a recovering compulsive pillow swapper. This is only my second pillow swap in two years, and it feels like I should definitely acknowledge this progress with at least a mention. If we're being honest, I think I just had bigger fish to fry with the whole basement renovation, flooring redo, and scary pregnancy, and so pillows were my last thought. I still love those pink pillows though, and will be hoarding them for the future. I just linked to 500 things, I'm sorry. It seemed relevant.

That silver frame was made by Jesse...just some cheap wood from Home Depot, a few brackets, and then I spray painted the frame with some silver spray paint. I think framing whatever you make really takes it up a notch, and I'm thankful that Jesse can be my ameteur woodworker for these projects. Because you know I'm not even gonna pretend like I have any skills in that department. One of these days, I'll learn, for sure, but let's be honest, if you have someone that will help you with certain things, rarely do you learn to do those things for yourself. It's a blessing and a curse.

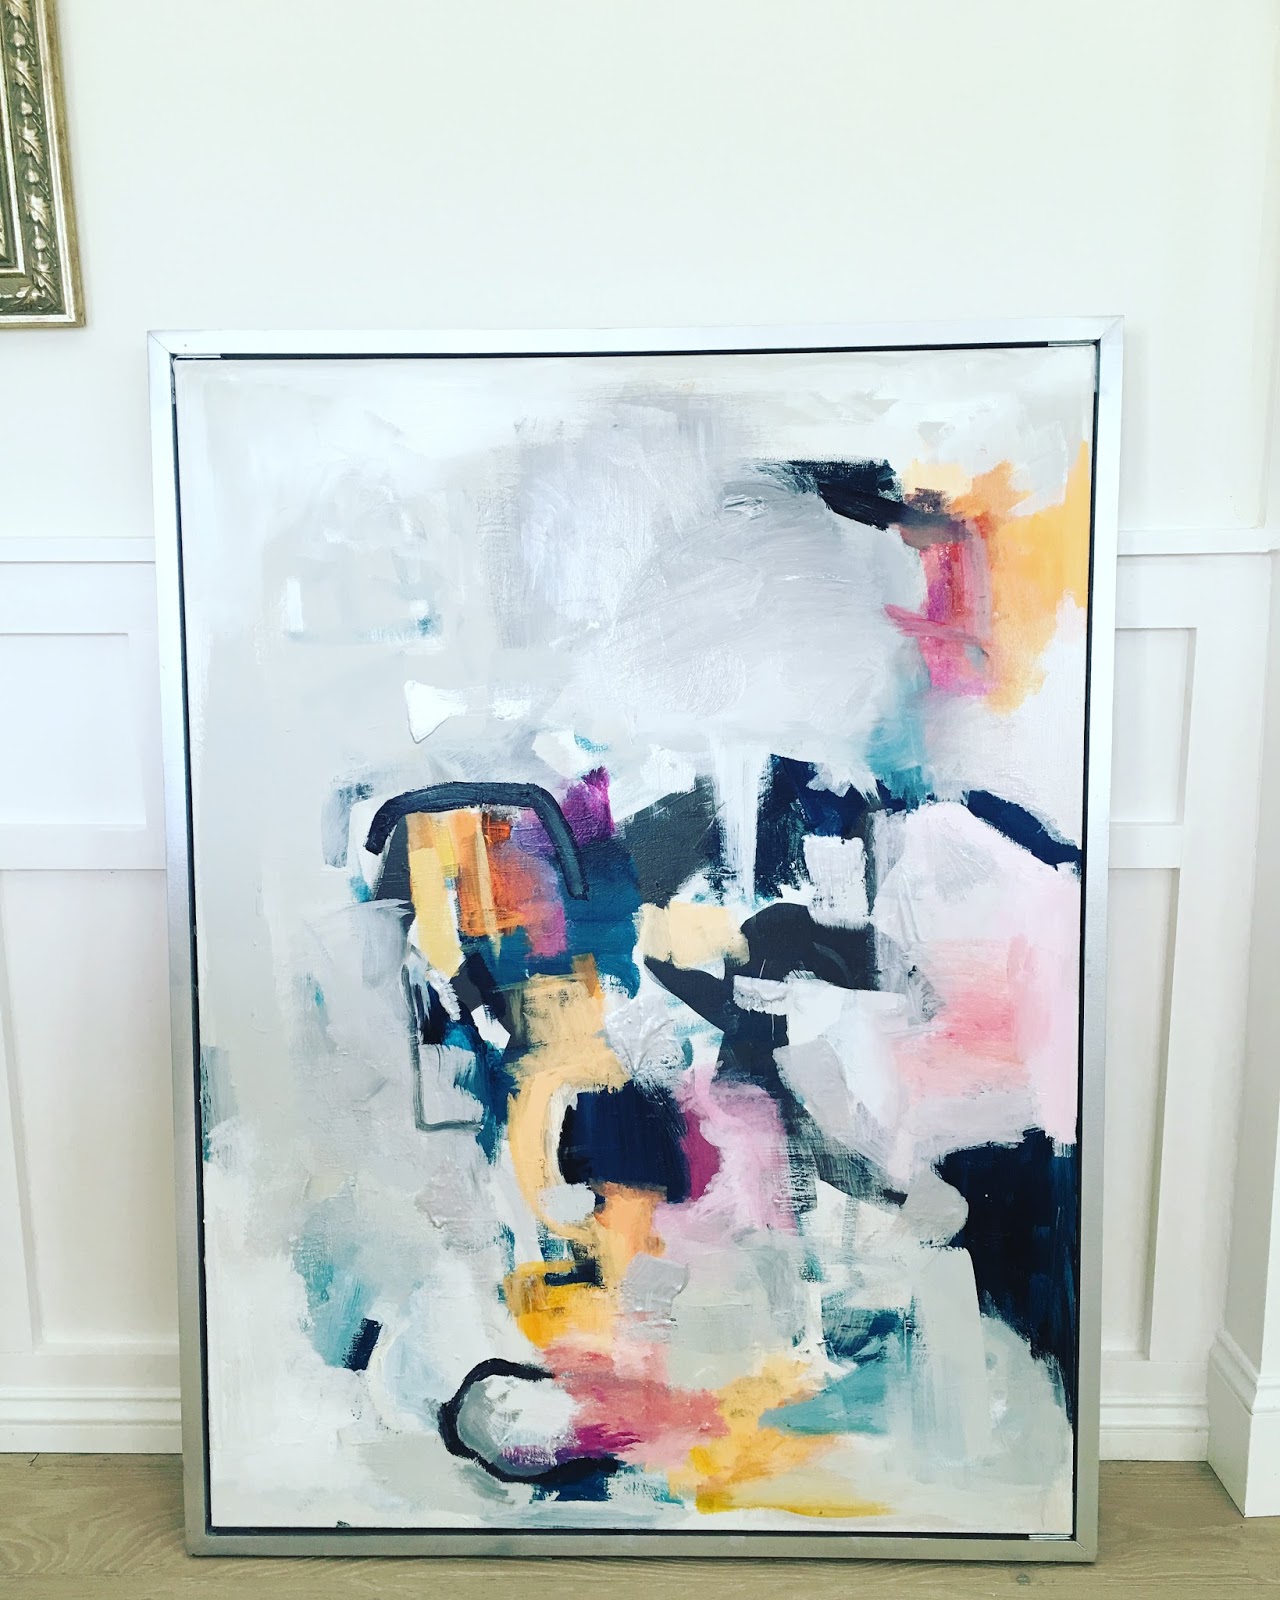
On another random note, I took the painting down yesterday to put the final clear coat on it, and I had it sitting in the dining room, just leaning against the wainscotting. And I thought to myself, hmmmm....this painting looks good in here, too. I've always had that ornate thrift store mirror hung in here, and I like it, but after seeing the painting in here, it made me think I should start working on some art for in there, too.


Ultimately, I think I've decided I want it in the living room, but in the process of moving it around, I've decided to play around with making a different painting for the dining room...maybe slightly larger and hung horizontally. Such tantalizing details, I know.
So, before we get to the tutorial, a few thoughts. After I posted a sneak peek of this painting on Instagram the other night, comments popped up with ya'll saying you've tried to paint something before and it turned out looking not so good. I totally get it. It feels a bit defeating, right? I have been a terrible artist for 99% of my life, and will probably continue to make some not so good stuff. That's how it works.
Some stuff I've learned in my repeated attempts to make something I can actually hang on my wall without feeling a deep sense of decor shame: I make my worst art when I'm being timid and scared and feeling like I don't know what I'm doing. I do so much better when I just have fun and remind myself that it doesn't have to be perfect (or even good) to be worth my time. You probably won't like the first piece of art you make, or if you're like me, the first twenty. It might take you a few tries to stop being an art monster.
Another thing? Don't be afraid to mess up for fear of ruining your nice, new canvas. Just so you know, the painting in this post has been painted over at least 10 times. And after doing a deep dive on my computer, I've found the photographic proof for you. It's definitely embarrassing, and definitely worth sharing. A wounded ego is never a bad thing.
So, here is this same painting, from it's inception. Brace yourself.
My first attempt, actually not too bad in retrospect. But, it's funny because I hated it and ended up making about 10 worse things in an effort to fix it.


In retrospect, I kinda love this next one. It was like the eye of the storm. Mental note: Recreate this later.


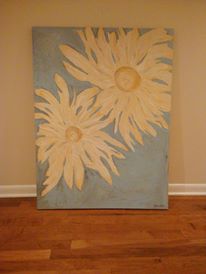
And then this thing. I'm not mad about it. It was just misguided in its color scheme and flower breed.


And then I think I got really tired and quit messing with this canvas for a couple years. I did tons of other art in those couple years, but I worked on different canvases, smaller ones. And then after our house was renovated and I cleaned out all the closets, I found this canvas covered in dust and decided to try again rather than throw it away. Plus, I think my style just evolved. Things just happen that way, I suppose.
So, that's when I created this. I like this one, you can tell my continued efforts were definitely starting to pay off, but it just wasn't 'there' yet.

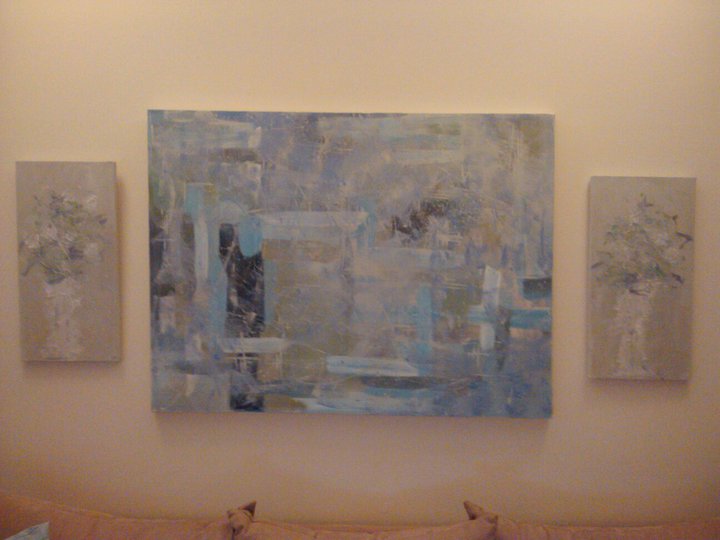
And then I made it worse and made the big blob that occupied my living room for a few months. Not bad, but just kinda eh.


It's such an awkward feeling to pull the curtain back on myself, but I think it's so very worth it. I hope it helps calm some of your fears about 'just not being good enough', and mostly, I hope it encourages you to keep trying.
Onto the tutorial...
Here are the supplies I used.

I used a canvas. I think we've addressed that.
I bought a cheap assortment of artist's brushes. I've since bought a few nicer ones, and I'll be honest, the nice ones are better. But you can do just fine with the cheap ones. I also use my Wooster brush (affiliate link) that I use for one million other home improvement projects. This is ridiculous, probably, but it works great for blending and making big, chunky strokes.
I bought the big pack of BASICS Acrylic Paint (affiliate link) basics acrylic paint. It gives you every color under the sun, and is great for when you are just getting started and learning how to mix colors. I suggest buying an extra couple tubes of plain white and plain black, as you will run out of those in the little tubes really quick.
Then, my magic ingredient is usually some sort of metallic paint or gold leaf. You might remember my gold leaf paintings. For this painting, I decided to try something different and I used the Martha Stewart metallic glaze silver paint. It's really thin, rather than thick, and so sometimes I mixed it in with my other paints to make them shimmery, and sometimes I just slapped big chunks of it on the canvas. That's just what happened, and I ended up liking the end result.
So, here's what I started with, the blob painting. There are no rules when it comes to abstract painting. That's the beauty of it. There are things that tend to help though, and sometimes I find that doodling some shapes out with a pencil on your canvas can help you get started. Or you can paint a giant doodle and hang it in your living room and stare at it, annoyed, for several months. Your call.

Next, I get a few paper plates out and pick a few paint colors that I want to focus on. I decided to stick with just a few colors this time, yellow, orange, blue, purple, and pink. I squirted some of these colors onto my paper plate and played around with them, mixing in some white and black and deciding which ones I liked best. Once you figure out what colors you like, make a paper plate with some bigger mixtures of those colors.
Then, start applying some paint in big swatches. I find that sometimes layering the similar colors next to each other creates a nice visual effect. Like paint a yellow base, then smudge in some orange over top. Then, when you're done, work in a complementary color nearby, like up near the top of the painting where I added some purple next to the orange.
Really, just go to town with some paint swatches all over your canvas. It almost doesn't matter. The piece will come together more in the next step.

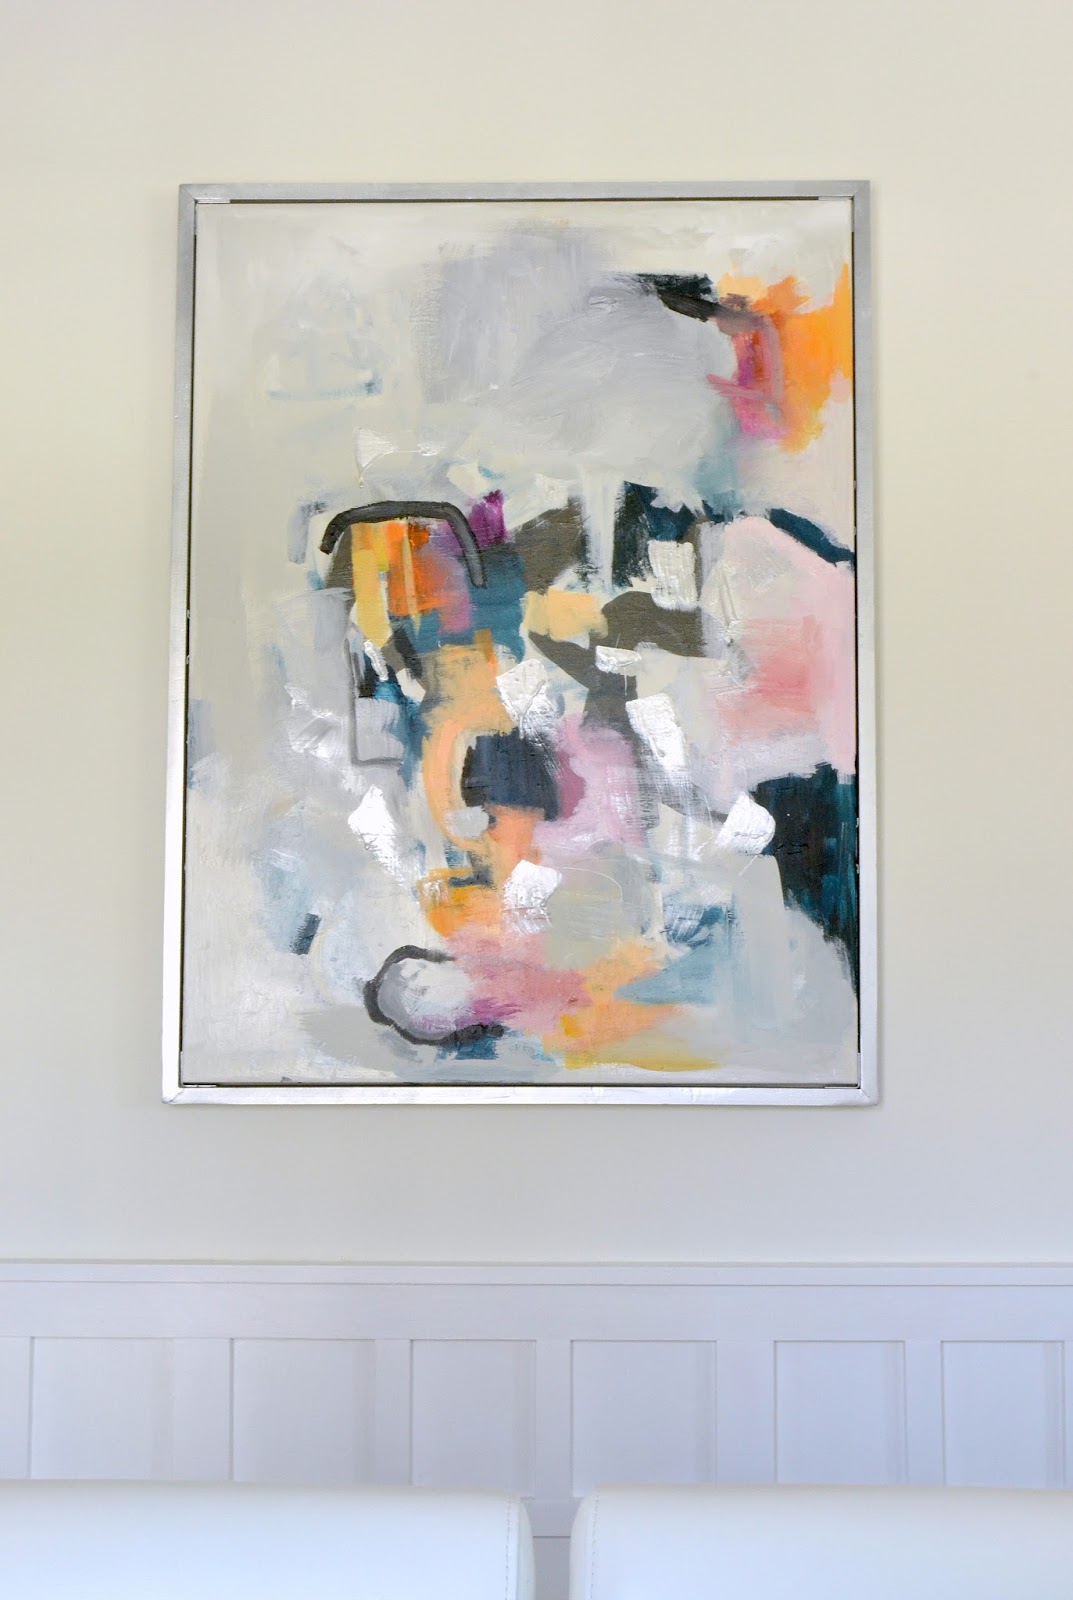
My final step is to work some white (and light gray) into the painting. I start from the edges and work my way in. I usually do this part before I let my first layer of paint dry, as that allows me to blend with the colors. I add some metallic paint at the very end.

And that's really it. It's not an exact science, so this is a weird thing to share a tutorial about. But, I know that seeing the inner workings, step by step, is so helpful for me when I feel intimidated by something. And I hope this post helps you guys in that way, too.


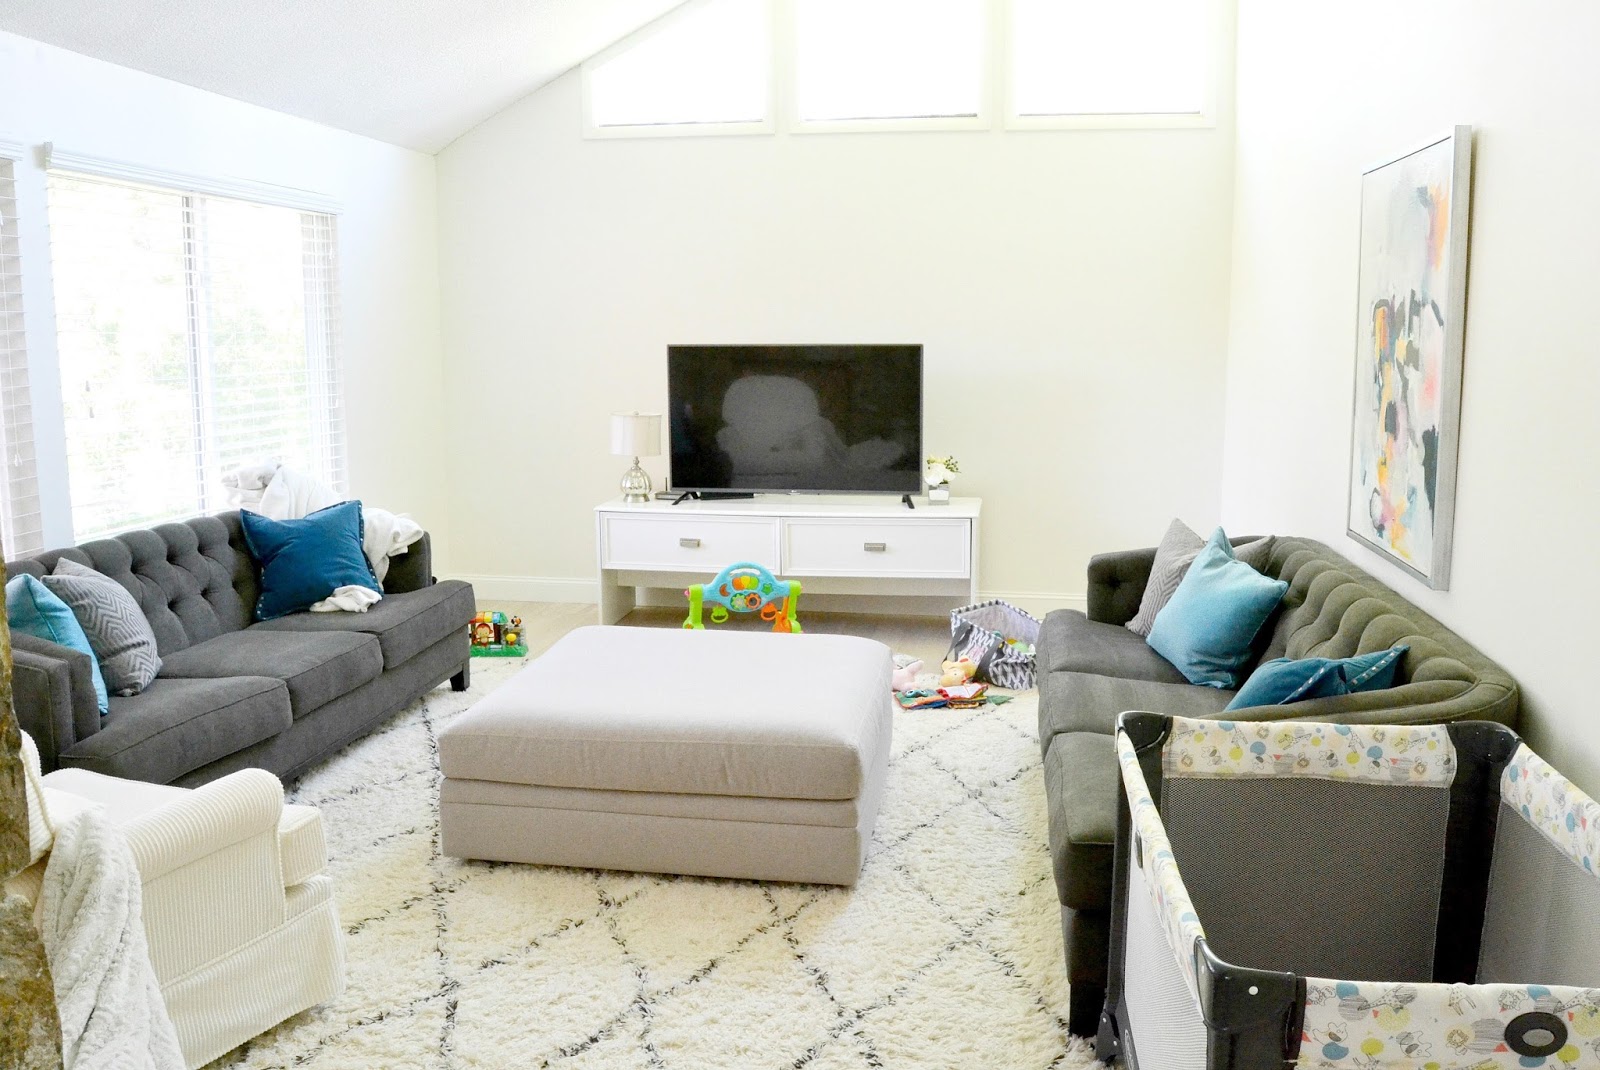
A few last things before I wrap up this post, I went into my living room and took a real life picture for you. There it hangs, in all its glory, surrounded by baby junk and chaos...just as it should be.

Because it just feels so much better to be like, I have a pack 'n' play in my living room. It's a phase I'm in. Because I know so many of you understand.

And last but not least, here's a pic of Ava at Easter brunch with her daddy. She says daddy at least 10 times a day right now.


Subscribe to LiveLoveDIY with email!
Enter your email address:
More posts from Virginia @LiveLoveDIY