
Tutorial - Make Your Own Iron-On Fabric Labels

I wanted to share with you how I make my own iron-on fabric labels. These labels are probably not suitable for items that need laundering, but they work great for that professional finishing touch for my thread catchers.

I use June Tailor Colorfast White Printer Fabric, shown here. I purchase the 10 pack and ALWAYS use my 50% off coupon at JoAnn's. This package yields 360 labels!

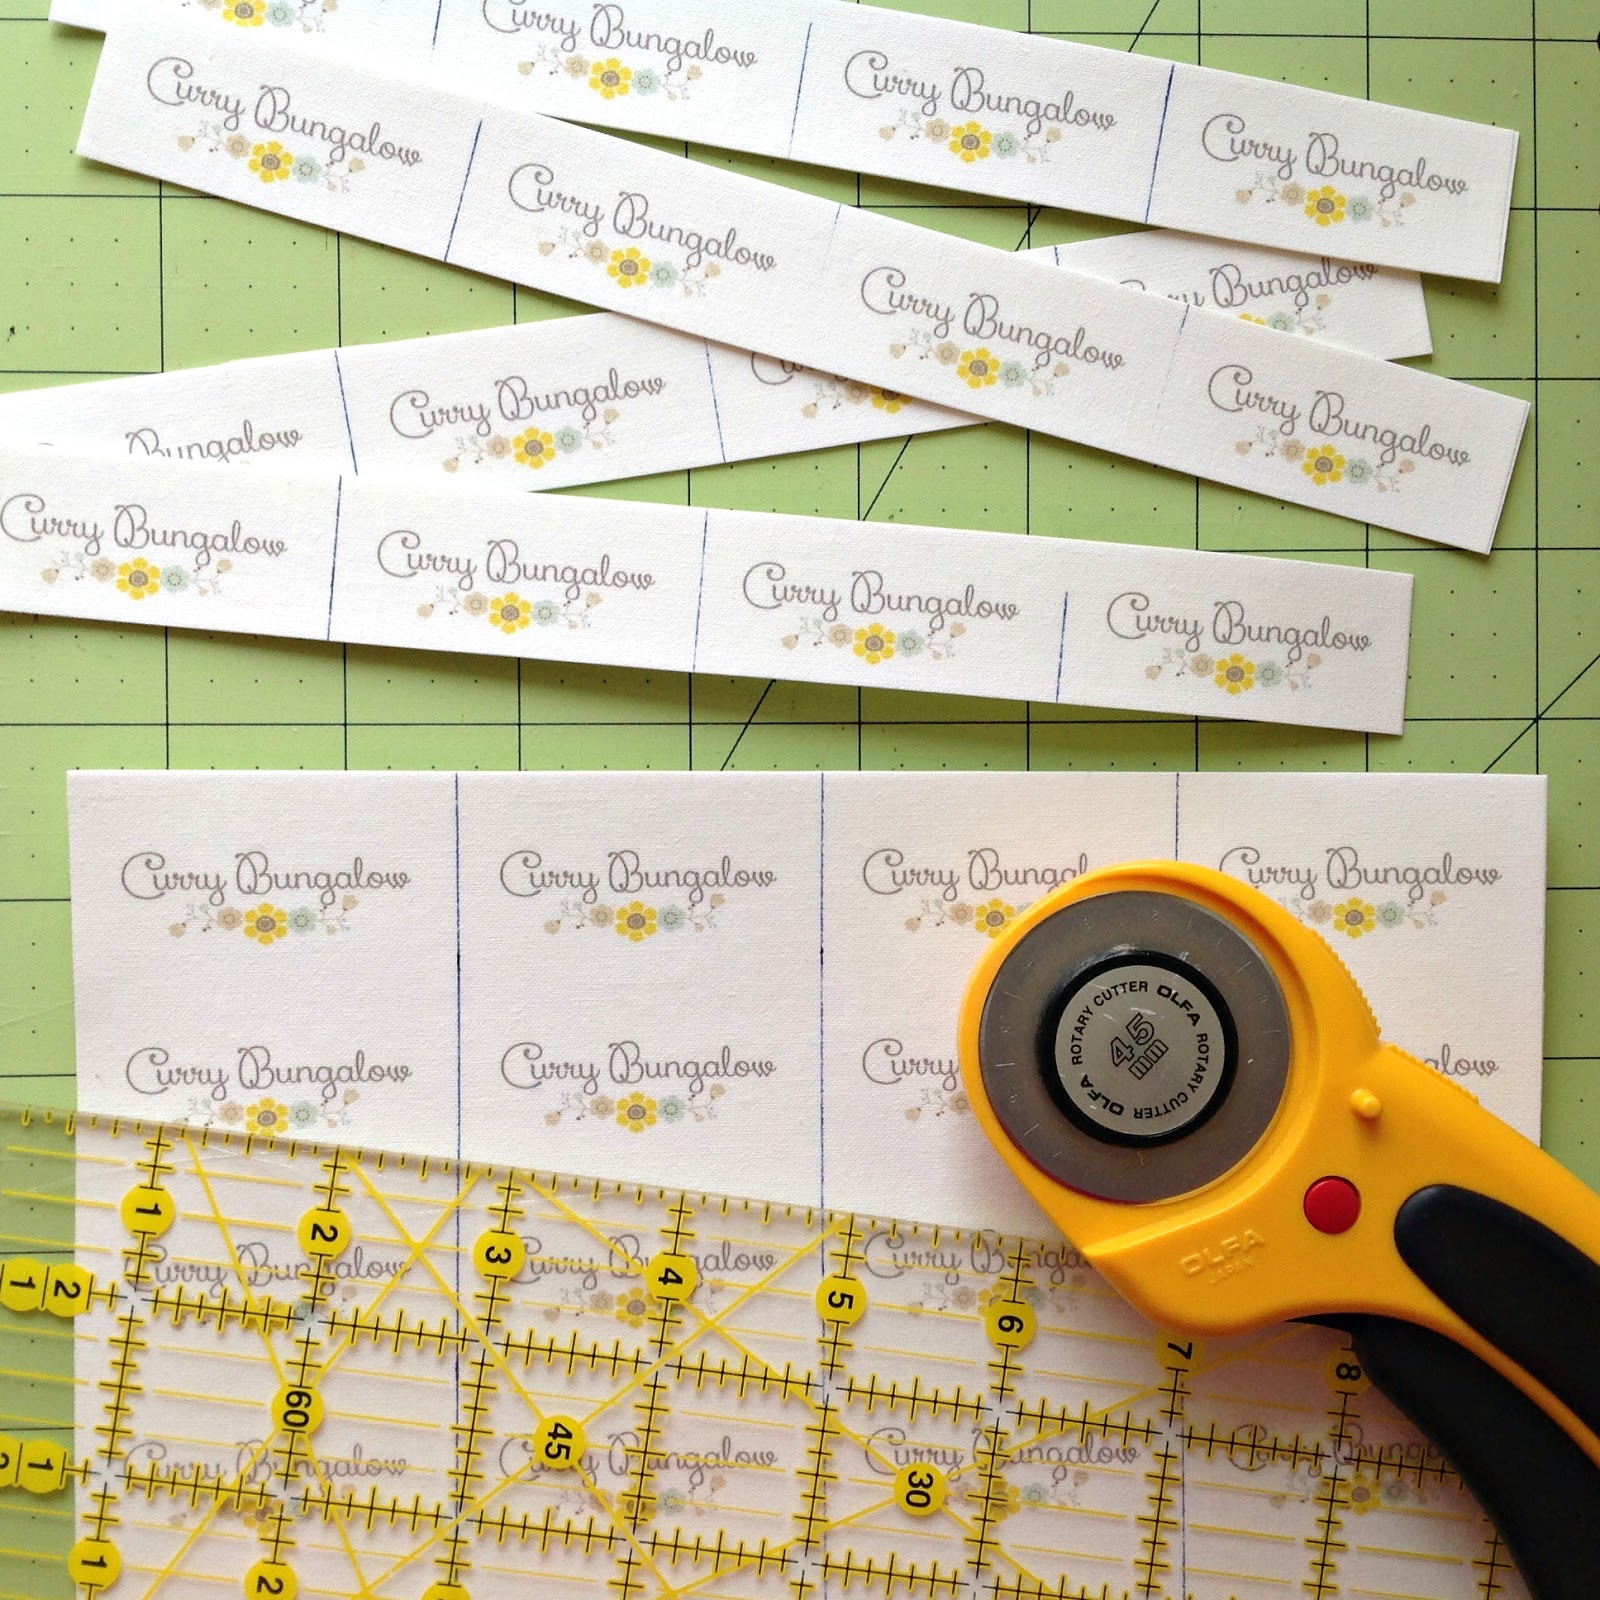
The next step is to print the labels. I created a document in Word with four columns. I lined up my little Curry Bungalow logo in the four columns, evenly spaced. I put the fabric paper through my printer and this is what my label sheet looks like. Always press thoroughly with a dry iron after printing to set the ink. These labels can handle some moisture. I actually saturated a label and the ink did not bleed, but I have not attempted to launder anything with a label on it.

Now, it took some trial and error to figure out how to best attach my labels to the back of a thread catcher. Once the stabilizing paper is removed from the fabric, you just have, well... just fabric. I needed something to make my labels into iron-on labels. I hit upon the idea of using HeatNBond Ultrahold on the back. You can purchase it in small packages, a five yard roll or as yard goods on a bolt.
I press my printed fabric page onto a piece of HeatNBond cut to the same size as my page. At this point, I thought that I had the whole iron on label thing covered, but my finished labels were a bit see through, the fabric print on my thread catchers showed through a bit and I did not like the look. After removing the paper backing from the HeatNBond, I pressed it to a sheet of white card stock. So again, I have a great label, it has a nice crisp feel to it, the fabric does not show through, but it has a paper backing. It's back to the HeatNBond for one last layer pressed onto the back of the card stock.
One more time, in a nutshell. I have the printed fabric paper as the first layer. Remove it's paper backing and press onto a sheet of HeatNBond. Remove the paper backing from the HeatNBond and press to a sheet of white card stock. Press the card stock to another sheet of HeatNBond and your label sheet is complete.

The next step is to cut the labels. I draw lines between the columns with a heat sensitive Frixion pen.


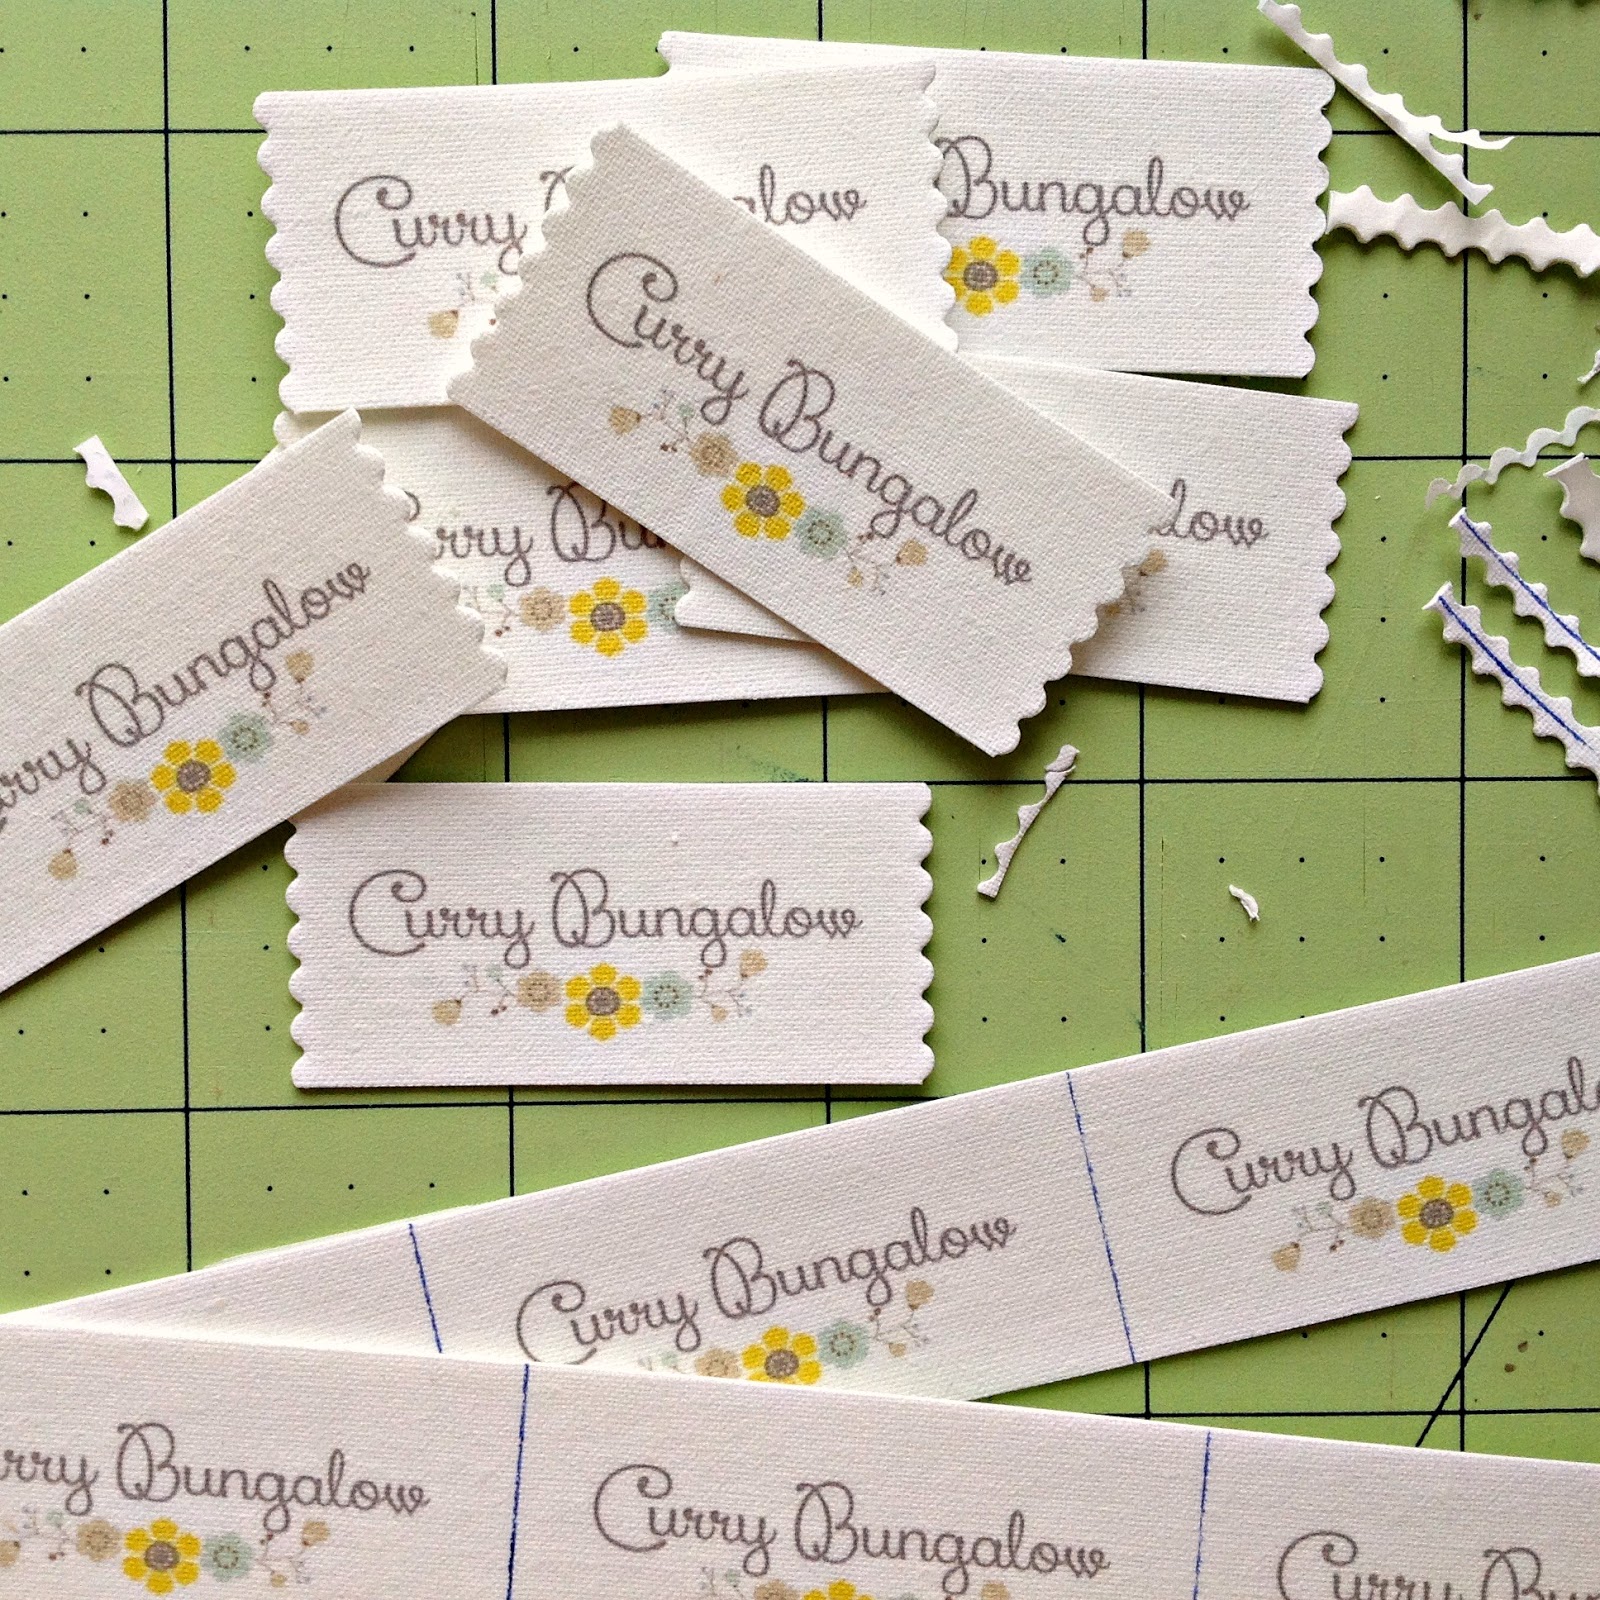
I like to use my 3mm scalloped pinking shears to get the cute little scalloped edge for my labels. Yes, I could just cut them straight with regular scissors, but these look so much CUTER! Lightly press with the iron if any of the Frixion marks remain after cutting.
Press these fabric labels onto your product and when I say press... I mean PRESS! Do not move the iron back and forth. If you do, the layers of the label may separate with the heat being applied. Give it a really good pressing, then let the label cool.
I hope that you have enjoyed this little tutorial. Again, these labels will not work for everyone or for every product, but they are the perfect branding solution for Curry Bungalow!
More posts from Teri Gregg