How to Sew Halter Dress for your 18 inch Dolls – Free Pattern
Halter style dress looks gorgeous on AG dolls because it accentuates their shoulders while covering the neck at the same time . Despite the fact that the seam between the arms and shoulders of the doll’s body shows up in this style, it still became popular and accepted among AG lovers.
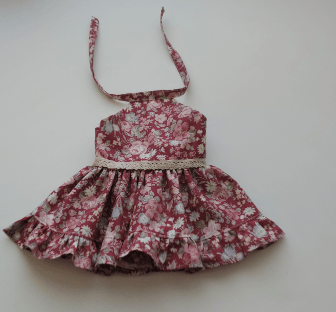
In this tutorial, I used a cotton floral fabric that I found on Joanns. This also has the potential to be a perfect holiday outfit just by using fancy fabric like satin, chiffon, organza and sequined fabric.

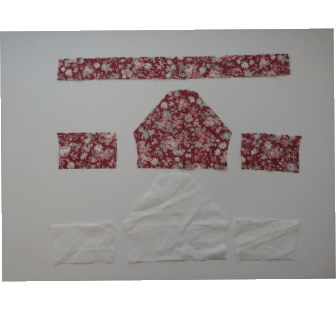
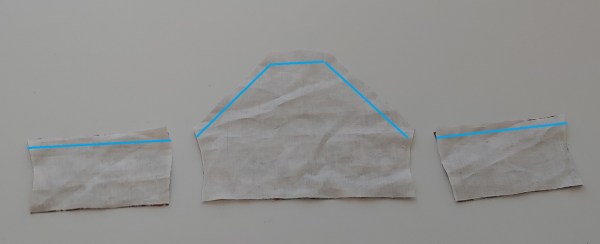
1.Cut the main fabric and lining pieces using our halter dress pattern. You can download the halter dress pattern below.


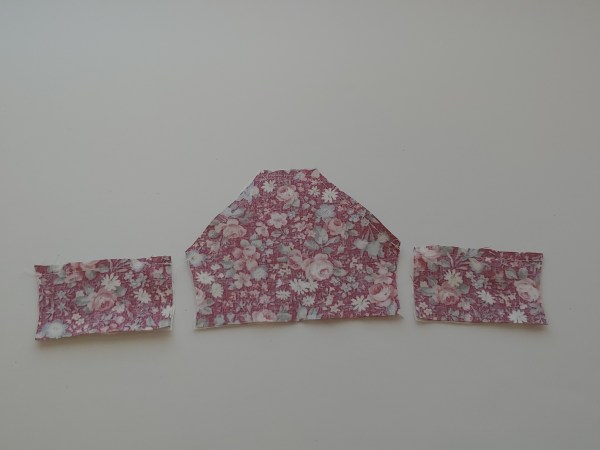
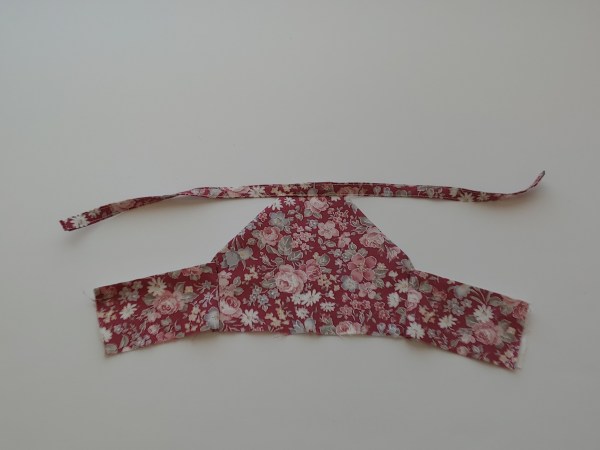
2. With right sides together, sew the main fabric and lining pieces together.


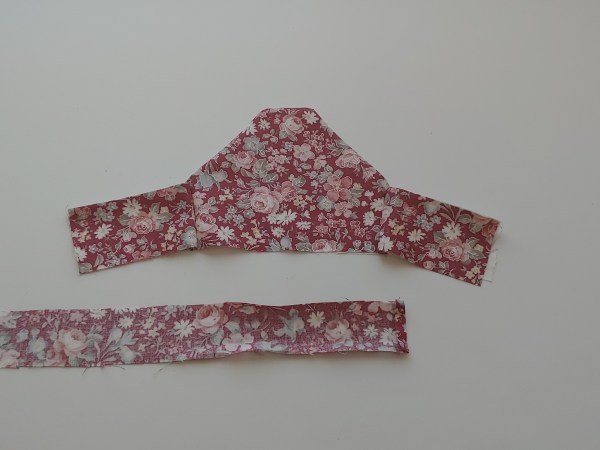
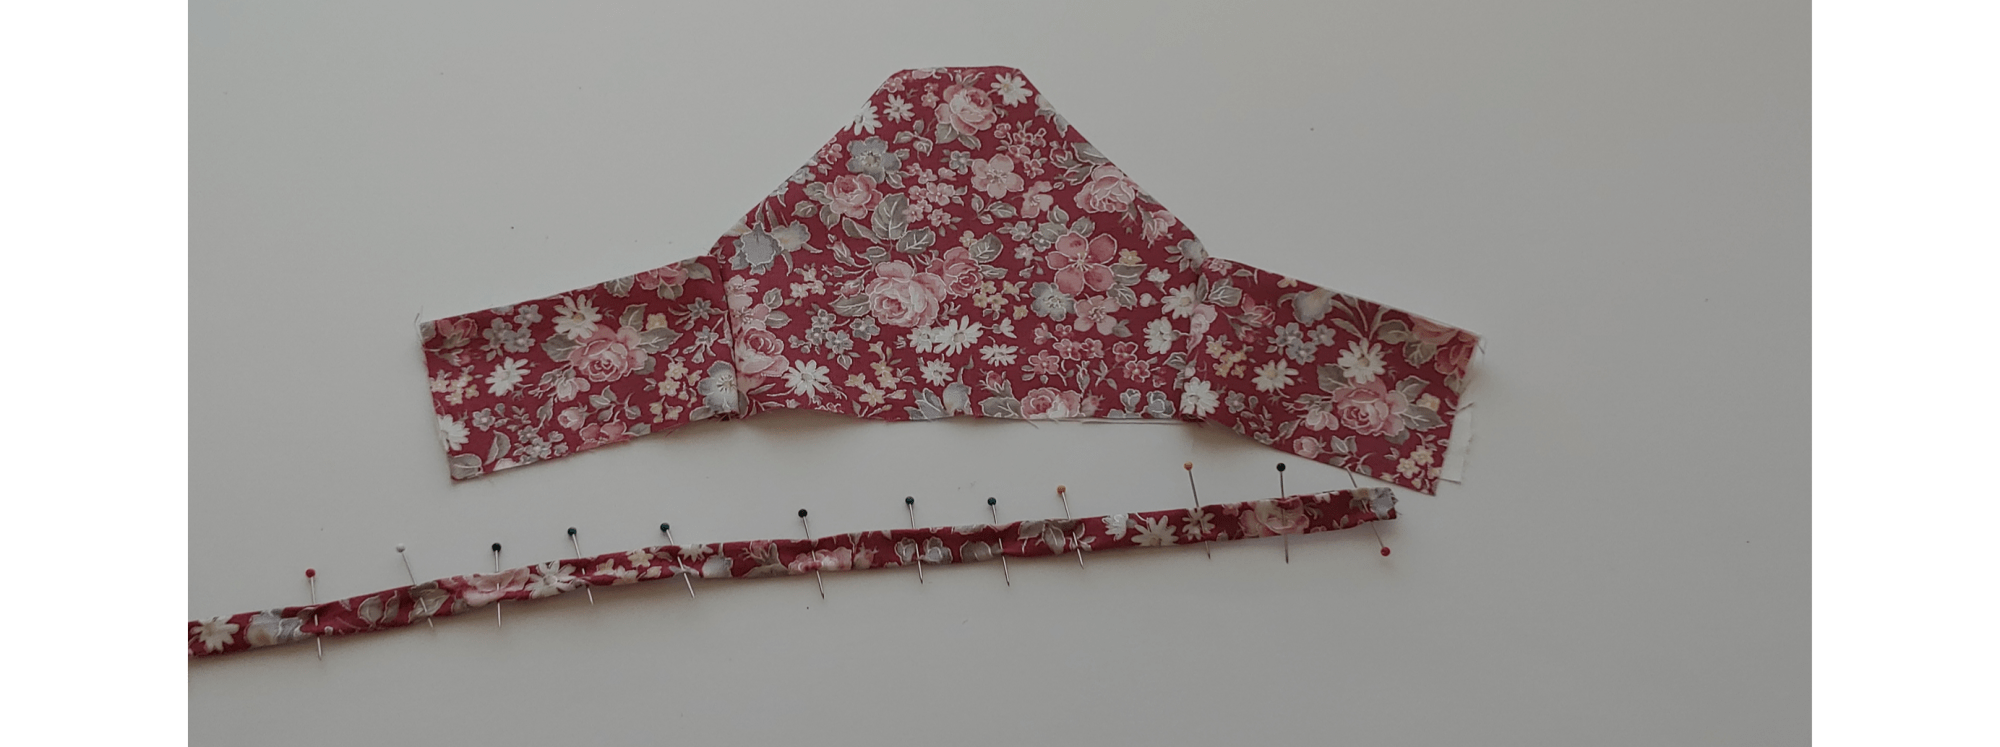
5. Pin the strap on both sides as pictured above. Then fold over together and pin to hold. Sew on both edges to finish the strap.

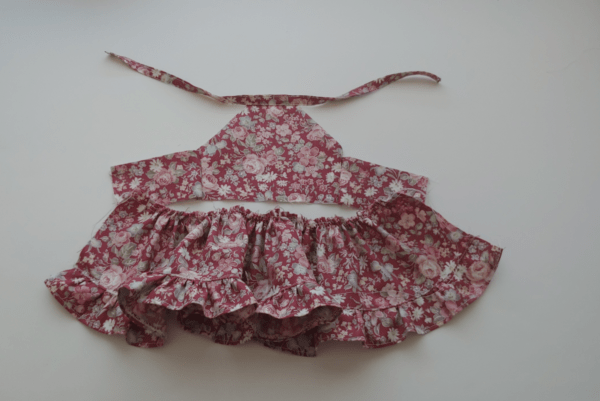
The bodice is now finished, set it aside and start working on the skirt part.

Sew two rows of basting stitches on the skirt pieces. Gather the longest piece until it’s the same width as the other piece of the skirt.


9. The dress is almost done. At this point, you can add trim on the waist part if you wish to. I used a 1/4 inch wide crochet trim that I found on hobby lobby.

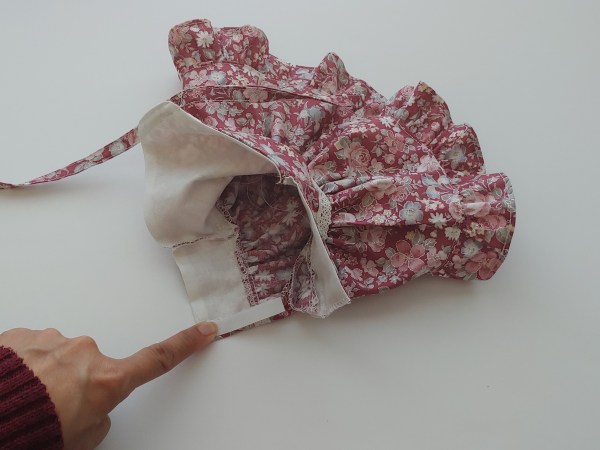
10. With right sides together, sew the back seam on the skirt part about an inch below the waistline. This time, sew at 3/8 inch seam allowance.


12. This is the finished halter dress and it looks amazing. Start experimenting with different types of fabric to personalize your own doll’s style.
