DIY Reclaimed Wood Hello Sign
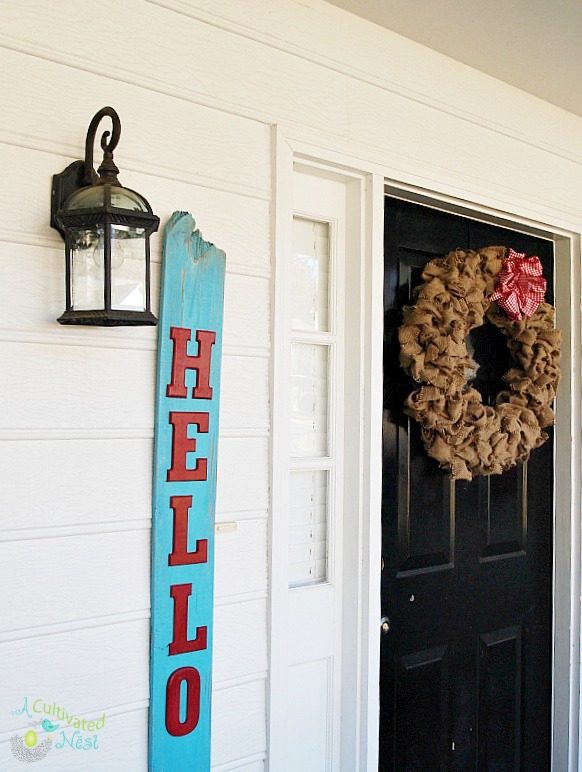
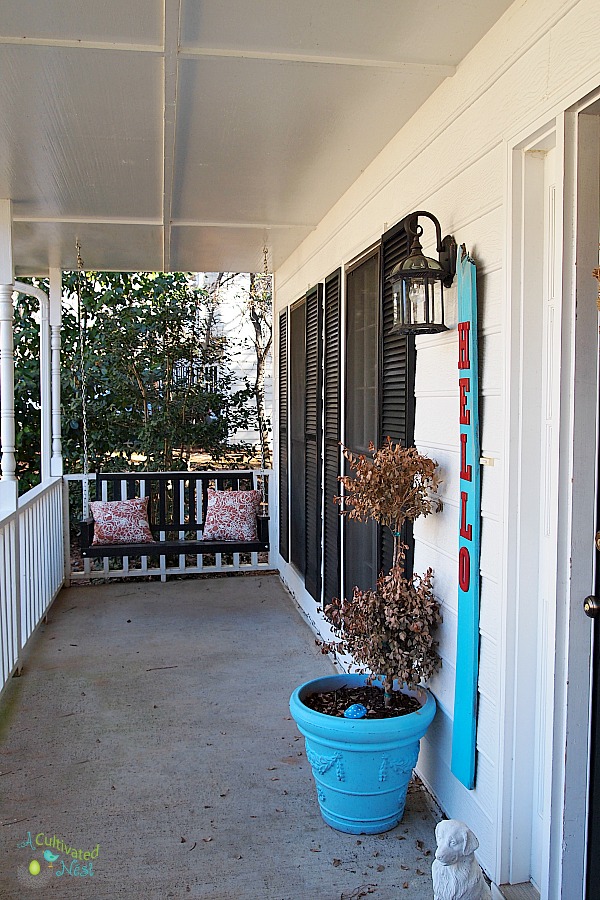
This house has a really cute front porch with a porch swing (always wanted one) so I’ve got a couple of ideas for some projects to make that area welcoming and cuter! One of those is this DIY Reclaimed Wood Hello Sign for the front door that I made in literally an hour or so. That qualifies it a Sweet & Simple Project. I know most people would do WELCOME but I thought HELLO would be different and cute.

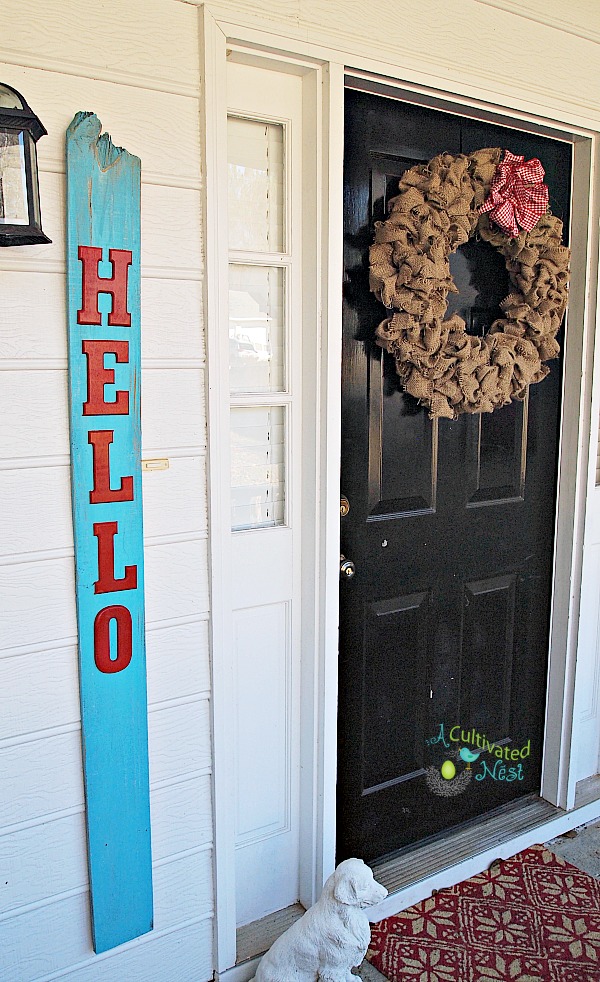
I got that big burlap wreath for $9 at Lowe’s after Christmas! I figure it would cost me way more to buy that big of a wreath form and enough burlap to cover it. A burlap wreath is a good basic wreath that you can add to when changing things up for the season.
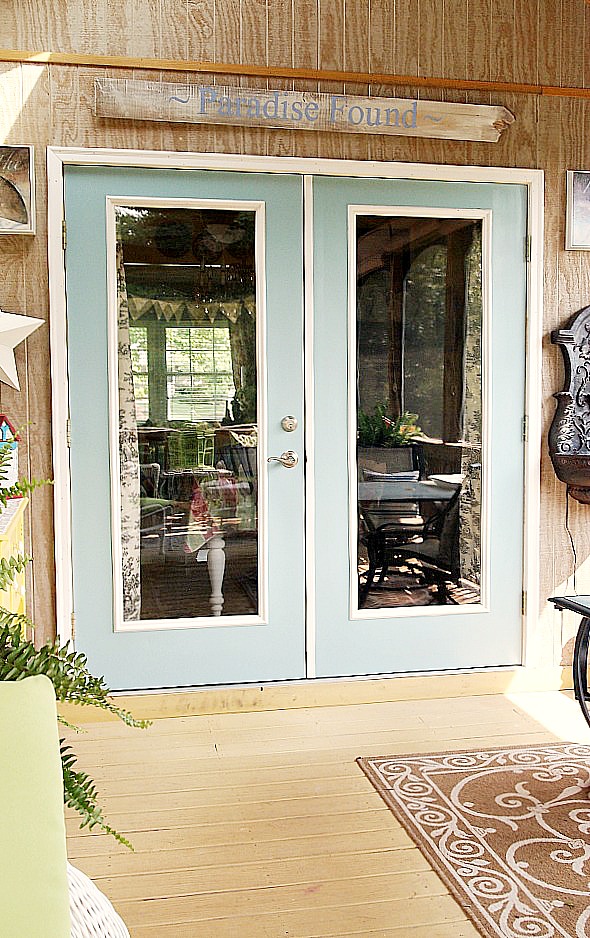
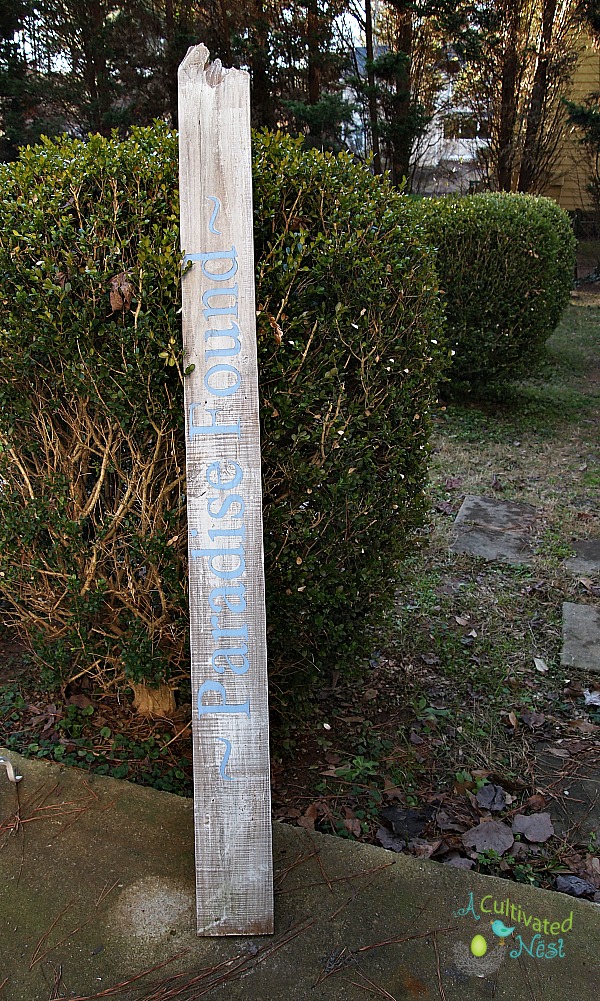
The reclaimed wood piece that I used is an old fence board picket that I made into a hand painted sign. It use to hang in our screened in porch at our old house.

But you could go get a new piece of wood and do the same the project.
DIY Reclaimed Wood “Hello” Sign


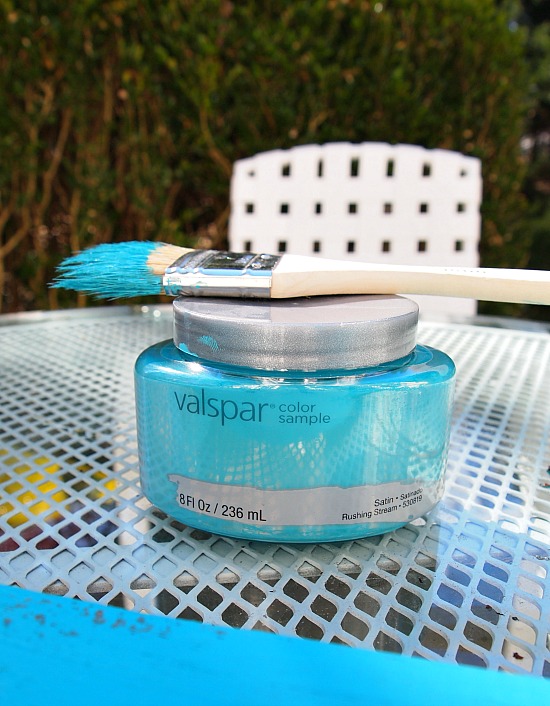
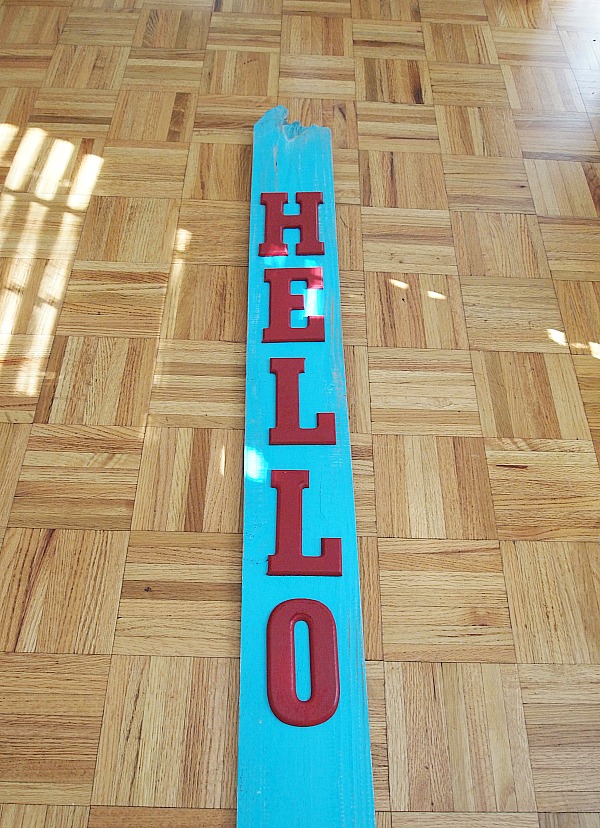
I just used this sample of Valspar Rushing Stream paint that I got for free last year from Lowe’s. They had tear outs in several magazines last year for a free sample so every time we went into Lowe’s I picked up my free sample of paint! I have about 5 different colors! I painted my fence picket and then distressed it a bit with some fine sandpaper.

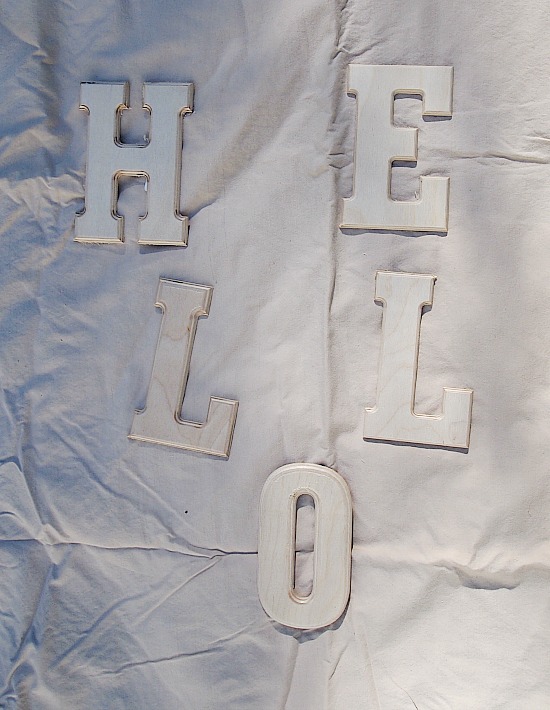
You need some pre-cut letters – mine are wood ones from Hobby Lobby but you can also use the cardboard ones if your sign is in a covered area. I think they were $1.49 each. Be sure to measure the wood plank you are going to use so you don’t get letters that don’t fit!

I spray painted the letters just because it fast but you can use some craft paint or leftover interior paint (especially if your doing this in the winter and it’s too cold to spray paint). Then place them on your piece of wood to get the spacing you want and hot glue them down. I’m sure you could nail or screw the wooden ones down but, hot glue works and is fast.
I’m hanging this off a command strip (we are renting so I don’t want to put holes in the siding). On the back I just re-used the 2 screw eyes and wire that were already on the sign.
That’s it – done!


I just have to change out my poor plants that didn’t make through the weeks of below freezing temps that we had and add a few other little things.

I think it’ll be a cute little porch to hang out in this summer after I do a few more things (I’m itching to paint that door red – but I probably shouldn’t )!
The post DIY Reclaimed Wood Hello Sign appeared first on A Cultivated Nest.