
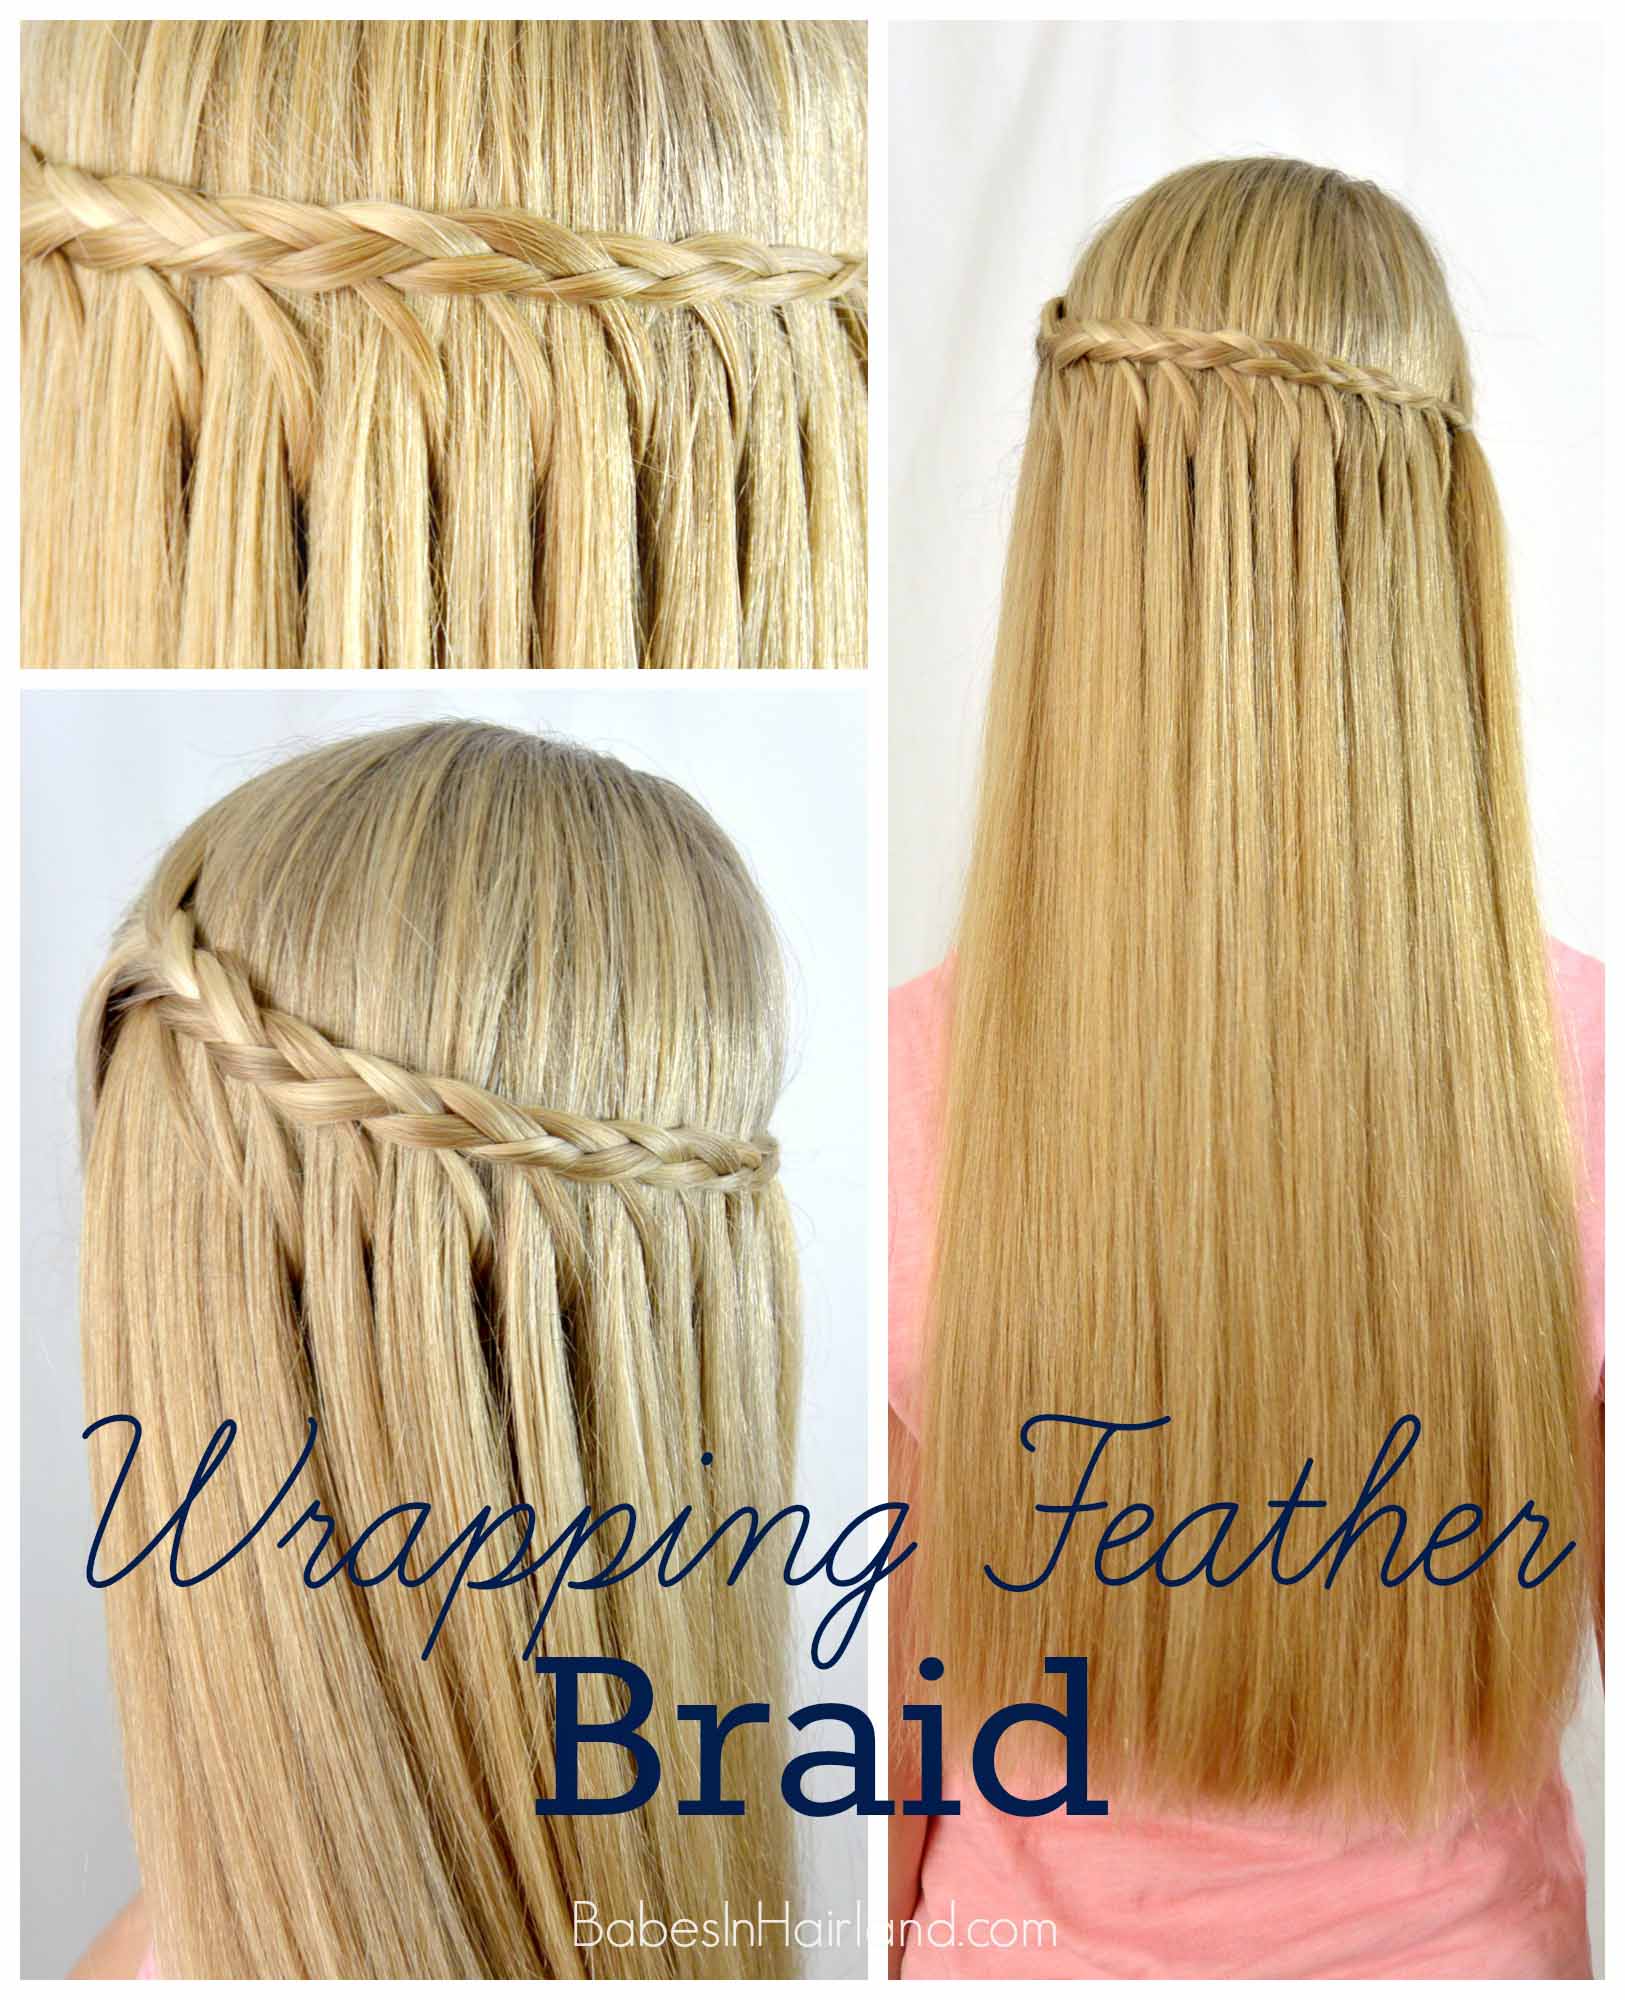
Wrapping Feather Braid Hairstyle

These days it seems like I always have a matter or two of “business” to share before the hair tutorial, and I apologize for that! But we just want to keep you informed of what we’ve got going on in regard to our newly released book Amazing Hairstyles: From Easy to Elegant


We’ll be at Confetti Antiques & Books this Saturday from 12-3 signing books and doing more hair. You can find their address & directions on their FB page. We’d love if you stop by and say hi if you are in the area! This will likely be our last signing before the holidays so it’s the perfect time to come snag a book or two. They’ll make fabulous Christmas gifts! If you’re not local, be sure to snag a copy for you as well as well as your friends and family. You can buy them here on Amazon.
Also – a little bird told me that there will likely be another giveaway this week here on our blog – so stay tuned!
*~*~*~*~*~*~*~*~*
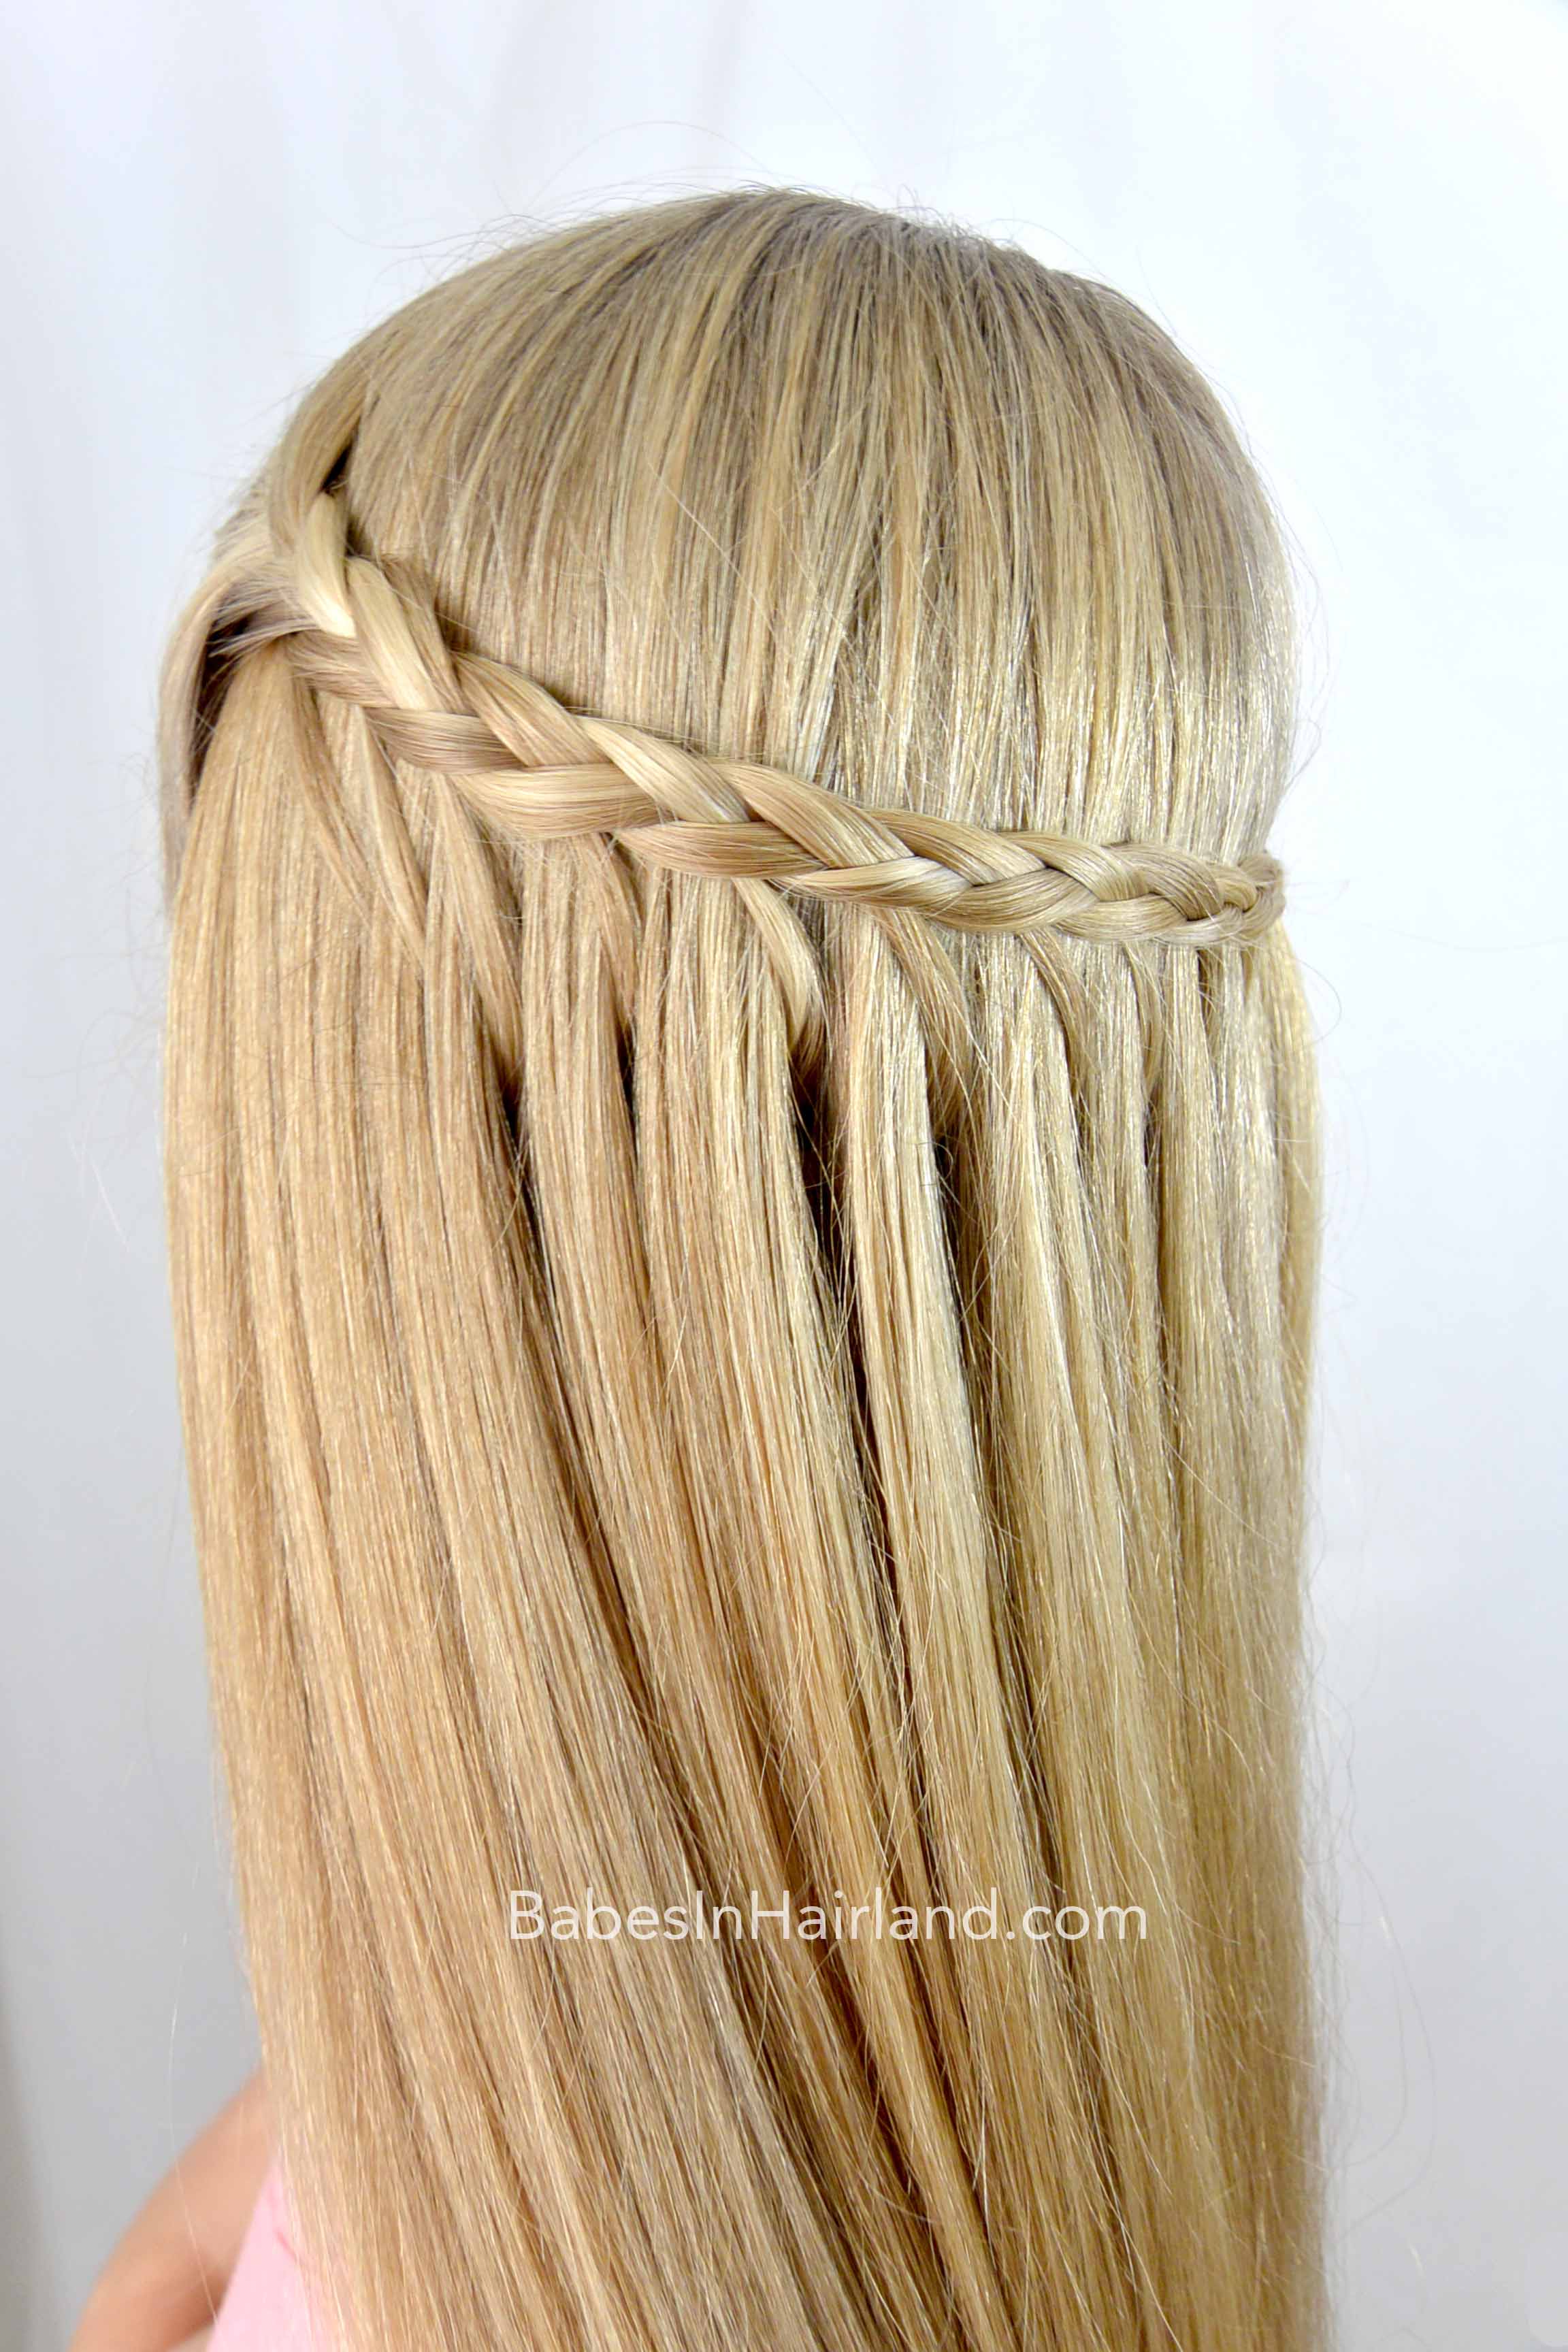
We’ve been having fun with feather braids lately, and I’m just loving this simple but unique hairstyle. You could totally dress this up by curling the hair in back, or leave it straight like we did for a more casual look.
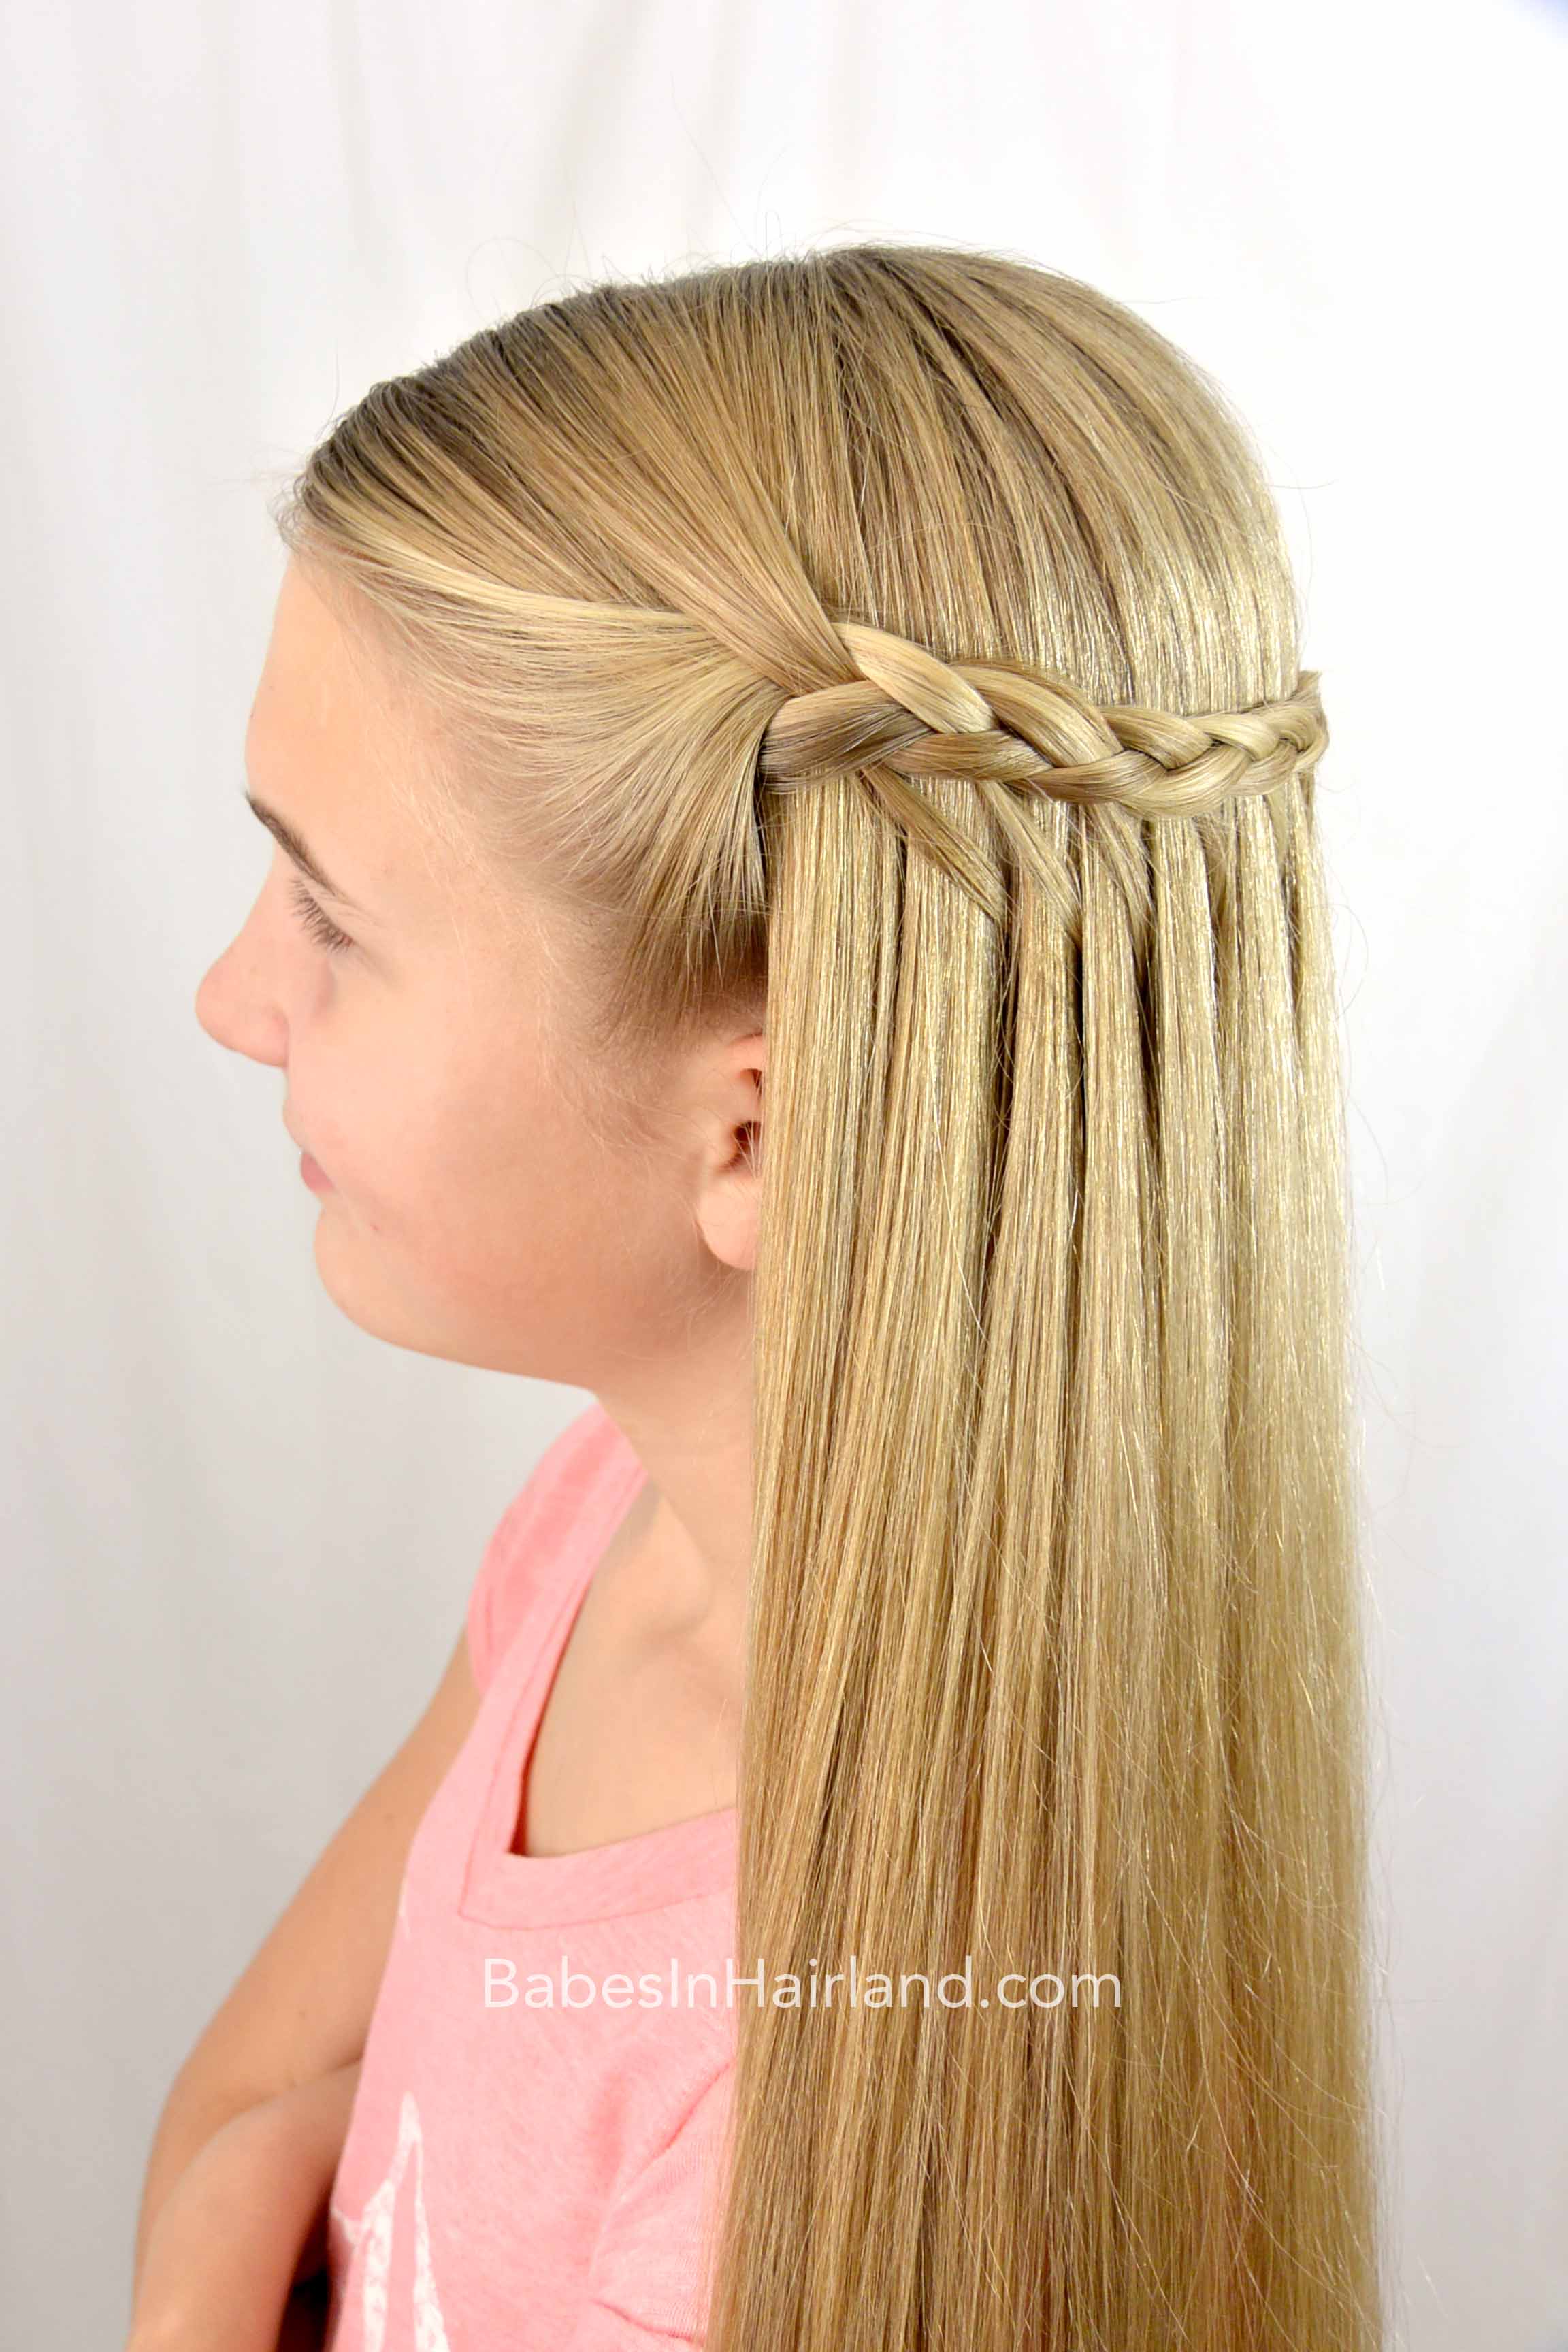
Step 1 – Make an off-center part on the right side of the head
Step 2 – From the off-center part, section out hair, making a part down to the tip of the left ear
Step 3 – With that sectino of hair start a regular 3 strand braid and do 1 full rotation of a braid
Step 4 – Begin to feather the braid
For a refresher on how to feather a braid – watch our feathered braid video, or check out one of our more recent styles “Micro Feather Braid Pullback.” You will only want to create “feathers” on the bottom or left side of the braid.
Step 5 – Continue the feather braid until it can reach around to the right ear
Step 6 – Draw a small amount of hair near the right side of the face backward and join it and the end of your braid together
Step 7 – Secure them together with a clear elastic
Step 8 – Starting on the right side, take the first feather from the braid and draw it away from the head
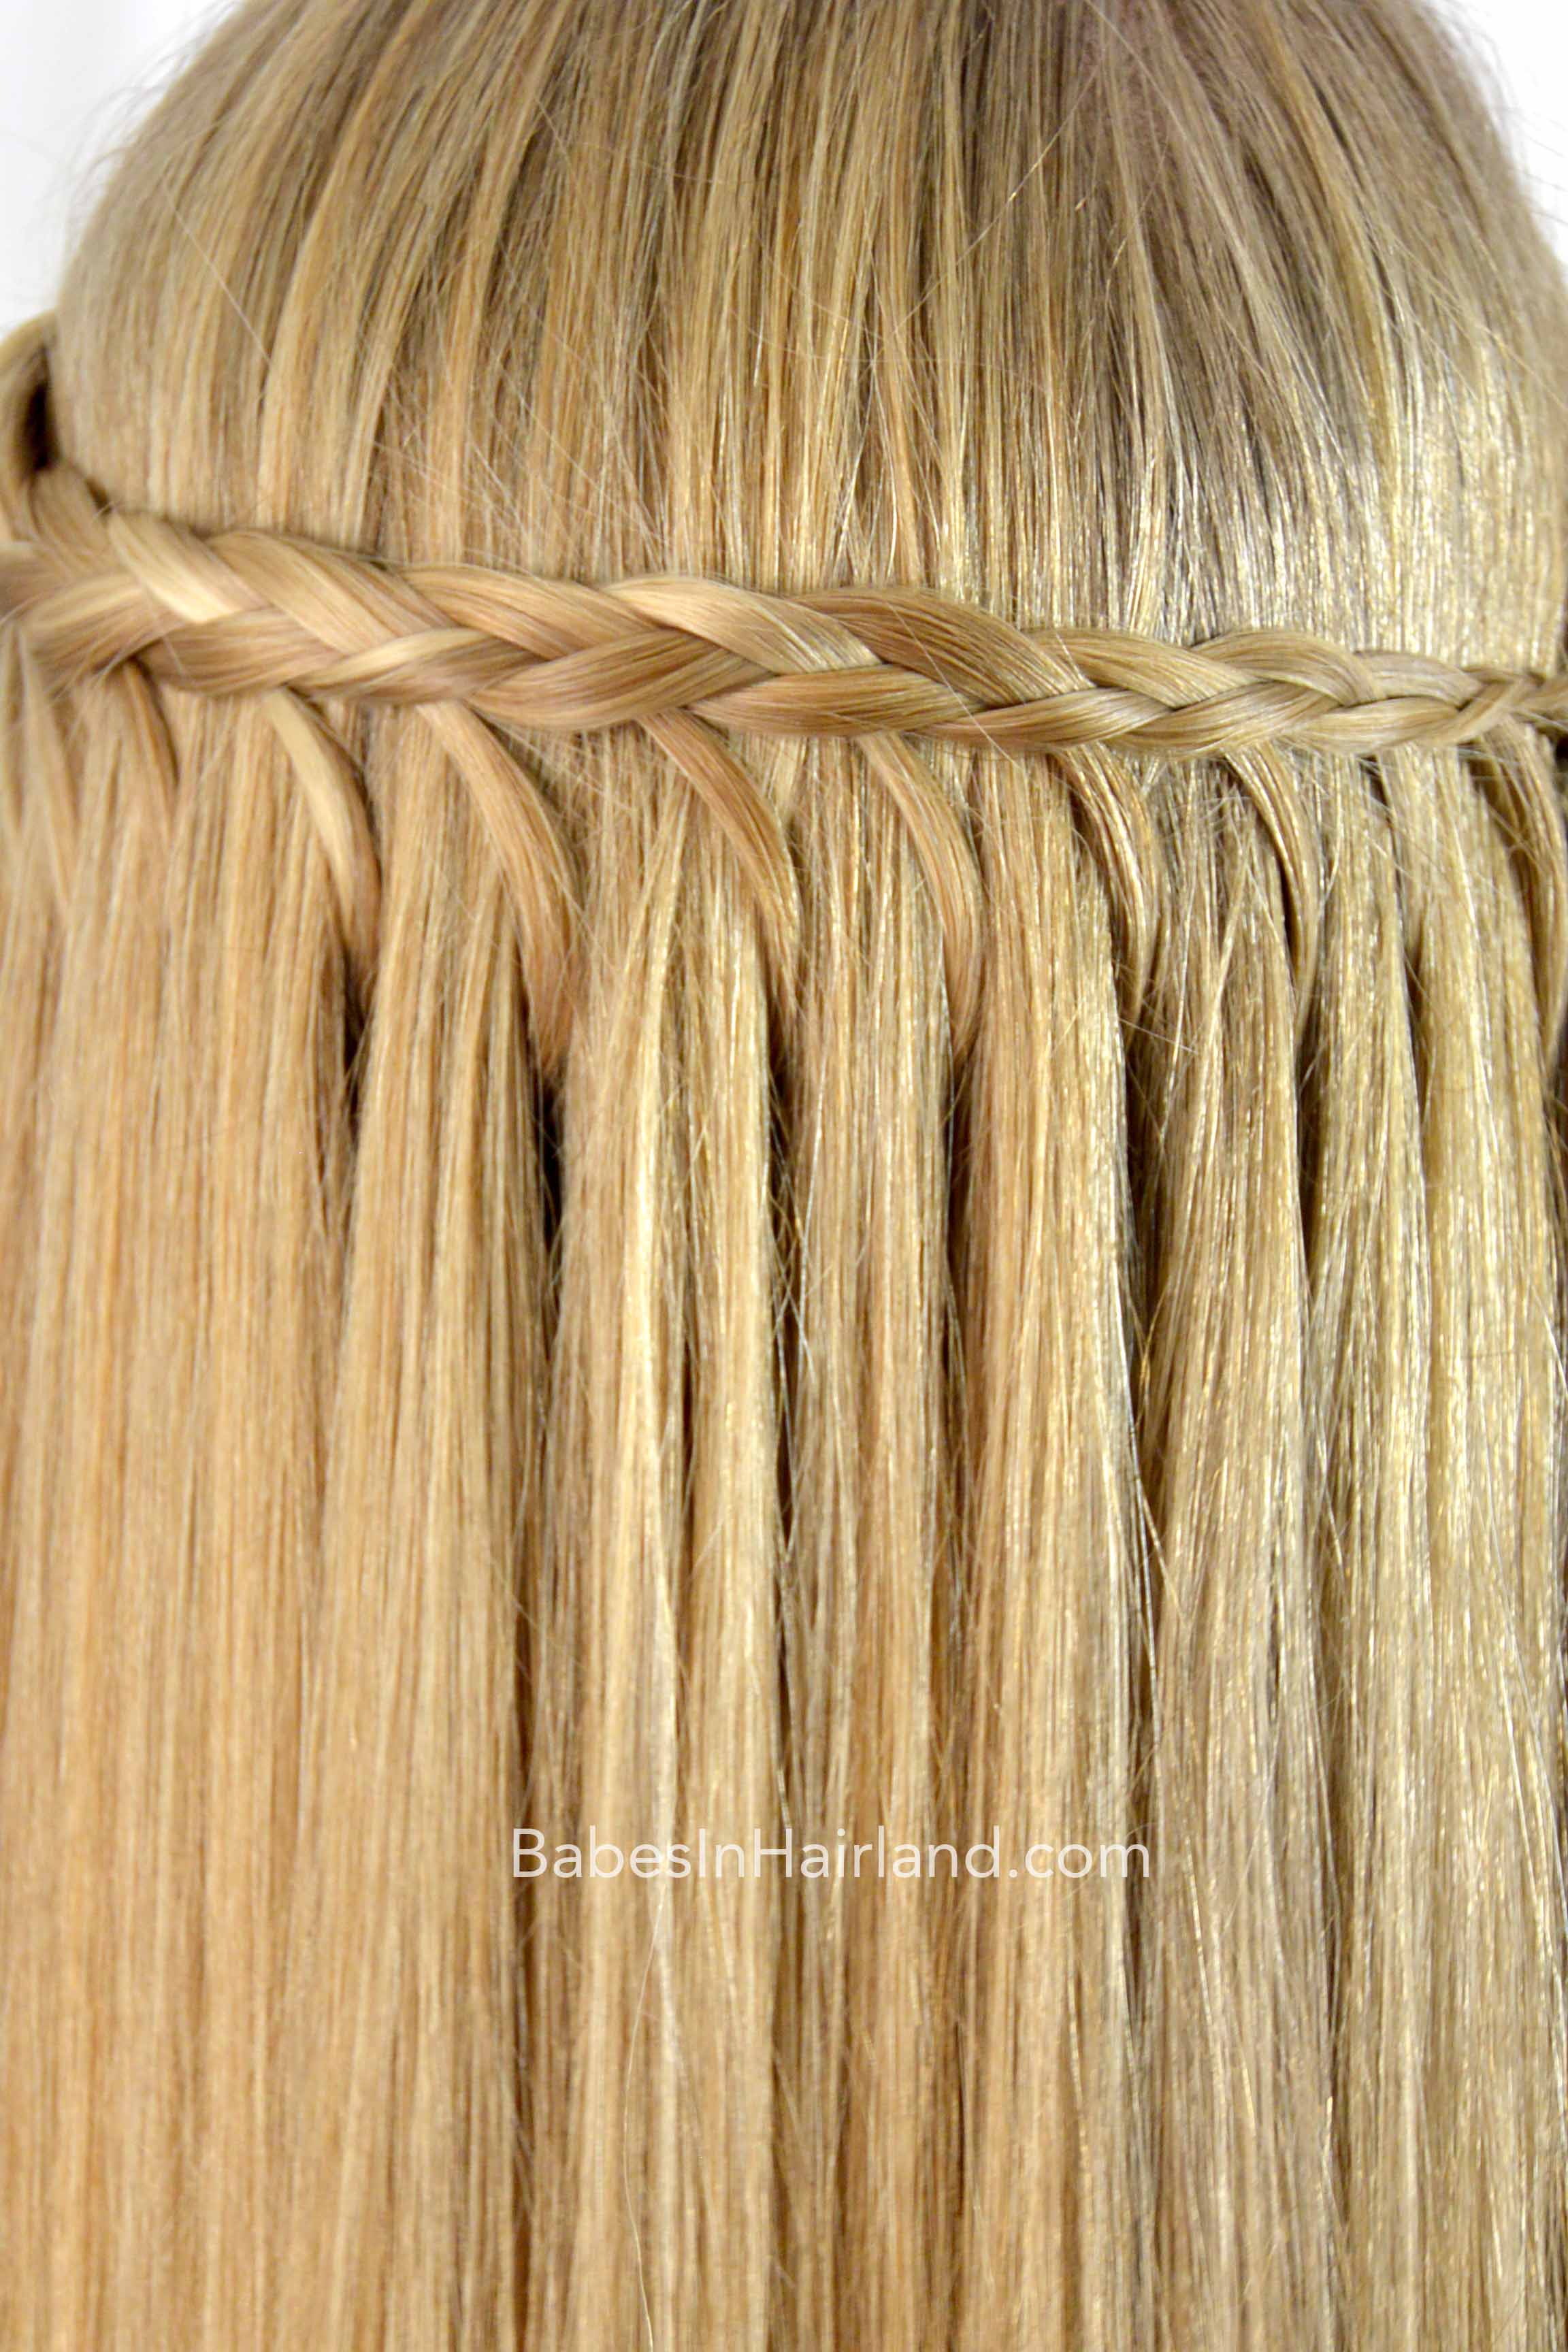
Step 9 – Below the braid lift up a small section of hair and draw the “feather” of hair to the right over it, and then under it
Step 10 – Moving left on the head, repeat with the next feather, drawing it over and under another piece of hair that lies below the braid
Step 11 – Before moving on to the next feather, join the tail of the first feather behind as well
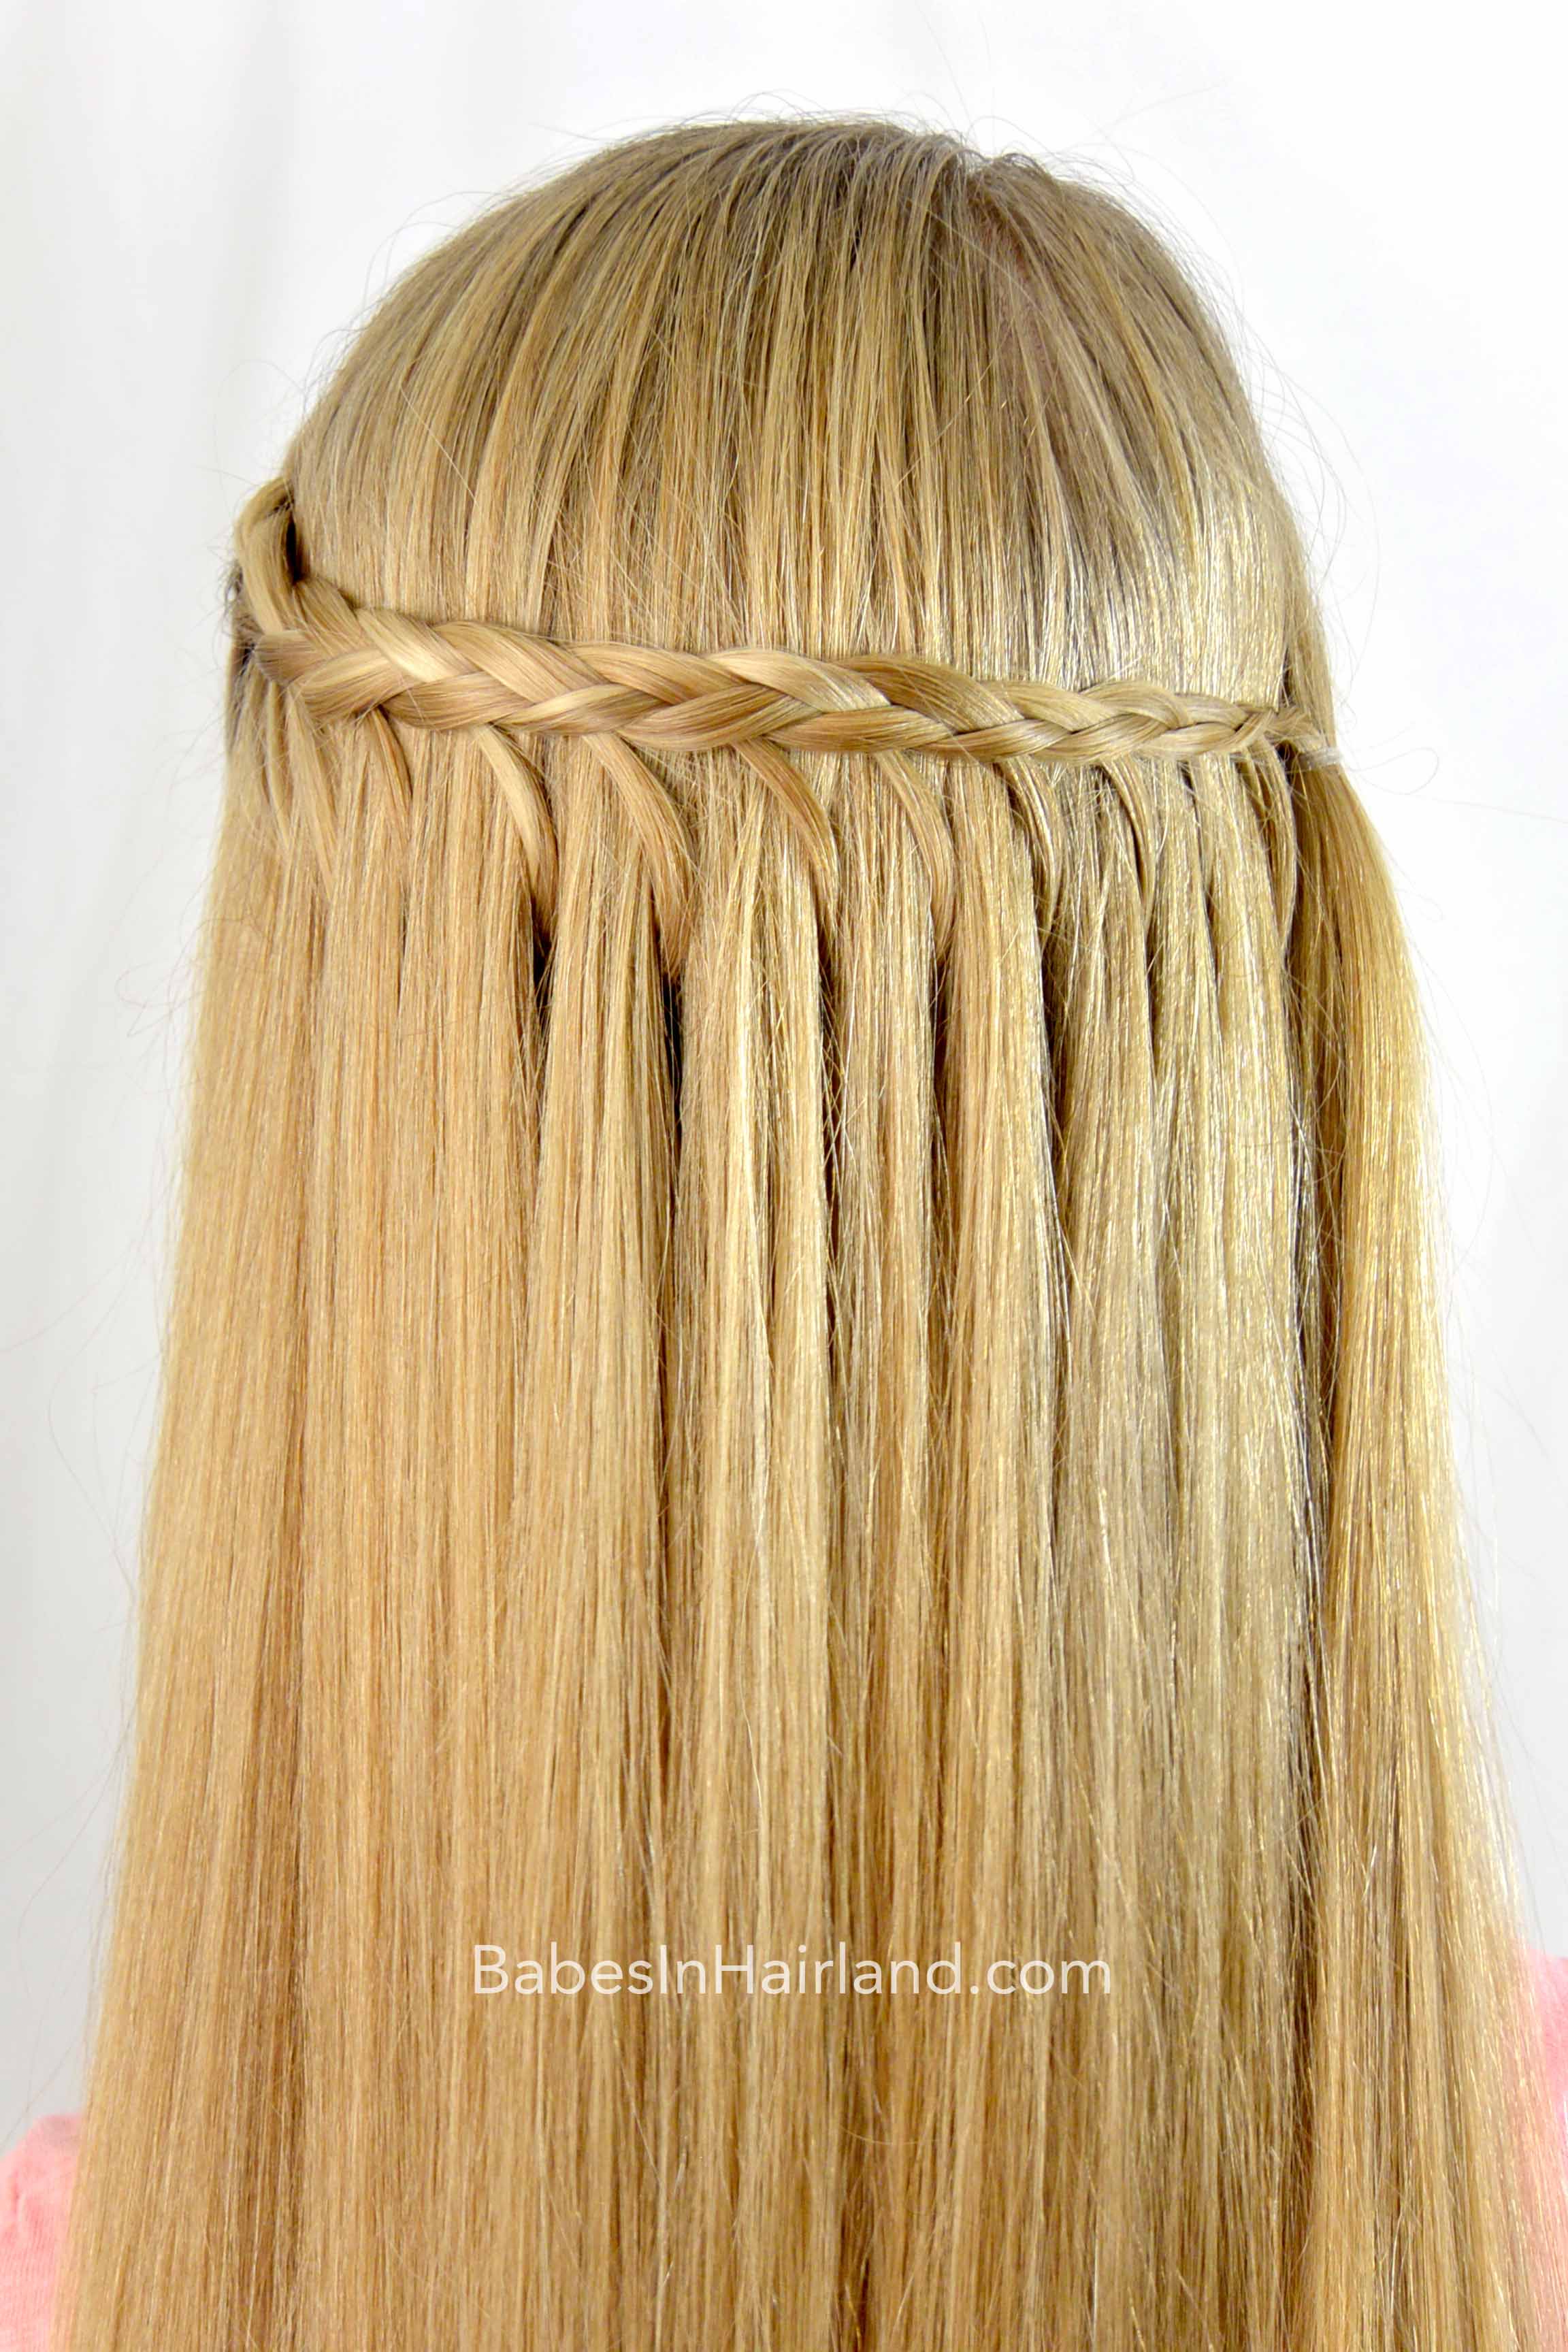
Step 12 – Continue wrapping the individual feathers over and under pieces of hair that lie below the braid. Continue to join it with the other ends of the feathers so they are gradually being drawn to the left side of the head.
Step 13 – Once you have no more feathers to wrap, temporarily clip some of the hair out of the way
Step 14 – Secure all the tails of the feathers together with a small clear elastic and release the clip
Step 15 – Smooth the hair back down so the elastic can’t be seen and the hair lies smoothly
FINISHED!


I can’t believe how long her hair has gotten. She keeps it up in top knots & French braids, etc., since she does her own hair these days, and so when it’s straight down it seems so long to me!


You could easily finish this style off in a side bun or something else if you prefer to have your hair contained. But don’t you just love this one? If you love feather braids as much as we do, be sure to check out all of our feather braided hairstyles. Today’s style, and our Feather Braid & Waterfall Twist style are probably 2 of my favorites!

We’d love if you used the social media buttons below & shared this pretty & unique style with all your friends! Have a great day!