
Bra-making Sew Along: Sewing the Cups

Alrighty, how’s it going y’all? I’d love to hear. I know some are still fitting and some of you have made two or 10 bras by now! Me, I’ve made better friends with my Canon than I ever thought possible…
Before I break out the sewing machine, a couple of things that I’ve been using on my bras.
A straight stitch foot. I use my foot as the seam guide–the distance between the needle and the edge of this foot is exactly 1/4″.

Of course, don’t forget to switch to your zig-zag foot when sewing your elastic. There’s a big Ask How I Know. Which is why I have extra needles…
I use a stretch needle, size 11/75. This has been perfect for elastic and lycra, but also seems to work best on all the tricot-type fabrics. For lace I sometimes go to a very small needle. I’m always experimenting!
assemble the cups
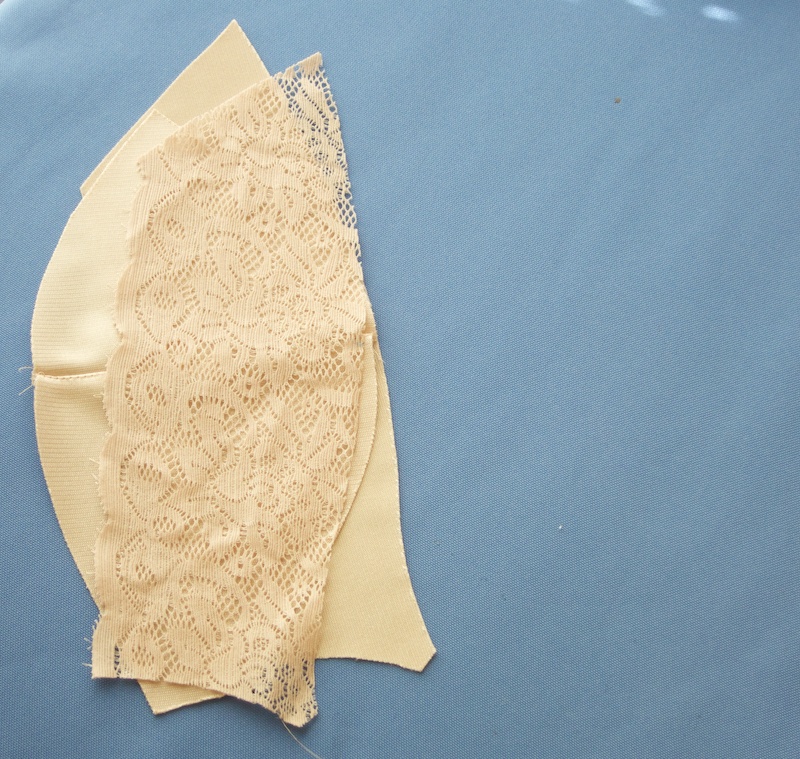
How you proceed on your cups depends on whether you are fully lining your cup, or just lining one part (like the bottom)–or not lining at all.
On my friend’s bra, I’m using lace only on the top cup, as an overlay on the regular bra fabric (in this case, simplex from a bra kit). I want the cross cup seam allowances to be totally hidden inside the seam, so I stitched the three layers together with the lower cup sandwiched in between.


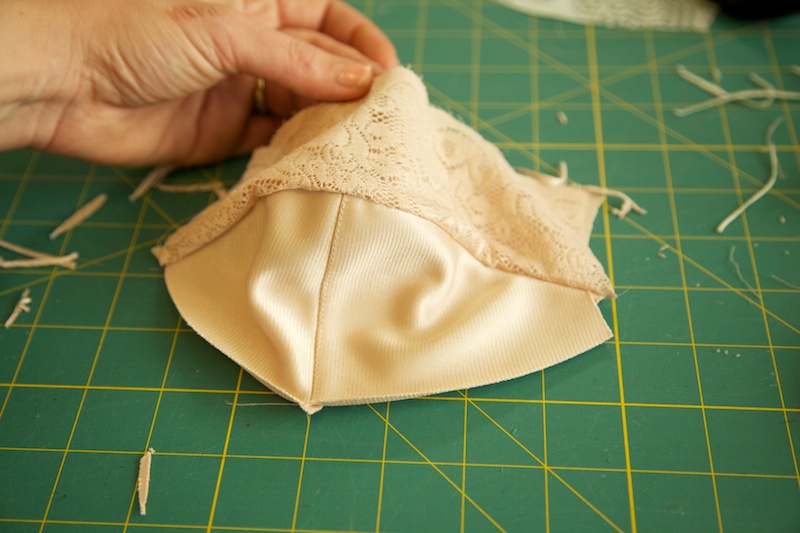
“sandwich” turned right side out, before topstitching…
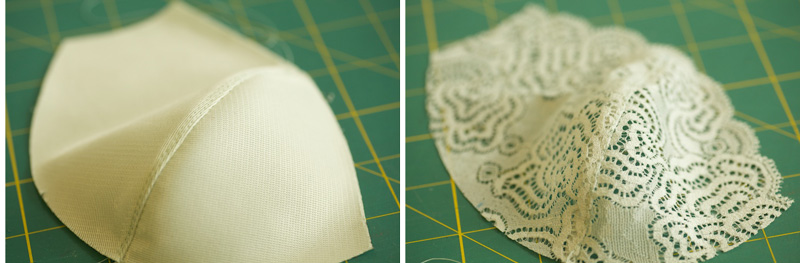
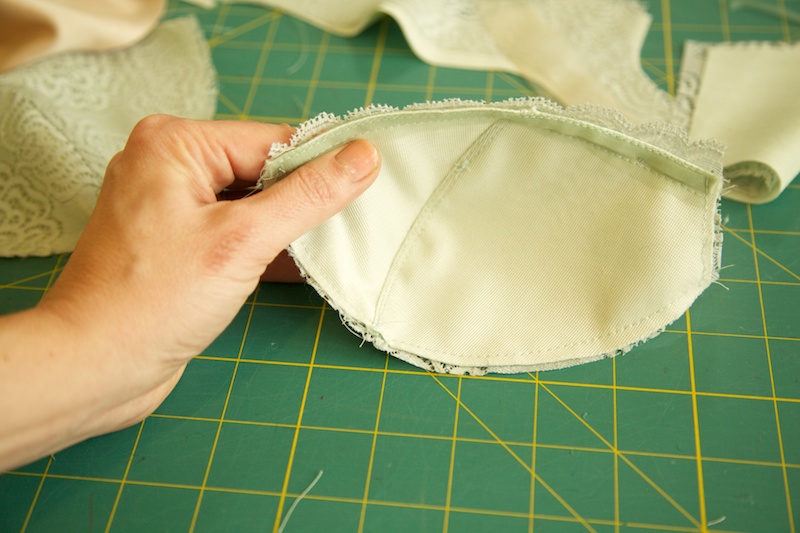
On my bra, the outer cup is entirely lace and the lining is interfaced silk charmeuse, so I constructed the two layers separately:

To flatten the seams, I turned the seam allowances over to one side and edgestitched onto the allowances, just a tiny width away from the seam.

Your pattern may have instructions to press open seams and topstitch on both sides. Or topstitch the seam allowances together to one side. This is really up to your preference and how thick your material is! Most often, I like to edgestitch which flattens the seam enough for me.
So when I was first starting to make bras, I struggled with rippled seams across the cup. Oh the dreaded rippled seam in knits! Since seam rippling is usually caused by one or the other layers stretching too much, here are a few things to try:
- If your machine has this ability, try lightening the foot pressure.
- As you are sewing, try not to pull or stretch the fabric in any way–let your hands simply be a guide.
- Try sewing without pins! When sewing two different curves together, or concave and convex curves, pinning pulls one layer into the direction of the other which can cause the length to stretch. It takes some practice at first, easing off a pin here and there. Eventually I went cold turkey pin-free! Which has improved my curves sewing and feel for fabric handling.
finish the top of cups
At this point I want to finish the top of my cup! If you are sewing a continuous trim that finishes both the cup and bridge, you’ll wait till you’ve sewn your cups into the band.
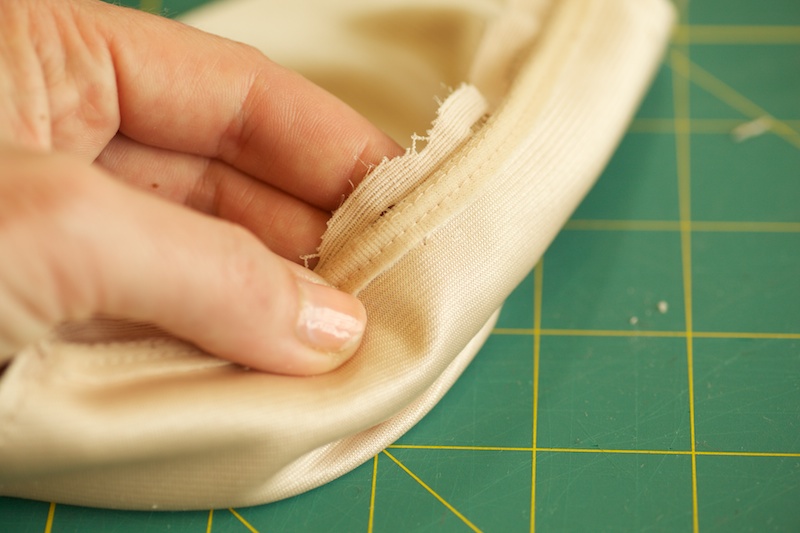
Both of my cups have two layers on top–the scalloped lace and non-stretch lining. To finish the edge of the lining, I tried a technique based on one of my fave strapless bras. I sewed a strip of sheer tricot along the outside top of the cup with a 1/4″ seam allowance.

Then I turned, and top-stitched this down along the inside. I could have done this in reverse, too–which would totally hide the seam. It’s pretty soft as it is. The tricot is cut along the least stretch so it stabilizes things a bit.

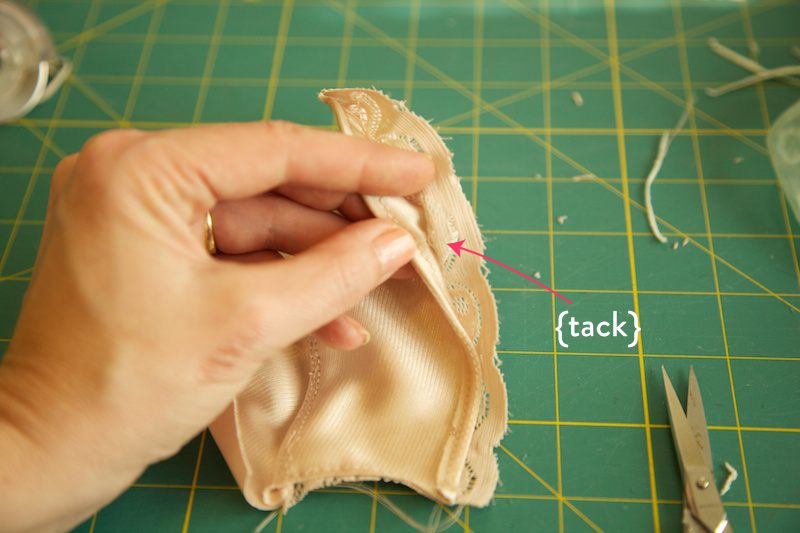
To keep the lace from shifting around on top, I tacked it down in three spots with a small back-and-forth zig zag stitch (almost like a bartack!). I saw this done in an Elle Macpherson bra and liked its invisibility.

Since my bra has a vertical seam, I tacked down the lace to the lining with a couple of straight stitches right at their joining seams.

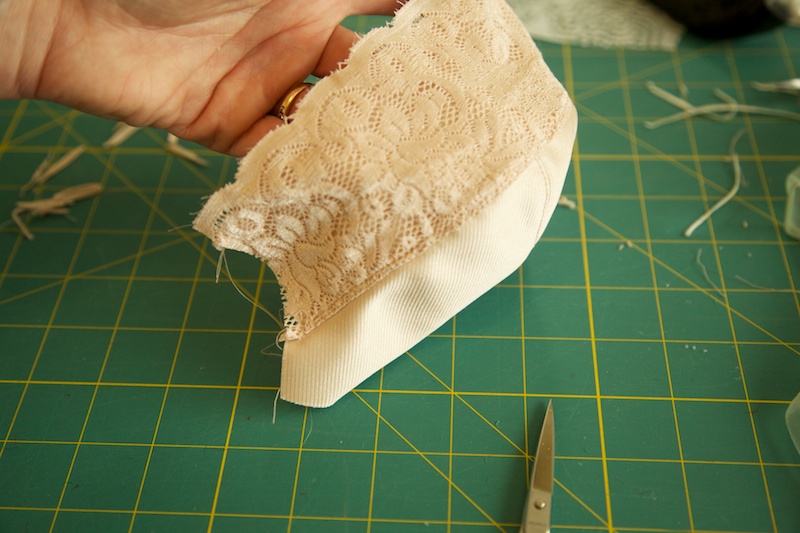
After you’ve finished the top of your cup, you can baste the layers together around remaining edges, so that the cup will be treated like one piece. I do this just inside the seam allowance–it’ll all get hidden underneath channeling and elastic! When basting stretch lace, it sometimes wants to stretch past the lining, as you can see in the above photo. It’s just the nature of stretch–I try to keep the excess toward the bottom of the cup and just trim it off!
other cup finishes
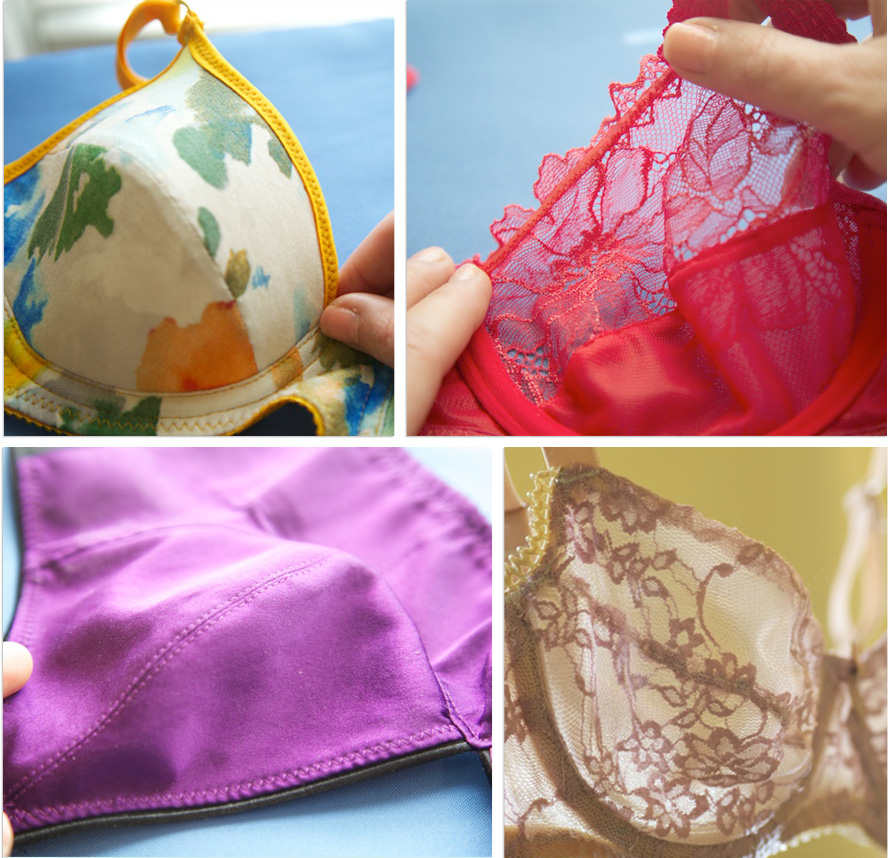
There are loads of different ways to finish the top of your cup! I’m always experimenting.

l to r: foldover elastic as a binding, decollete or clear elastic along the bottom of scallops, picot or piping elastic, lace and lining layers sewn right sides together for an invisible finish (which I wrote about here).