My DIY Wedding Invitations

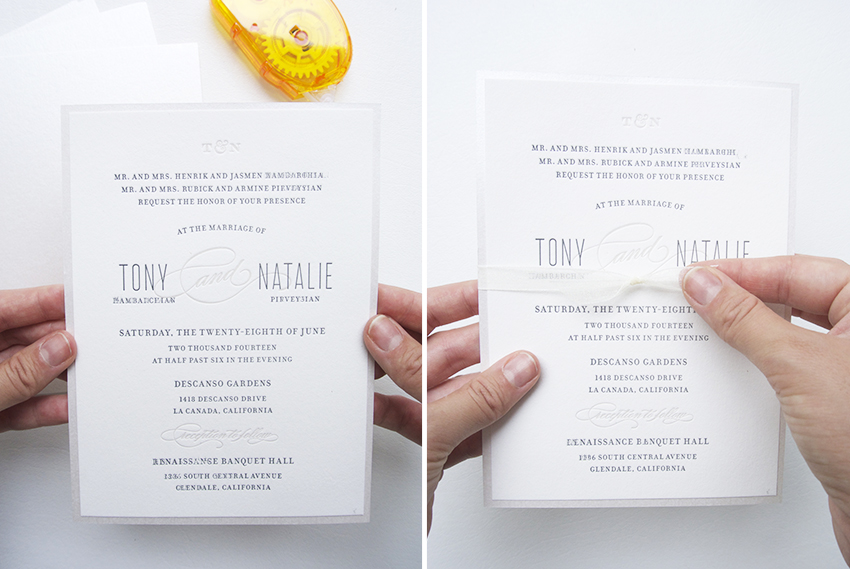
Looking back at my wedding craft projects, my invitations were one of my favorite. I was really happy with the way they turned out, but most importantly, the process of making them was so memorable. As you can see below, there were several steps involved in putting together each invitation and there is no way I could have done it without my family and friends who sacrificed their time (and finger cramps!) to help.
I customized and printed my wedding invitations through Minted. They have such an amazing selection of beautiful designs and printing options (leterpress, foil stamp, etc). I actually ended up combining elements from two different designs (this and this), which was surprisingly a super hassle-free process! All you need to do is note your changes when you submit your order and one of their designers will send you a customized invitation.

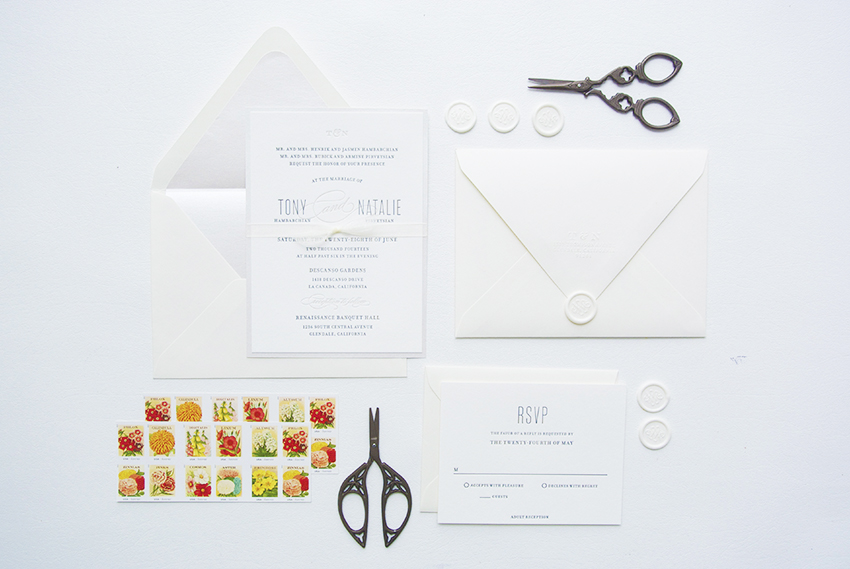
Although I thought these invitations were beautiful as is, I just had to add my own personalized touch! I added a metallic cardstock backing that was slightly larger than my invitation in order to increase the overall size of my cards and to add a little bit of shine. I also added a couple smaller details like the wax seal and the embossed return address on the envelopes. It’s all in the details, folks! So here’s how I made them…
Supplies: • Wedding Invitations (I printed mine from Minted...highly recommended)
• Invitation Backing (from Cards & Pockets)
• Envelope Liner (also from Cards & Pockets) • Permanent Tape Runner • Personalized Return Address Embosser (loved mine from WGPress)
• Self-Adhesive Wax Seals (Sally's Heartful Creations has great ones)
• Ribbon
• Scissors

More posts from