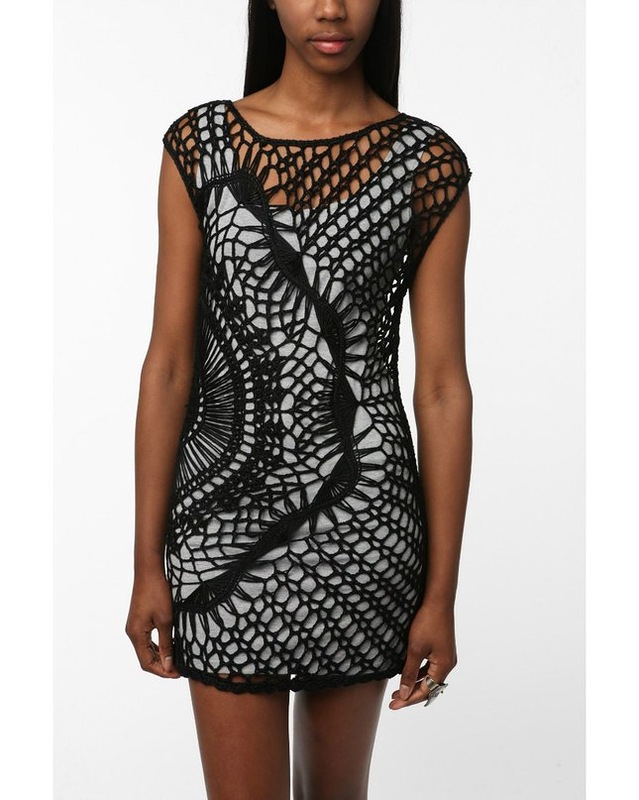
Free Crochet Pattern for Sparkle & Swirl Tunic by Urbanotfitters
Most of my blogs are focused on what I what I would like to make for myself or on something a large number of our Facebook fans are asking for.
Recently I discovered the amazing art of hairpin lace and I crocheted a Stradivarius design, a crocheted poncho that put this particular skill to work.
Our Facebook fan, Angel C. Ferrari brought to my attention a particular dress design that proved to be a very famous and a very pinned crochet garment.


My best guess is that this Sparkle & Swirl Tunic by Urbanotfitters is this famous simply because its side swept finish is extremely trendy this summer.
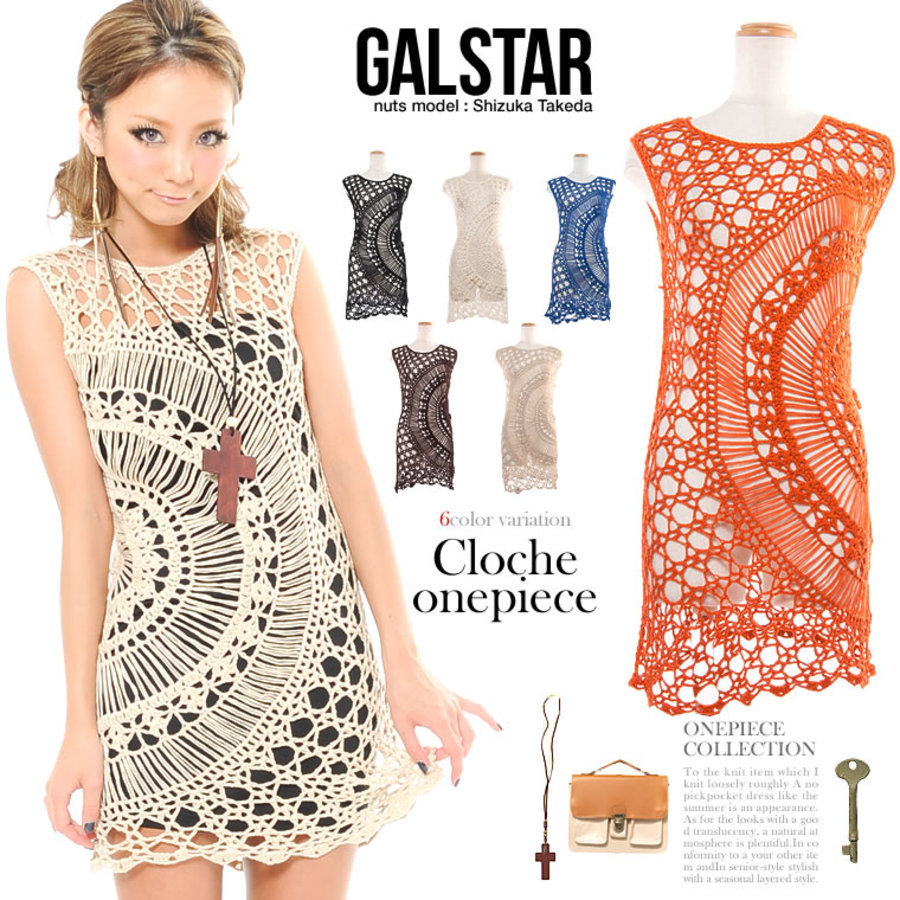
I am sure a lot of you , crochet fans and addicts , noticed in the label stores a lot of crochet items made with hairpin lace.
I will tell you why. The lacy , see through finish is a lot easier to make using hairpin lace than it would be done using a regular crochet hook and chain stitch.
Credits for the pictures from this post go to clubosinka.ru.
So without any further chit-chat here goes:
1. The tunic is made originally from cotton acrylic mix, medium size yarn and 3,5 mm hook. 2. The Russian crochet artists made it ( as you will see) from cotton, microfiber or viscose mix , with crochet hooks from 2 mmm to 2, 5mm 3. Depending on the your size the yarn quantity may vary. 4. The dress is worked in one piece starting from the side.
Work order:

The side circle In the chart you will see that the long lines are made with regular quadruple crochet on top of dc. Keep in mind the chart is just to have an idea.
1. Ch 6, sl st to join 2. Ch1, 7 x sc in the circle, slt st,turn 3. Ch1,1sc in the same loop, 2dc in each loop, sl st , turn 4. Ch4, 1dc ch1 in each loop, sl st,turn 5. Sl st to next ch space, ch3 1dc in the same ch space, ch1, 2dc ch in each ch space, sl st turn 6. Ch3, 1dc in each loop, sl st turn 7. Ch4,sk1, 1dc ch 1 sk1…till the end of the row, sl st, turn 8. Ch3 2dc in the same ch space,3dc in each ch space till the end of the row, sl st turn 9. Ch 4 sk1, 1dc ch 1 sk1…till the end of the row, sl st, turn
Main circle complete.

The hairpin lace free strips section. As seen in the picture using a hairpin lace loom make the strips joining in the bottom section to the last row. Count the strips as such: 3 strips for each chain space 1 strip for the loop on top of the dc.

Work the strips using this method all around the circle. The upper section of the loops is joined using a basic sc stitch as shown below position 1.


The shell section ( above the hand written chart left side and a closeup look): 1. Work 1 sc in each loop ,sl st, turn 2. Ch5,sk1, 1dc ch2 sk1 till the end of the row, sl st,turn 3. Ch1 2dc in the same ch space, 2dc in the next ch space…alternate 3dc with 2dc in next ch space till the end of the row, sl st turn 4. Ch 3 2dc ch2 3dc in the same loop, ch2 sk 2, 1dc in the next loop, ch 2 sk2,* 3dc ch1 3dc, ch2 sk2, 1dc ch2 sk2* repeat till the end of the row,sl st turn 5. Repeat row 4 pattern once 6. Ch 6, 1sc on top of the first shell stitch ( in the ch space), ch6 1tr in the space between the shell stitches….repeat till the end of the row, sl st to close.
The hair pin lace band


You will need a band. You will see as you work that the hairpin lace bands tend to stretch so it’s not a disaster if you are short by two strips...just sayin’.
So for the size 36 ( European ) in the picture the band has 136 pairs of strips. As shown in the example chart ( bottom) this particular time the fan type of joining is used for the hairpin lace strips.

The first and the last 3 groups of two are worked separately with 6ch in between, than in groups of 8 they are worked as shown in the chart alternating working separately with joining 8 together.
You can find on youtube the most comprehensive tutorials on hairpin lace.
Joining:
You can find on youtube the most comprehensive tutorials on hairpin lace.
Joining:


Fold the circle in two Join the band (using the basic joining method) to the last row of the circle. You will start from the arm opening area in front and finish with the arm opening on the back.
From here on you complete the dress working V stitches.( 1dc ch1 1dc ch3…repeat)
As shown in the picture the shaping is easily achieved using a piece of fitted clothing you already possess . It is rather simple and surprisingly fast to finish it once the side circle is done. The images are pretty self-explanatory.
Here are some more pictures with detailed and close up look and also another ideas on how to play with this pattern.


I hope you guys like this post and I am looking forward to see as many of these dresses posted as a comment to the post of this blog’s link on Facebook.
Please join us on our Facebook page, on Google and on Pinterest, for more interesting updates and ideas for those in love with crochet.
Xoxo and stay close winter coat pattern to be updated this weekend
Eva
More posts from