
Vogue Paris Original - 1023 | A Vintage Christian Dior Mohair Coat!

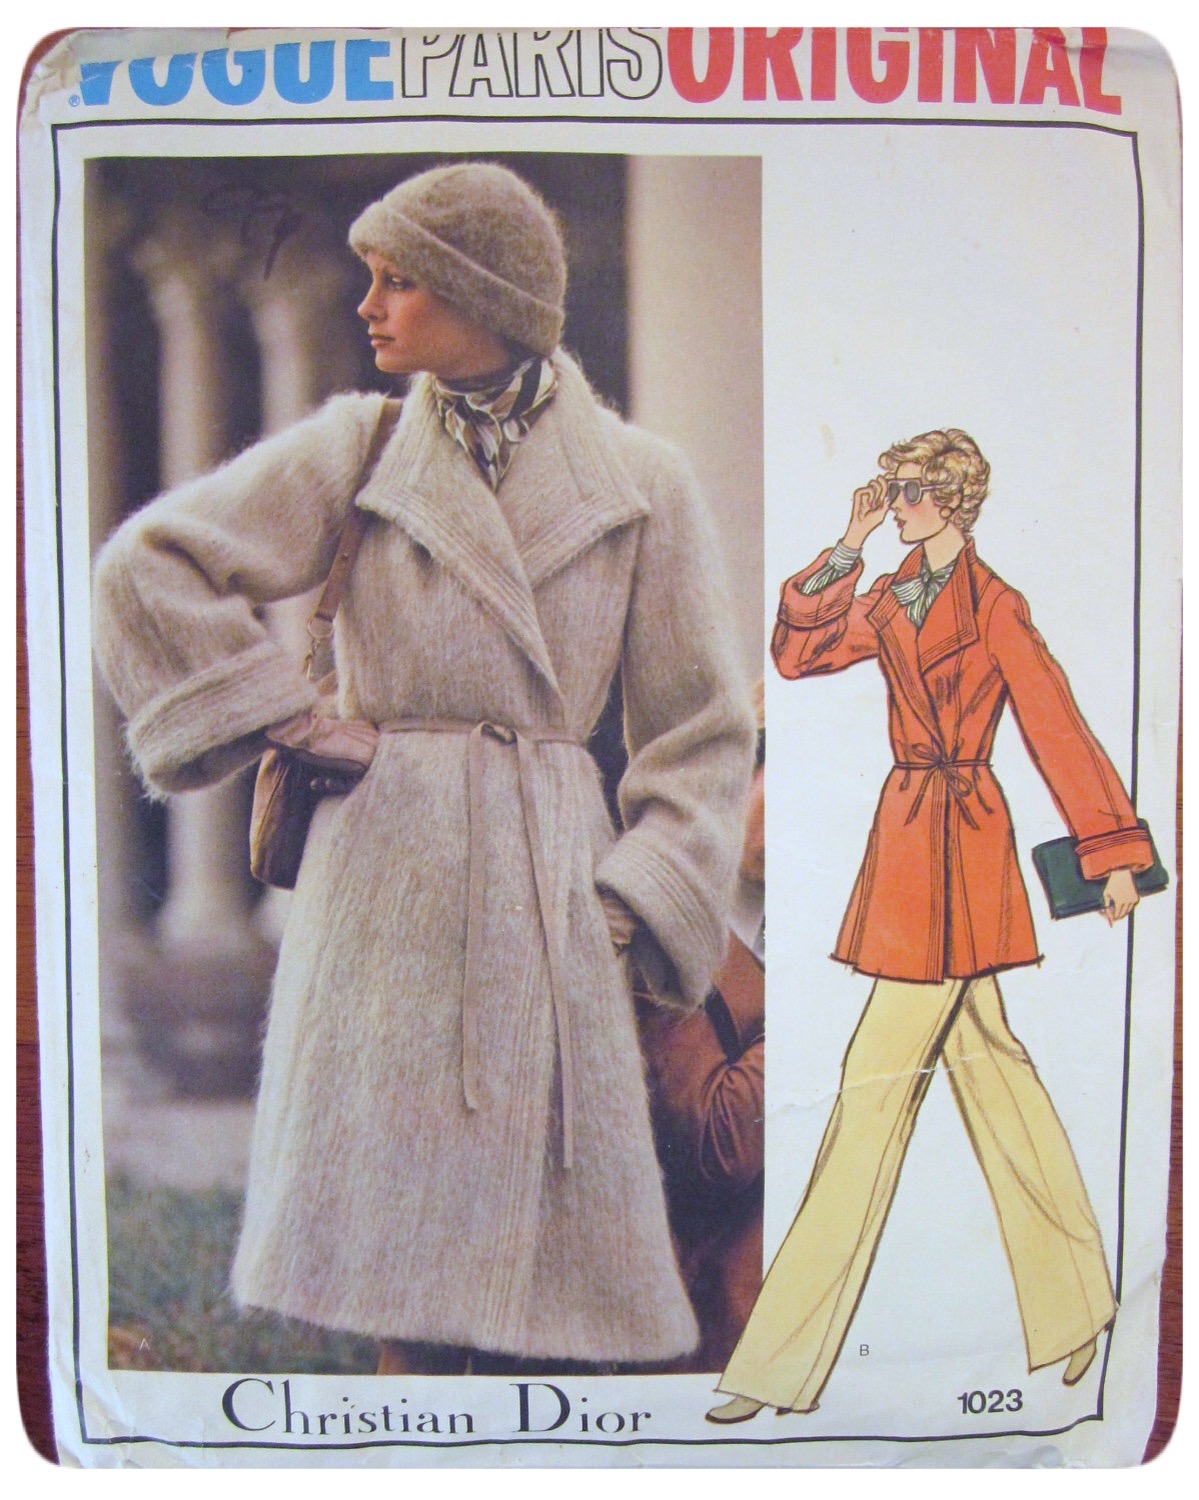
Every year I make a coat. It's something that I look forward to and I'm always excited when I plan my project. For the longest time, I've had this gorgeous vintage Vogue Paris Original (#1023) - 1970s Christian Dior coat in my collection. But I had never been able to find the perfect fabric. I wanted something "fuzzy", just like the pattern envelope.

And I found fabric that was absolute perfection. This heathered gray fuzzy mohair-blend from Mood Fabrics (from my monthly allowance for my MSN monthly project) just epitomized everything I was looking for. And as a plus, it was gray. I am completing all the neutral outerwear colors in my wardrobe and then I'll start of the fun colors!

This is my first foray into the truly vintage patterns arena. I've done "older" patterns, but nothing as old as this one. This pattern came in only one size. And I bought it in a 14. If I were purchasing it now, I would've bought a 12. But I'm happy with the sizing because it leaves enough wearing room to wear this coat over a suit if needed.

The only alterations I made to the pattern pieces were adding length... my usual. And I also wanted to make sure this was a full-length coat -- on me! I wanted another coat that would be just as long or longer than skirts or dresses. I hate when a coat is slightly shorter. I added 3 inches to the length of the coat. And I added an inch to the sleeve length.

Even though I would normally tailor a coat anyway, I felt so lucky that this pattern is so comprehensive. It came with its own tailoring instructions and pattern pieces for all of the interfacing. How awesome is that?! And why don't modern coat patterns come with such details? McCall Pattern Company? Simplicity? Anybody? These instructions were so easy to interpret that if you're attempting your first coat, you could easily achieve amazing results with this one. One thing about the convenience of having all of the pieces included is that it saved me hours on creating interfacing pattern pieces from scratch. I felt like I was getting a coat making course just from the instructions.

For my coat, I blocked interfaced the entire yardage before cutting. Even though this fabric is of a heavier weight, it's still very drapey. And I needed for the body to be sturdier.

Here is the interfacing: The front interfacing and the back stay are made from muslin. Even though the pattern did not suggest or provide a pattern piece, I created a shoulder reinforcement made from hair canvas. This ensures a smooth line from shoulder to bustline.

Here is the lining and the facing. And also the back linining with a center back pleat for ease. The last piece is the collar, which is interfaced with a fusible that extends 5/8" beyond the foldline.

I drafted my own 1/4" shoulder pads for a custom fit. I created a pattern using the front and the back pattern pieces of the coat. The shoulder pads are created by layering fleece, each is reduced by 3/4". I used the sewing machine needle to created perforated lines so that I could just tear off and keep going. The layers are stitched together on top of a layer of hair canvas the size of the largest piece.

The sleeves are drafted perfectly. They set without any easing. I created sleeve heads with the same fleece as the shoulder pads.

This is practically a couture coat. But the only shortcut I'll take each time I make a coat is to bag the lining. For me, there is simply no point in all of that excess hand sewing when the lining can be sewn by machine. The width of my coat hem is 3". And in order to achieve a perfect "jump hem", I trimmed the bottom of the lining to the same length as the finished coat hem. Turn the coat back to the right side and slipstitch the hole.


Here is the finished outside and a closeup of the topstitching. I added snaps to the inside. I found that a size 100/16 needle worked best for this fabric and sewing through all of the layers. And it also made topstitching a lot easier with my heavy weight thread.

I had the hardest time trying to find a belt for this coat. I wanted something that tied, but not a self belt. I found black woven belting in the trim section at Joanns. Close enough, right? Well... no. LOL. I decided if you want something to be a certain color, then make it happen. So I grabbed a can of spray paint and made me a gray belt. I've never done this before, so I don't know how this will wear. But until I find a replacement, I still have a full can of paint for touchups.


I thought I was head over heels in love with my camel hair coat from last year. But I believe I have a new love... until next time!
More posts from Bloglover