
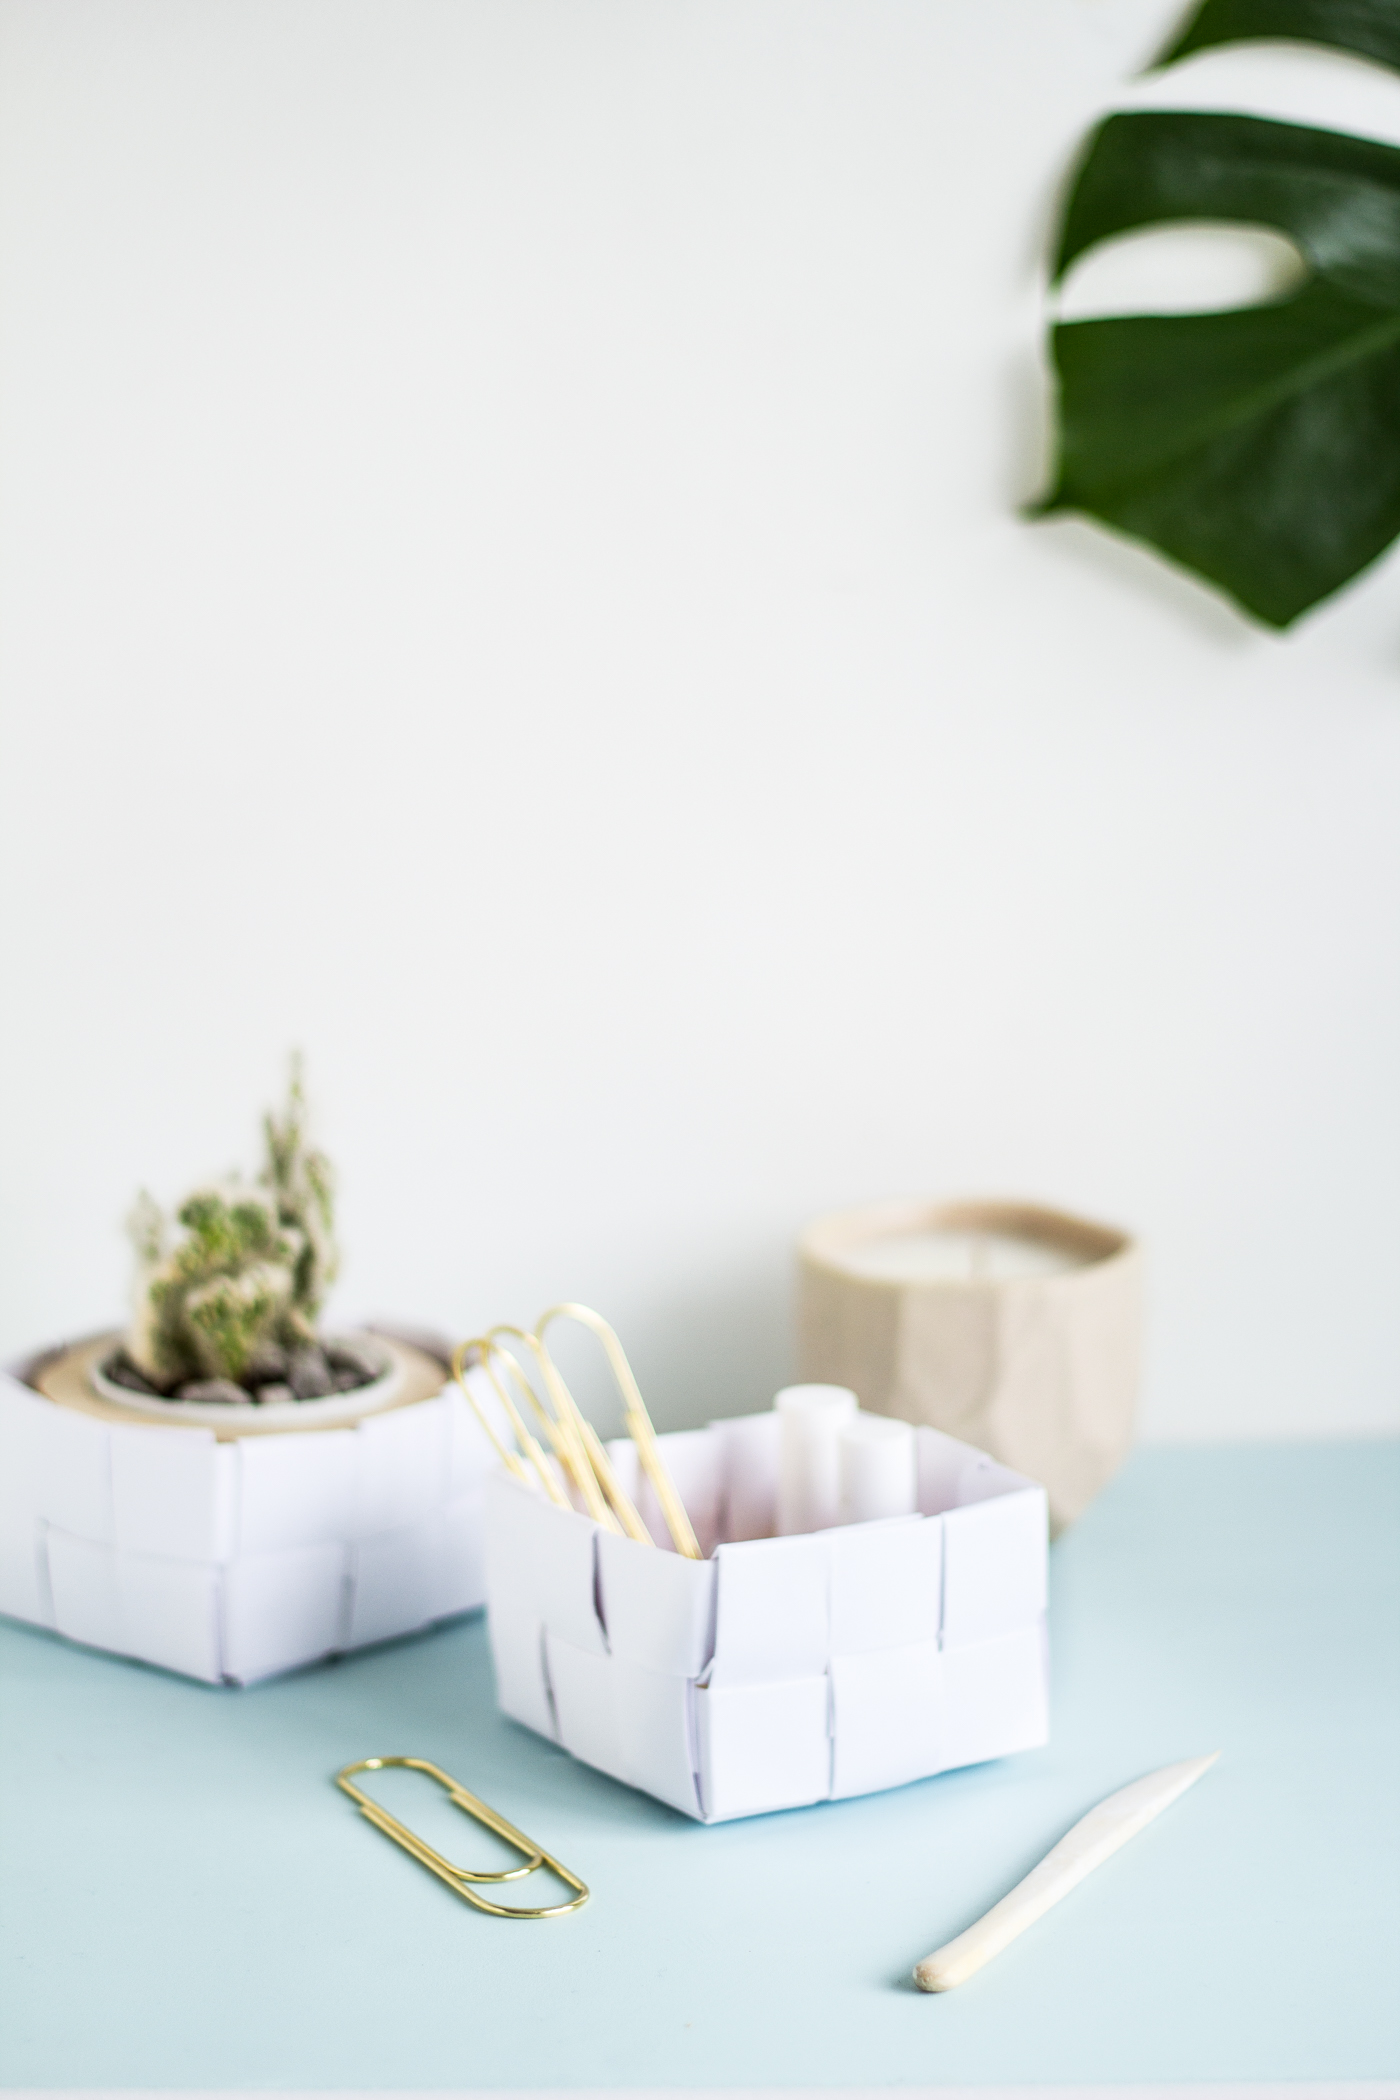
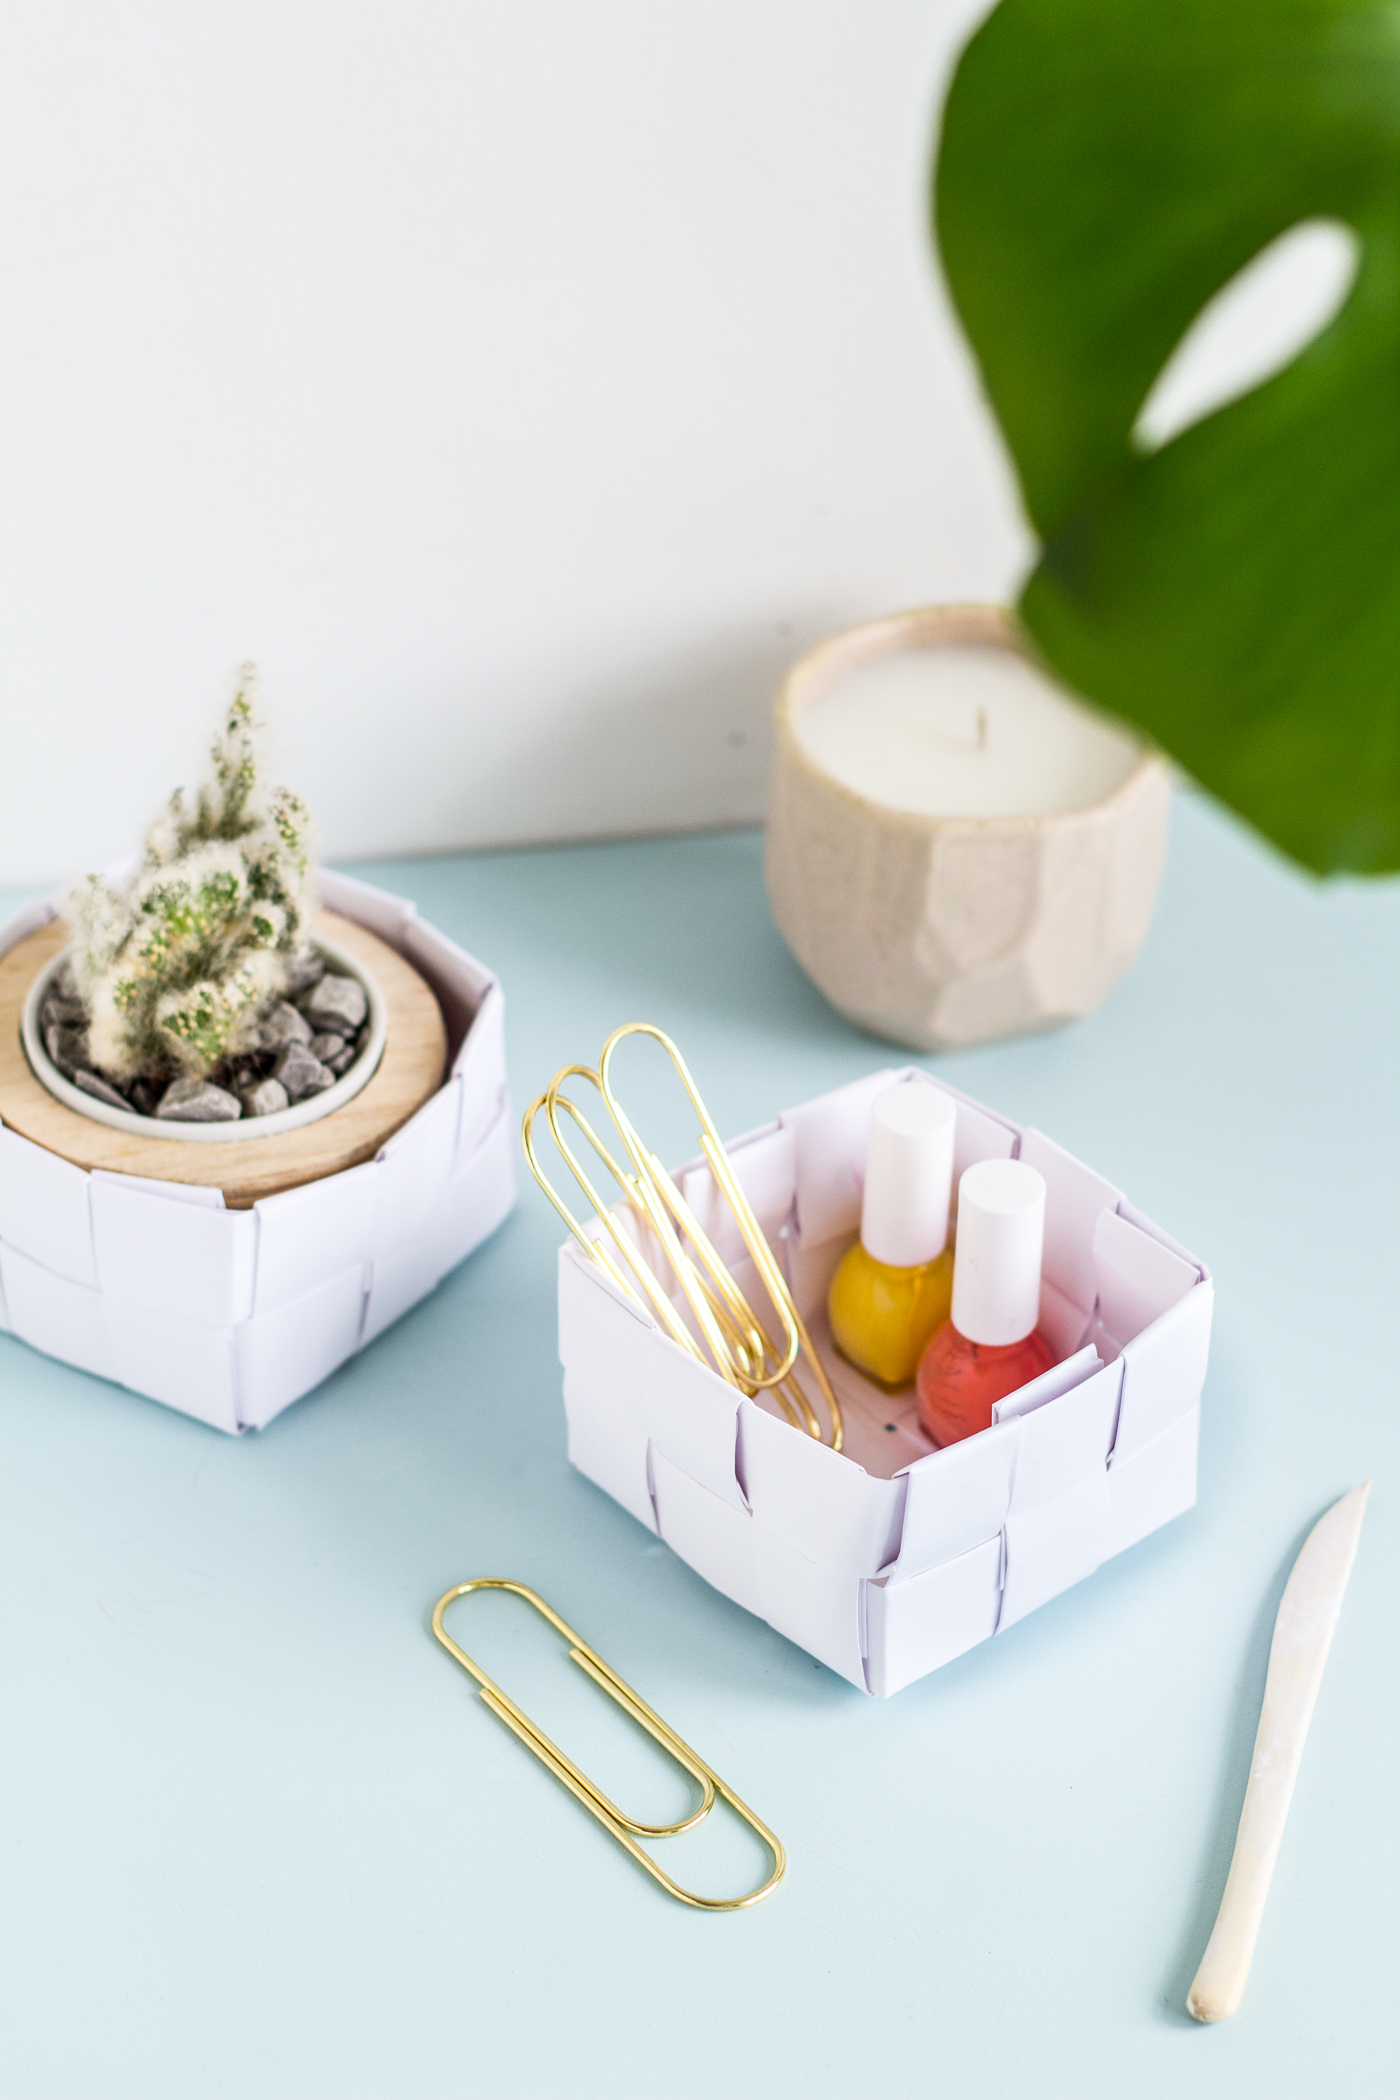
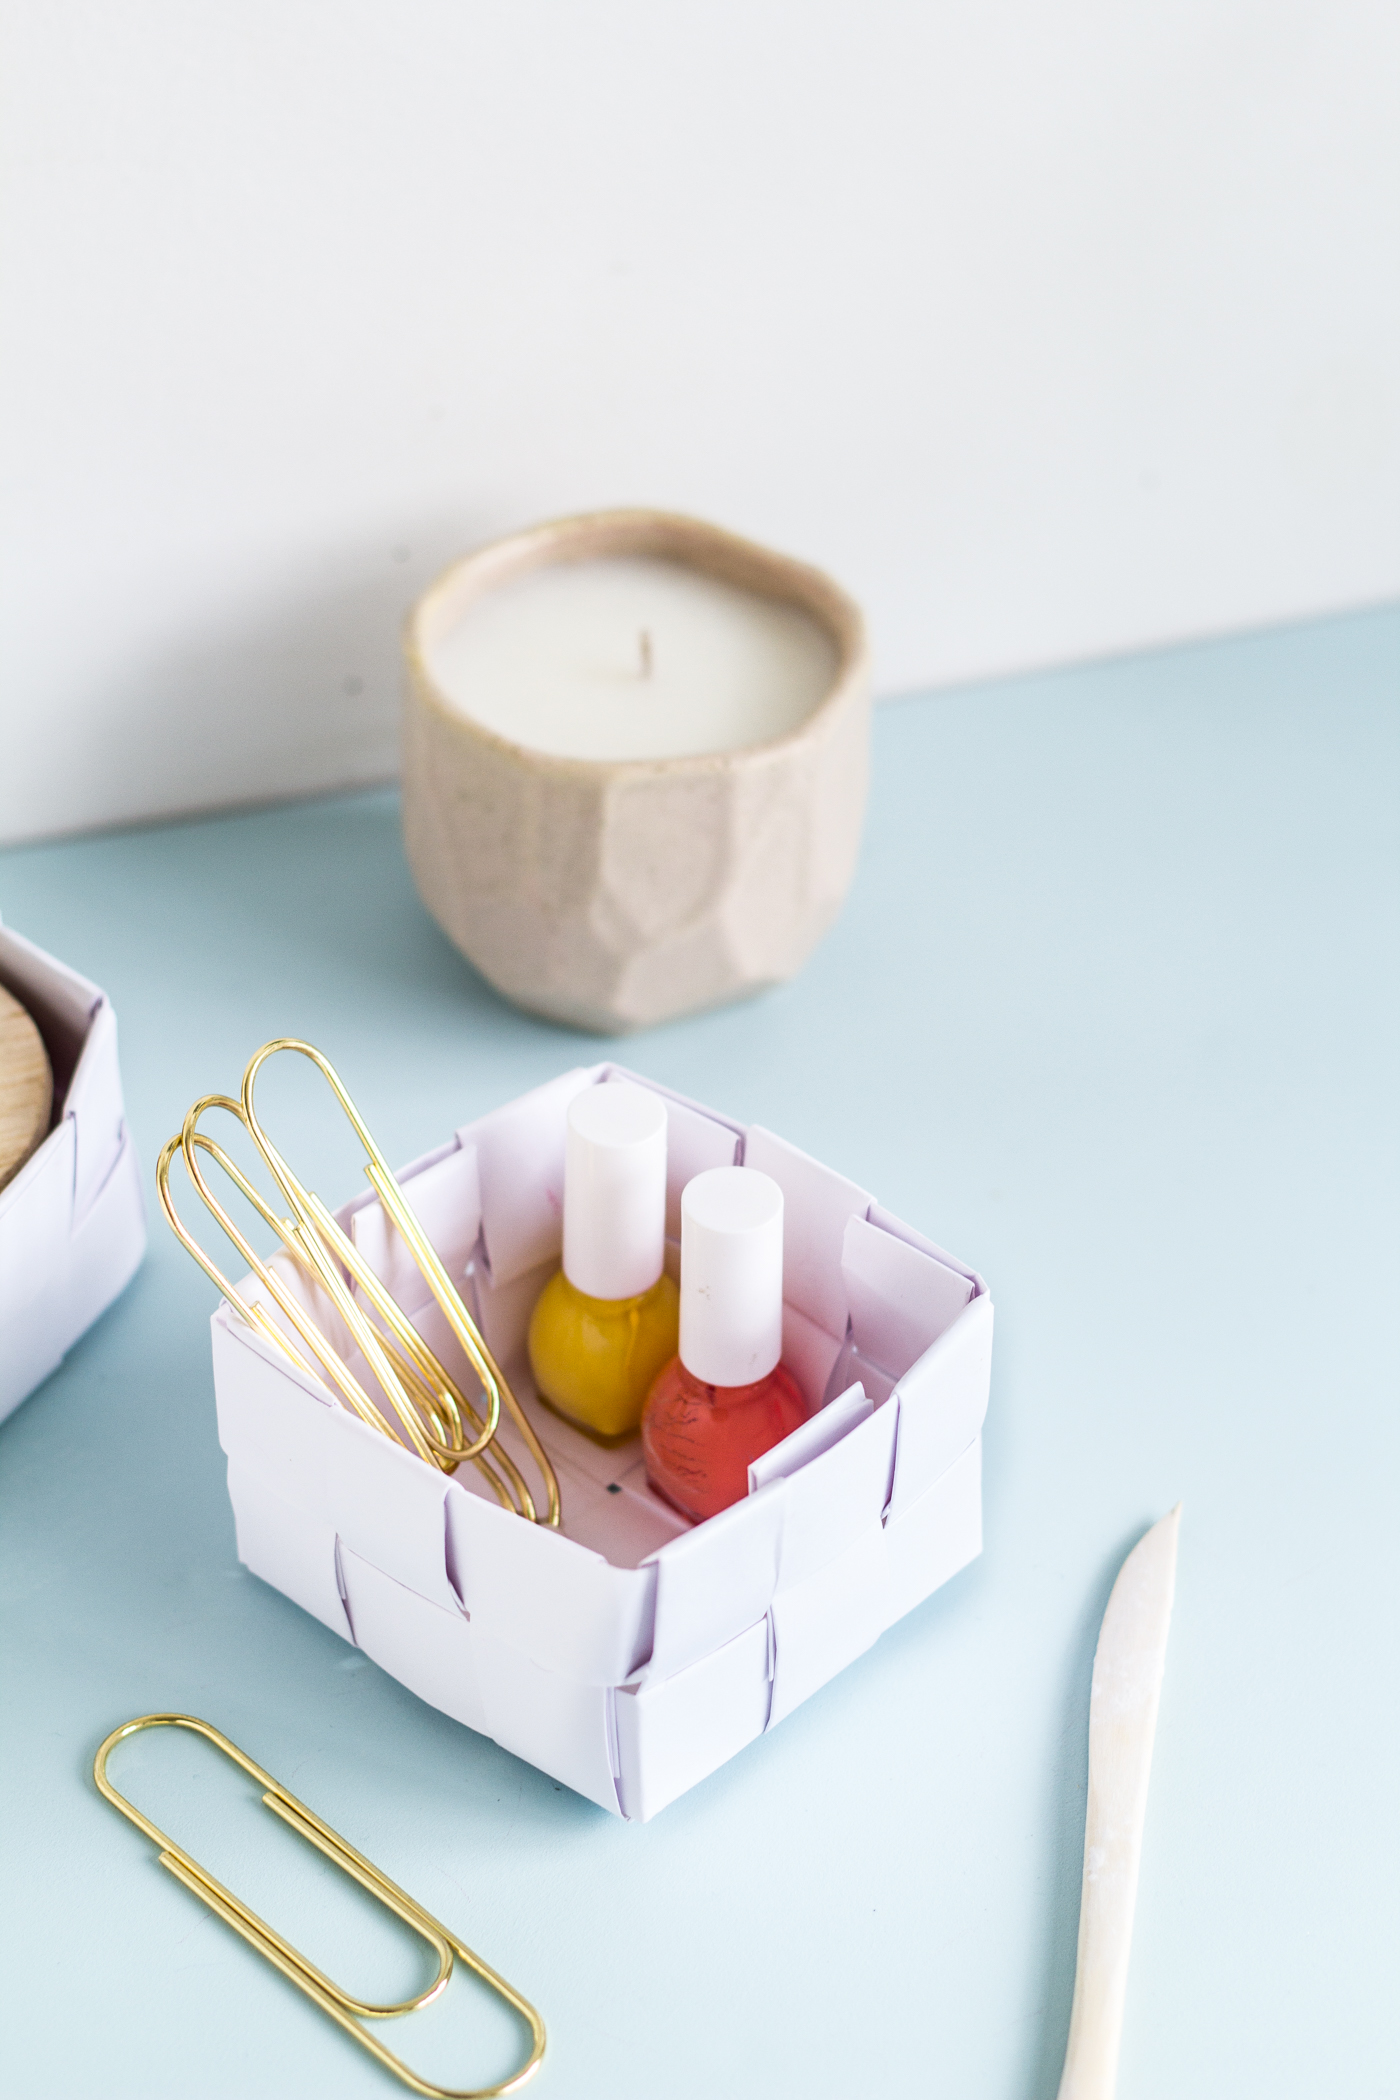
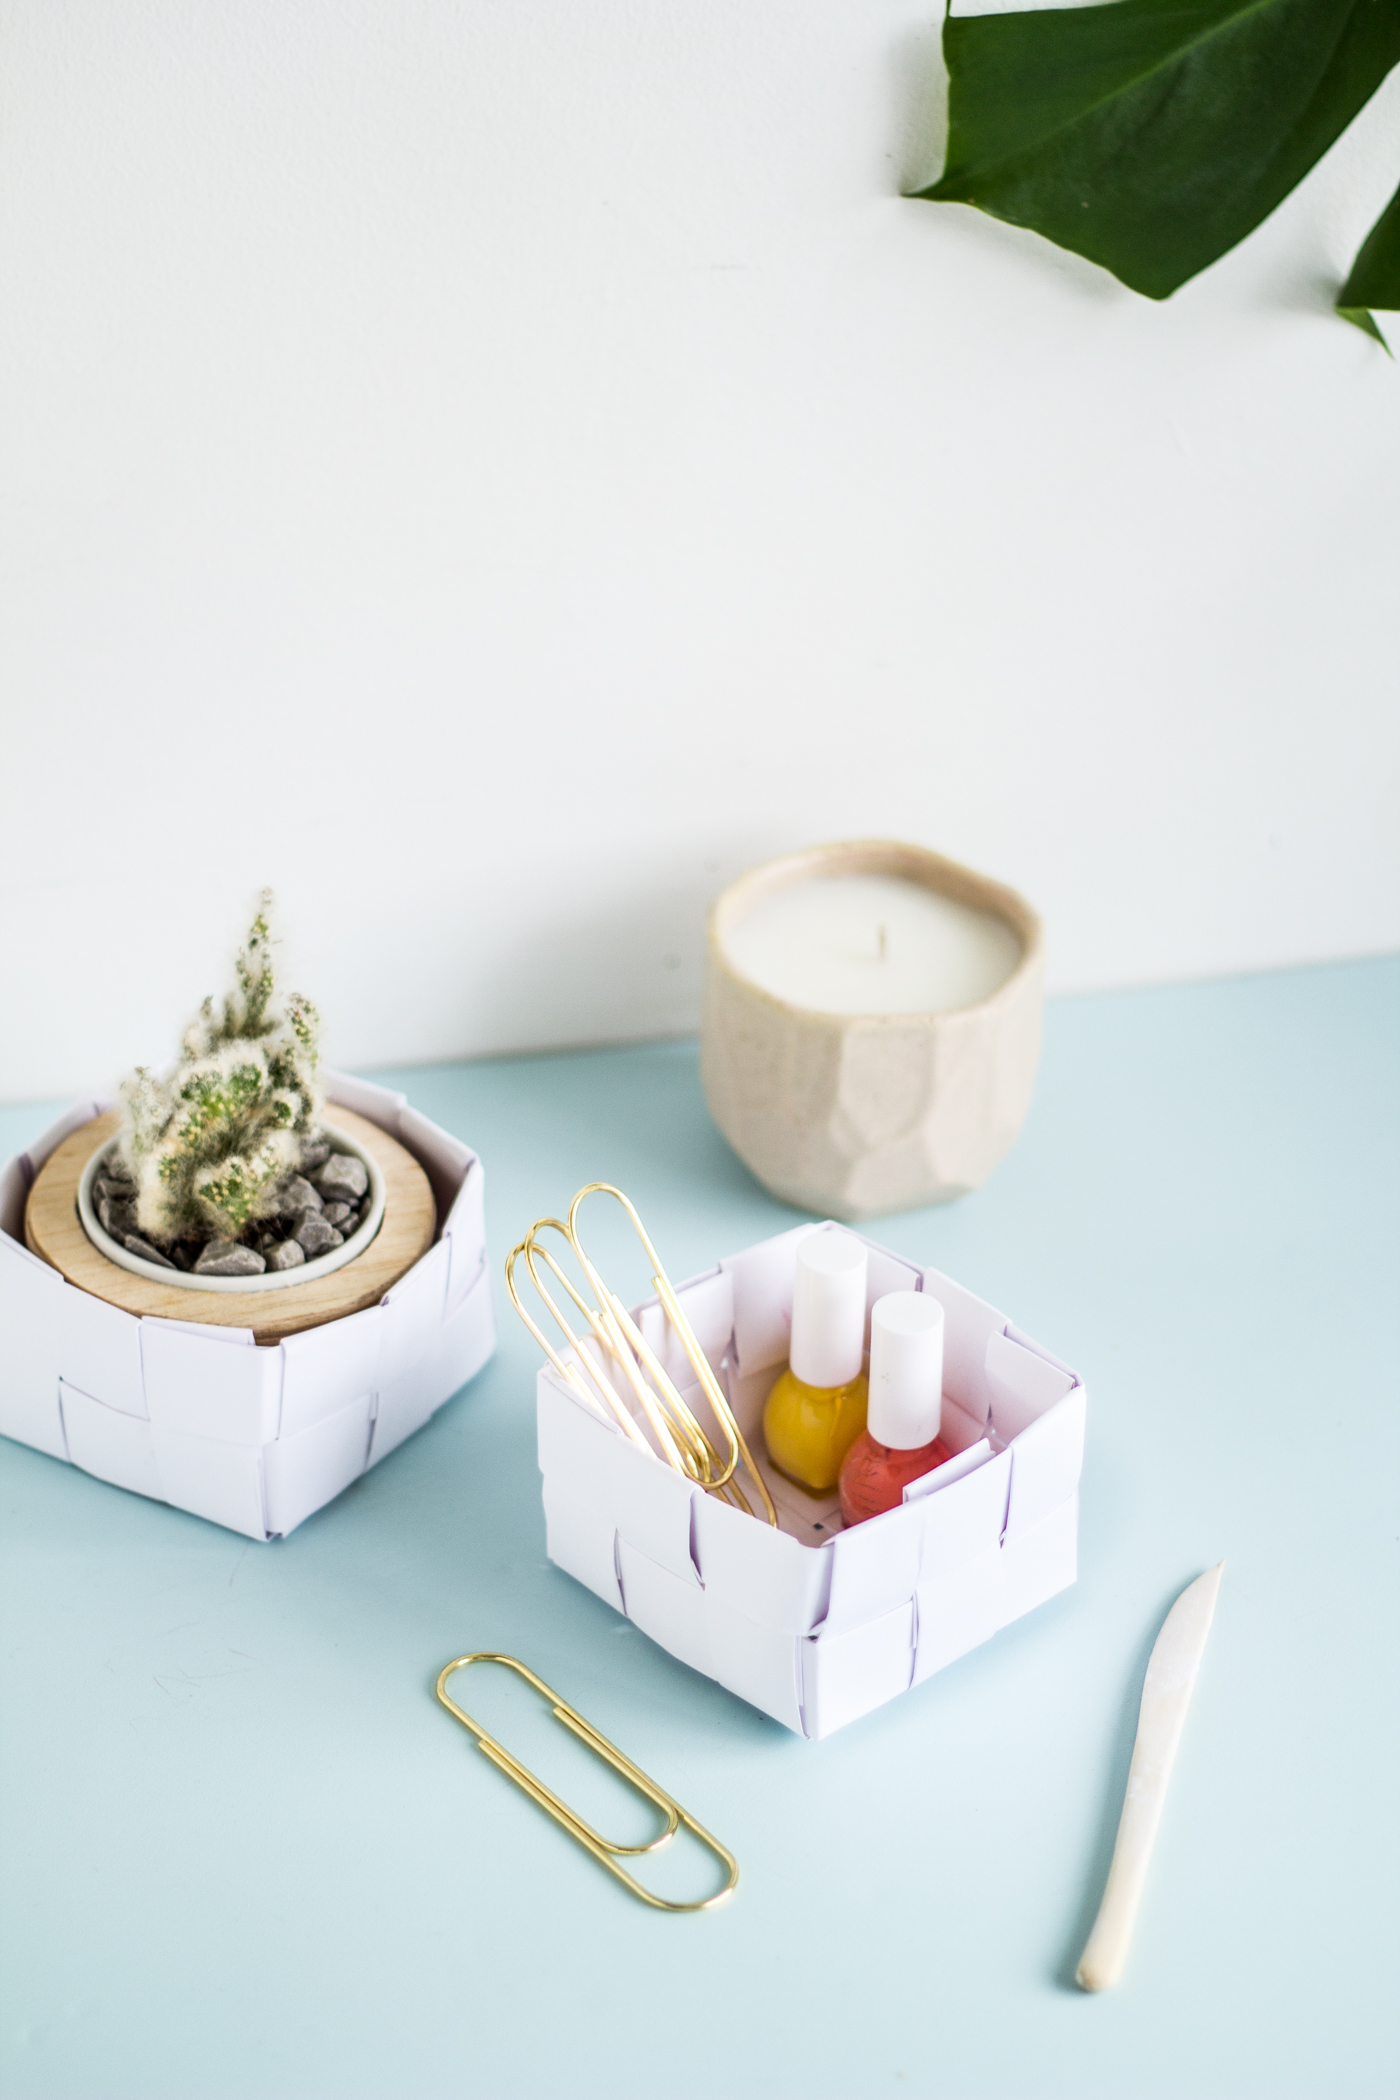
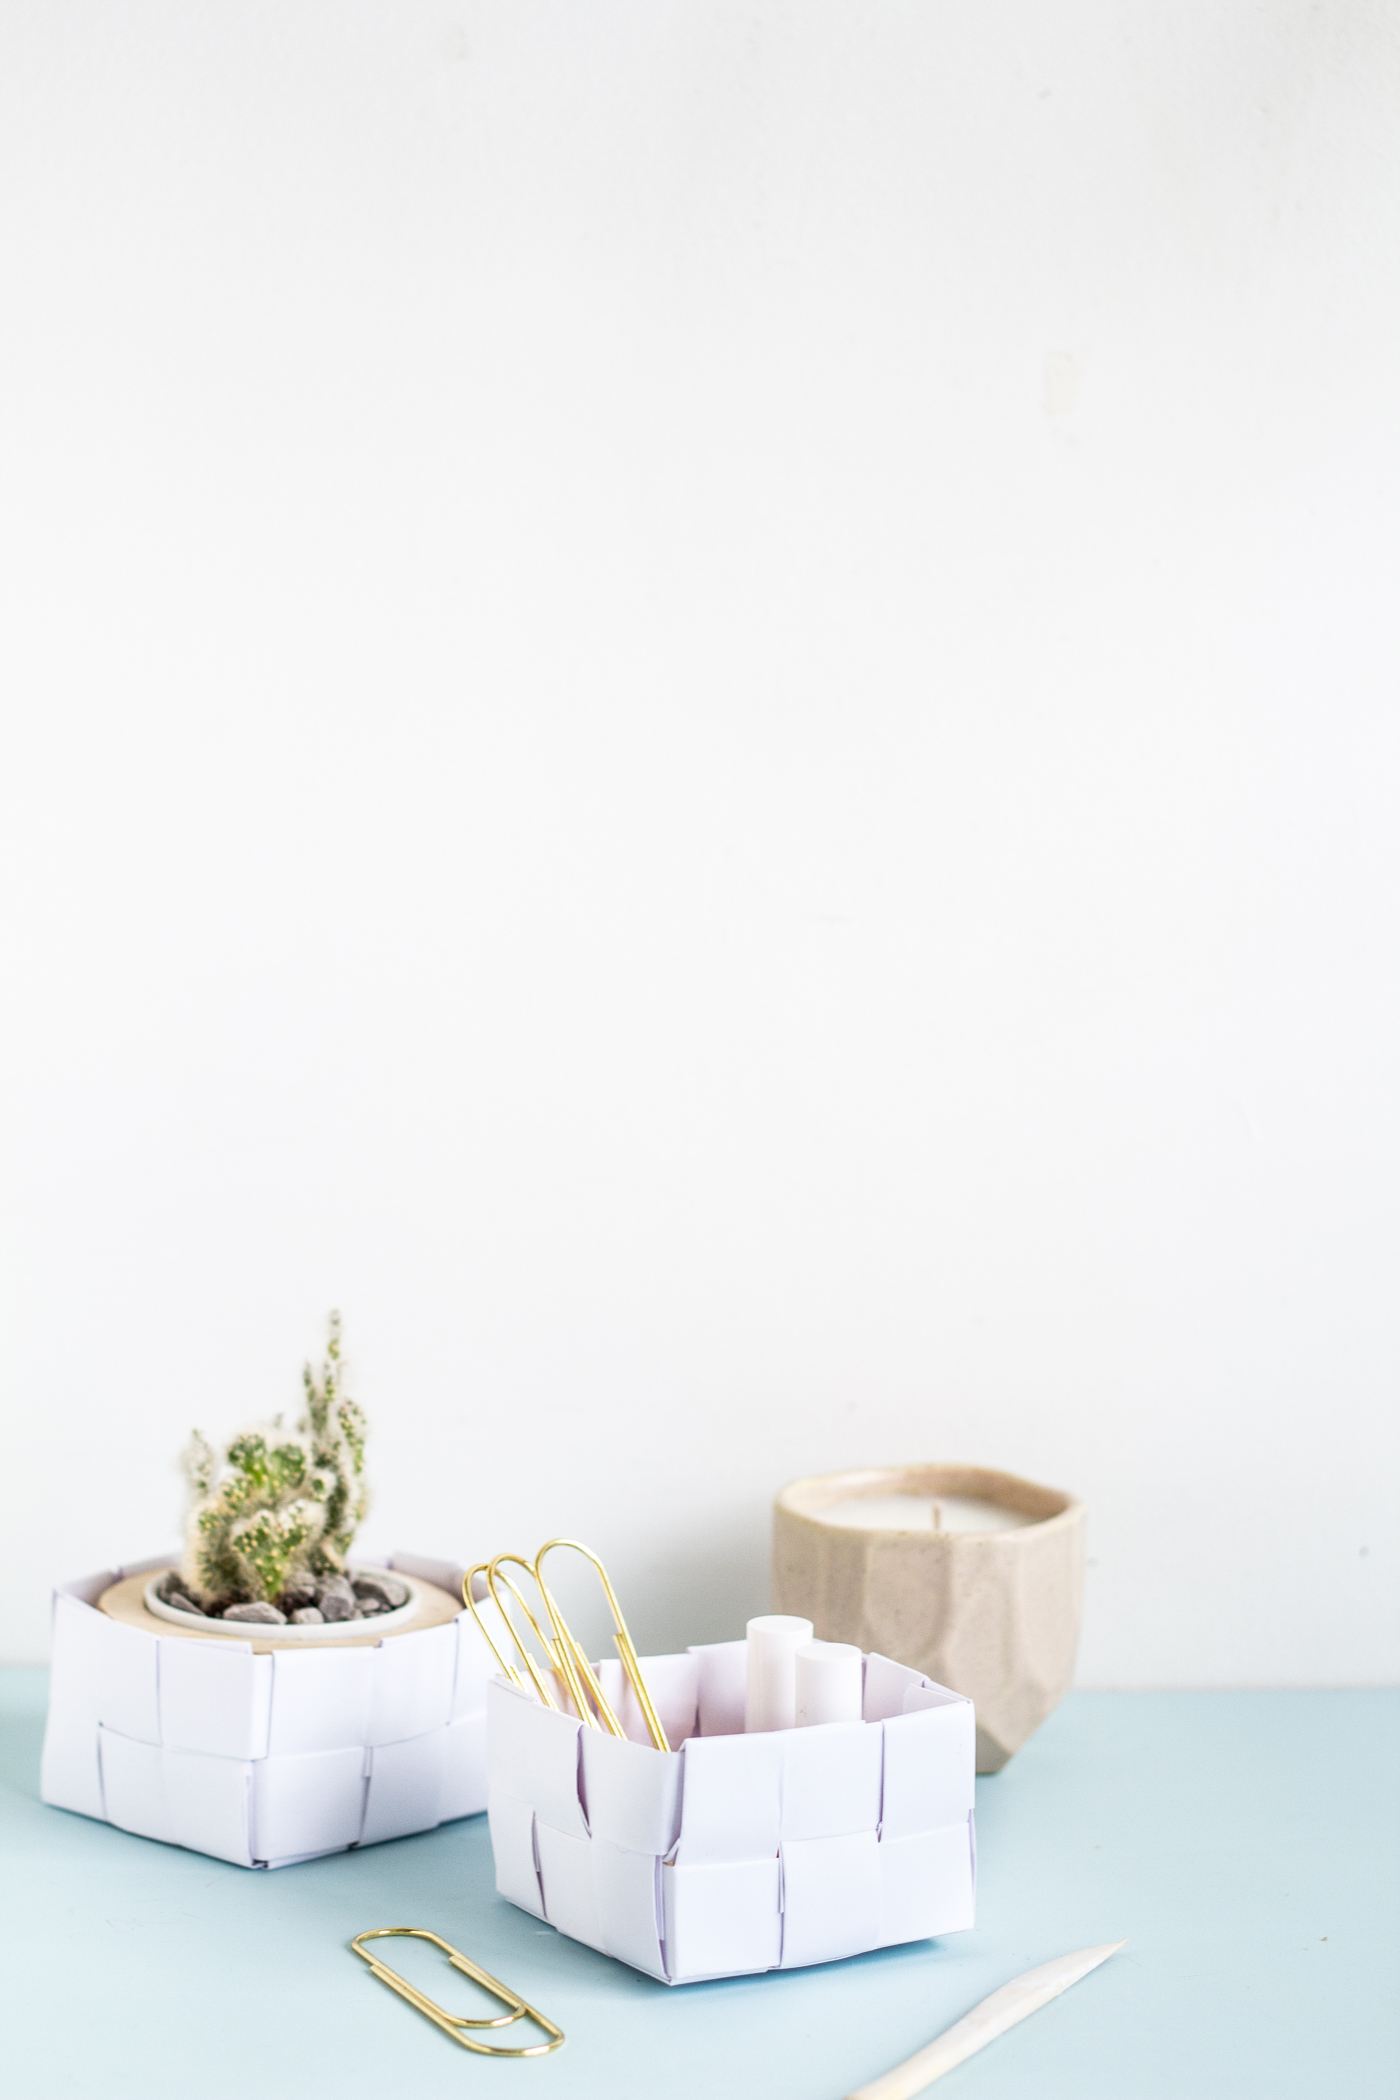
DIY Paper Basket Desk Storage

If you follow over on Instagram I've been showing you little snap shots of (the most tidy corner in) my new studio! It's a move that's taking a while and lots of flatpack assembling but hopefully I'll be able to do a studio tour really soon! Until then I'm going to be focusing a few posts on storage and organisation. It's something that I struggle with, so I really want to go in depth and find a solution that works to organise the smorgasbord of craft supplies I hoard on a daily basis. I need them all... can I get a hell yeah crafters!?
I'm starting with small storage because it's probably the hardest to get right. I once read that you should sort everything you own into categories and find the right sized container to hold them.

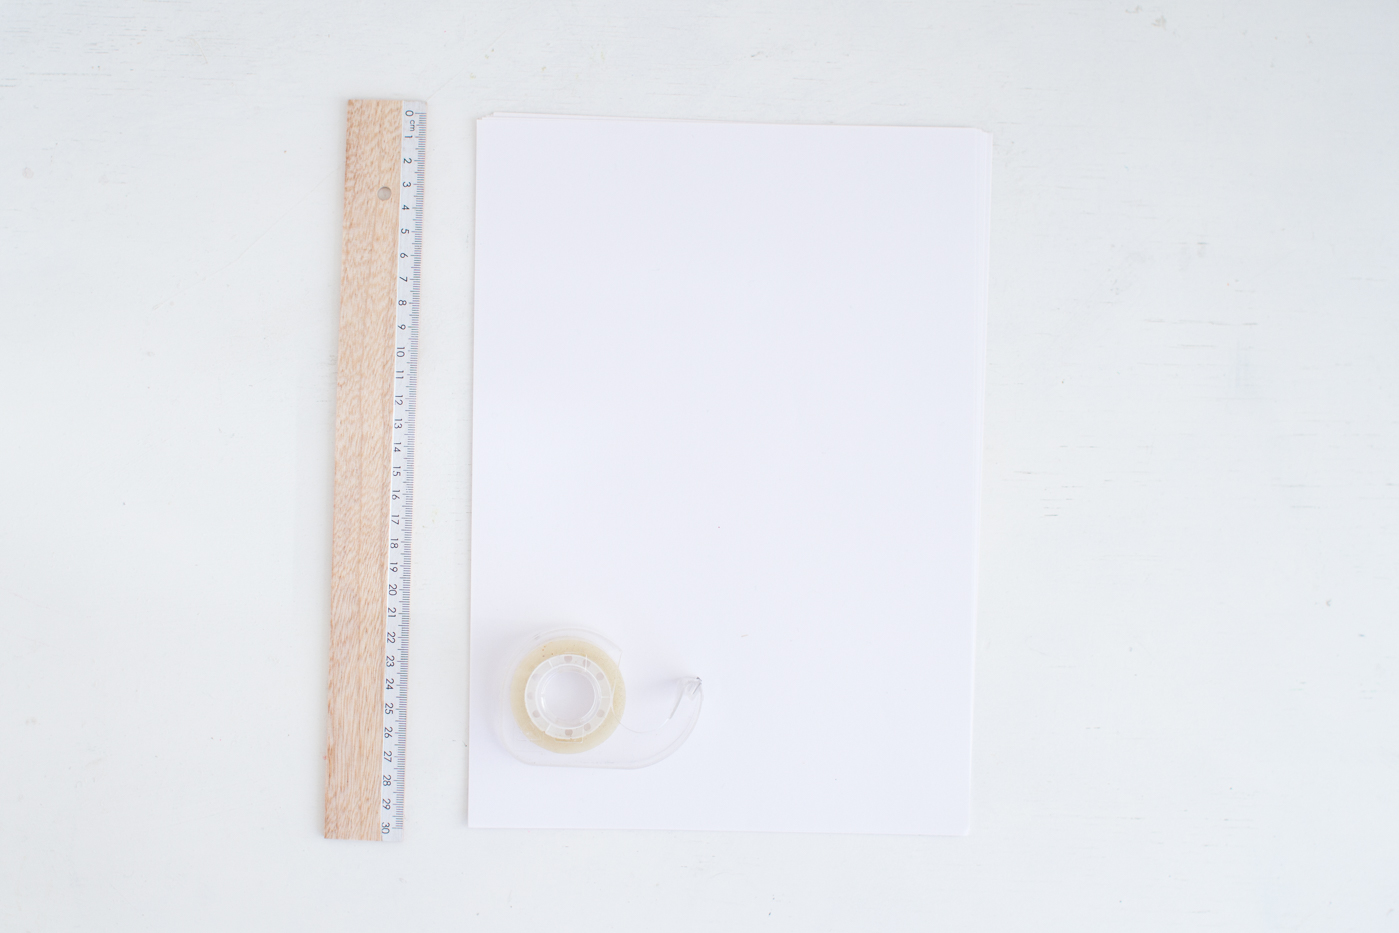
Materials
Printer paper | Double sided tape | Ruler
1. Fold your paper in half lengthways and press the fold with a blunt object. Tear down this fold and then fold each piece in half again.
2. Unfold and line one of the longer sides up against the centre fold. Press flat and fold this edge over again. Repeat that once more to create your strip. Tape down to secure and repeat these steps to make a number of strips.

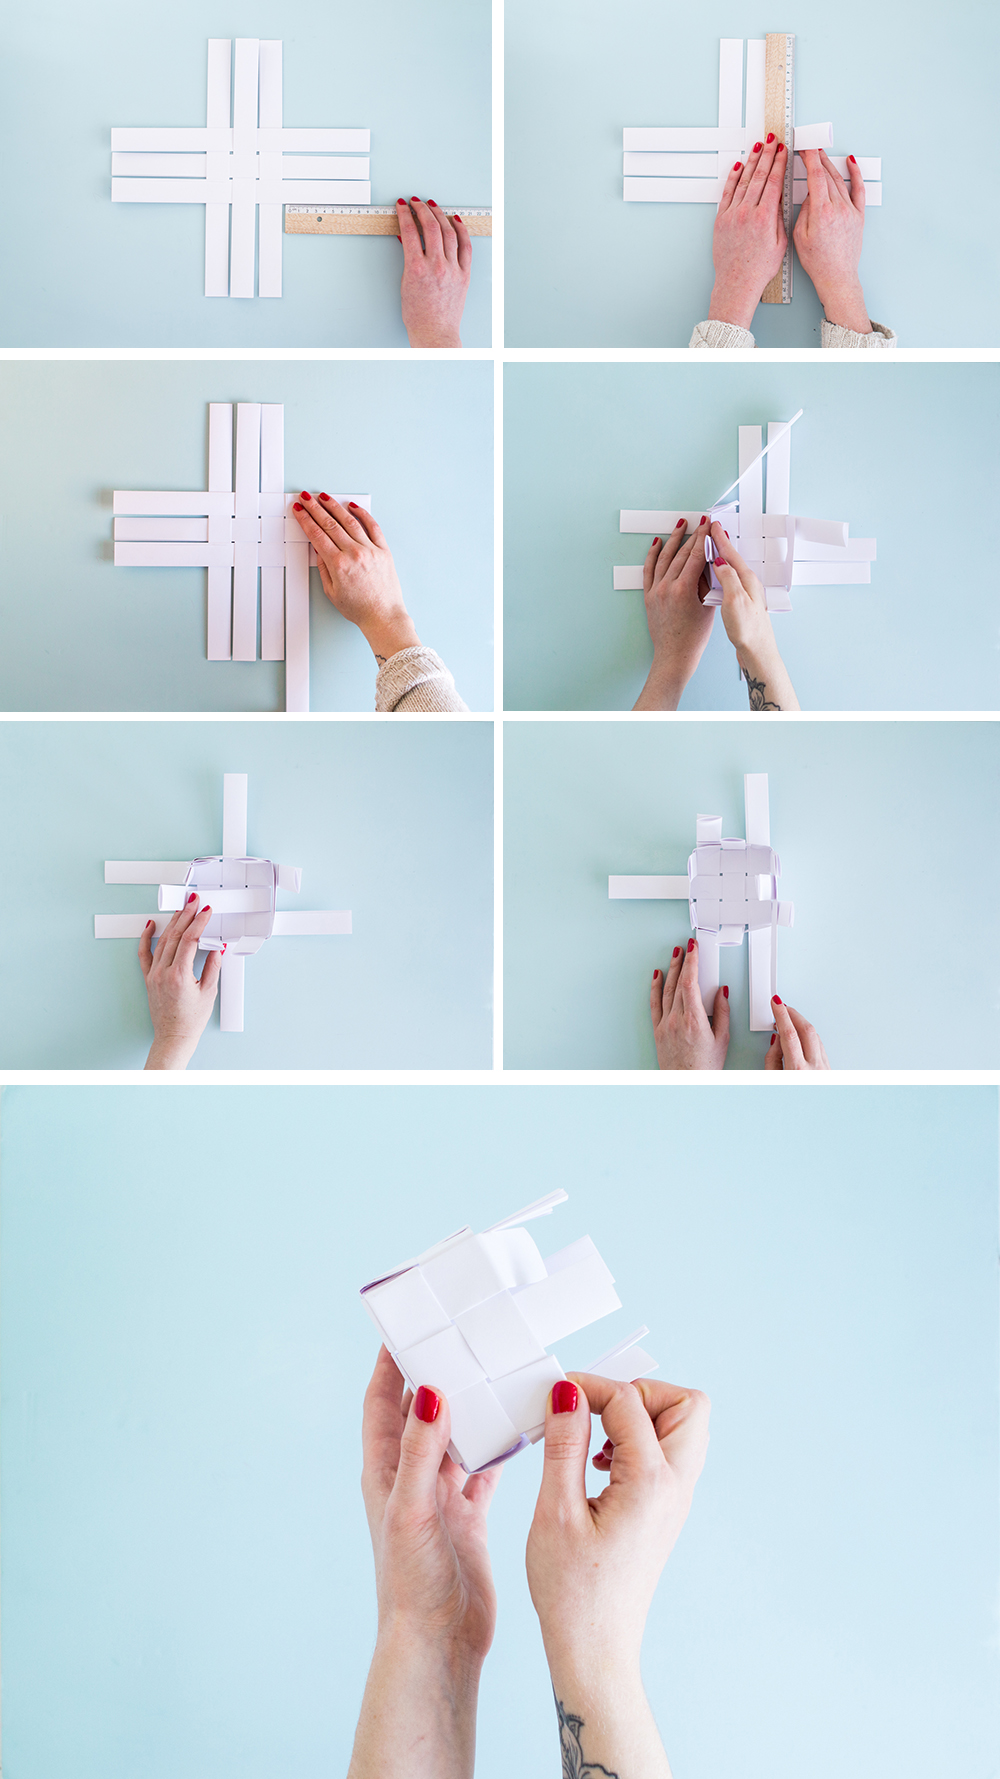
3. Weave six of the paper strips together making sure you have equal lengths on all sides. Place the ruler along the edge of the inner square and fold over the strips to create even folds. Do this on all four sides.
4. Begin weaving in the edges. I use tape to adhere the start to the back of one of the base strips. Then weave over the front of every other strip folding each side up as you move around the centre square.
5. If your strip runs out tape another behind one of the base strips to conceal the join and again once you reach the beginning of the weave. Repeat these steps alternating the weave to build up the sides.

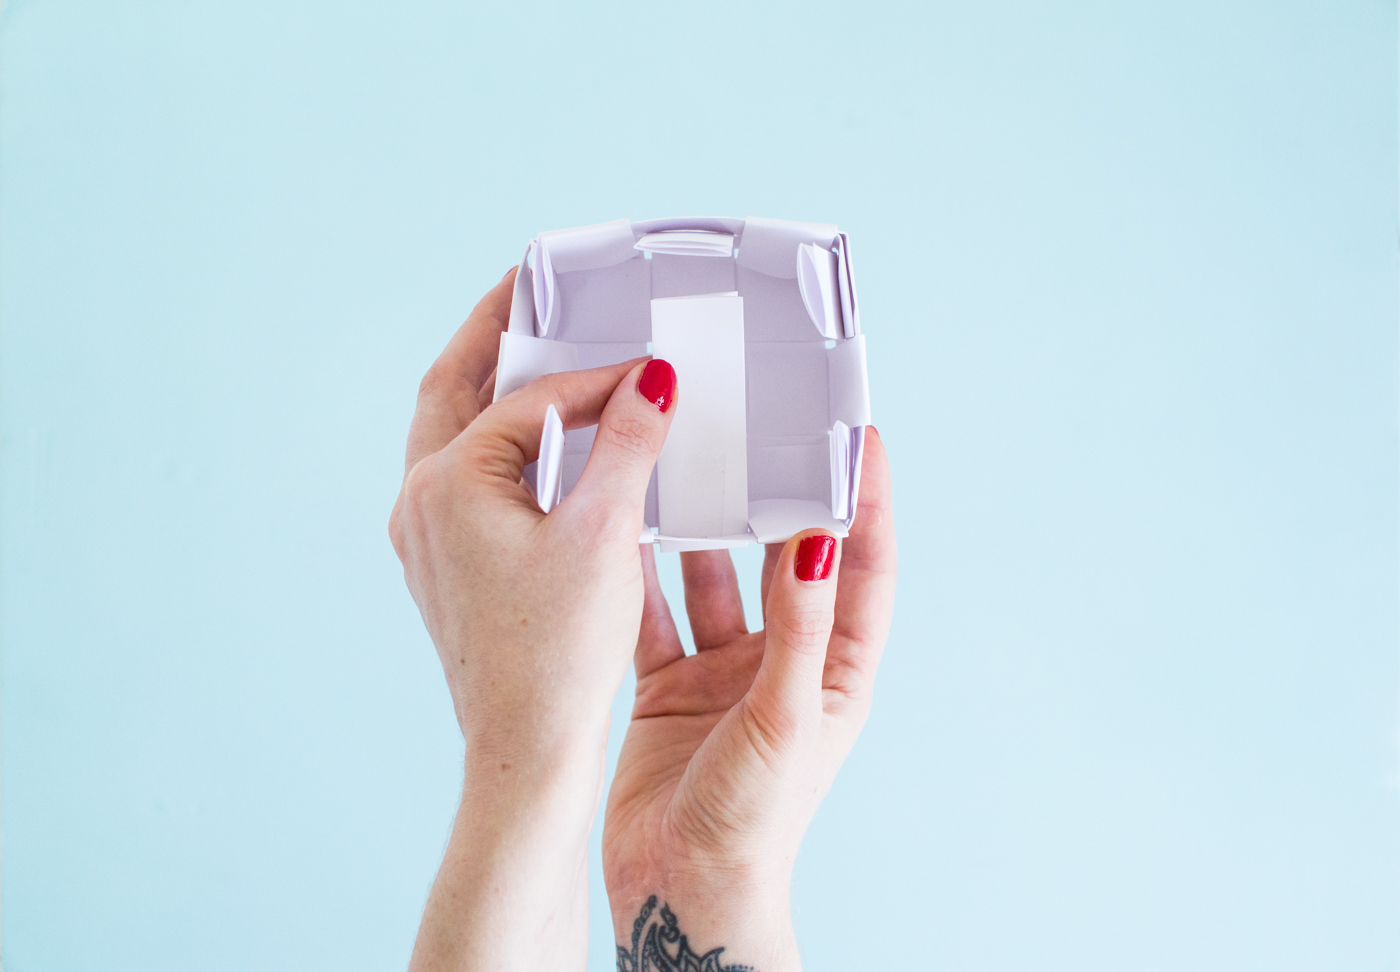
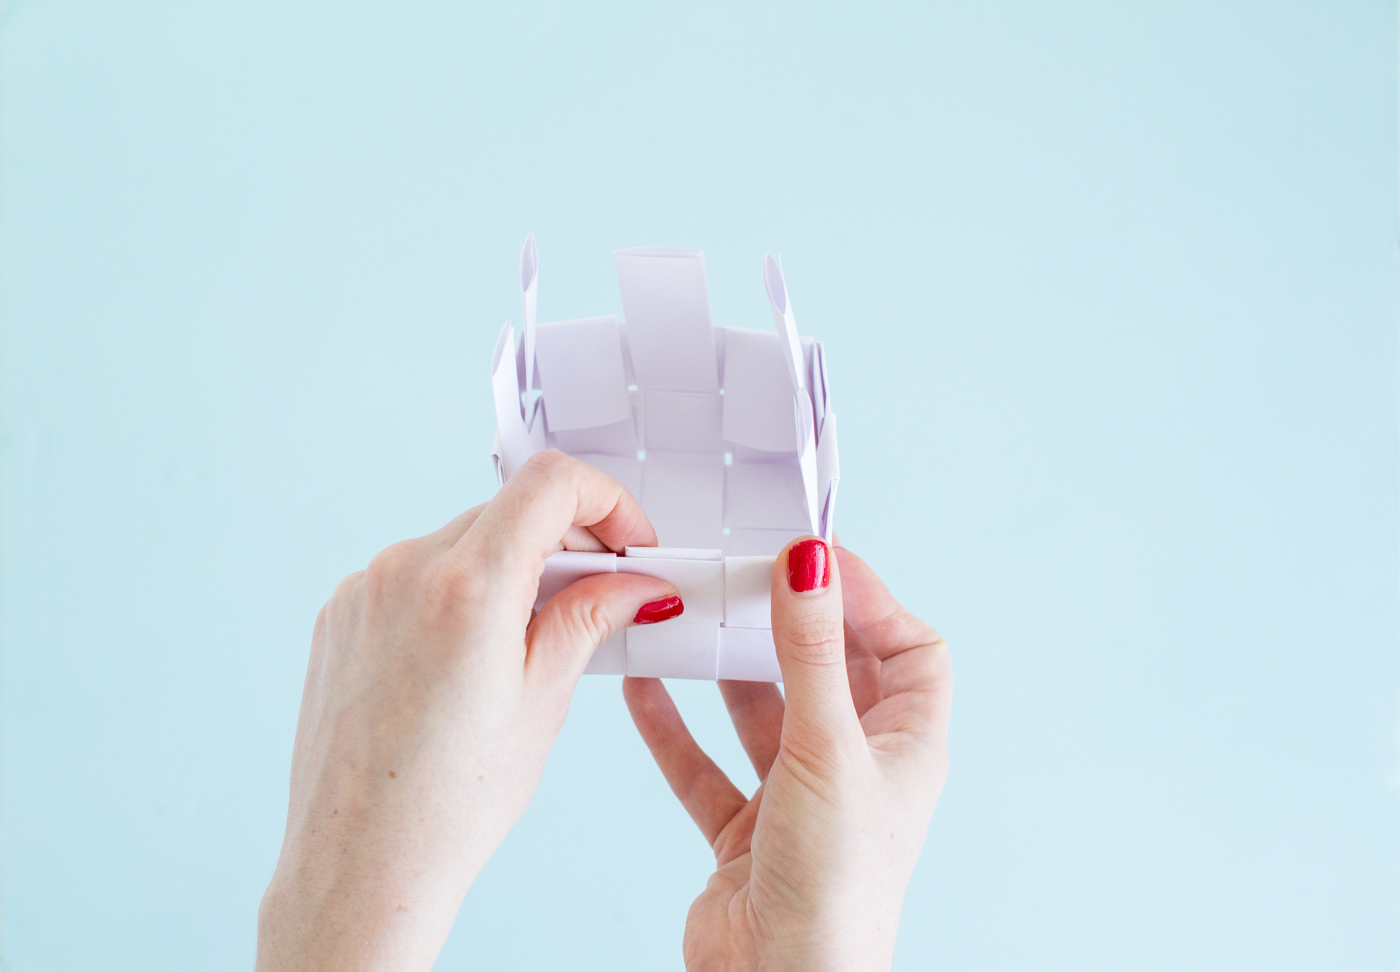
6. Fold the remaining strips into the inside of the box. If you can fold the underneath the horizontal strips or use tape to secure them down.


The post DIY Paper Basket Desk Storage appeared first on Fall For DIY.