
MY DIY | Double-Sided Spiked Earrings


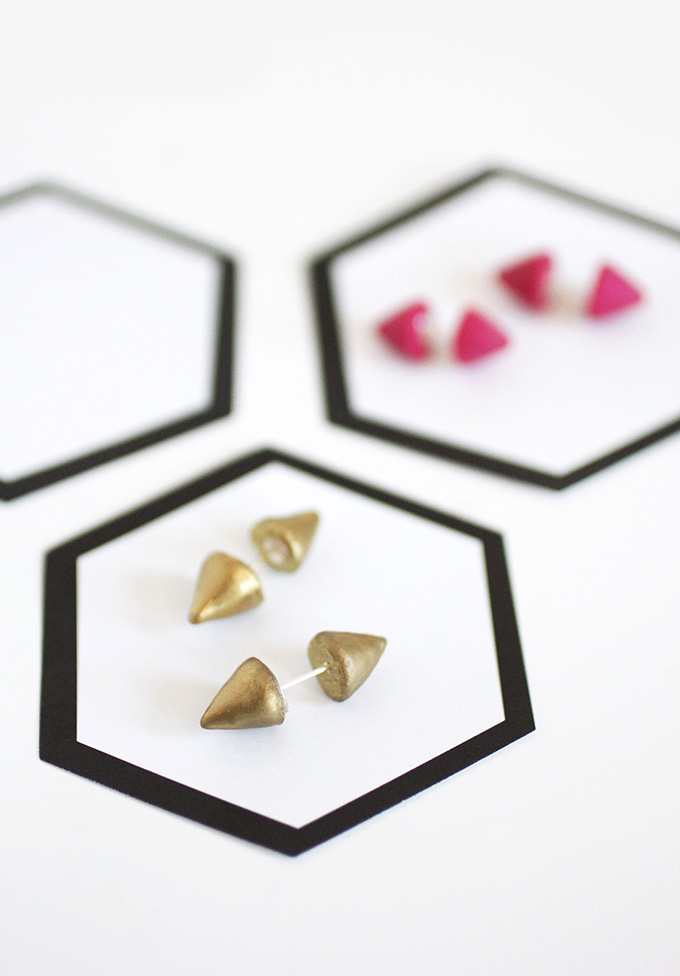
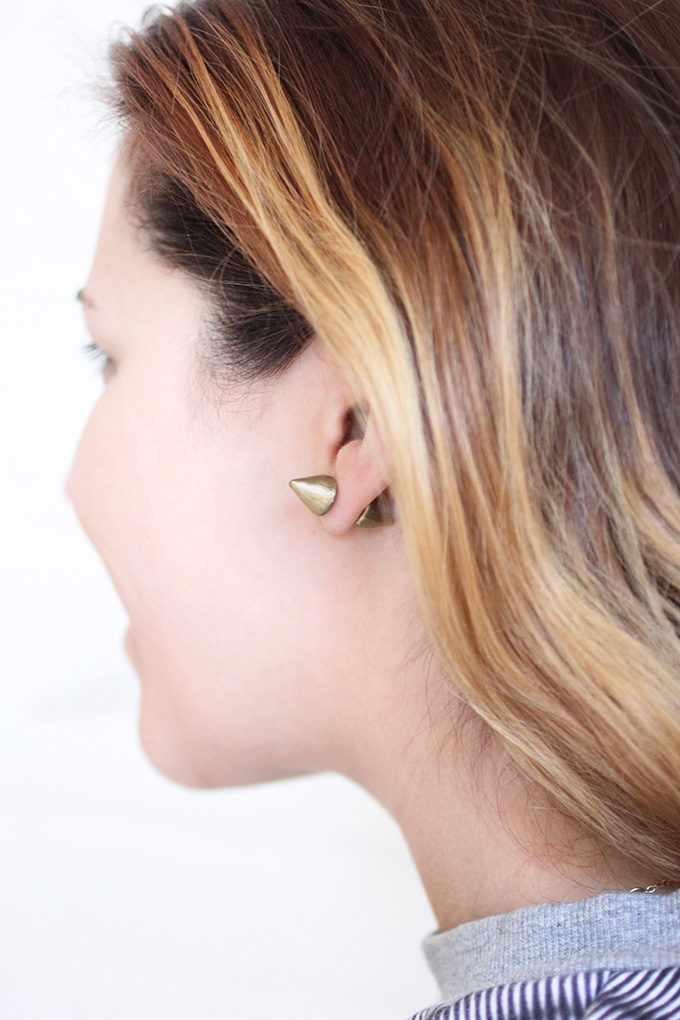
The other day, Molly came up with the fun idea of creating a pair a double-sided spiked earrings out of the leftover oven-bake clay we had from this project. I loved the concept, so she got to creating a couple cone shapes, added an earring post and backing, baked, and Ta-daa! New earrings! I am personally in love with the gold pair, and think they are the perfect edgy addition to any outfit. Steps and supplies after the break!

What you need:
Oven bake clay
Earring posts and backs
Gold paint pen
E6000
Oven
Get all the supplies in a DIY KIT HERE!
What to do:
Using a small piece of polymer clay, mold two studs that are similar in size. We used white clay so that we could easily change the color of the stud once it was fired.
Insert an earring post into an earring back and push them into the base of a stud so that it the earring back is level with the clay and the post is slightly sticking out from the base of the stud. Doing this creates a hole for the post that ensures that you will be able to put on and remove the earrings with ease. Be cautious that you don’t push the back in so far that the post goes through the top of the spike.
Wedge a the flat part of a new earring post into your other stud.
Fire your studs in the oven at the recommended temperature and time listed on the package.
Once the studs are cooled, you may remove the post from the first stud . You can also add a little E6000 glue to the earring post that is wedged into the clay for reinforcement.
Paint both of the studs with a gold paint pen for a chic metallic look.