
IHeart Kitchen Reno: Beaming With Character!
If you were to base the post on the title, you just may have guessed that our ceiling beams are done! And you would be right! As of last night, we officially have fabulous ceiling beams!

This could have easily been a weekend project, however, I decided to get the flu and I am now going on 8 days of body aches and fever, so my husband took complete ownership of this one while I did my best to be his personal cheerleader.
We purchased all of our wood for the beams at Home Depot. Because we purchased the ceiling planks pre-primed, we also wanted the beam boards pre-primed as well. This will speed up the paint spraying process and ensure nothing yellows over time.
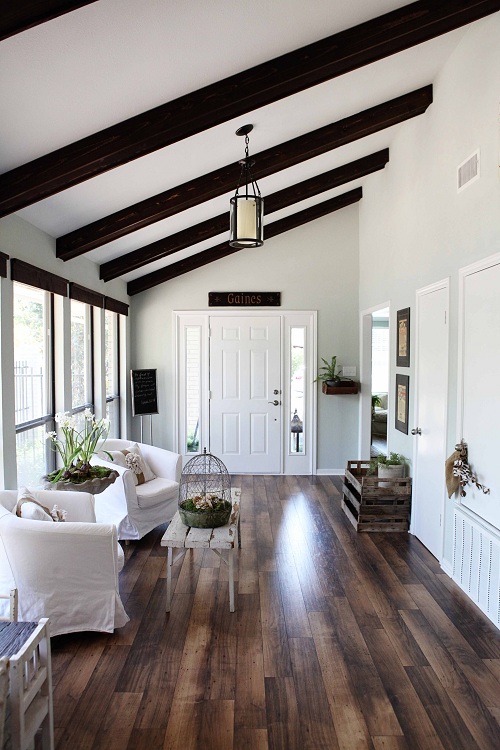
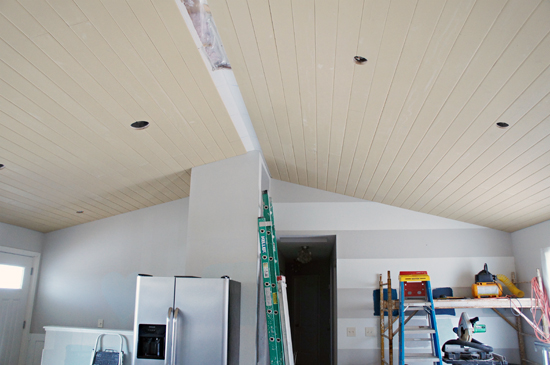
After we planked the ceiling everything felt much more unified, however, the darker boards instantly brought the ceiling down. That is when I knew that as much as I loved the beautiful dark beams in my inspiration photo, they wouldn't work in our space. Here is a reminder of where we left off last.

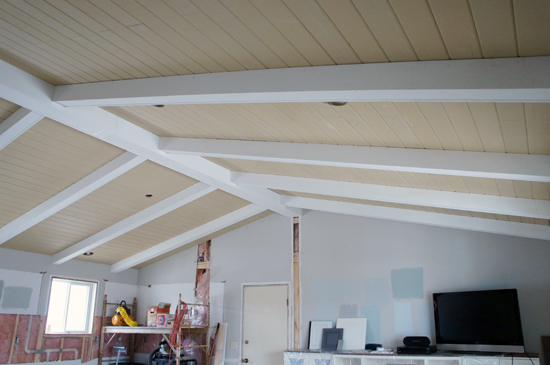
All of our ceiling support is within the trusses, so our beams are purely for aesthetics. To prevent them from becoming too heavy, we created hollow boxes which we attached to simple 2" x 4" and 2" x 6" boards.

For the center beam, because it is chunkier, Bryan cut 2x6 strips and doubled them up every two feet into a ceiling truss.

The 2" x 6" boards acted as a frame for the outer 1" x 8" primed boards of the large center beam. The outer boards were attached with 2" brad nails, while the bottom piece was nailed in with 1 3/8" nails.
The center beam is just over 21 feet long, so we ended up piecing together 2 - 12 foot sections. We were able to match up the seams pretty flush, however, it will receive a lot of Bondo and a lot of sanding. I am still trying to talk the hubby into a little decorative moulding as well.

Above, you can see how each side beam began. Bryan started by attaching 2" x 4" boards to each truss, every four feet. Each one is just under 12 feet long.

Because the ceiling is vaulted, the boards needed to be cut at an angle. The first step was to measure the total length of each side, as well as find the top angle of the board with a sliding t-bevel.


He repeated this step for both sides of the beam and attached them to the 2" x 4" board with our brad nailer.

For the bottom of the beam, we used primed 1" x 4" boards. Where the board met the wall, we needed to cut an angle to ensure the board would fit tight on the face side.


The bottom piece of the beam was carefully tapped into place with a rubber mallet between the two 1" x 6" pieces that were already affixed.

A grip clamp was helpful in adding extra "hands" and pressure while the bottom piece was nailed in place.


The second the white beams were in, the entire kitchen and living area felt twice as big! It is extremely hard for it to translate in photos how much more grand it feels, but the white in the beams brought that ceiling right back up where we wanted it to be.


Currently on the docket for this week is to patch all of the sheetrock and prepare the ceiling to be sprayed white. That will mean a lot of filling and sanding for a seamless look, and with over 550 square feet to cover, it is going to be a pretty labor intensive process. I am really excited for a few specific milestones with this renovation, and the sprayed ceiling is at the top of the list!
And in other news... no color selections have been made... sigh...


You can follow all of the kitchen progress here.
And don't forget! My Joss & Main sale runs through early tomorrow morning! Last chance to scoop up some IHeart Organizing inspired goodies!

More posts from Jennifer Jones