
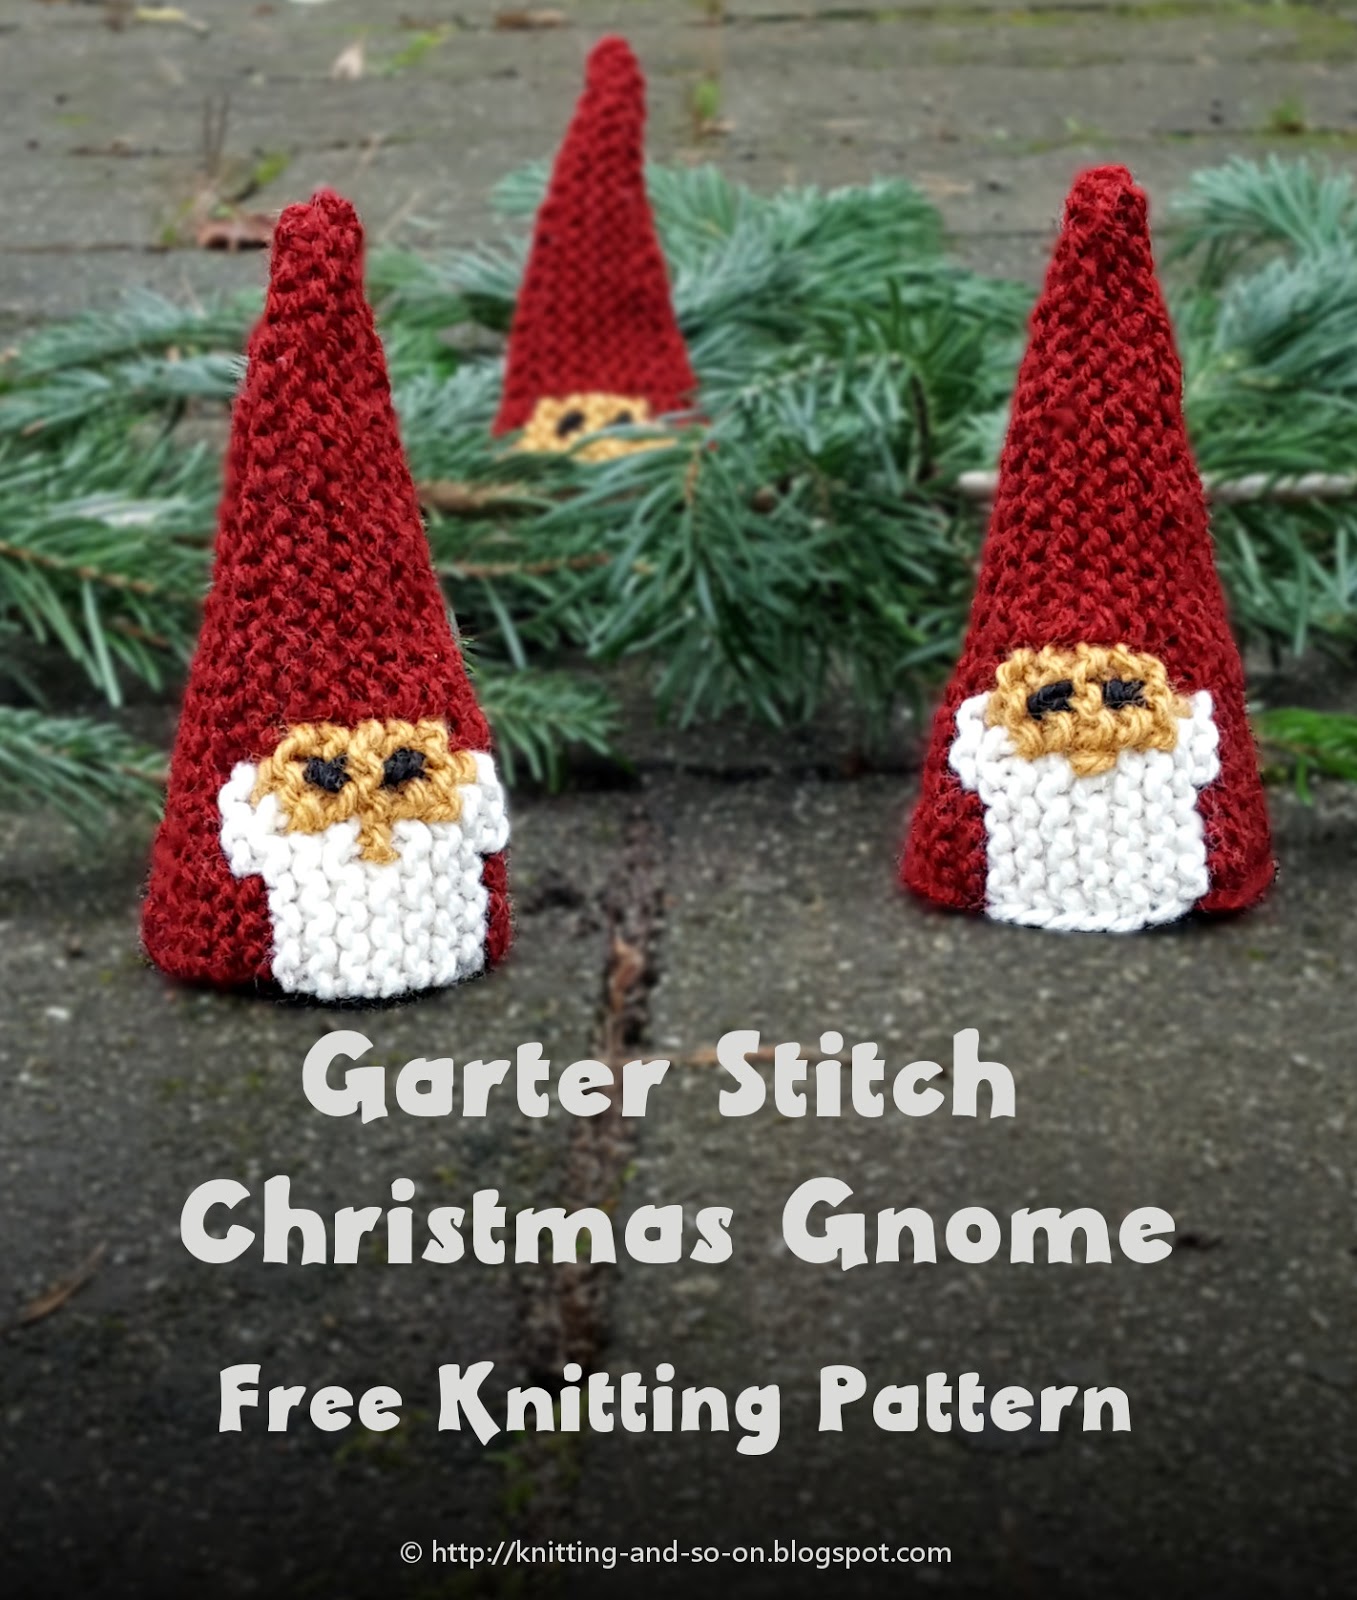
Garter Stitch Christmas Gnome
When I recently saw a picture of a felted "Weihnachtswichtel" (Christmas gnome or christmas elf) on social media, I wanted to do something similar in knitting. So I took the general shape of the Little Christmas Tree pattern and added some stranded colorwork.


This work by Knitting and so on is licensed under a Creative Commons Attribution-NonCommercial-ShareAlike 4.0 International License.
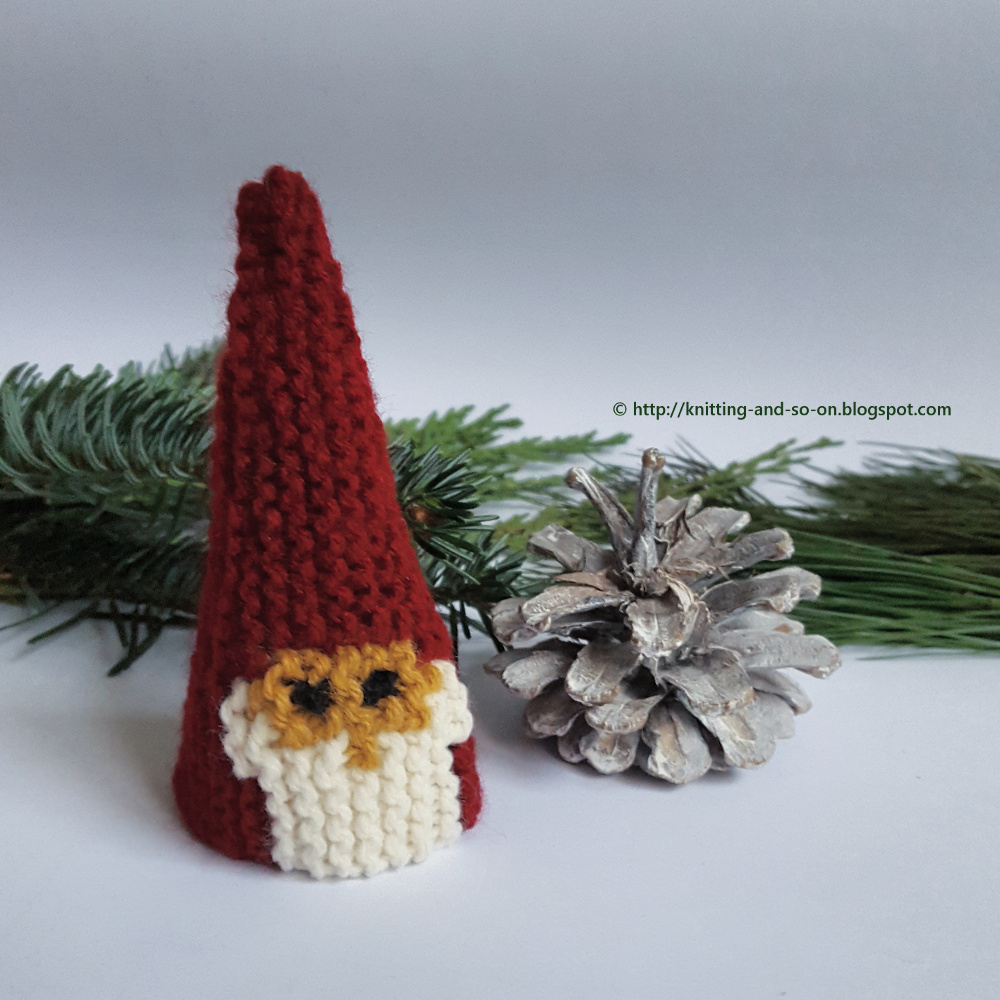
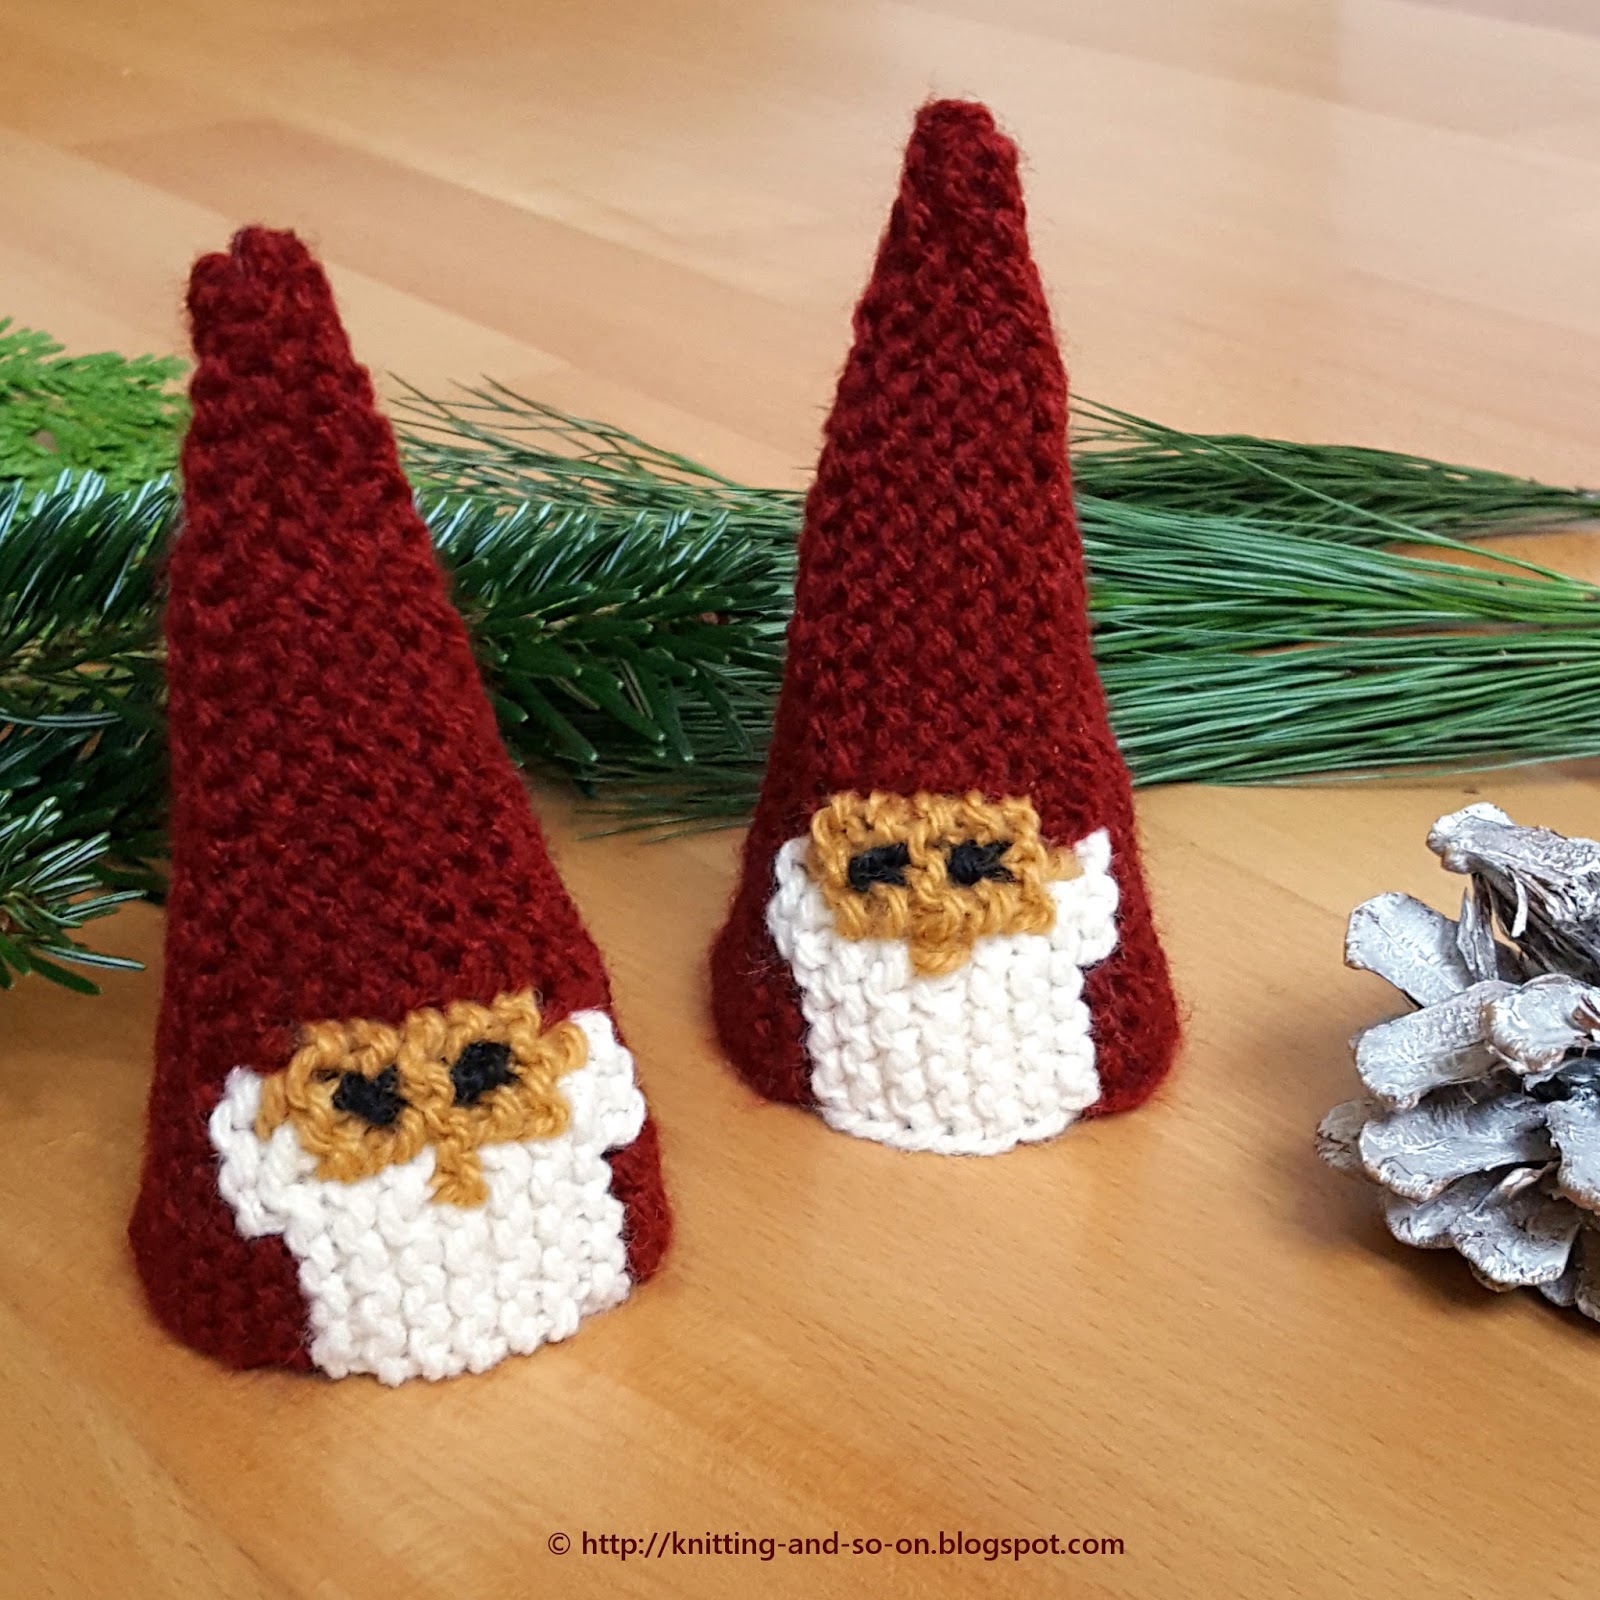
I like the result - even though it took me a while to get the face right - so the first two got a little facelift after the knitting was finished, i.e. I added some embroidery :) The version described in this pattern is the last one I knitted (see picture below). for this one, no embroidery was added.

Materials
- I used old yarn in four colors - mainly red, some white, some beige (for the face) and black for the eyes - I believe it was sports weight yarn; one gnome weighs about 12 grams
- knitting needle that's a bit smaller than the size the yarn calls for; I used 2.5mm needles
- a third needle for a three-needle bind off
- scrap yarn for the provisional cast on
Techniques and Special Abbreviations
- Provisional CO (pCO): My favorite method for a provision CO is the crochet provisional CO - it is shown in
this Youtube video by New Stitch a Day. Short rows with wrap and turn ("w t"):
https://youtu.be/G4GxFvi4KD0 Three Needle Bind Off:
https://youtu.be/Ph93jWSzTa0 kX (color Y): knit X stitches in color Y
General Construction
Each gnome consist of a pizza-slice shaped piece that is sewn together at the straight sides in the end. The shape is achieved by knitting three parts of garter stitch short rows. Part 1 and 3 are only knitted in one color - part two also has the colorwork for the beard an face.
Before the three needle BO, the piece looks as shown in the picture below.

Instructions
With scrap yarn pCO 24 stitches - this does not include the first row with your working yarn.
Part 1 - all knitted in red yarn
Rigde 1: k all, turn, sl1, k to end
Ridge 2: k10, w t, k to end
Ridge 3: k16, w t, k to end
Ridge 4: k8, w t, k to end
Ridge 5: k14, w t, k to end
Ridge 6: k4, w t, k to end
Ridge 7: k20, w t, k to end
Ridge 8: k12, w t, k to end
Ridge 9: k2, w t, k to end
Ridge 10: k18, w t, k to end
Ridge 11: k6, w t, k to end
Ridge 12: k22, w t, k to end

Chart for parts 1 and 3 - click to enlarge
Part 2
Ridge 1: k4 (red),
Ridge 2: k4 (red), k3 (white), k1 (red), w t, k1 (red), k3 (white), k4 (red)
Ridge 3: k6 (white), k1 (beige), k5 (red), w t, k5 (red), k1 (beige), k6 (white)
Ridge 4: k5 (white), k3 (beige), k8 (red), w t, k8 (red), k3 (beige), k5 (white)
Ridge 5: k5 (white), k1 (beige), k1 (black), 1 (beige), k12 (red), w t, k12 (red), k1 (beige), k1 (black), 1 (beige), k5 (white)
Ridge 6: k4 (white), k4 (beige), k16 (red), w t, k16 (red), k4 (beige), k4 (white)
Ridge 7: k5 (white), k1 (beige), k1 (black), k1 (beige), k14 (red), w t, k14 (red), k1 (beige), k1 (black), k1 (beige), k5 (white)
Ridge 8: k5 (white), k3 (beige), k10 (red), w t, k10 (red), k3 (beige), k5 (white)
Ridge 9: k6 (white), k1 (beige), k7 (red), w t, k7 (red), k1 (beige), k6 (white)
Ridge 10: k4 (red), k3 (beige), k3 (red), w t, k3 (red), k3 (beige), k4 (red)
Ridge 11: k7 (red), w t, k7 (red)
Ridge 12: k2 (red), w t, k2 (red)

Chart for part 2 - click to enlarge
Part 3
Repeat part 1
Finishing Put the stitches from the provisional CO on a knitting needle. Hold the piece rights sides together and do a three needle bind off.
Afterwards, turn the piece right sides out. Use a pen or something similar to get into the top.
If the yarn you used was really soft, you might want to stabilize the tree. You can do this by cutting out a piece of paper or soft cardboard in the shape of a 90° pizza slice (similar to the tree before the three needle BO) and insert it into the tree.
The yarn I used was stiff enough, so there wasn't any need for stabilization.

More posts from Sybil Ra