
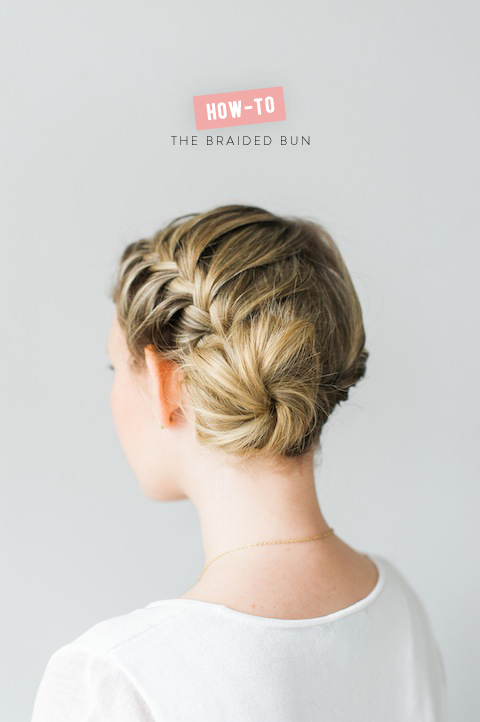
The Braided Bun Tutorial

When it comes to my hair, you can typically find it one of three ways: stick straight, a hint of wave or piled on top of my head. Though I love the idea of something a little more wow-worthy, it’s just never been in my wheelhouse to attempt anything more. Which is why I’ve turned to miss Lexi Haslam to teach me her ways. Blessed with a head full of fabulous blonde locks, the girl is filled with hair magic. And her braided bun tutorial, (perfect for day or night alike)? Well it couldn’t be easier! With photos from Heidi Lau, grab the simple step by step details below!


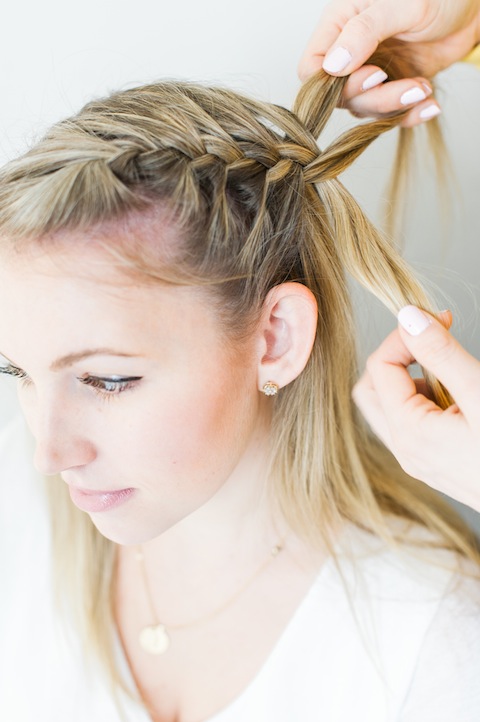
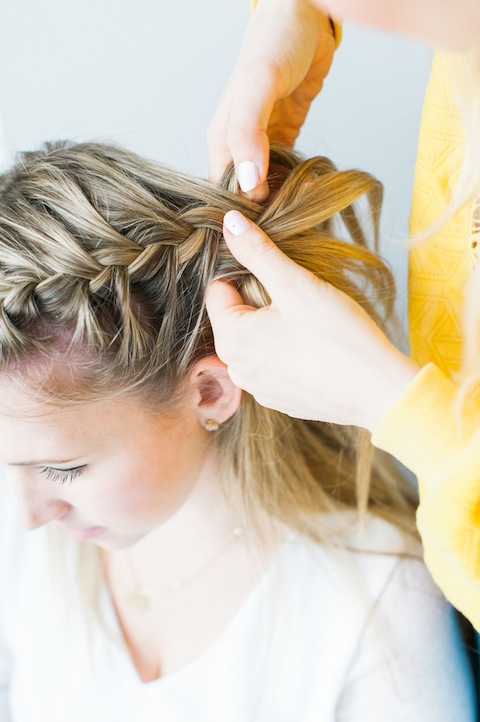
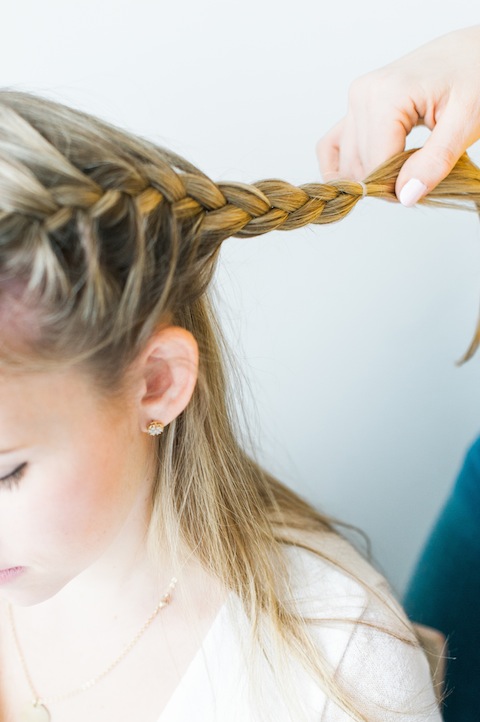
|STEP 2| Once you’ve reached 2/3rds of the way, continue to braid as usual, tying off the ends with a clear elastic.

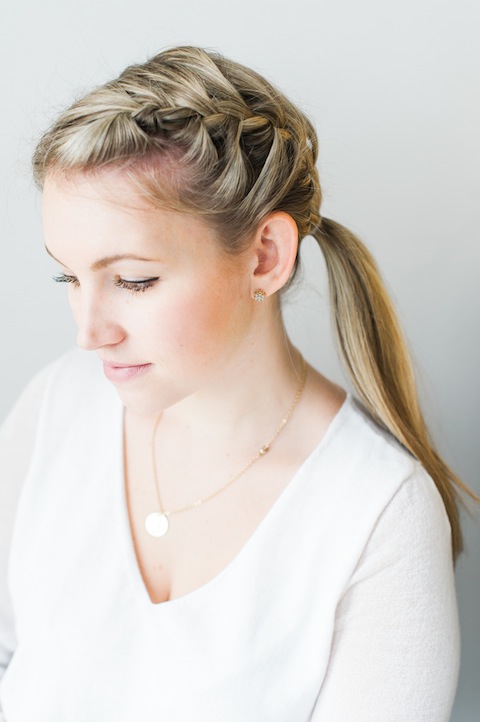
|STEP 3| Pull all of your hair, including the braid, into a side pony tail. Tie off with a clear elastic and remove the elastic on the braid.


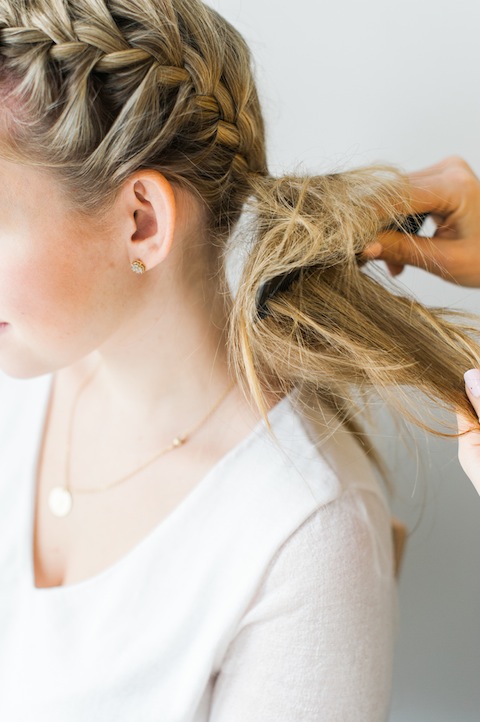
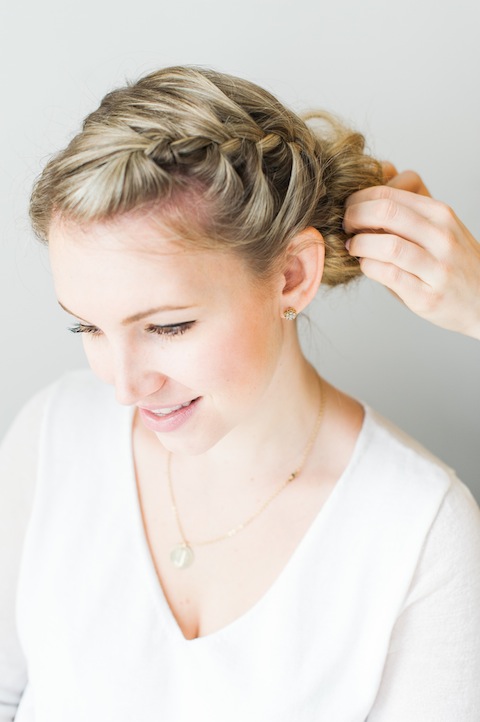
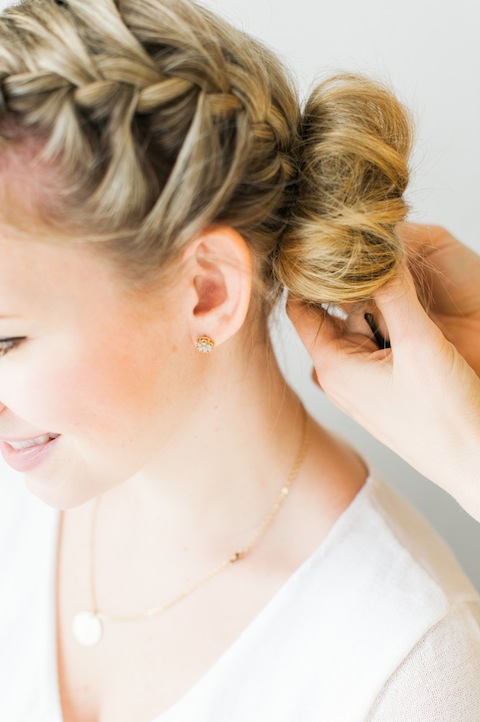
|STEP 5| Gently twist into a loose bun. You don’t want to twist too tight as you want your bun to be loose, full and textured. Pin as necessary using bobby pins.


Others braids in this series: the braided faux-hawk, the braided crown & the glam side braid

The post The Braided Bun Tutorial appeared first on lark & linen.