Easy DIY Hoop Paintings


Here’s What You Need:
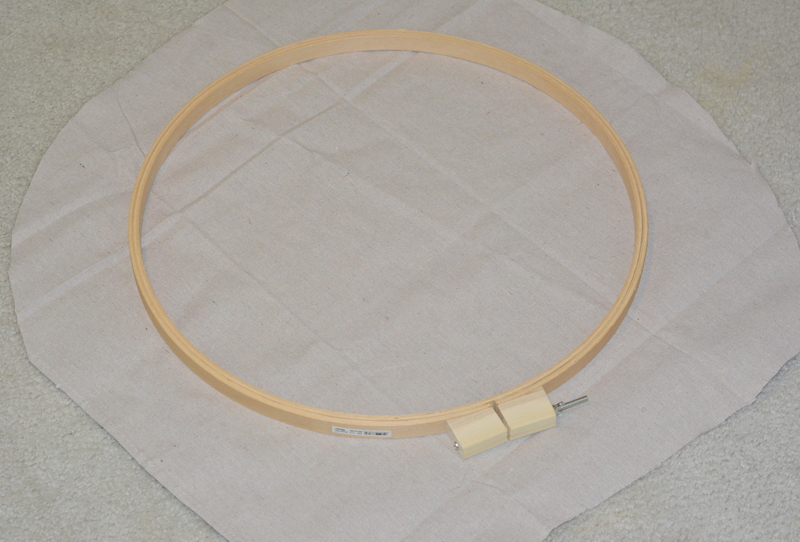
*Large Wooden Quilting/ Embroidery Hoops
*Canvas Drop Cloth
*Paint ( I used latex wall paint because I have a ton of it, acrylics would be great too)
*Scissors
*Pencil
*Fabric Glue and/or hot glue
Instructions:

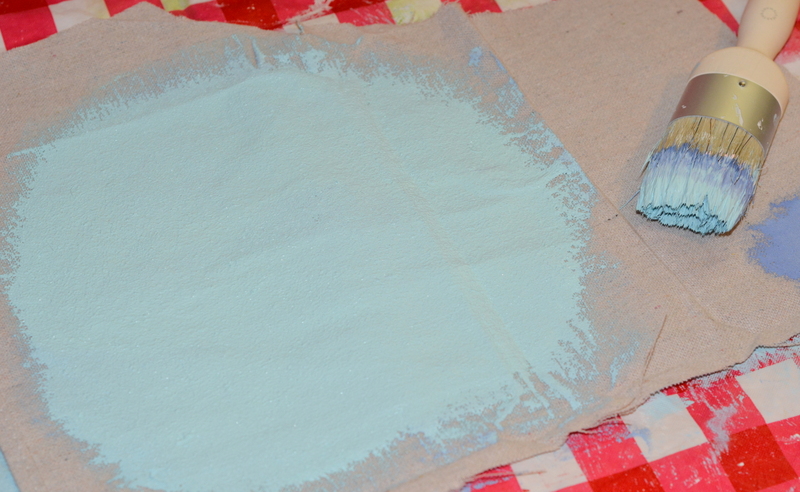
First you need to cut your drop cloth. Lay your hoop on your cloth and cut around the hoop about three to four inches from the hoop all the way around. Iron your cloth if you need to.

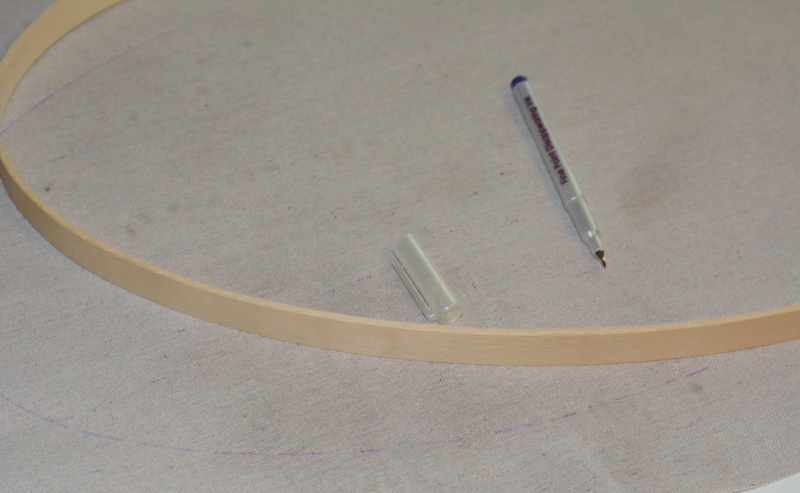
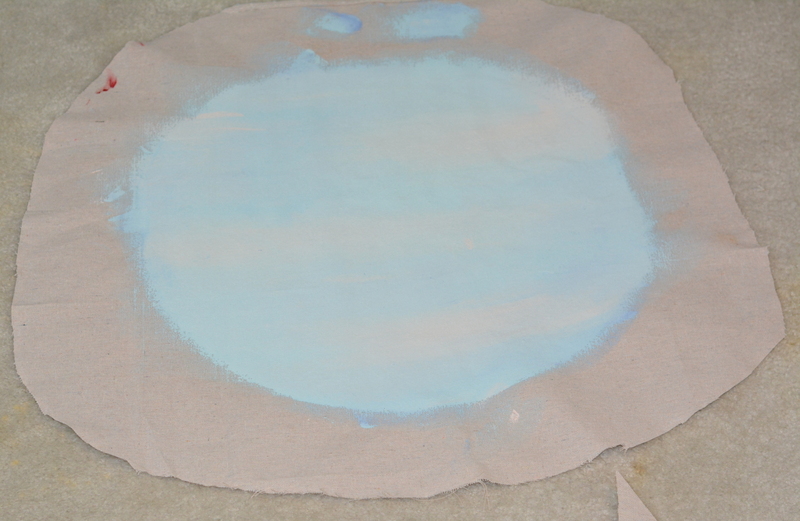
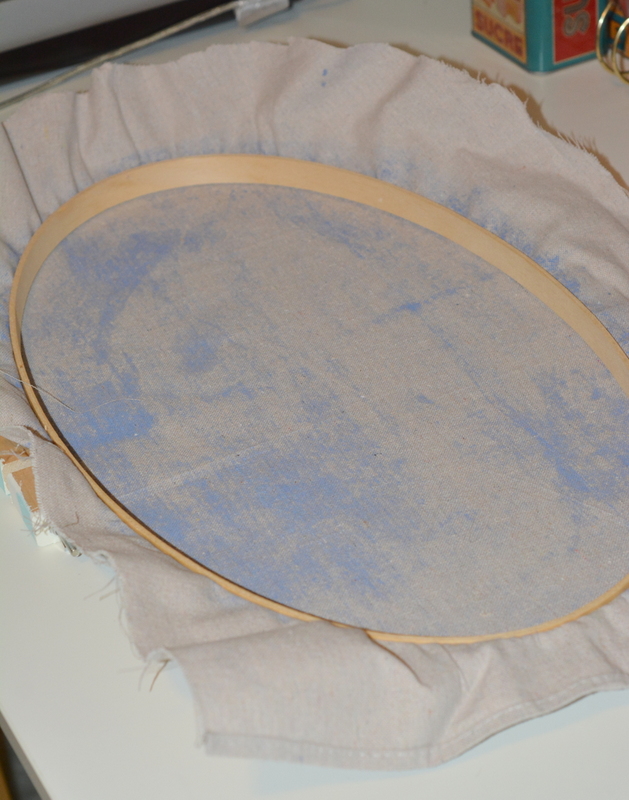
Take the inside piece out of the hoop. Lay the hoop back on your fabric and trace the inside of the hoop.


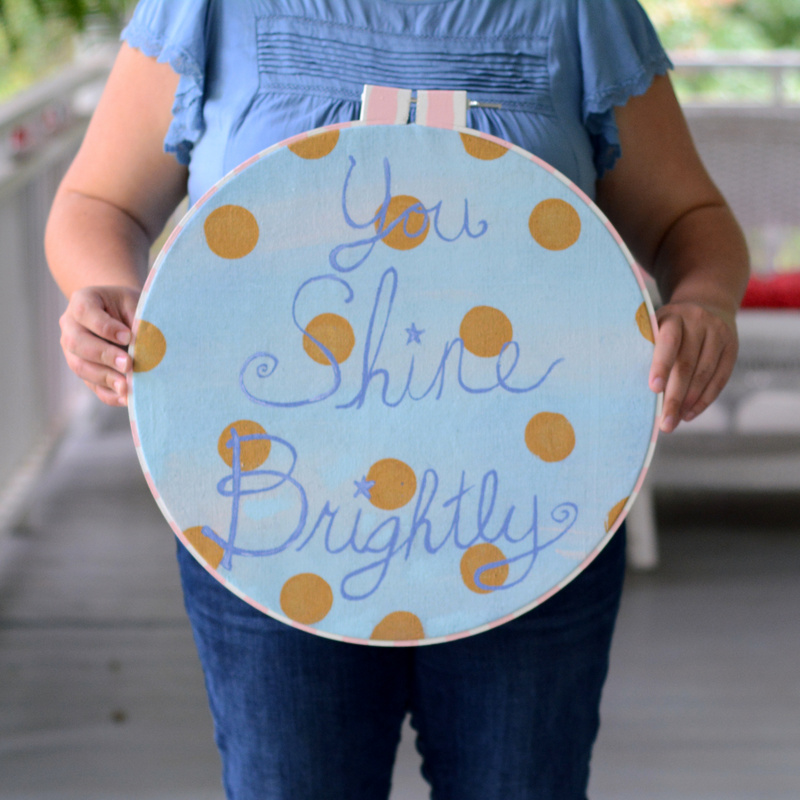
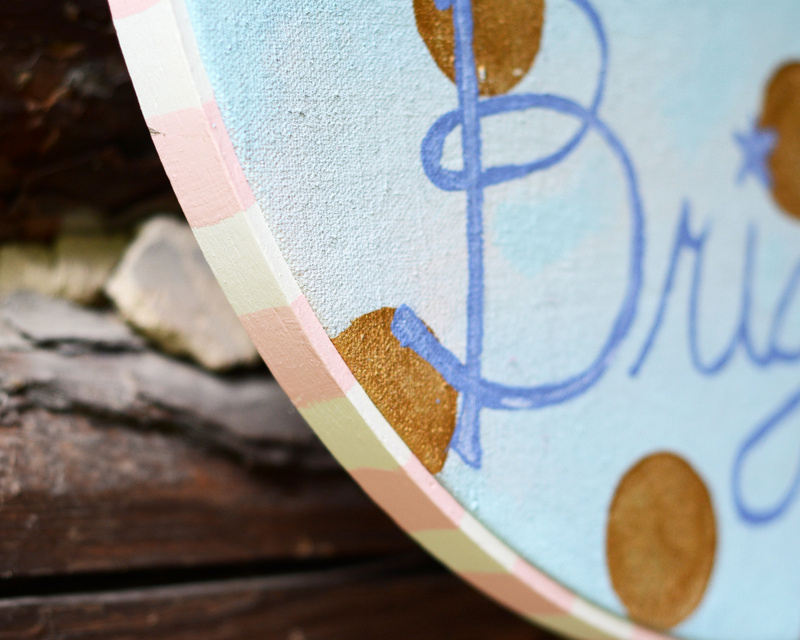
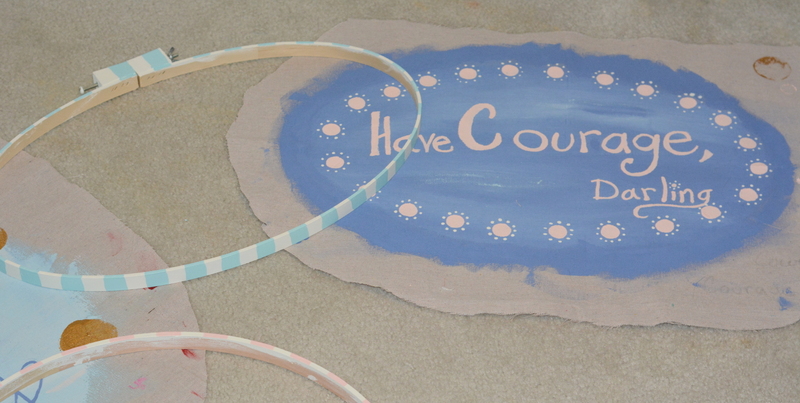
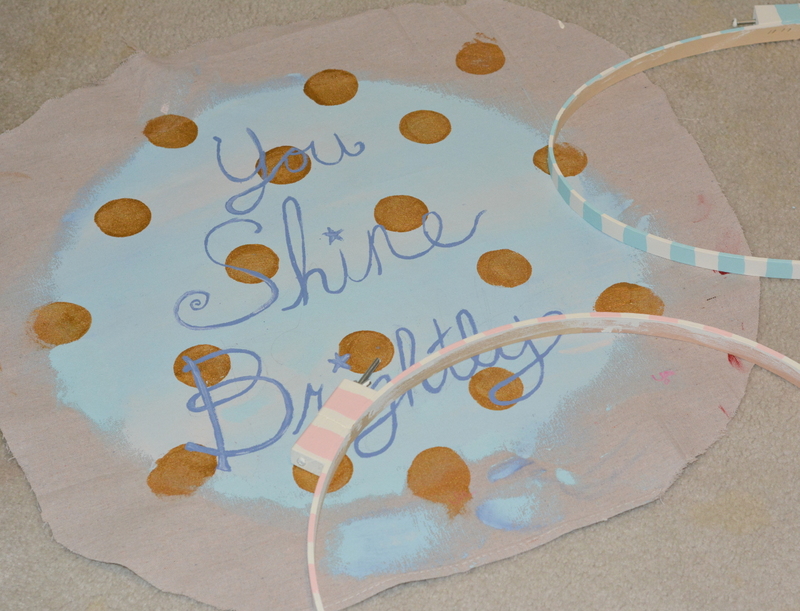
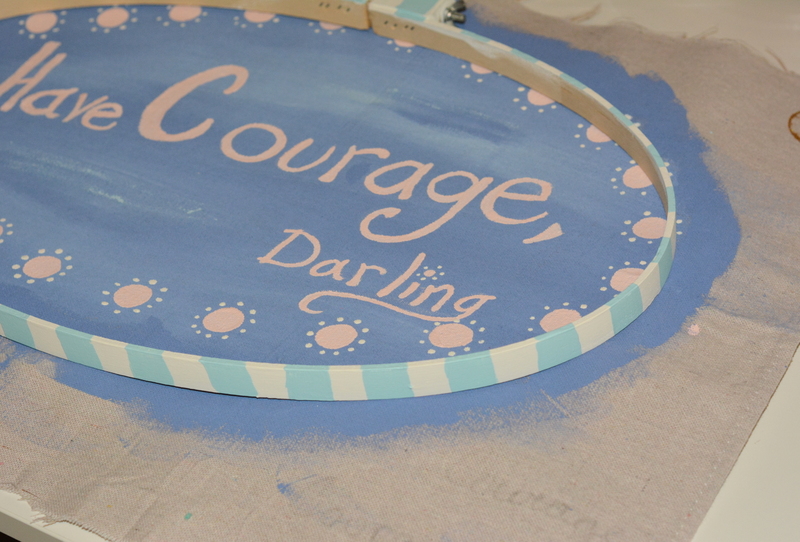
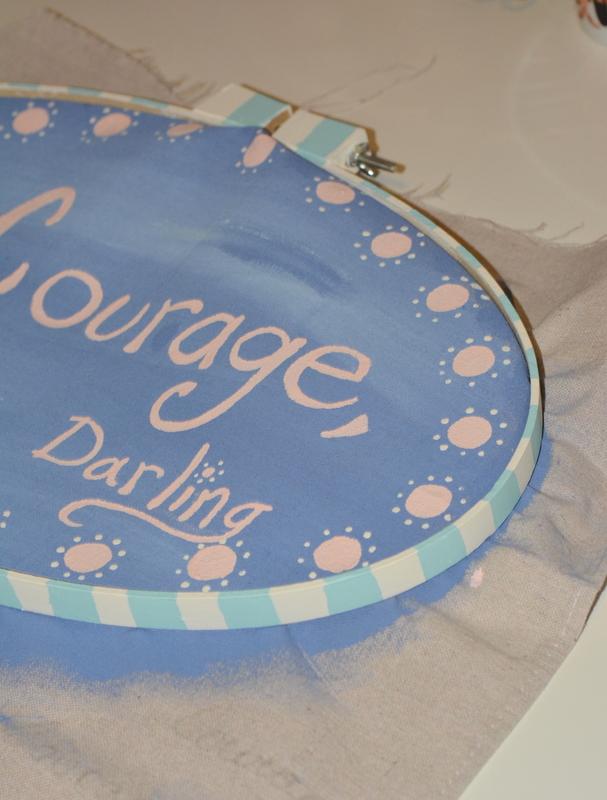
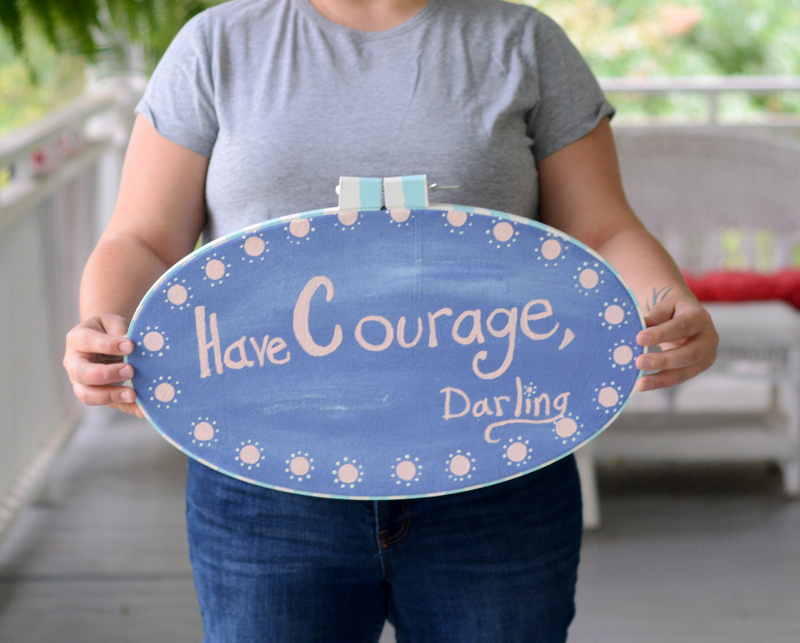
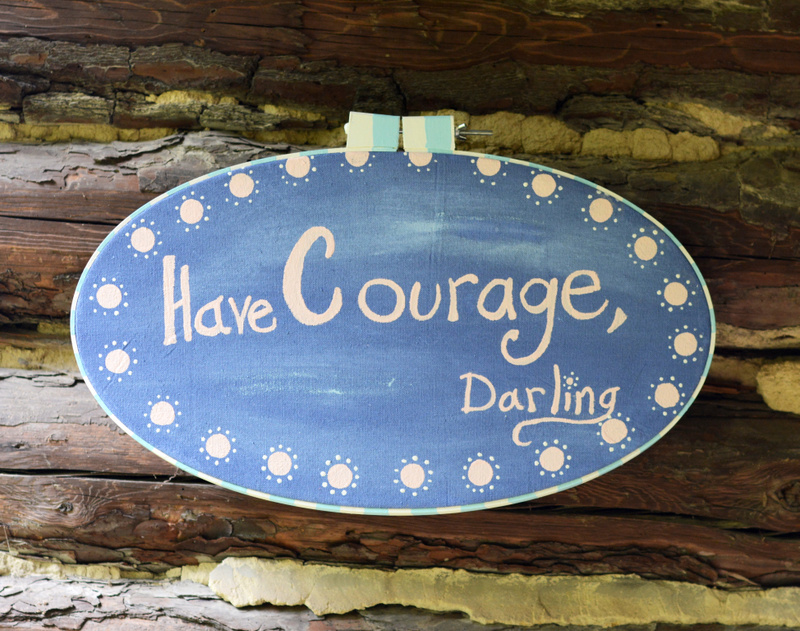
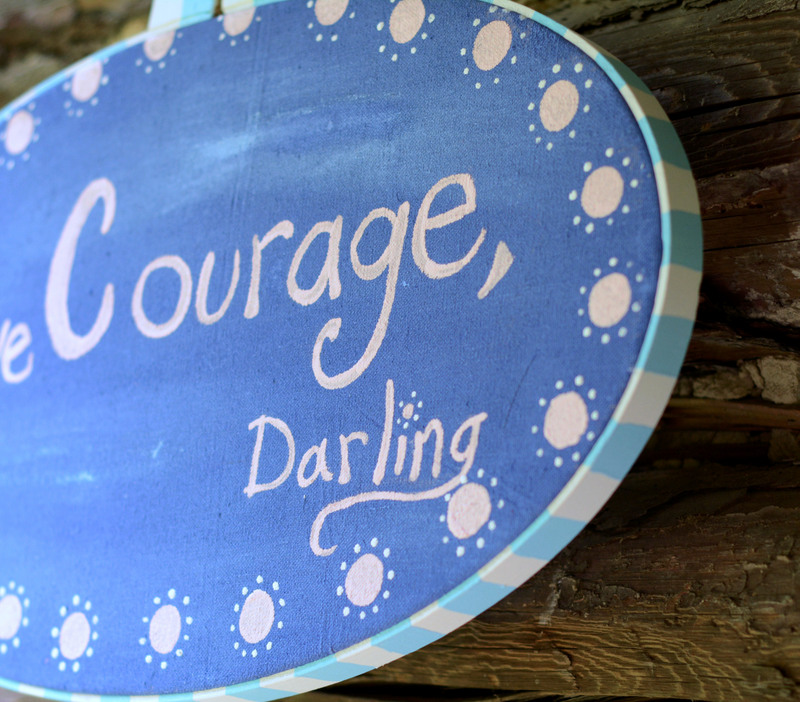
Draw in your saying or wording with a pencil. Paint over your lettering. Let dry. Add any other paint embellishing you wish to. Paint your outer hoop. I painted mine white and then added stripes of color when the white dried.


Once your fabric and hoops are dry you can assemble. Lay the cloth over the inside hoop. You can add a little fabric glue to the outside of the inner hoop for extra hold if you like. Position the fabric so it is centered and everything looks good. Place the outer hoop over the cloth and inner hoop. Press and stretch the fabric, pressing the hoop all the way over the inner hoop. It is difficult to get it taut right away. You will have to finagle and pull the fabric from the back side and keep working it until it is tightly bound tightening the outer hoops screw as you go.

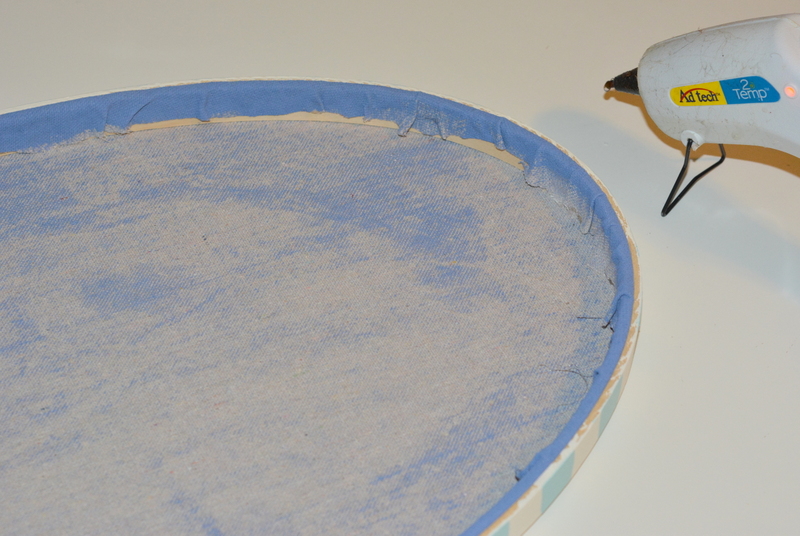
Once your cloth is bound, you need to trim the back. Trim the fabric to about an inch or a little over an inch from the edge of the hoop.

Now take your hot glue and run glue around the inside back of the hoop. Press the excess fabric onto the glue on the inner wall of the hoop. Do this all the way around to finish off your hoop.


Happy Crafting!