
Do Your Own Gift Tags
After all the Christmas shopping is done and the wallets are empty, the next step is to wrap all of the trinkets and prizes you have acquired! Wrapping gifts is one of my favorite parts of the whole Christmas process, but I hate taking the time to wrap boxes in pretty paper and ribbon only to slap a cheap gift tag on it. So in this post I’m going to do a quick gift tag tutorial!

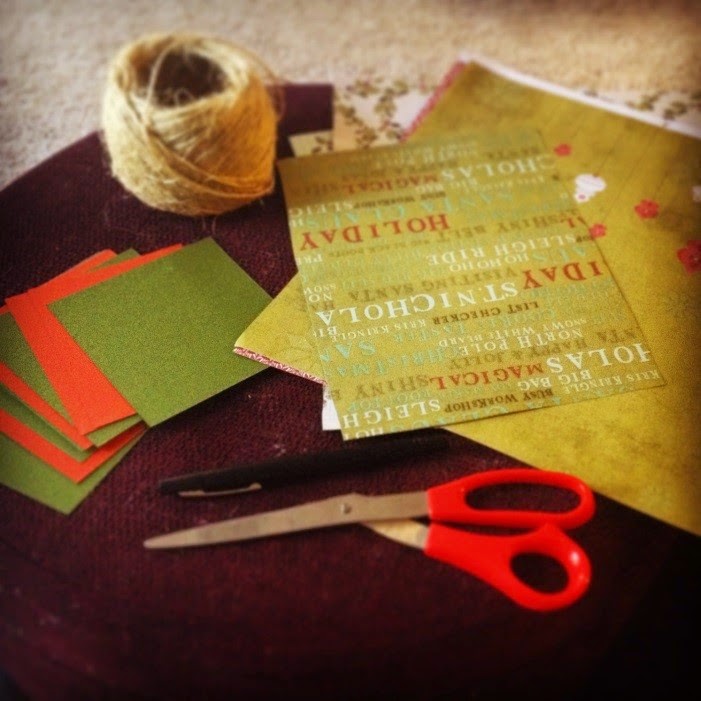
The first step is to collect the paper you’d like to use for your tags. I like layers, so I picked a green and a red card stock, some cream colored stock (for writing on), and about 5 or 6 patterned scrapbooking papers. Also, you’ll need a twine or a ribbon to use to attach the tag to the gift. I also grabbed some scissors, a pen, and a hole puncher.

The next step is to cut down the paper to size. I like the look of a “rustic” cut, so I didn’t go out of my way to make the lines straight and even – as well as varying the layering sizes. Once I got the pieces to the sizes that I liked I stacked them and punched a hole in the top of them.

The next step is to string your twine or ribbon through the hole and knot it! If you are so inclined, you could use a patterned punch, or a patterned craft scissor to vary the design. I also combined a couple of different patterned papers to the stack for a little variance.


More posts from Oh Cecilia