
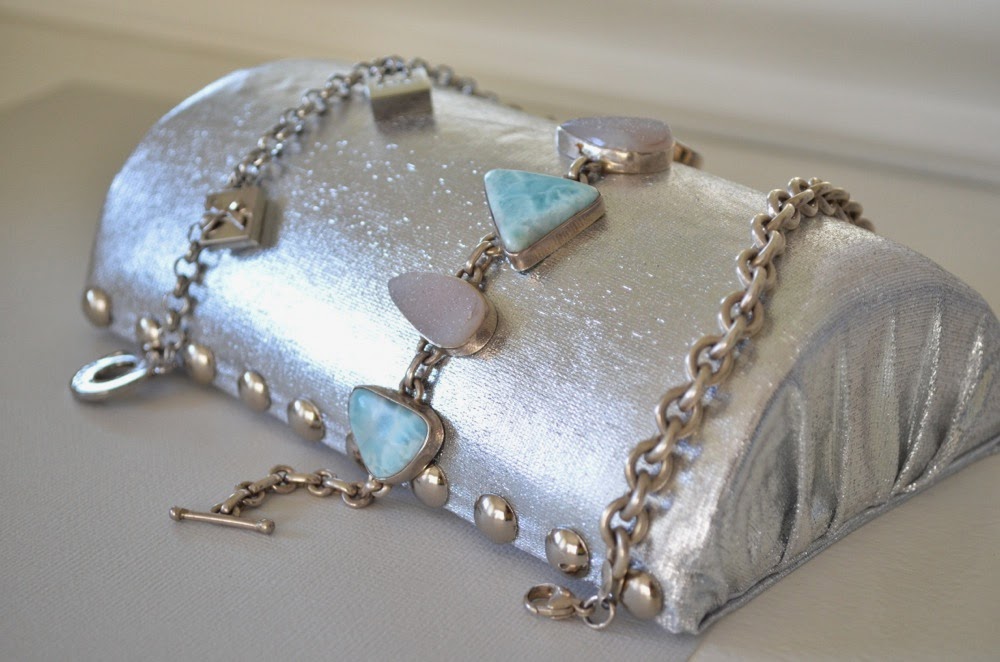
DIY Bracelet Display
Hi Everyone! Welcome to Part II of my DIY Jewelry Displays. If you watched my DIY Jewelry Organizers video, this is the accompanying post to the bracelet display in that video.

DIY Jewelry Organizers

I purchased this foam at Walmart, it comes in a pack of 4 for only $7. If you've ever shopped for upholstery foam you know how expensive it is, so this was an exciting find! They're 1" thick, which is perfect for this display and now I'll have plenty of foam for future DIY projects.

I took out a piece of foam and curled it over to determine what size I wanted to make the bracelet display.


This is a piece of foam board, it was a leftover scrap from a previous project I did. You can buy a big sheet of foam board at Walmart for only $1.65 per sheet in their craft aisle.


Choose a fabric you love. I have a thing for silver, so I found this shiny silver lame fabric. Lay the fabric over the foam to get an idea of how much you'll need.

Make sure to cut a large enough piece to wrap generously around all sides of the display. You can always trim off any excess later on.

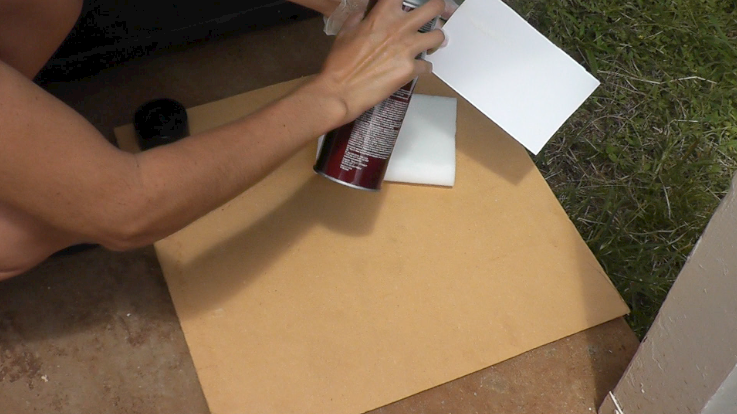
Grab your spray adhesive, I like 3M Super 77. I use this on all kinds of projects. Be sure to wear gloves or at least one glove, this stuff is really sticky.


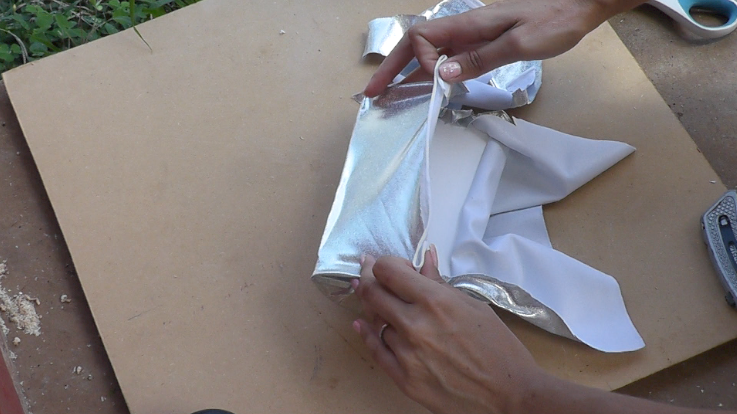
I removed my glove before grabbing the fabric, it's easier to handle the fabric this way without getting it sticky.


Pull fabric taut and press onto foam board, smoothing out any wrinkles. If you want, you could trim off the excess fabric instead of covering the bottom, but I chose to cover the bottom as well.


To give the display a more finished feel, I measured and cut out a piece of scrapbook paper, slightly smaller than the bottom of the display.


Now to really spice things up, I'm using these decorative nails or nailhead trim. I picked up this pack in silver for $1.99 at my fabric store.


If you do this project, I would love to see! Post a link or tell me about it in the comments!
xoxo, Christine
More posts from Christine Kobzeff