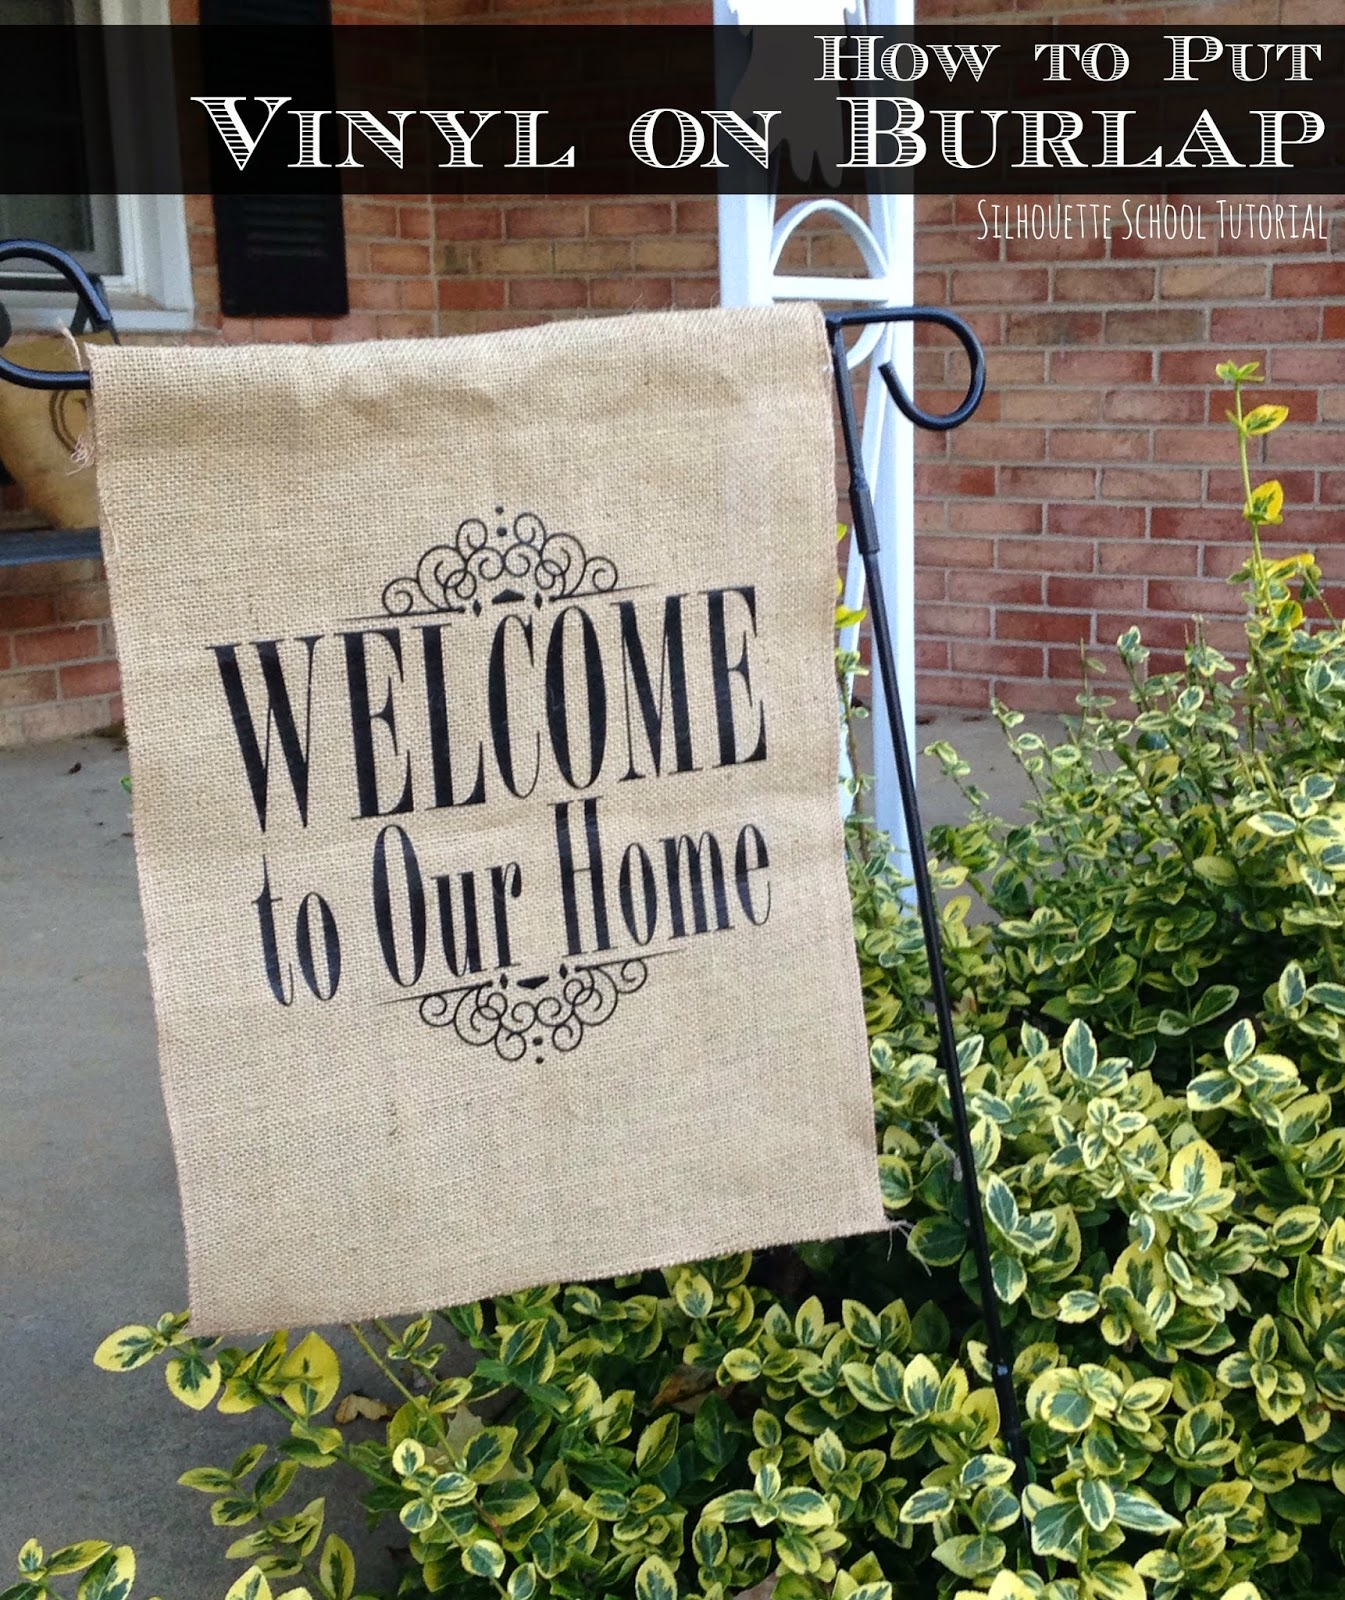
HTV on Burlap Tutorial: The Easiest Way Do It! (And a Giveaway)

I've been asked a lot lately - blame it on fall and winter and the season of all things burlap - about how to put vinyl on burlap. I've actually seen answers to this question ranging from using a hair dryer to melt adhesive vinyl into the burlap to using heat transfer vinyl. I certainly agree there is usually more than one way to get to a happy end result, but when it comes to burlap - and I work with it a lot - the easiest way to put vinyl designs on burlap is with heat transfer vinyl and a heat press.
Not having a heat press is NOT a deal breaker...but you do need heat transfer vinyl and I'm stickin' to it. Of course, you also need some awesome burlap and you're in luck because I'm giving a burlap blanks gift pack away to FIVE lucky winners...read down for details and to enter!!
Go ahead and cut your HTV design like your normally would. Don't forget to mirror your image. If you need an HTV refresher, check out the 101 tutorial here.

While it's cutting heat up your iron or heat press according to the HTV manufacturer's directions (usually between 305-325 degrees). You need a lot of heat and a lot of pressure which is why a heat press is ideal. If you're using an iron, try to either iron on a small portable, collapsible board on the floor or put something firm under the ironing board cover so you can really get a nice firm base.
Press your piece of burlap so it's nice and flat.
(Optional step) Fold your burlap piece in half to find the exact center and press again.

I was working with a 12x16" burlap garden flag blank from Punch Place Plus. Put your design into place so it's exactly where you want it to be on the piece of burlap.

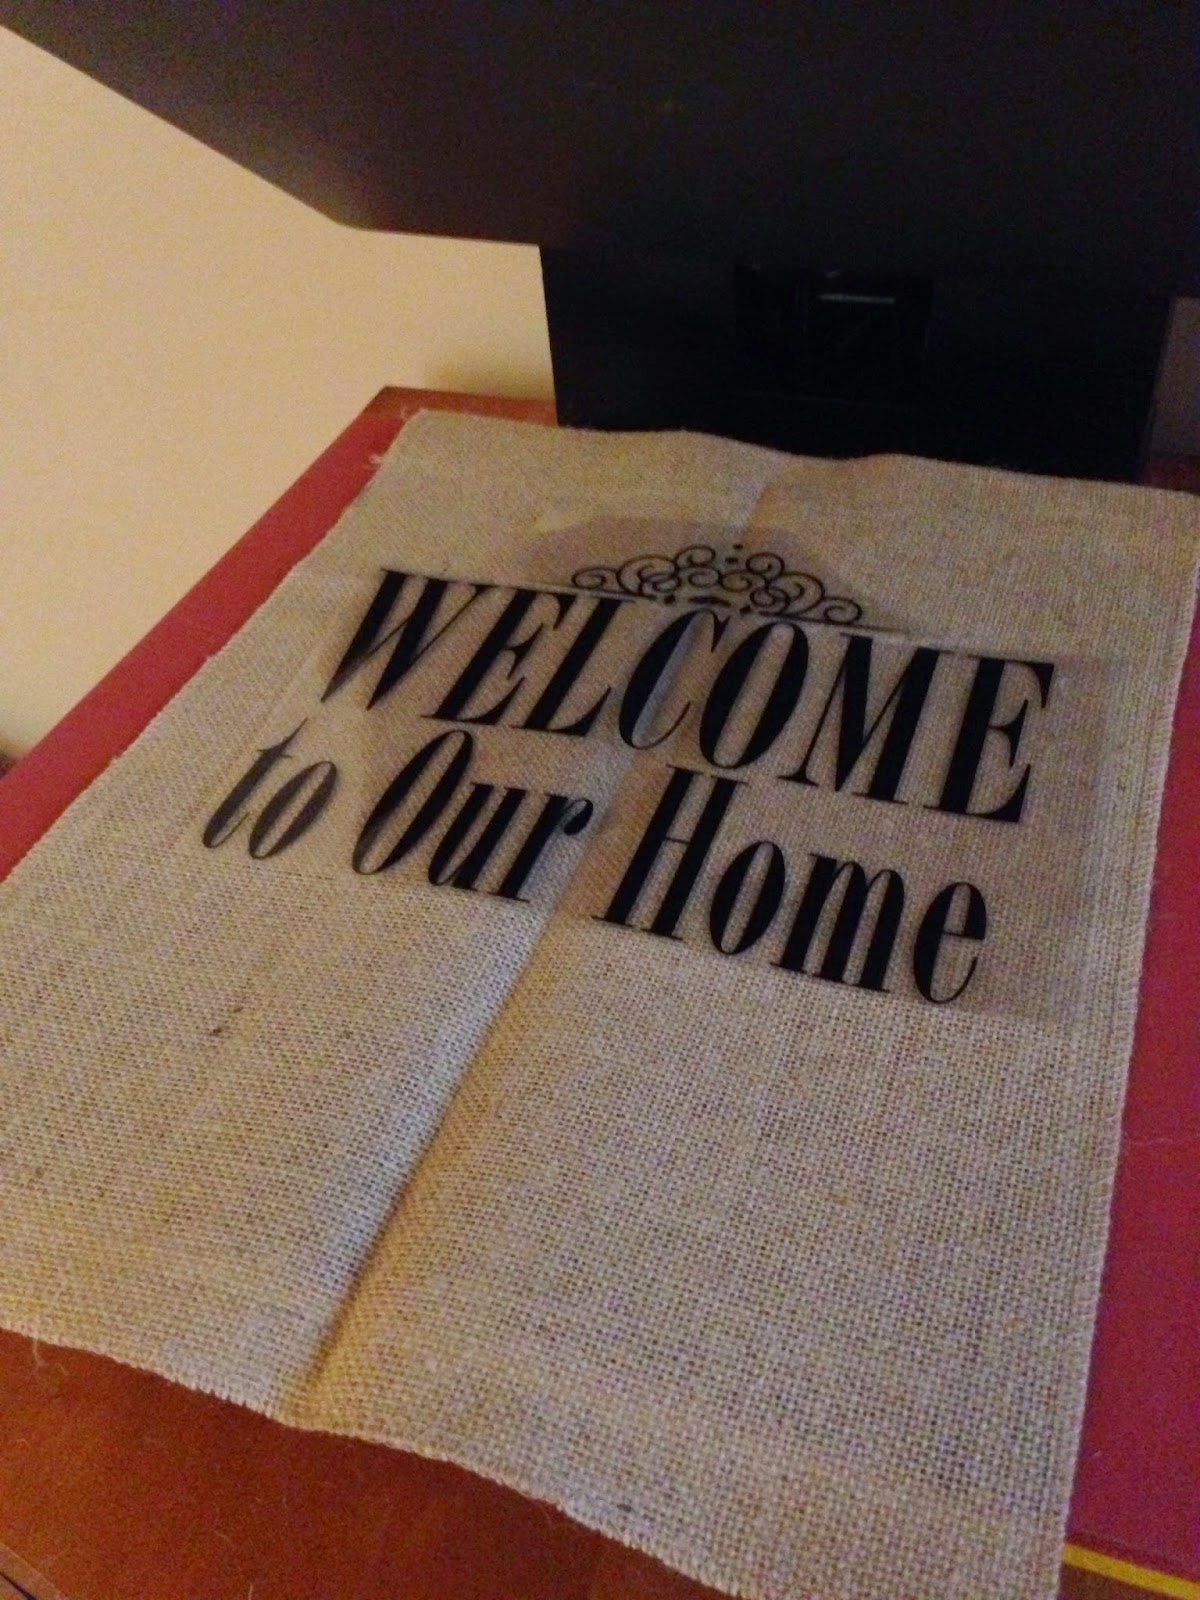
If you are working with an iron put a thin sheet or cloth between the iron and the HTV and press down really hard for one minute not moving the iron while your press. If the iron isn't large enough to cover the entire design, repeat in another section until the entire design has been pressed onto the burlap. If you have a heat press keep it closed on your burlap and HTV for about 20 seconds.
When you remove the burlap from the heat peel up the HTV carrier sheet carefully. Now put the Teflon sheet or cloth sheet back over the HTV and press again for another 20-30 seconds.
Finally flip the burlap over or inside out (if you're working on a pillow) and press from the backside to really pull the HTV adhesive into the burlap. You are looking for the burlap to sort of melt into the fibers of the burlap as you can see what done here.


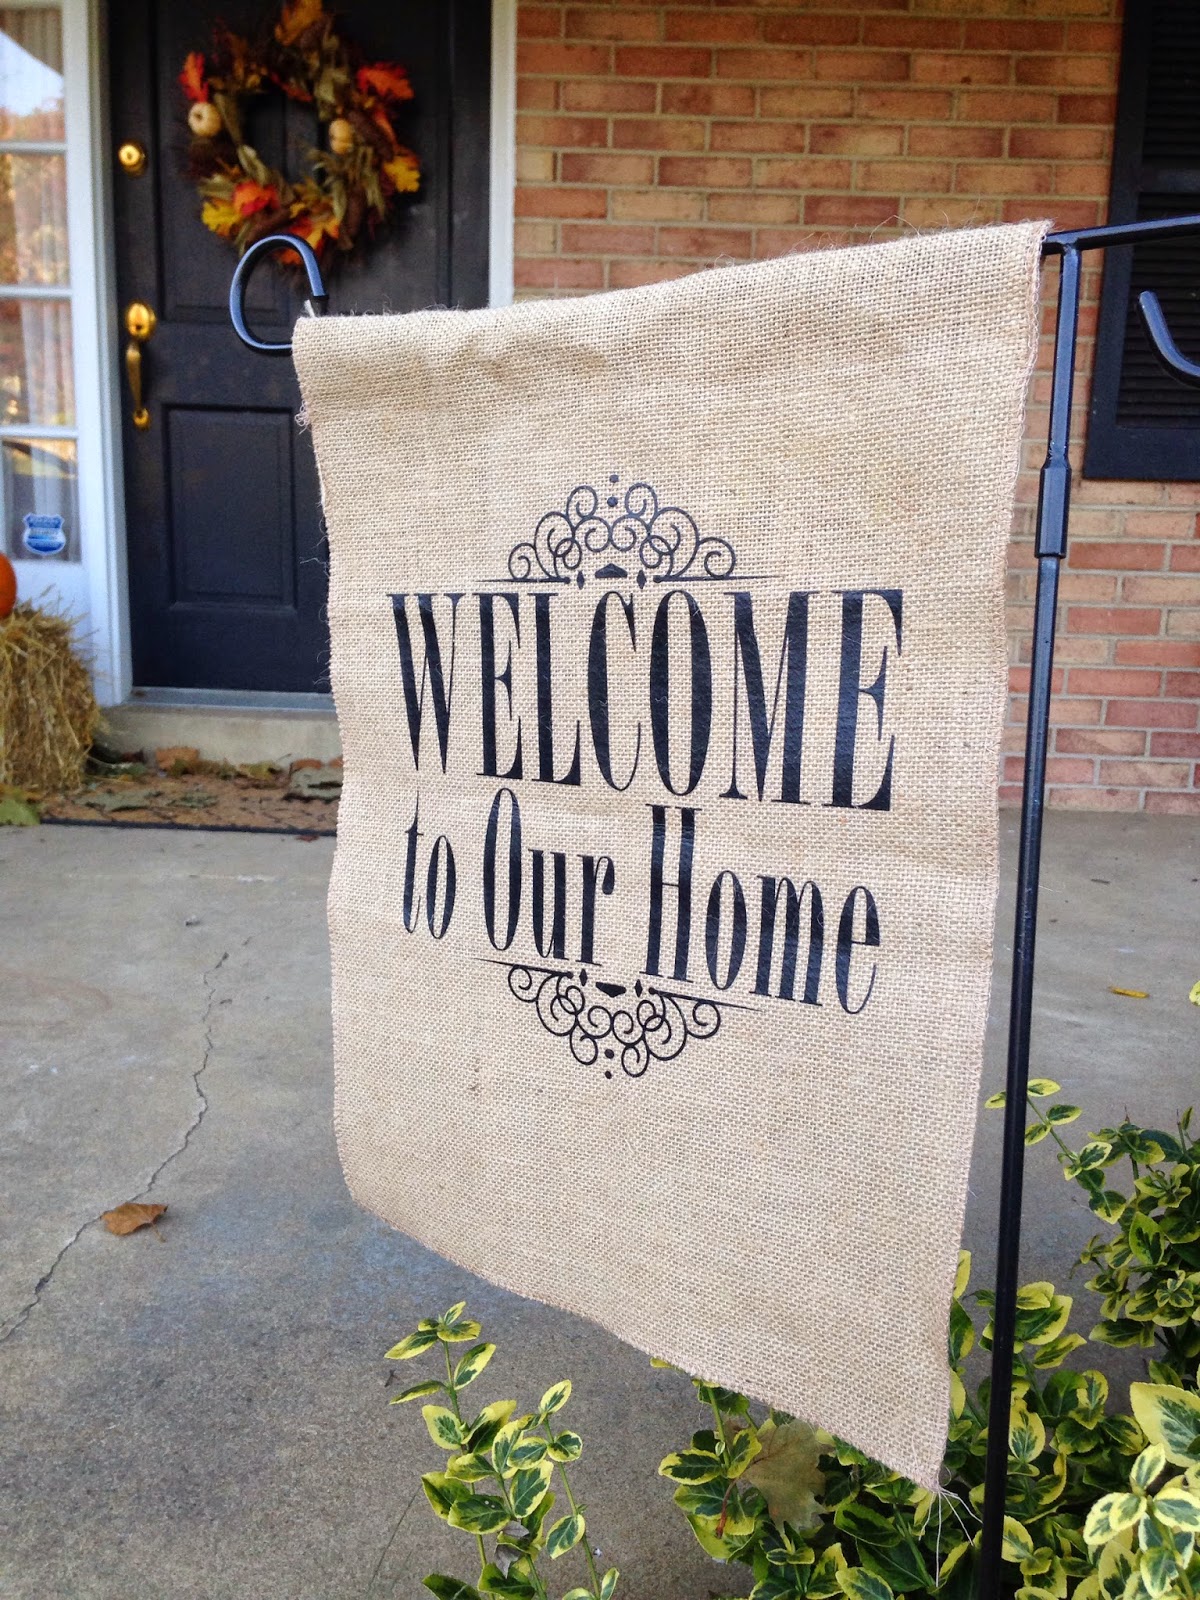
That's it!
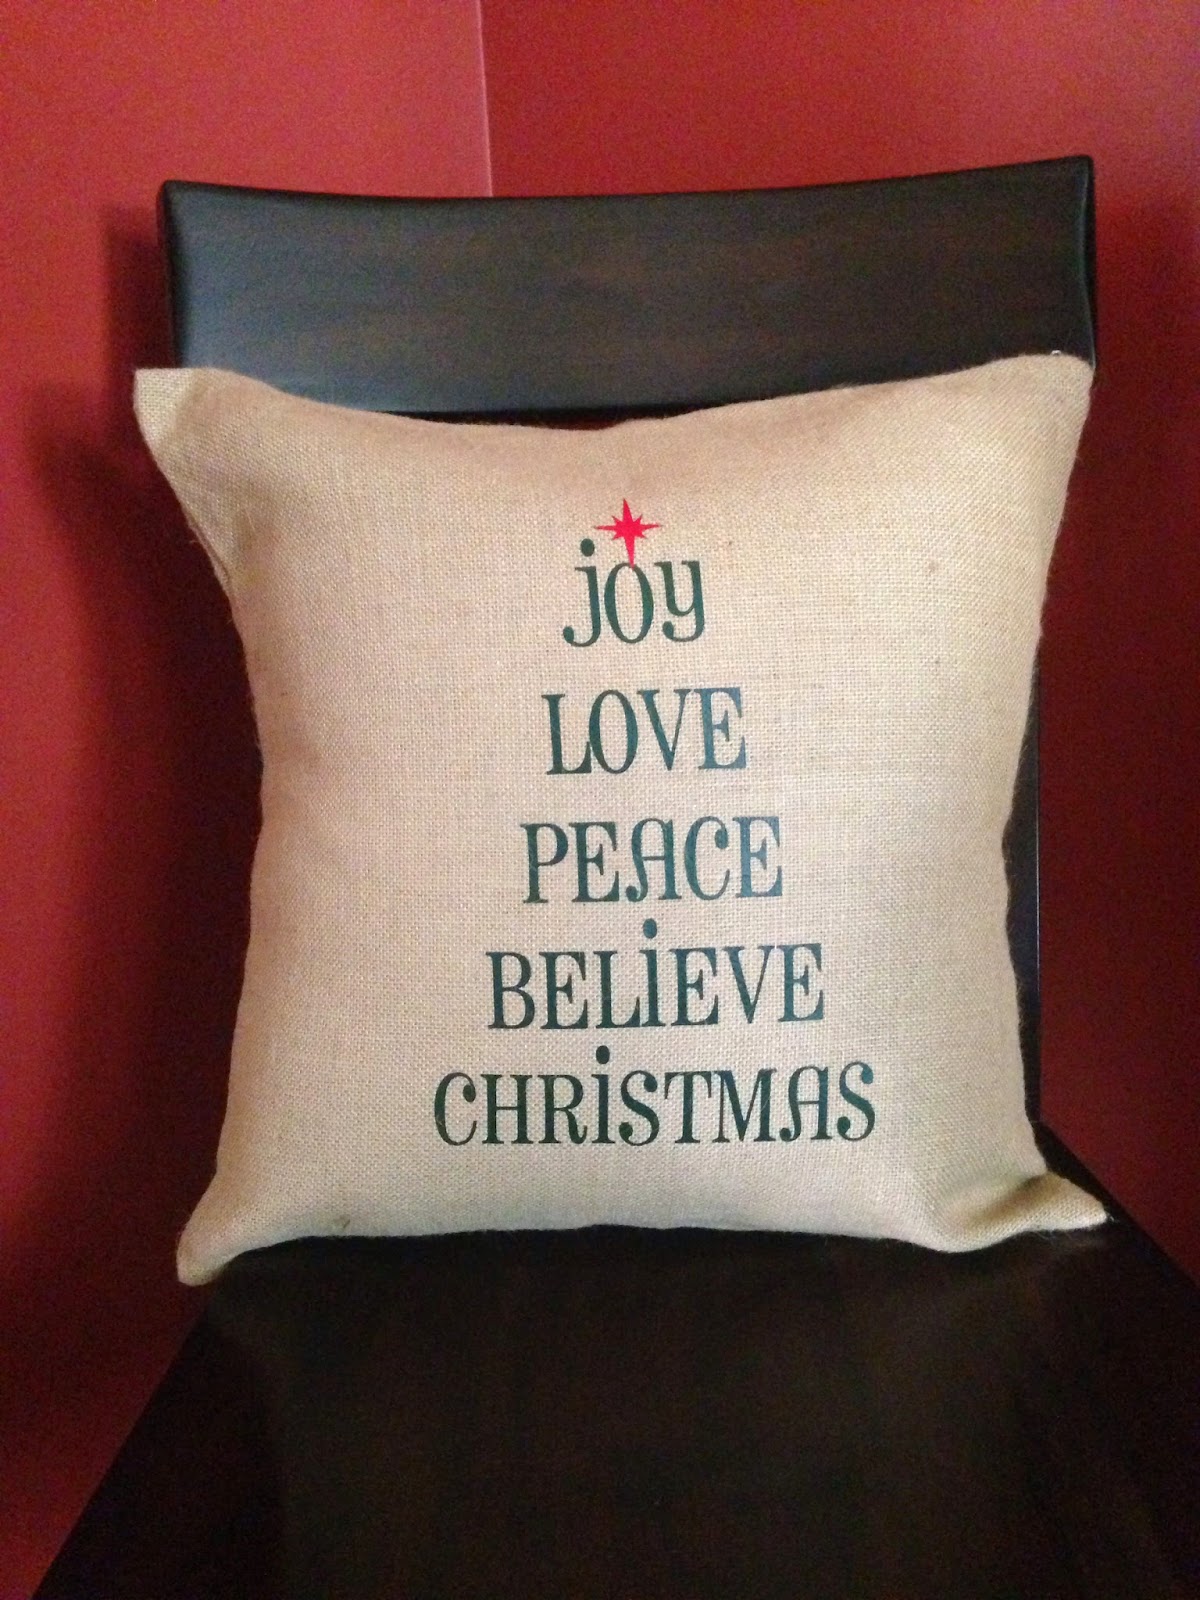
I was so excited about the burlap flag, I also slapped some HTV on this blank burlap pillow cover - also from PPP!

So the key to putting HTV on burlap is a lot of pressure and heat between 305-325...and if you can, a good heat press! Check out my handy dandy guide to figuring out if a heat press is worth the investment for you.
So are you ready to burlap out your house? I'm teaming up with Punch Place Plus for a burlap prize pack giveaway. Five lucky Silhouette School readers will win a set of burlap blanks - including a garden flag, a burlap pillow cover and a burlap bucket. All you have to do is enter to win. This is a flash giveaway...open for less than 24 hours only so grab your entries now!
a Rafflecopter giveaway
Note: This post may contain affiliate links. By clicking on them and purchasing products through my links, I receive a small commission. That's what helps fund Silhouette School so I can keep buying new Silhouette-related products to show you how to get the most out of your machine!
Thanks for coming to class today at Silhouette School. If you like what you see, I'd love for you to pin it!


More posts from