
How to Make Quilt Binding

Making quilt binding was one of those things before I started quilting that I thought was very hard to do. But, after I got into the quilting process I found that it was was really quite a simple one. So, if you are one of those people who are intimidated by making binding…this is the perfect place to be.
I like to make straight bindings for my quilts, which are perfect for any quilts that have straight lines. Here is the process…
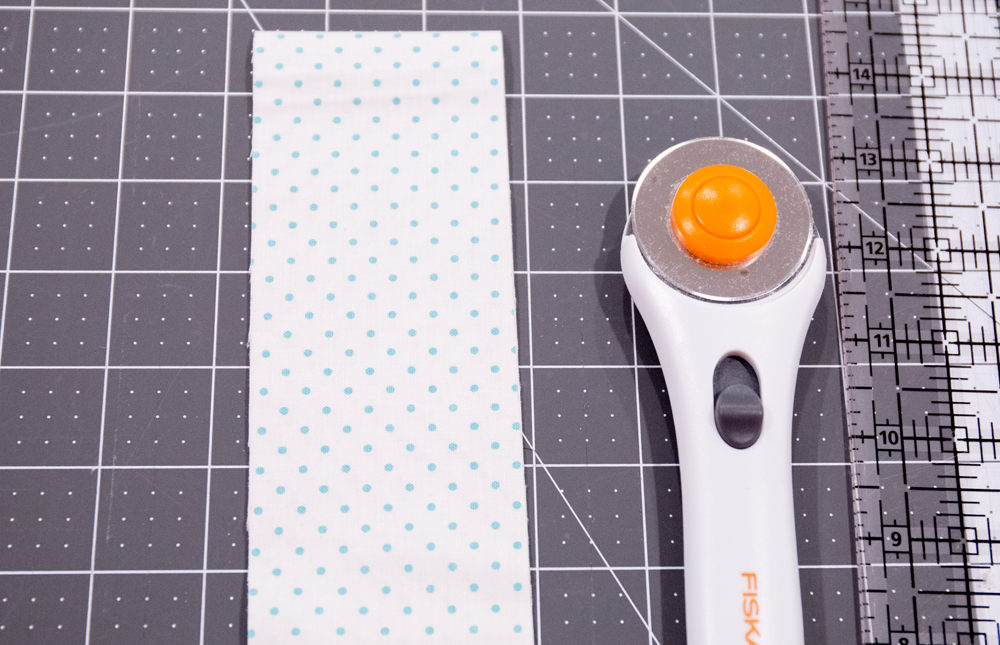
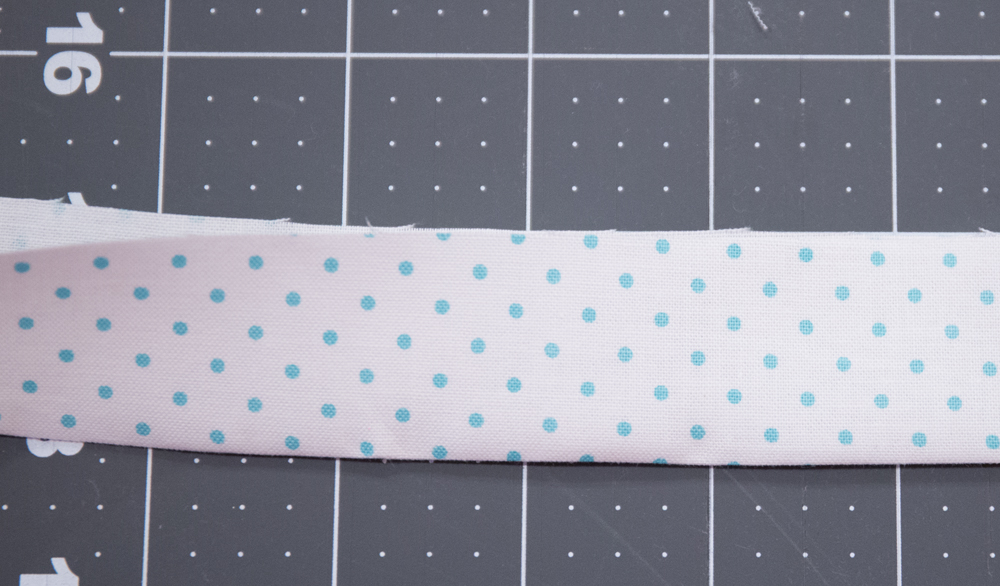
Step 1: Take your fabric and cut it into 2.5″ strips by width of fabric.

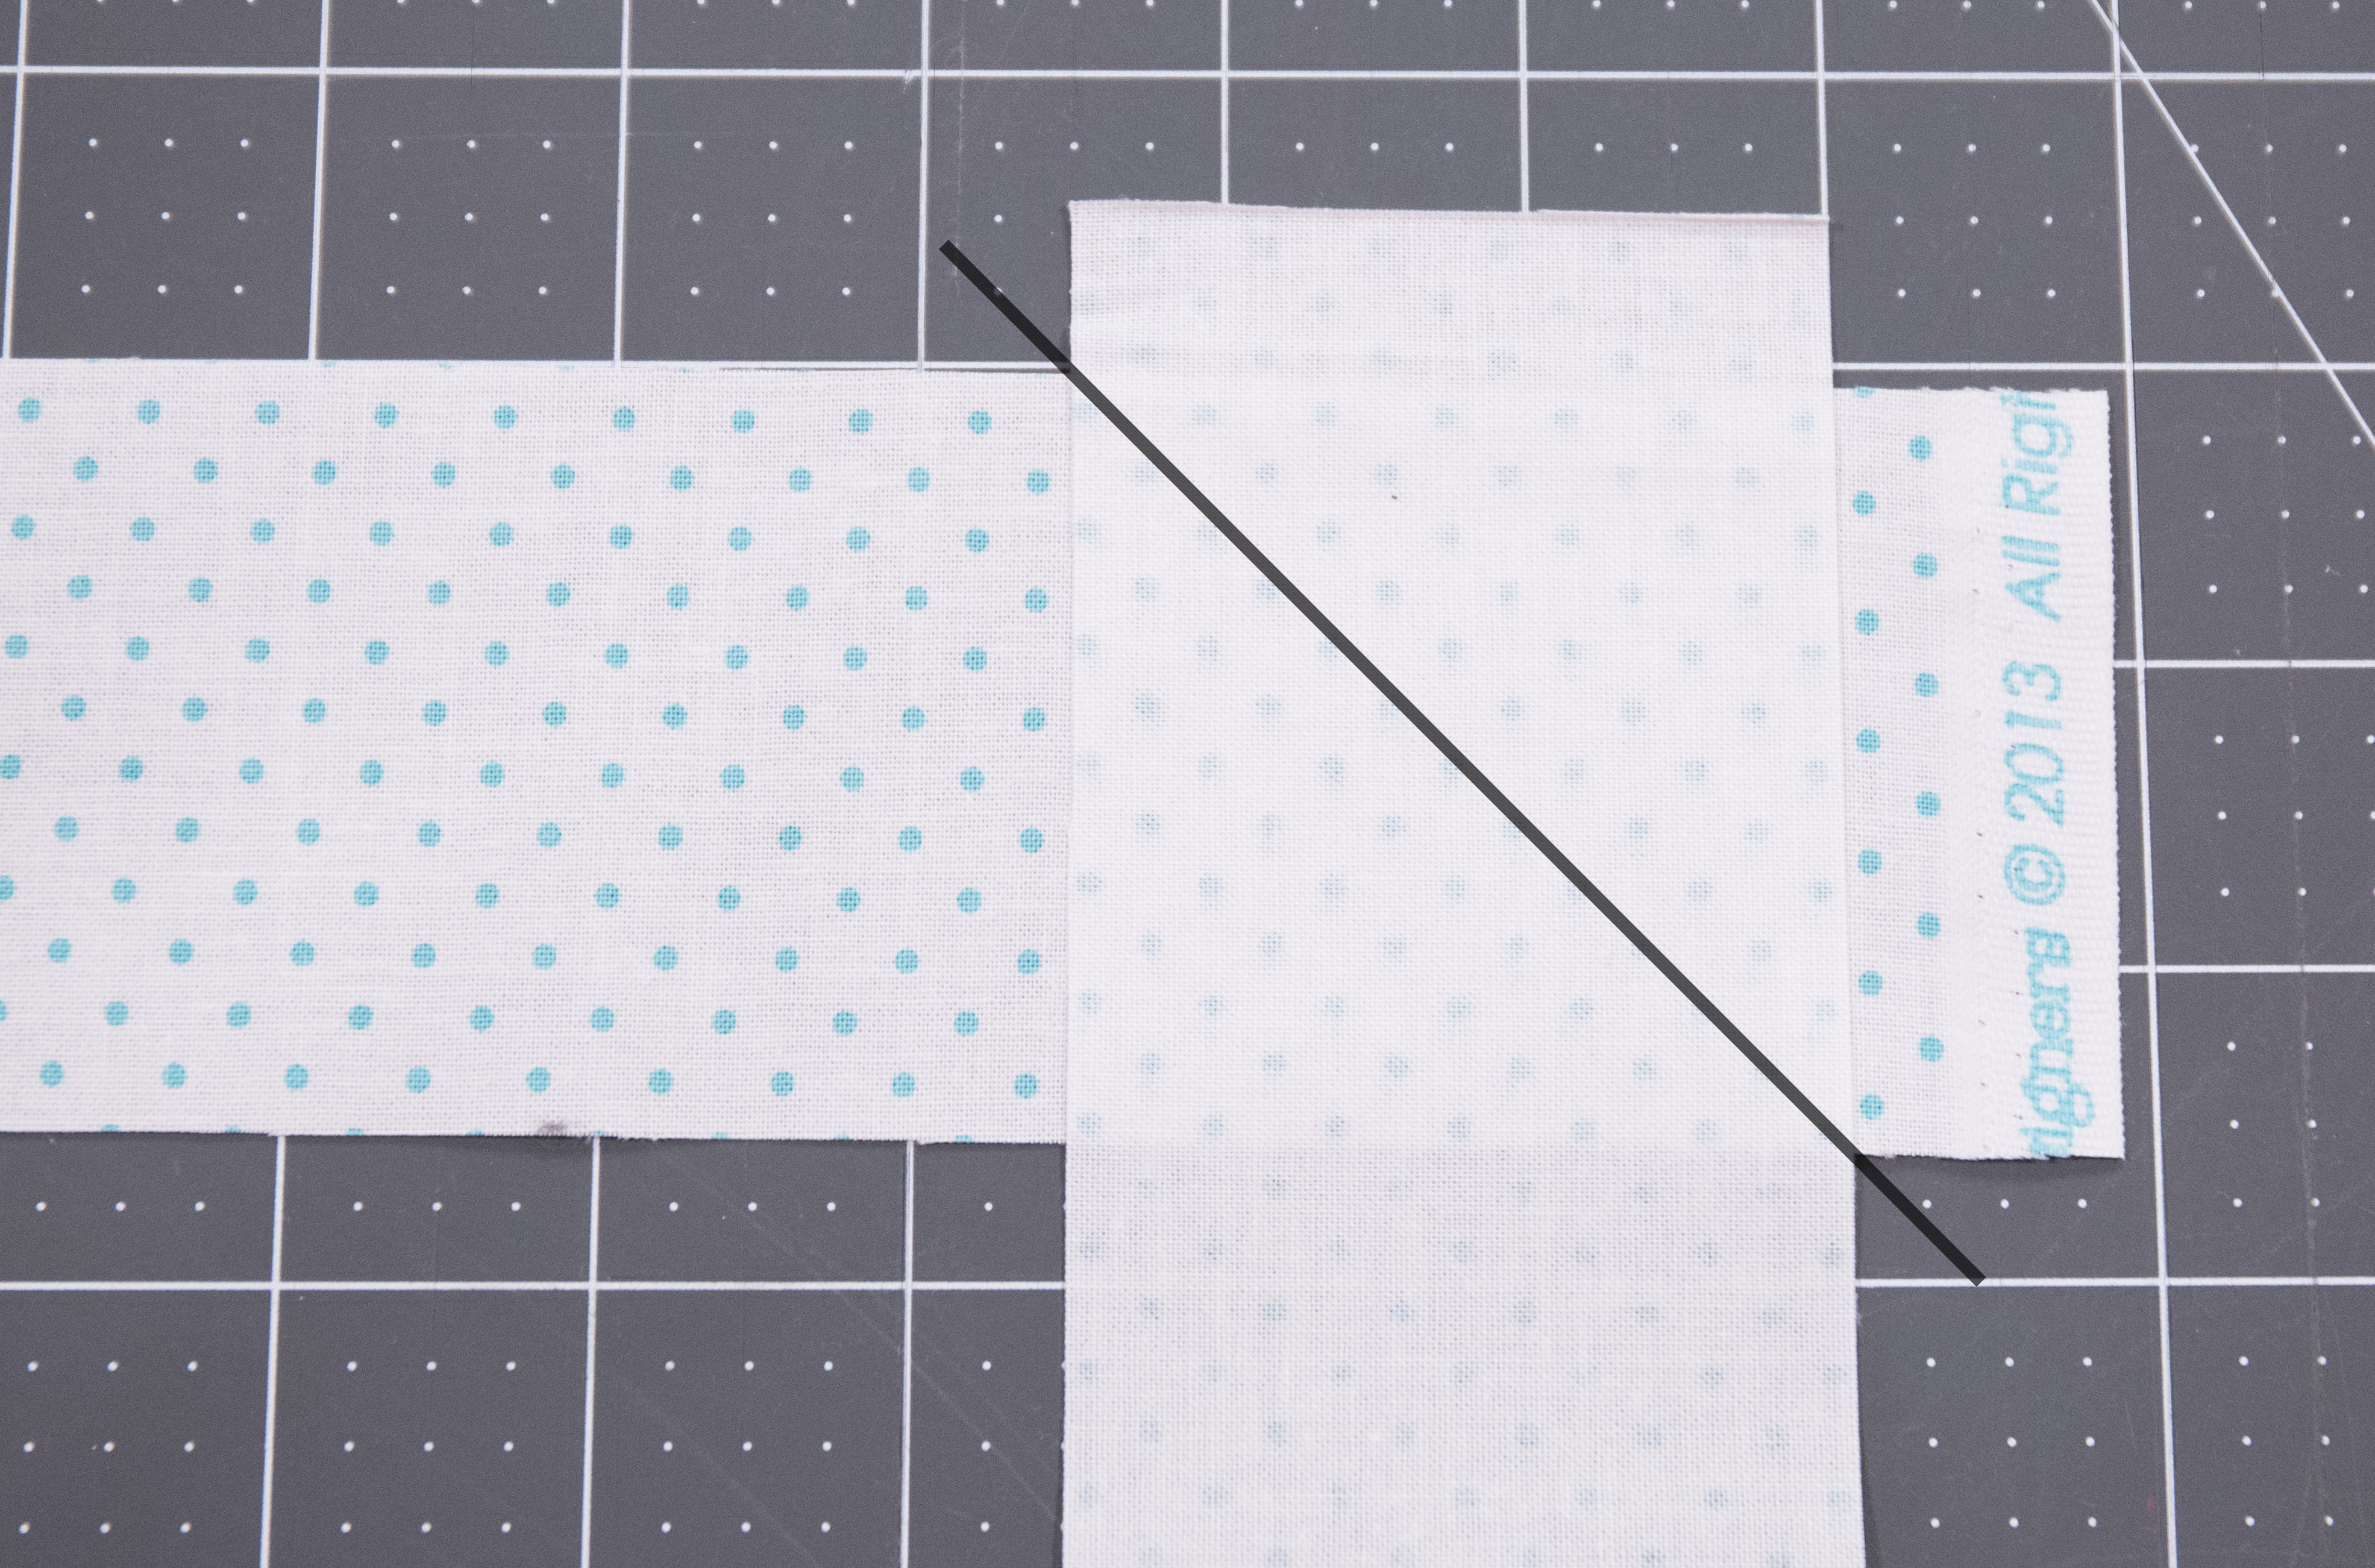
Step 2: Take 2 strips of fabric and lay them out at a 90 degree angle to each other. Draw a line from the top left corner to the bottom right corner.


Step 6: The last step is to fold the binding in half (edges together) and press with a hot iron. And repeat for each strip for the quilt. Now you are ready to sew it on!

And if you need a full tutorial on how to attach the quilt binding to the quilt, HERE is a good tutorial.
Happy Quilting!
~Elizabeth
The post How to Make Quilt Binding appeared first on Simple Simon and Company.