
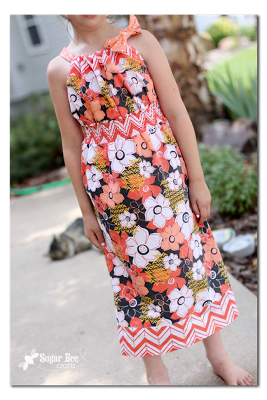
Pillowcase Tunic Top
Did you catch my post as part of the Riley Blake Design Team a few weeks ago?? Just in case, I’d thought I’d bring it here for ya today. I’m showcasing a simple sewing project – the Pillowcase Tunic Top. This is a perfect project for a beginner sewer (yourself or even a kiddo who’s learning to sew) or a perfect quick project for a seasoned sewer (it’s SO fast! Love that!)


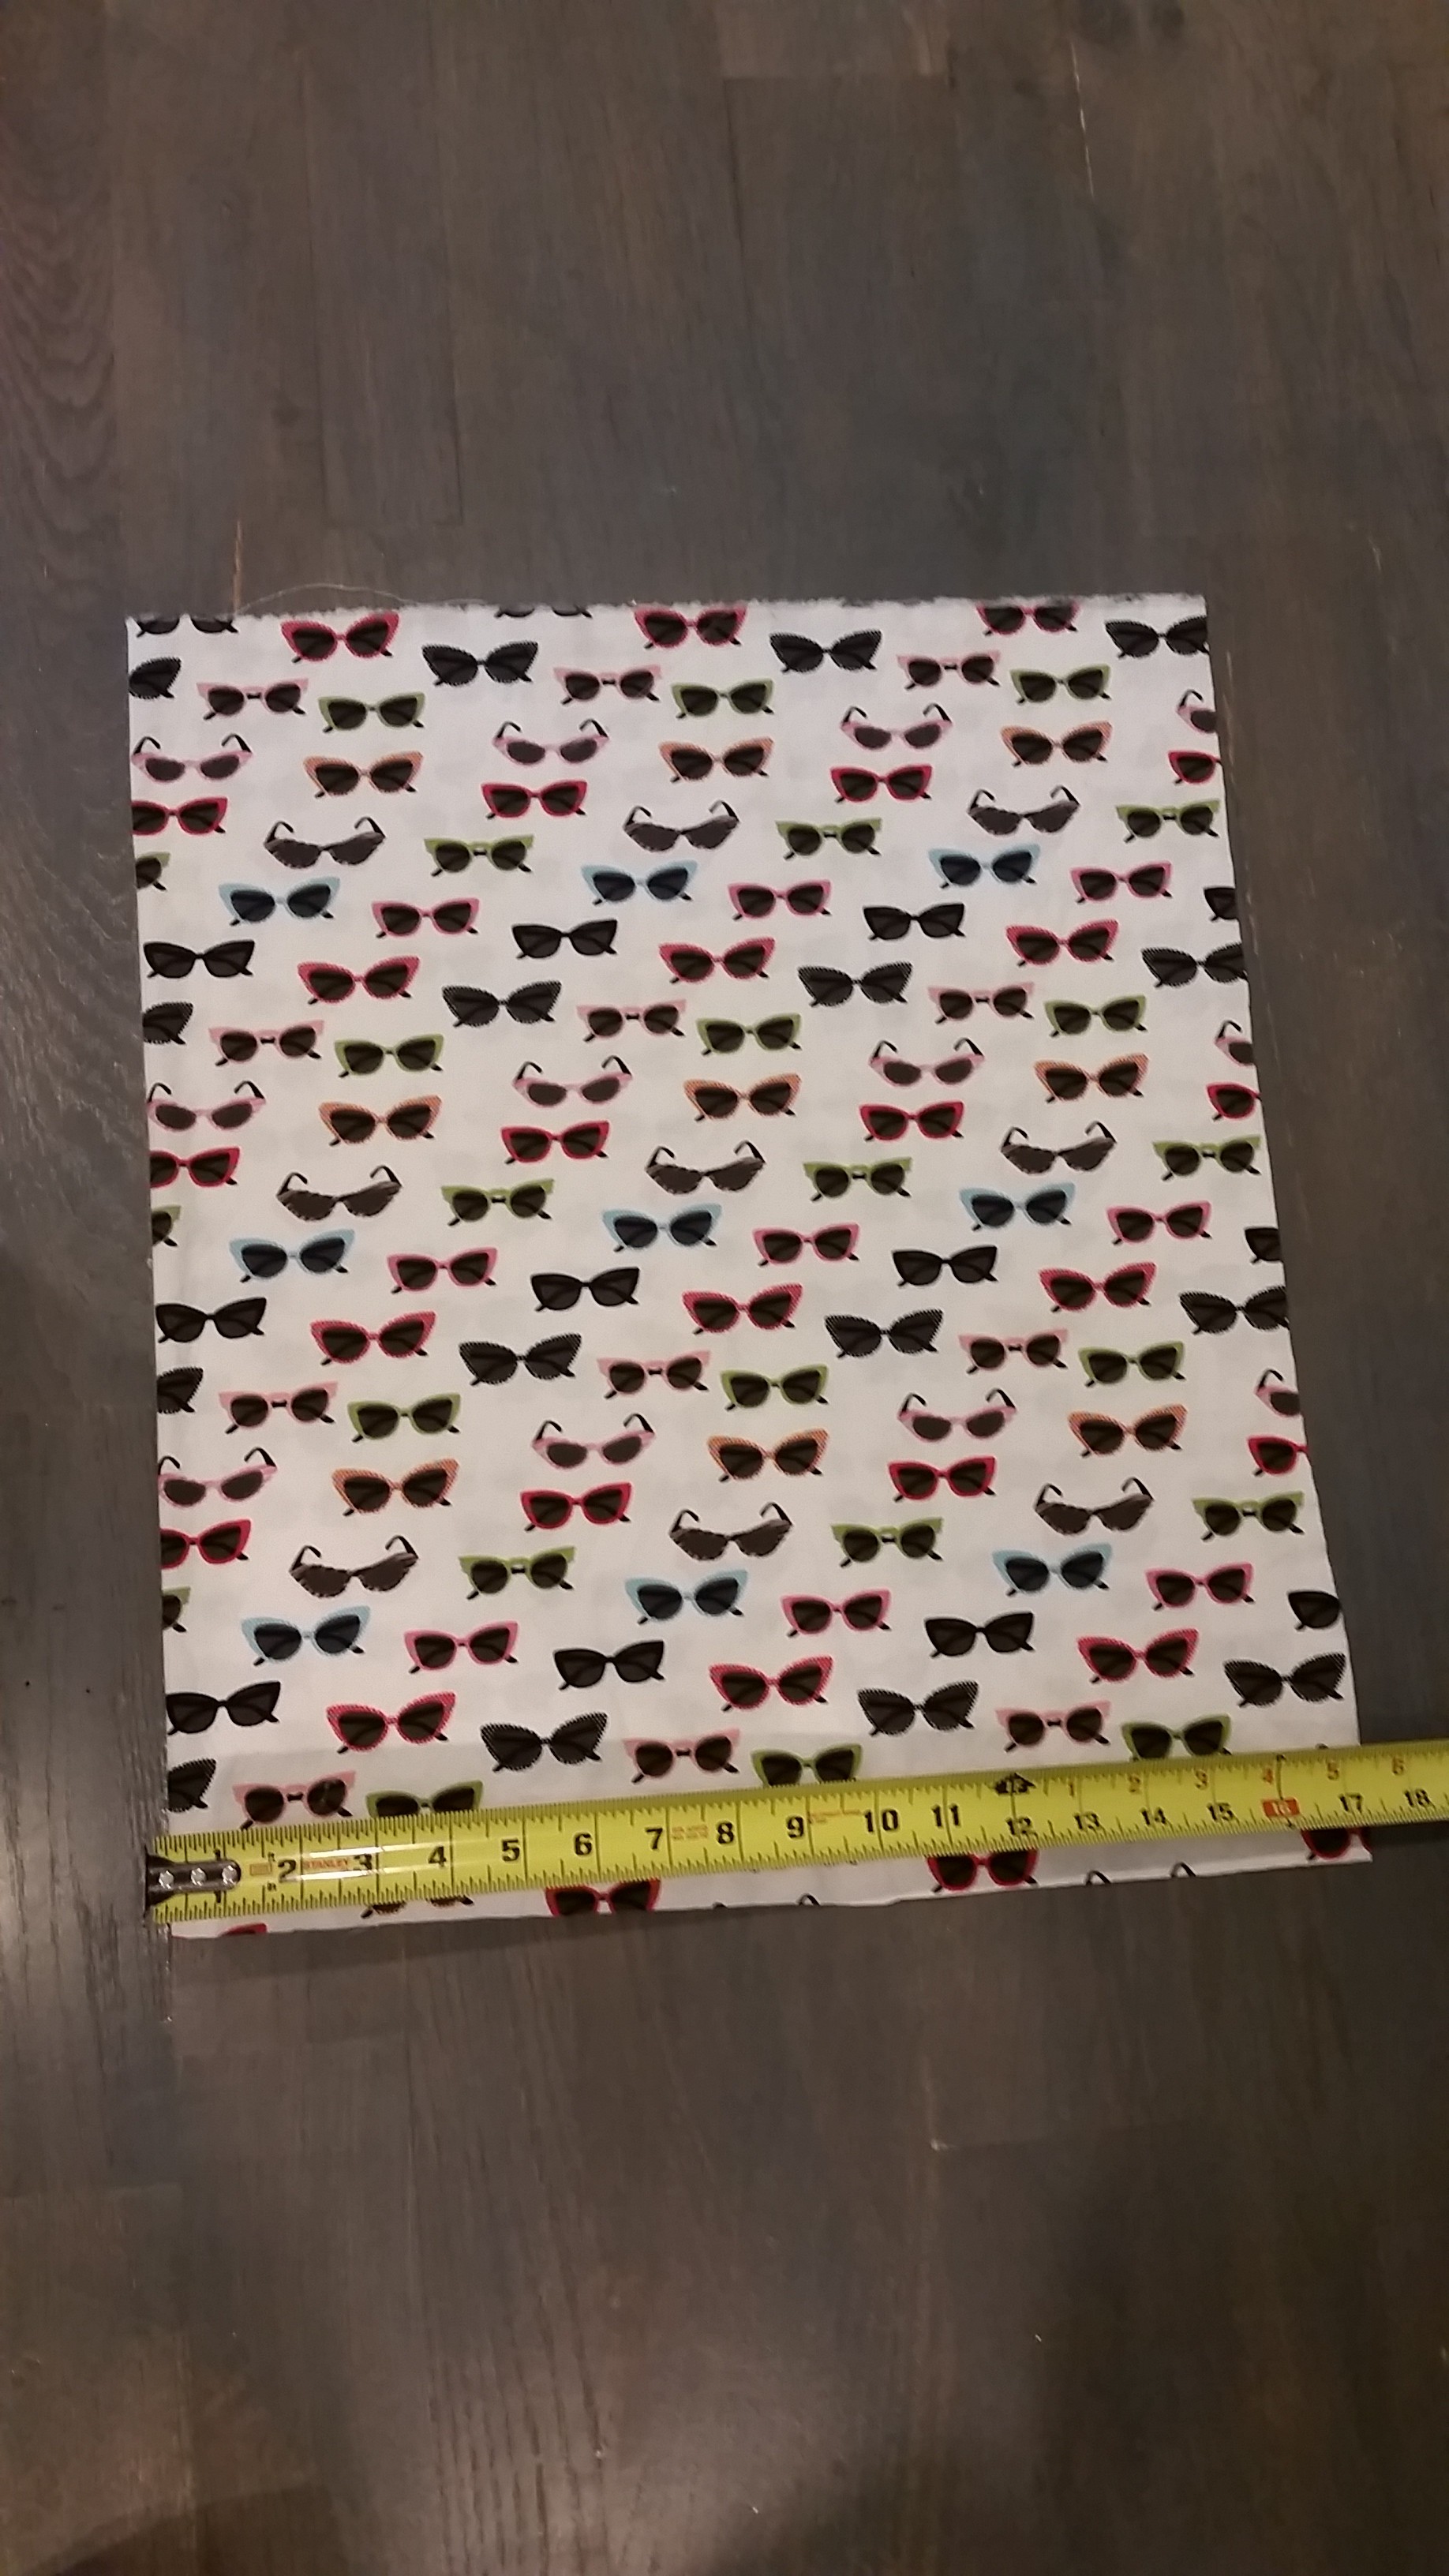
Isn’t this Riley Blake fabric dreamy?? Tunic tops are a great way to showcase a fun print, so I went with Novelty Glasses in White and then for the leggings I used the Patty Young Knit in Fuschia.

It’s just begging to be turned into a cute summer outfit! It’s fun to rope my niece into blog modeling


Let’s jump right in. Note that my niece is 2, and wears about a size 3 or 4T. You can adjust this tutorial to fit anyone, from kiddos to adults. The yardage you’ll need depends on the size of tunic you’re making. For hers I used a little less than 2/3 yard. You’ll also need a contrasting fabric for the tie, or a matching ribbon works great as well.
With the fabric folded in half (in the pictures the fold is on the left), cut the tunic to size. For hers, I went with 17 1/2 inches wide (but folded, so actually it’s double that) and 20 inches tall (account for the top casing and hem when you’re measuring). (Just ignore my fancy measuring tape we recently moved into a home that we’re building ourselves, so tons of my sewing supplies are packed still, yet building supplies are easily accessible!)


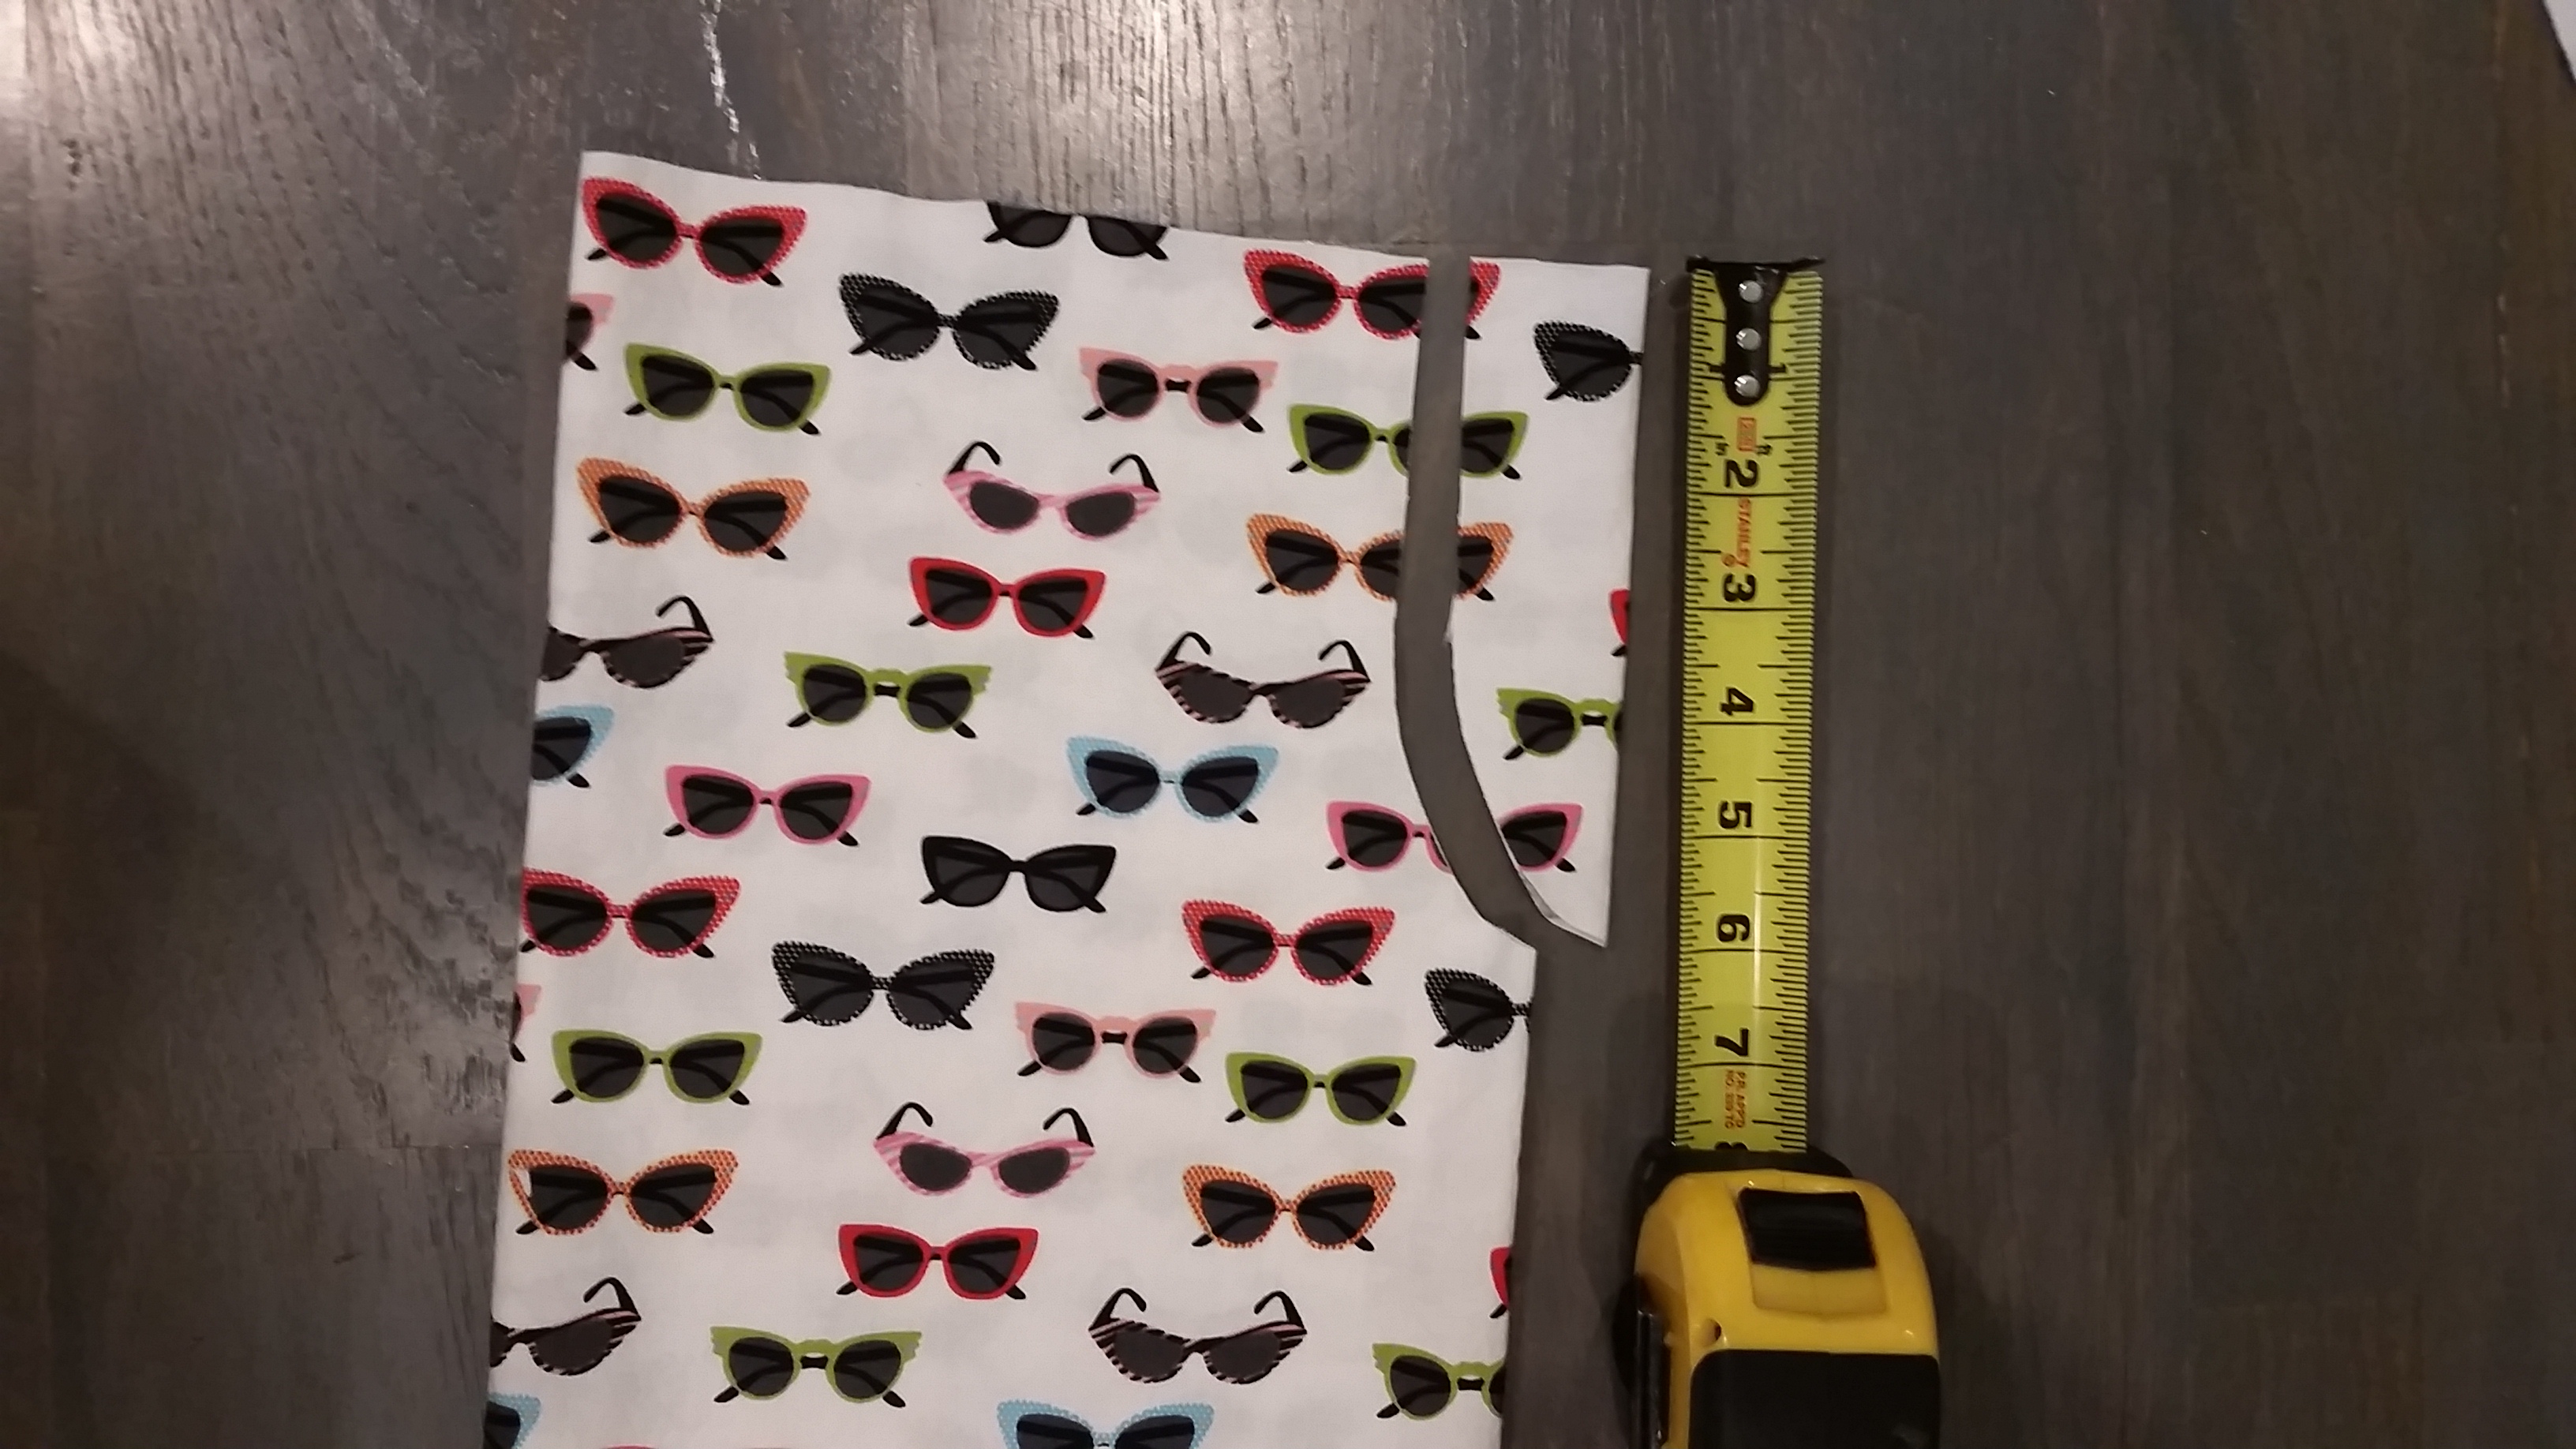
Next take the folded edge and met it up with the raw edge, so the fabric is actually folded twice. Cut half of a narrow “U” shape out of that corner where the folded and raw edges are (as shown below) – my “U” is about 1.5 inches at the top and goes down about 6 inches. This creates the two armhole areas.

With right-sides together, sew up the side seam (the other side seam is the fold, so it doesn’t need sewn – yep, this only has one seam!!). Then you can hem the bottom of the tunic (turn under 1/4 inch, press, then turn under about an inch and stitch into place.

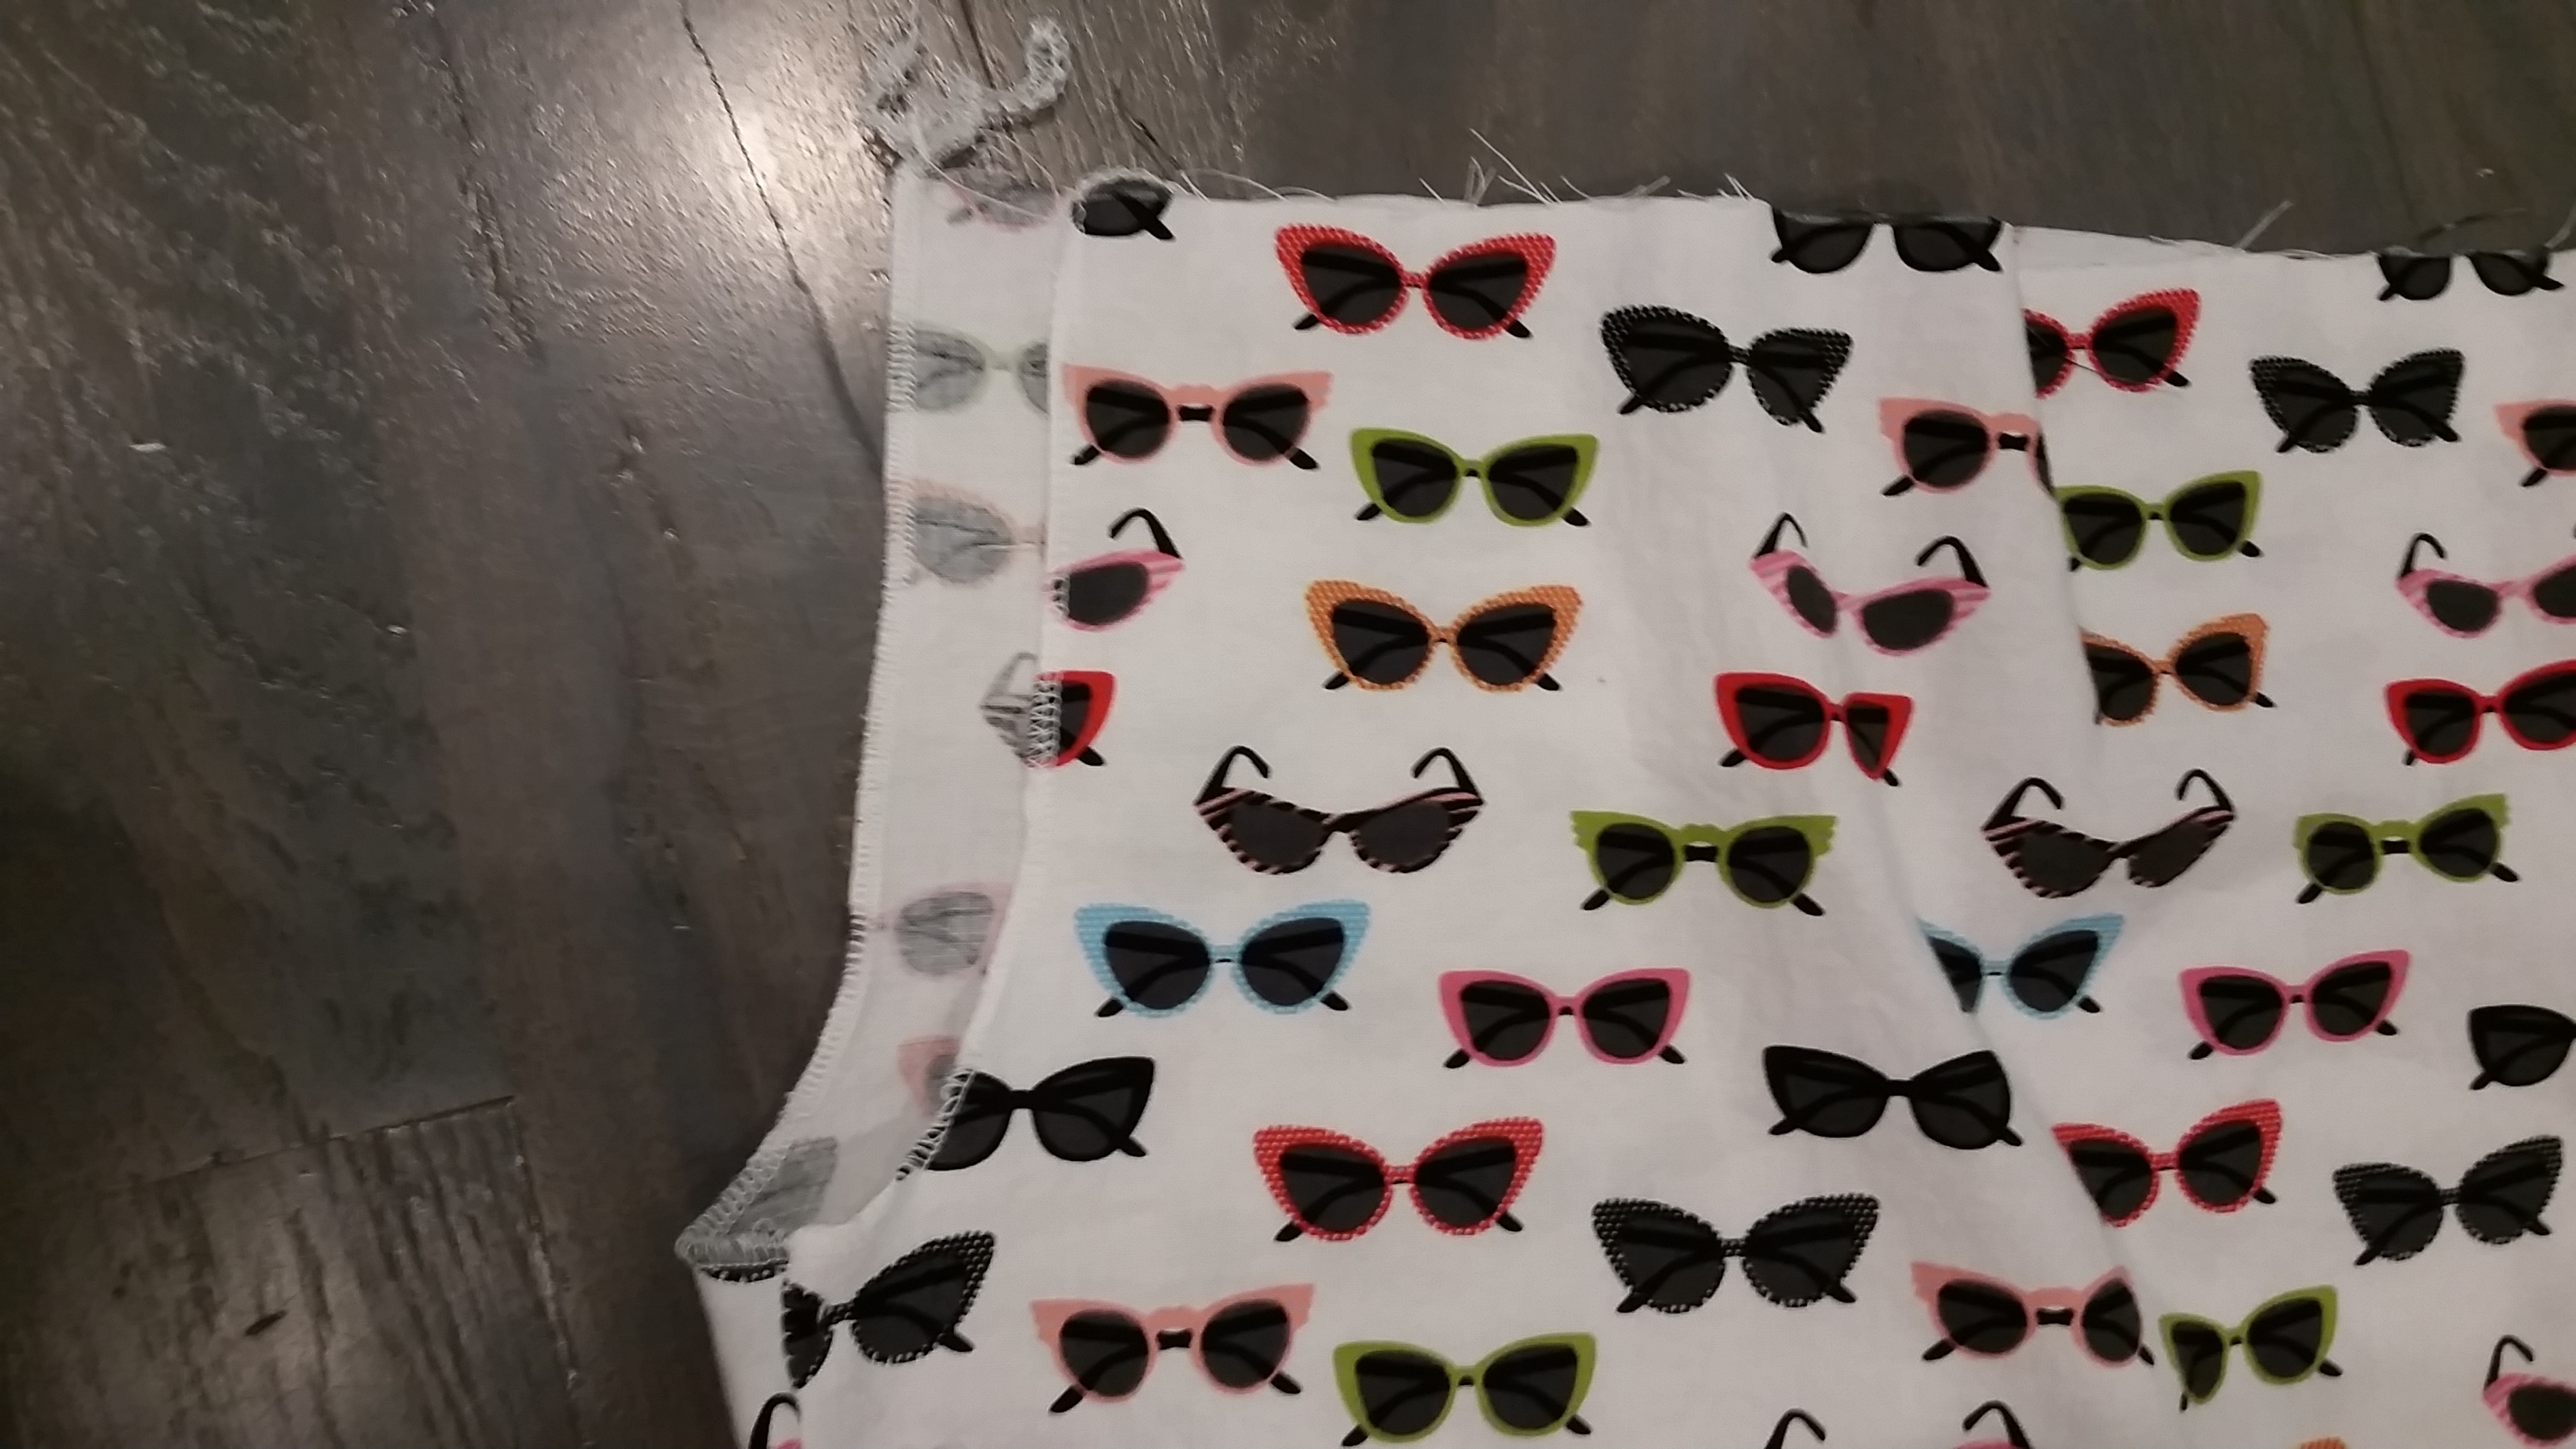
Next up, it’s time to hem the armholes. This is the trickiest part just because of the curve. You can do a narrow hem, turning under 1/8 inch and then 1/8 again and stitching into place. I use a rolled hem on my serger because I’m lazy

After that, you’ll just need to create a casing for the tie/ribbon. Fold the top under 1/4 inch, press into place, then turn down the width of your tie/ribbon and stitch into place (mine is about 1.5 inches). This creates the tunnel in which to feed the tie/ribbon through.

That’s it for sewing! Now just feed the tie/ribbon through the casing and you’re done! It ties over one shoulder and as it does so, it gathers the front and back of the tunic to give it some flow and shape. Fun and easy summer outfit!


If you love simple sewing projects, you might want to check out some other fun ideas on my blog:


The post Pillowcase Tunic Top appeared first on Sugar Bee Crafts.