
Tips for Layering Vinyl + FREE Cut File
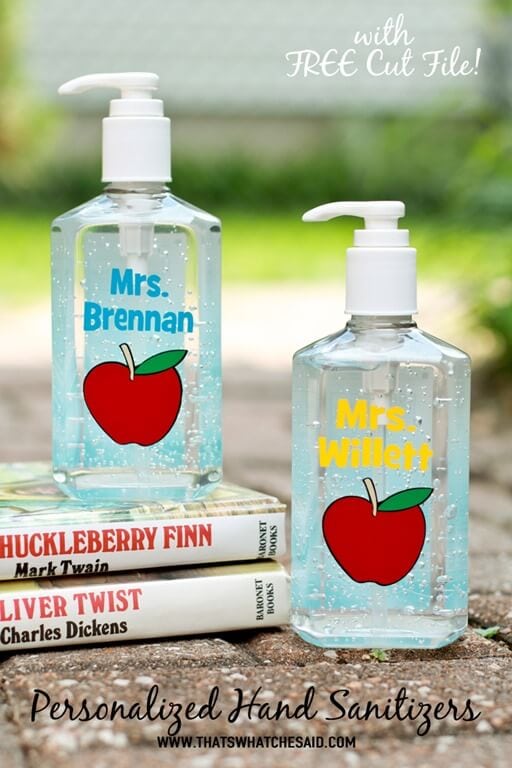
I can’t get enough of these personalized hand sanitizer teacher’s gifts. I honestly can’t get enough of the seasonal and holiday soaps as well! I have made them several different ways and just wanted to share my tips for layering vinyl as well as this cute FREE cut file if you would like to make your own.

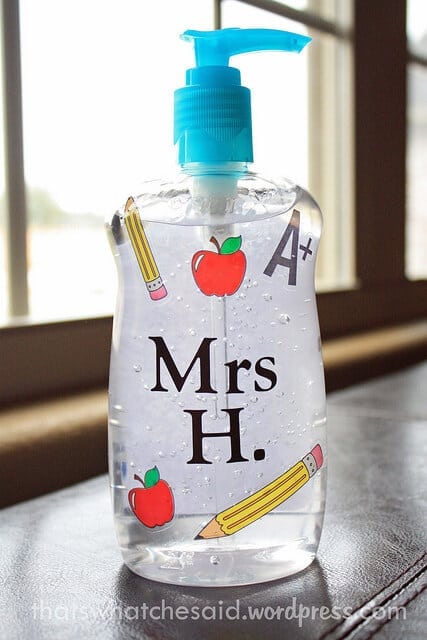
I have made these in the past. The very first one I made was for a teacher’s gift before I had a Silhouette CAMEO so I used clear backed scrapbooking stickers to personalize the bottle and it worked great!

Same with these Halloween, Thanksgiving, and Christmas/Winter Soaps.
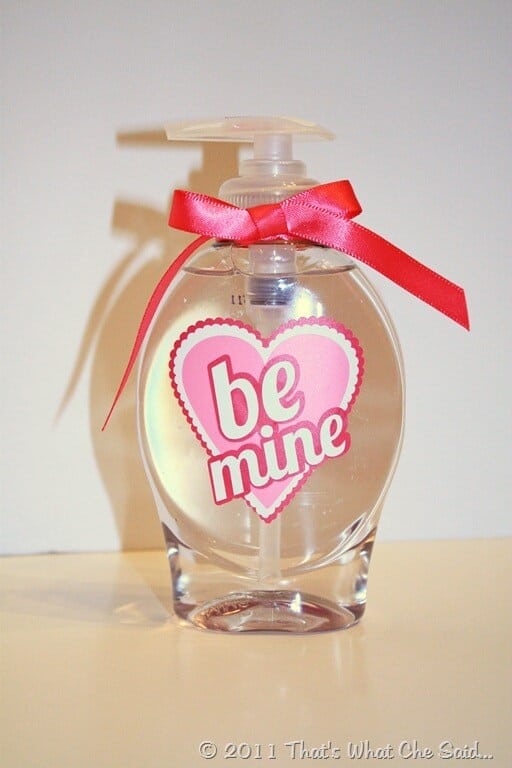
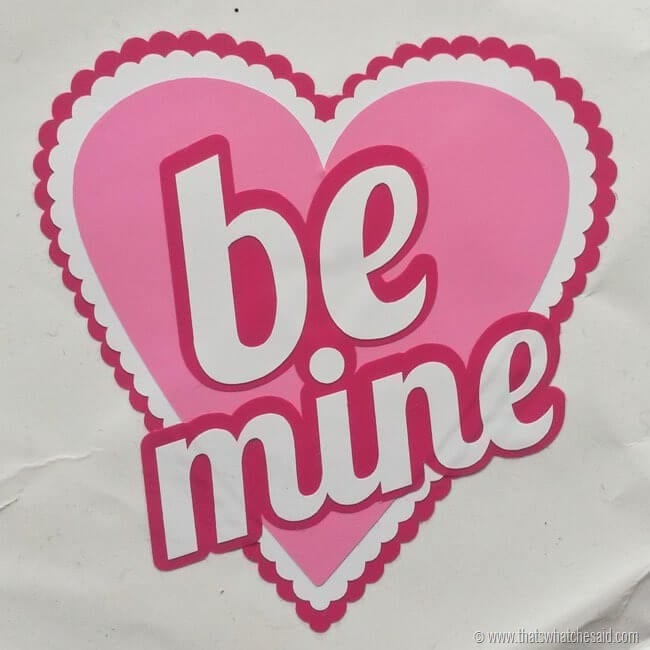
For Valentine’s day I had my Silhouette CAMEO and made this cute Be Mine Soap with layered vinyl.


1. Prepare your layers
I recommend cutting all of your vinyl pieces first. Weeding them all and then layering. Don’t try to cut one piece and weed it. Cut the second, weed it and layer it and then the third, etc. Cut everything, weed everything, have all your pieces ready to go so you can just layer at once.
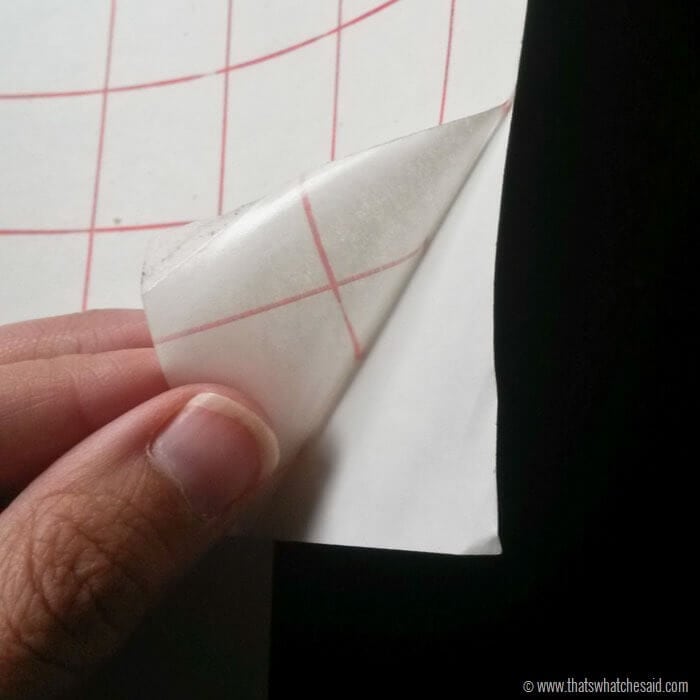
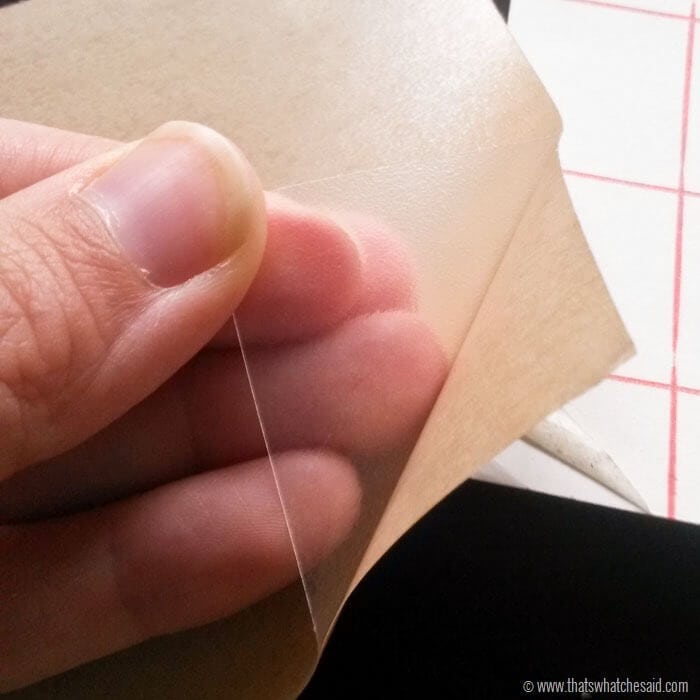
2. Use clear transfer vinyl
If you are not using transfer paper, you need to be. CLEAR transfer paper is a must for layering. There are two kinds of transfer paper/tape, one is like sticky paper with or without a grid pattern, or this clear kind. Yay for Clear!


3. Layer First, Apply Second
It’s easier to layer your vinyl colors on a flat surface versus the item you are applying your vinyl to. So my tip is to take your very back piece of vinyl, lay it flat on a table in front of you and layer there. Do not apply your back layer to your item and then try to layer the rest of the vinyl on your item. It’s so much easier in front of you on a flat table and then you can transfer the ENTIRE layered image to your object!

4. Work Slowly
Layering takes a bit of patience. You get much better at it as you practice. With this being said, I do not recommend a detailed layering project as your first! Work your way up! Work slowly. One piece at a time and I like to do it when my kids are napping or at school or leaving me alone, lol!
5. Have a Scraper.
A vinyl scraper is a great tool to have when layering. If you don’t have a scraper you can use a credit card as well. Just don’t break your credit card! For small designs I like to use it to press all the edges down firmly of the layers. For larger applications, its great to smooth out air bubbles in your designs!

You can also download the apple cut file for these and the names right HERE!
As always these are free for personal use only! Please do not redistribute these as your own!
If you need the font in order to edit. You can also find the Grilled Cheese Font here. It’s free too!
Here is also a quick screencast on the easiest way to resize all of your layers in a layered design!
If you are looking for some more awesome ideas on what you can do with your Silhouette, then check out all these awesome Silhouette projects! There are also other screencasts on how to use Silhouette Studio over on my YouTube Channel!


The post Tips for Layering Vinyl FREE Cut File appeared first on That's What {Che} Said....
I'd Love to Connect With You!
