
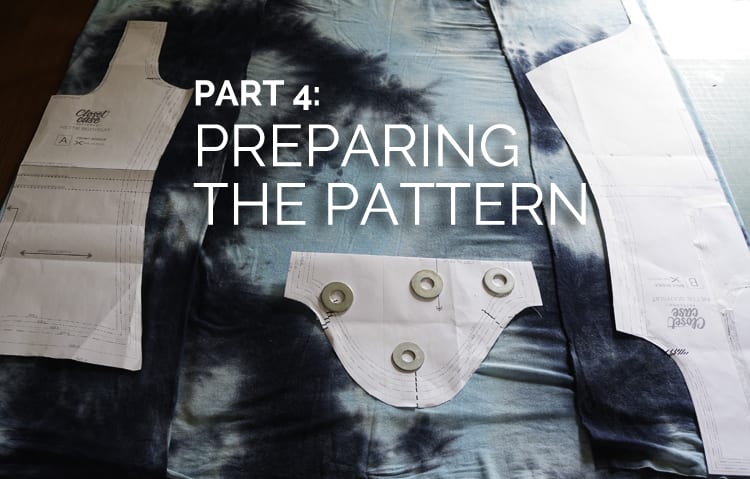
NETTIE SEWALONG PT 4: PREPPING YOUR PATTERN PIECES

Hi Nettie Betties! Today we are getting started on the actual nitty-gritty making of this baby. Just a reminder about the Nettie flickr group – please contribute your finished makes! I’m working on a few fun prize packs for the Nettie Contest; you can vote for your favourite at the end of the Sewalong.
Hopefully you’ve had time to gather your fabric and supplies. Here’s what we will be covering in this post:
- Printing and assembling the pattern
- Measuring yourself and selecting your size
- Making adjustments to the pattern if necessary
PRINTING & ASSEMBLING THE PATTERN
The Nettie package includes two printing options. You can print at home and assemble the pattern yourself, or you can take it to any copy shop that has a large format printer; they will print it on one large sheet. That used to be my preferred method for PDF patterns, but I’ve been making indie designs almost exclusively for the last year, and I’ve gotten quite speedy at assembling patterns at home. The trick is to only trim off the left and bottom edge of each page; I like using an exacto knife and a self healing mat. I then use a glue stick to put them together. It goes surprisingly quickly. Marie just wrote a great post for Craftsy explaining how to do this efficiently; check it out!
I hate recommending extra steps but I highly suggest you trace off your Nettie once you’ve printed it for a couple of reasons:
1. There are so many darned options for this pattern, and I combined them as efficiently as possible so you could avoid printing a bazillion pages. If you want to make a high necked version later but cut out the scoop part, you’ll have to hang on to that scrap and tape it back on (or worse, if you’re like me and would lose your nose if it wasn’t attached to your face). Better to trace and save the uncut pattern for reference later should you choose a different sleeve, neck or back option.
2. The sleeves on Nettie are high cut and the fit is supposed to be snug. If you decide you want a looser fit down the road, tracing off your pieces will ensure you don’t have to print the whole caboodle out again.
I like using a roll of tracing paper I get from an arts supply store, but you can also use parchment paper from the dollar or grocery store. A trace in time saves, errrm…. wasting a bunch of ink and paper?
CHOOSING YOUR SIZE
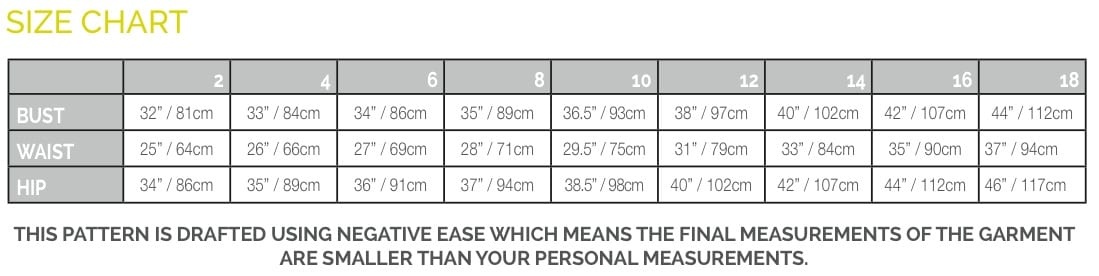
If you’re not sure of your measurements, pull out that measuring tape. Mark down your measurements at your fullest bust, natural waist and widest hip. Take a look at the size chart and see if you fit more or less into one of the standard sizes (just a reminder: if you purchased your pattern before May 10th, you will be going up a size – read this post for more information. If your purchased your pattern after May 10th, the size chart is accurate as is!)

I know I should always suggest grading between sizes if you don’t perfectly fall into one size but…. you may not have to for this pattern if your waist or hips are off by around an inch. Technically, I am a size 10 at the bust and a 12 on the bottom, but I made all my samples using a straight size 10 and the fit was great every time (primarily because I used fabrics with at least 55% stretch percentage). The most critical measurement is the bust; use your bust measurement as the base size. I would suggest grading between sizes if your lower half differs from the suggested waist/hip measurements by more than an inch.
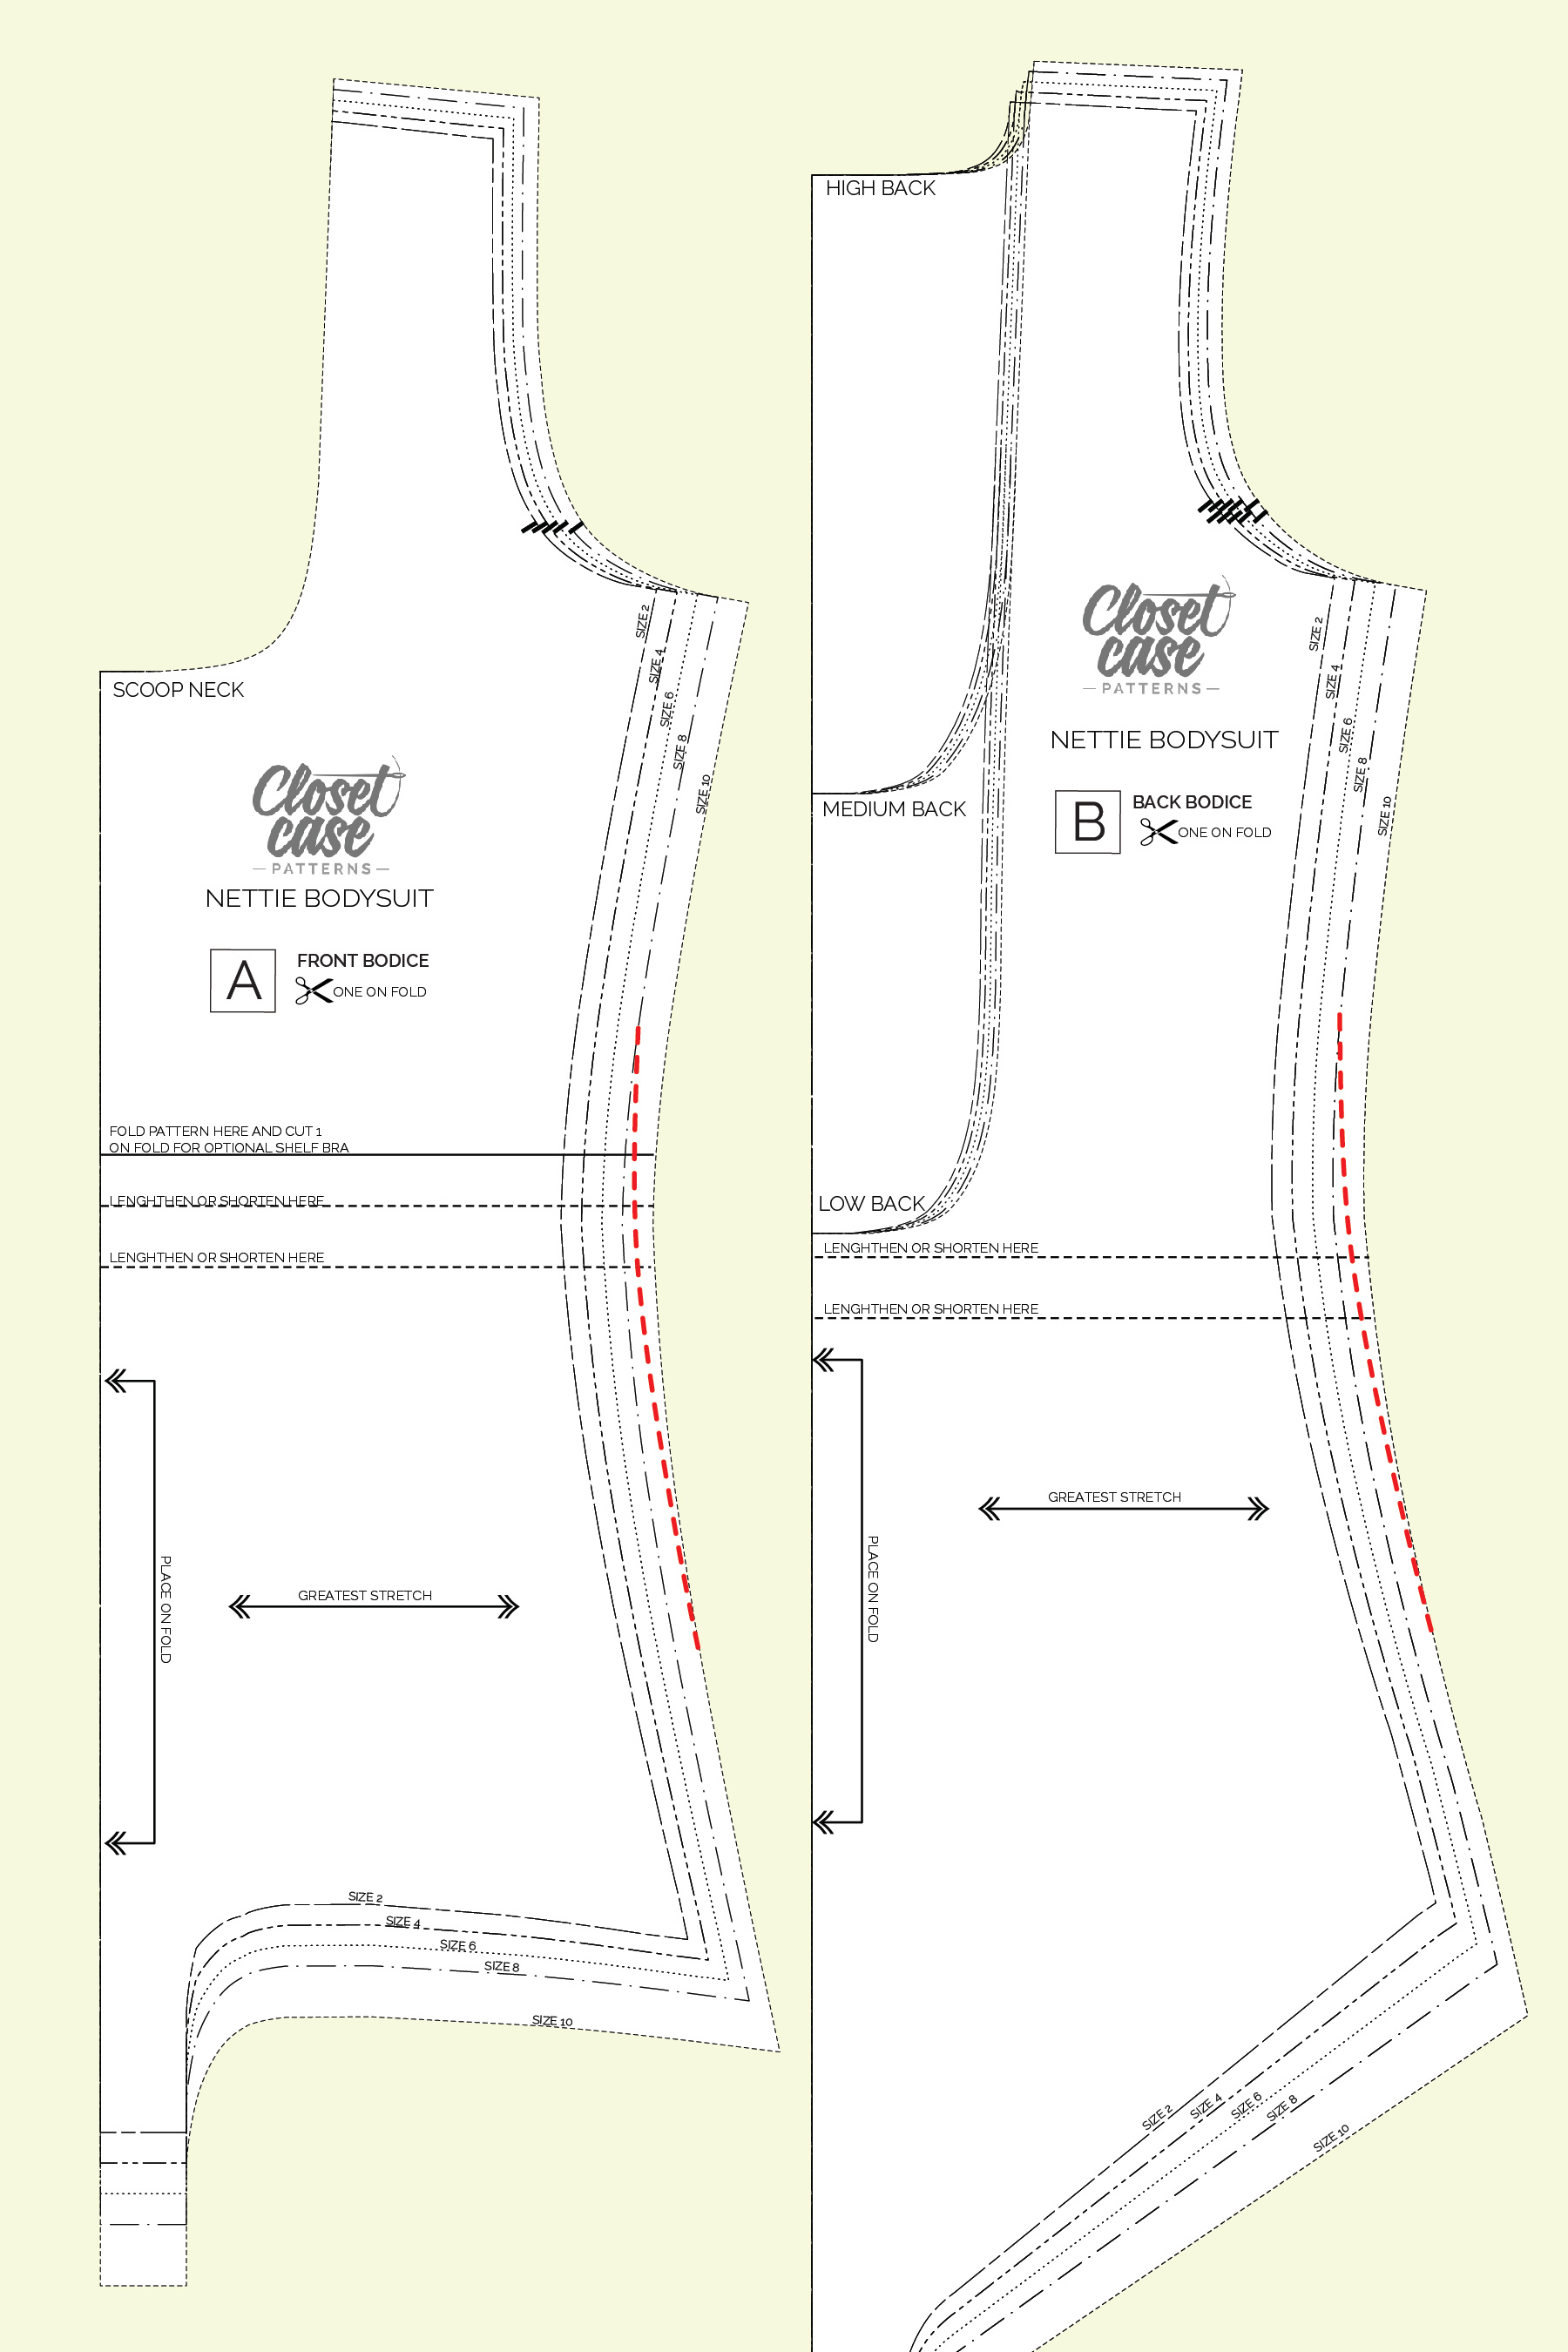
PATTERN ADJUSTMENTS
If you do need to grade between sizes, it’s easy to do with a marker and a french curve (or free hand for you free spirits). Simple draw a softly curving line that connects the two sizes at the waist. Make sure you make the same adjustment to the front and back bodice pieces.

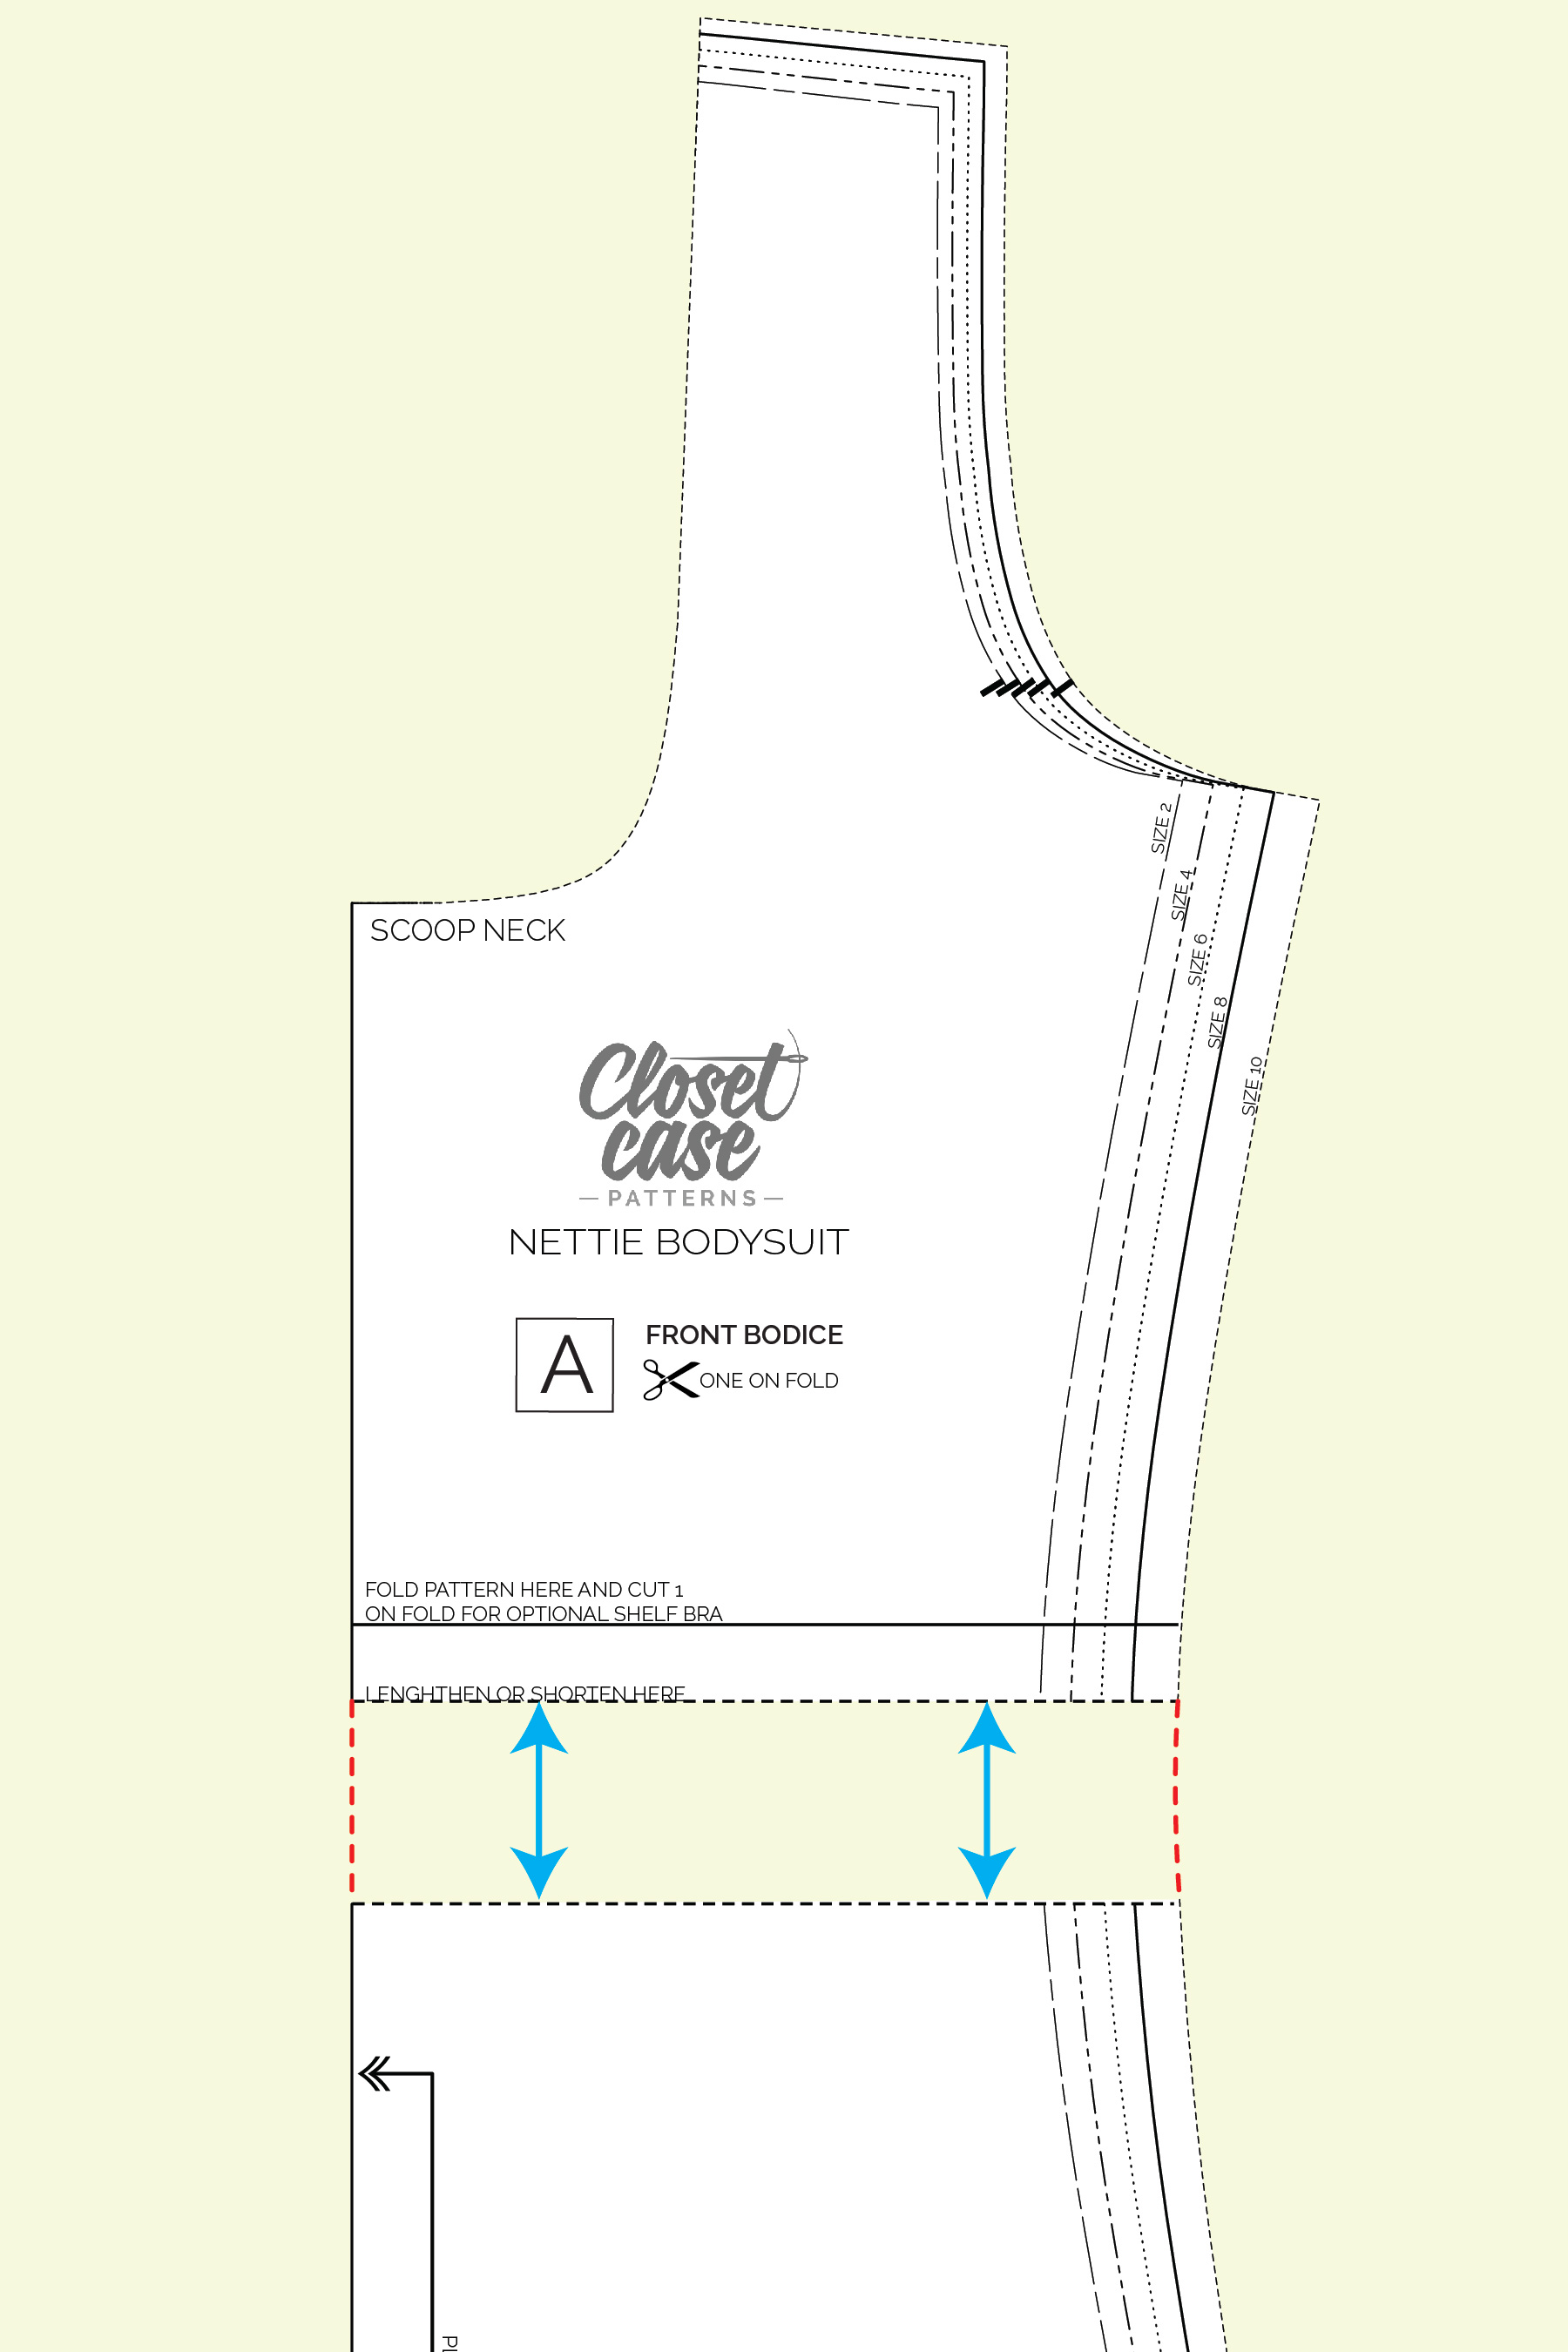
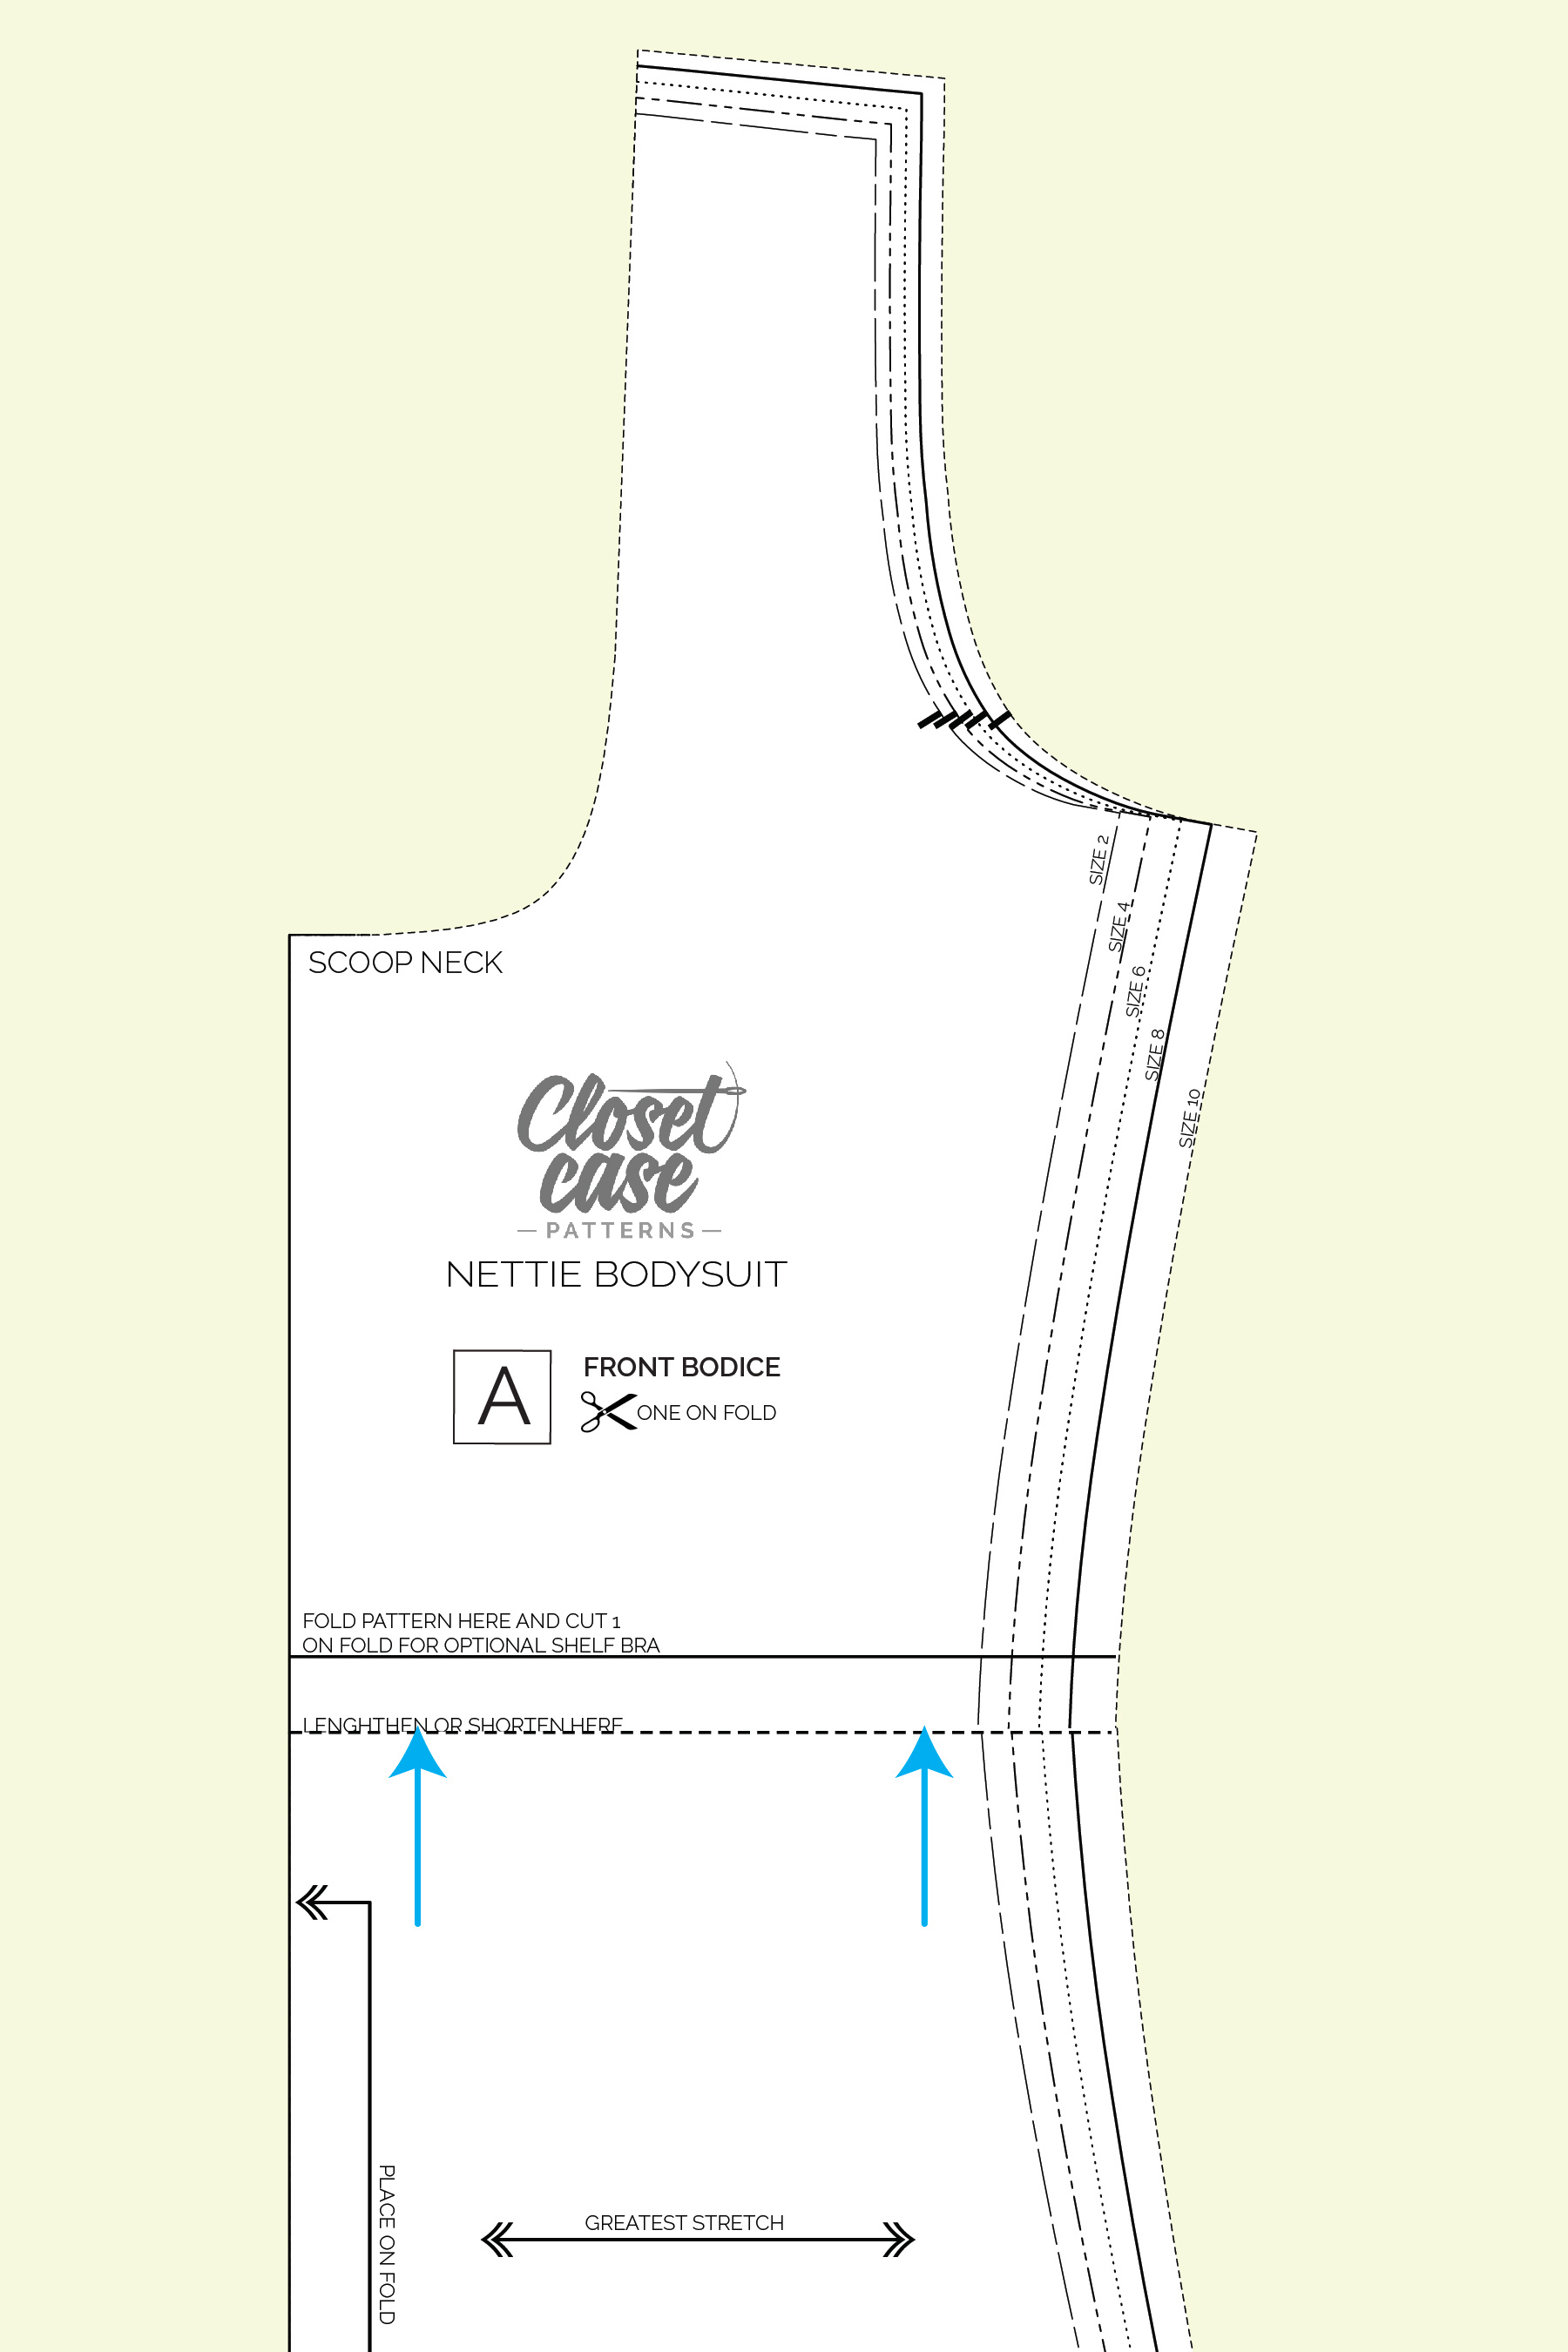
You may need to shorten or lengthen the pattern. I use myself as a fit model since I’m an average height of 5′-6″ and have an average length torso. If you are more than a few inches taller or shorter than 5′-6″ or have an especially long or short torso, you should extend or shorten your Nettie. This pattern is should put you in the wedgie-free zone if it’s the right length for your body.
To lengthen, cut along one of the indicated lines on the bodice pieces and pull it apart your desired length. Tape a piece of paper in between your two pattern pieces and extend your side pattern lines.

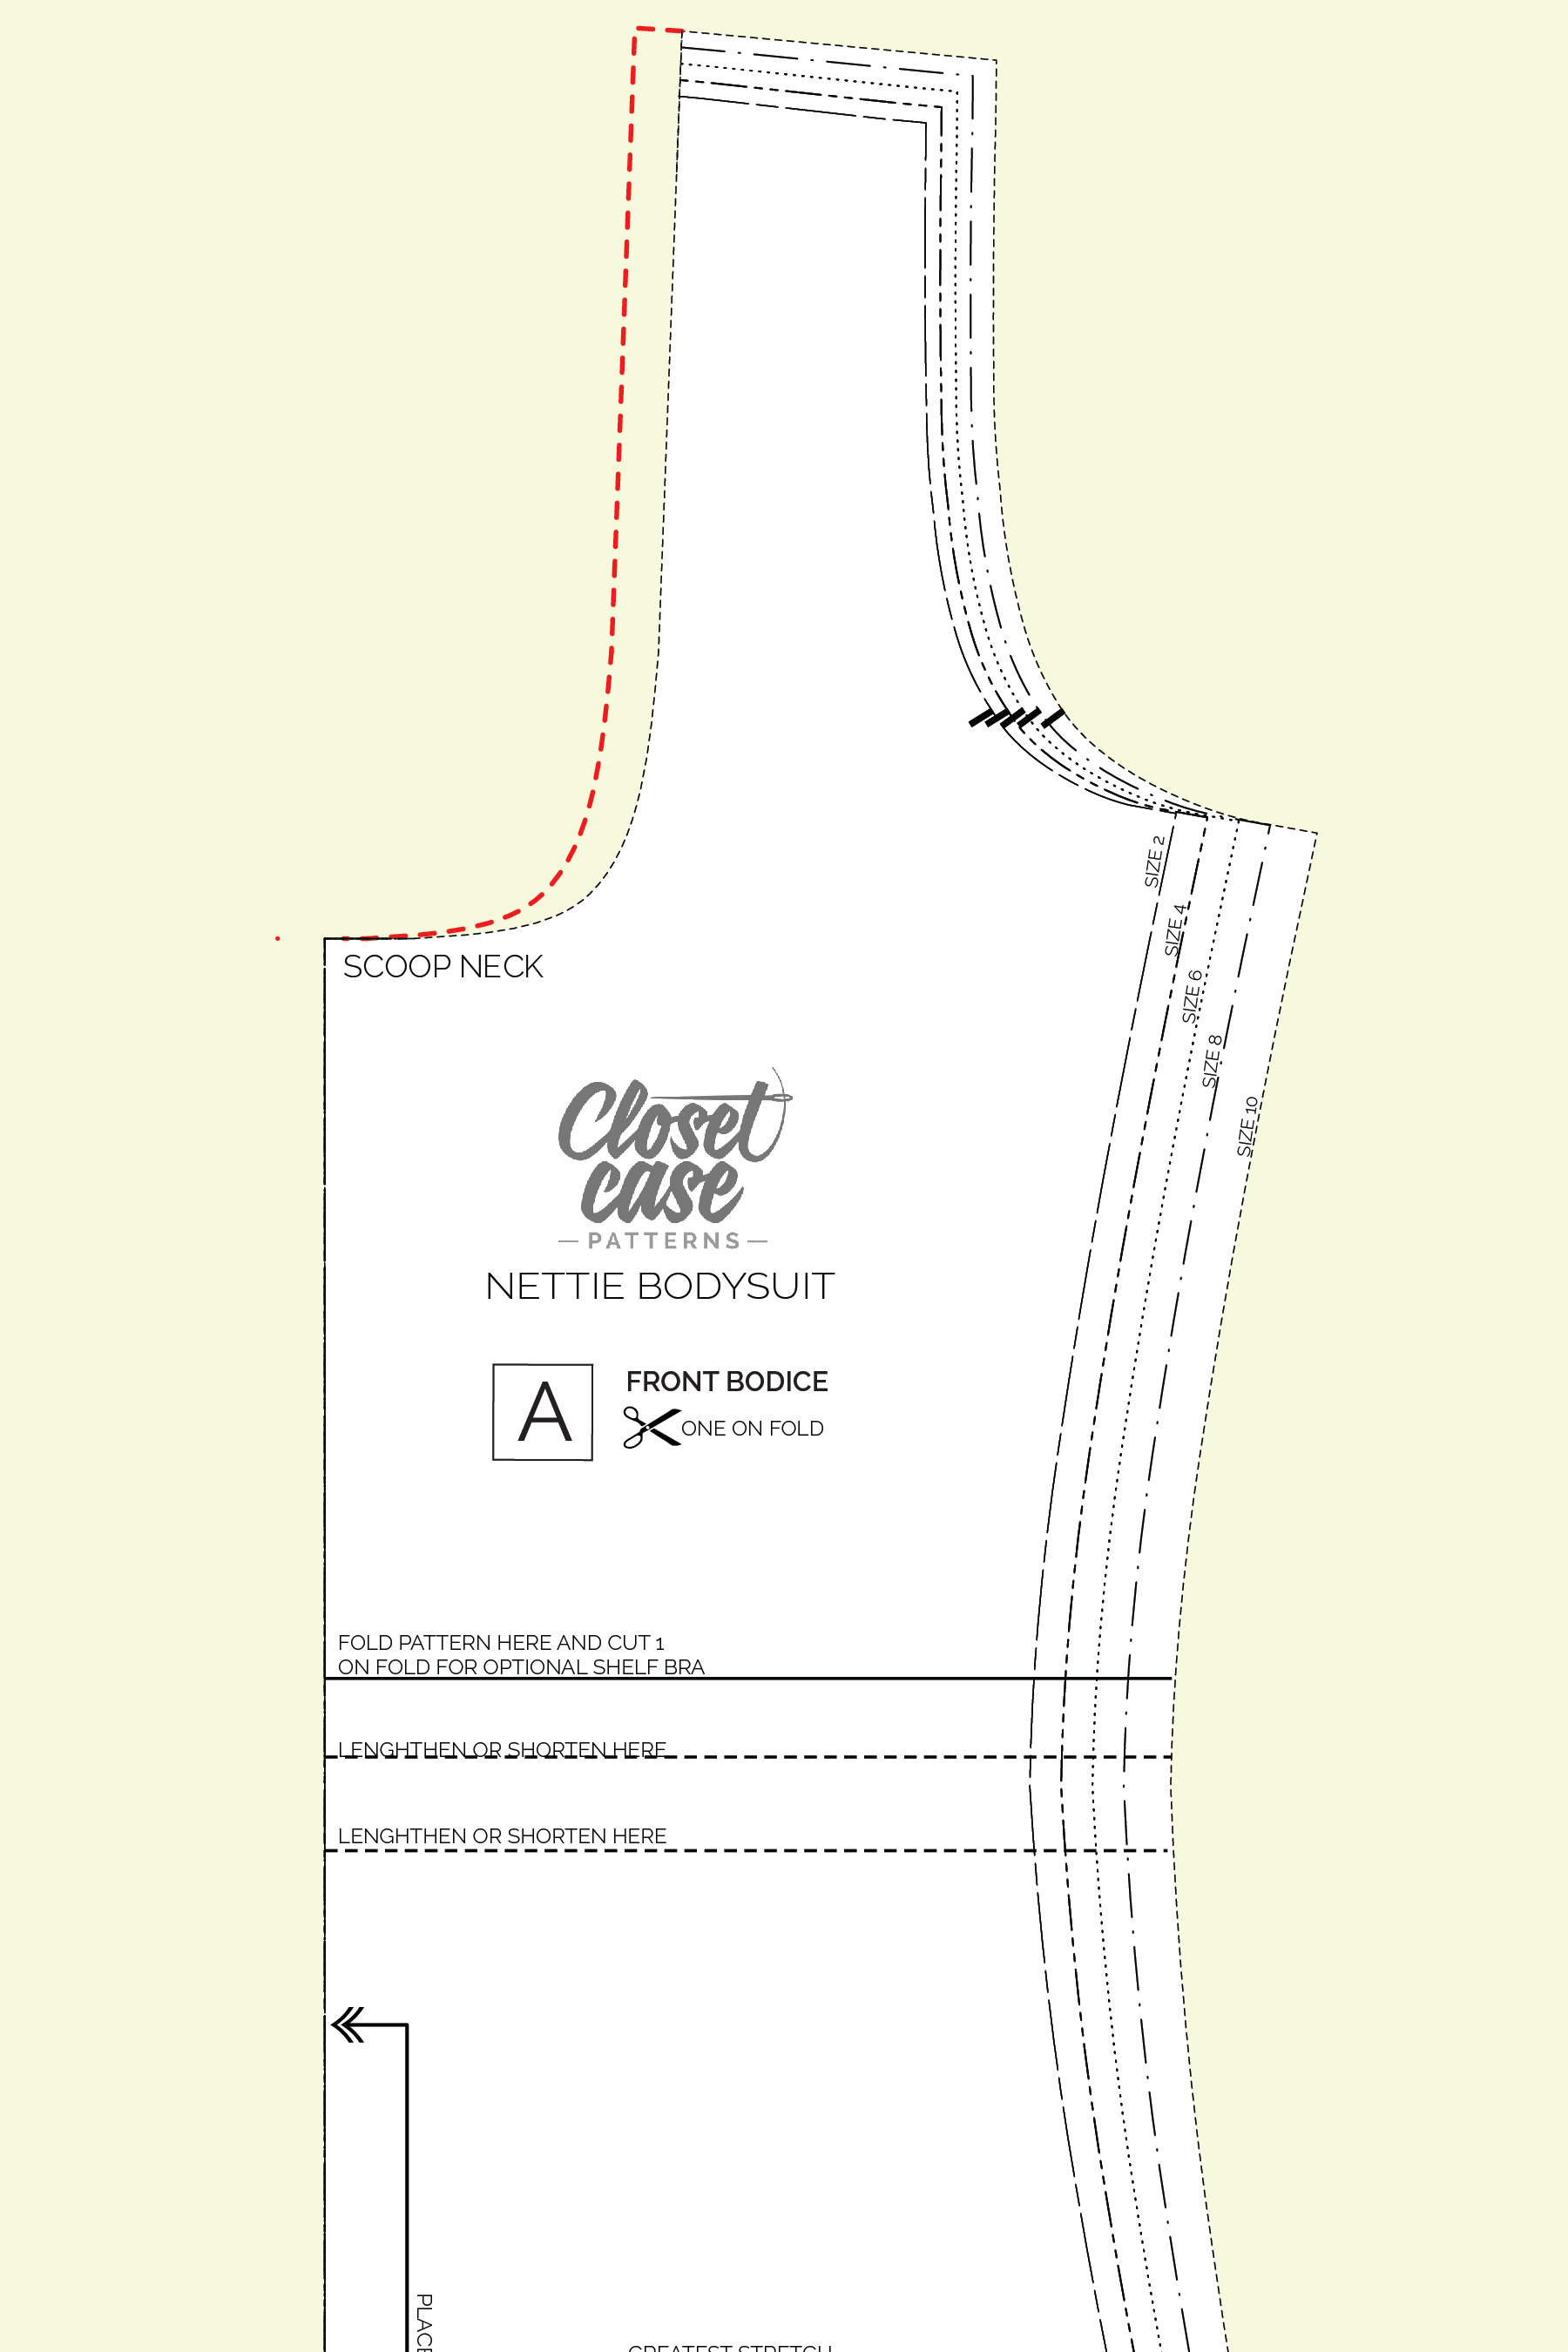
To shorten your Nettie, cut along one of the dashed lines at the waist and overlap the other pattern piece your desired amount. You may need to smooth out the curve.

By now you’ve probably seen some Netties cropping up in the wild (I’ve been collecting them here). Some folks have commented that their bra straps show when they have the scoop front AND scoop back. The scoop was drafted to show maximum skin and as a result is quite wide, but I find my bra straps are concealed if I wear them a little further apart on my shoulders. I don’t think this is an issue if you only have the scoop on the front OR the back since the fabric has more to cling to. If you do the double scoop and think this will be a problem for you, it’s a pretty simple fix. Just move the neckline curve over and extend the shoulder seam the desired amount. You’ll have to do the same to the front and back pieces.

That’s it for today! I’ll be back in a few days to help you cut into your fabric. In the meantime, I suggest you throw it into the wash. It will protect against shrinking, and you’ll remove all the chemicals most fabrics are treated with. You do not have to press your fabric unless it is crazy wrinkled.
Additionally, although I am very confident sewing with knits, I picked up a few good tips from the Colette Guide to Sewing Knits this weekend. One of them was the suggestion to let knits “relax” for 24 hours or so before you cut into them. The fabric can get distorted or stretched from being folded or rolled for long periods of time. Letting it lie flat for a while apparently relaxes the fibers. Cool, huh? If you have the space, let your fabric chill out and we’ll cut out our pieces in a few days.
The post NETTIE SEWALONG PT 4: PREPPING YOUR PATTERN PIECES appeared first on Closet Case Files.
Related posts:
- BOMBSHELL SEWALONG PT 2: PREPPING PATTERN PIECES
- NETTIE SEWALONG PT 3: OUTFIT INSPIRATION & PATTERN HACKING
- BOMBSHELL SEWALONG PT 3: CUTTING FABRIC & GATHERING BACK PIECES