
GINGER SEWALONG PT 13: BELT LOOPS, HEMS & BUTTONHOLE
Okay sewalongers – we are FINALLY entering the home stretch! This is the second-to-last post before we hammer our rivets and buttons. Today we will be topstitching all the final details for our almost completed Ginger Jeans. If you are having any fitting issues or want to be included in the Ginger Sewalong contest, be sure to upload your photos to our Flickr group as I’d love to see your progress!
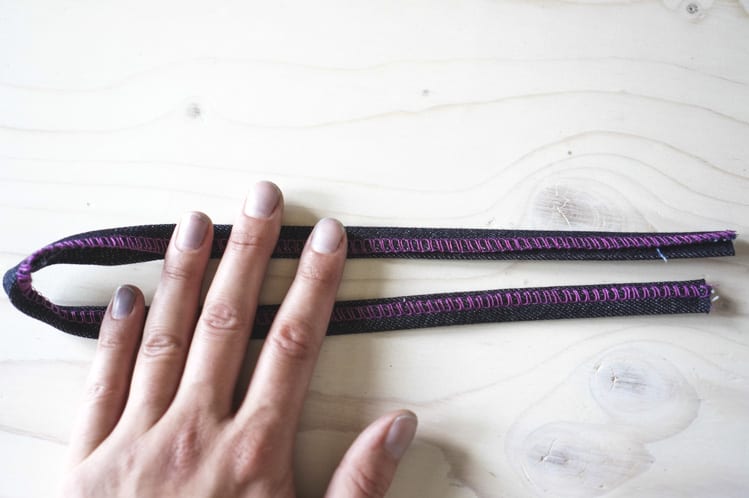
Today is a good day since we will not have to switch thread at all – you can keep that topstitching thread in for each step! First up, finish one raw edge of your belt loop piece (use a serged or overlock stitch). Once that’s done, try and press that strip into thirds. You want your finished edge on the outside, as close to the edge as possible (if you’re lucky your nails will also be stained with indigo dye like mine are below – the jean maker’s manicure!)

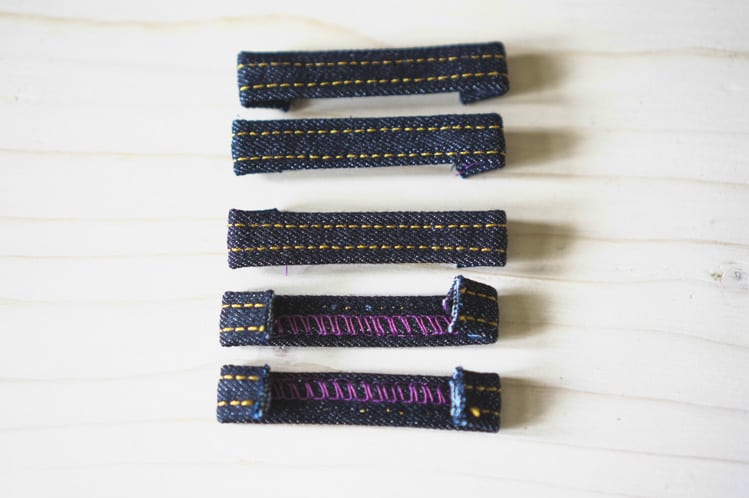
Now topstitch the entire length on both sides. You are trying to catch the raw edge in one of those topstitched lines, but don’t stress if you can’t quite get all of it – these babies will be plenty secure once we’re done with them.


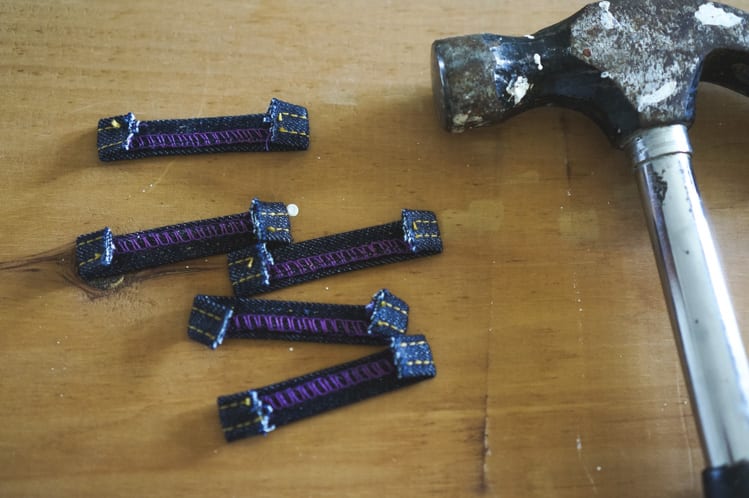
Belt loops can be a pain in the butt to fasten since you are sewing through so many layers of fabric. It really helps to flatten your loops as much as possible to make it easier to feed through your machine. Enter the hammer. From the wrong side, give each end a good couple of whacks.

What I am about to suggest next may be highly controversial, but rules were meant to be broken. I have found that the easiest way to sew belt loops to jeans is by using a few dabs of fabric glue


If the idea of fabric glue gives you a Tim Gunn “Why I never!” feeling, you can also open up each loop, line them up on the top of your waistband and sew the wrong side down to anchor it before flipping them back to the right side. I don’t have a photo of this to demonstrate, but you are basically just sewing the top half down before topstitching it. Either way, belt loops can be wiggly and it’s much easier to sew them if they are anchored a little beforehand. Be sure to use your hump jumper or a piece of cardboard for this step to help your foot stay level.
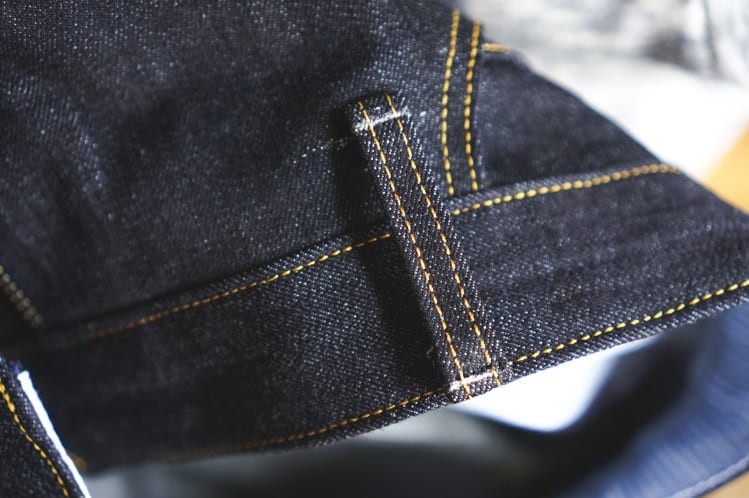
When it comes to securing them to the belt loops jeans, you have two options. You can bar tack them in place, which is VERY strong, but not all machines want to bar tack through all that fabric.

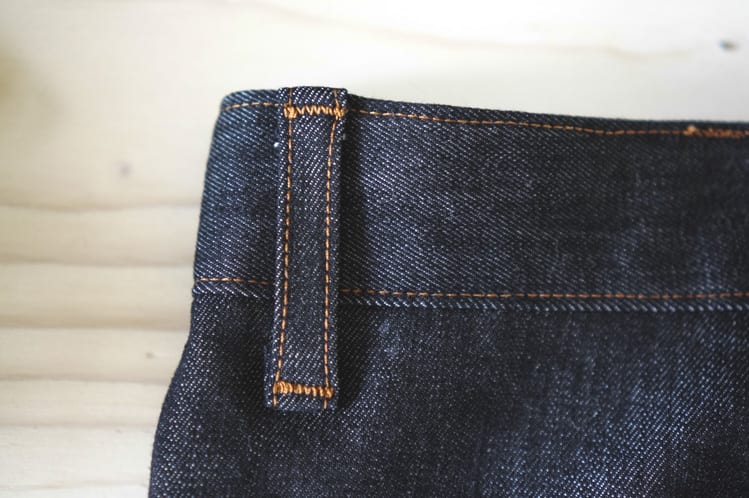
Alternatively, you can just use a short straight stitch and backstitch about three times to really secure that puppy in place. I tend to hike up my pants by the belt loops so I’ve learned through experience that I like them to be really strong. Either way, try to line up the topstitching at the top of the belt loop with your line of stitching on the waistband. Mark with chalk if it makes it easier for you to sew.I try to stay roughly within my topstitching lines on the belt loop. I find it looks better than trying to sew the entire length of the loop.


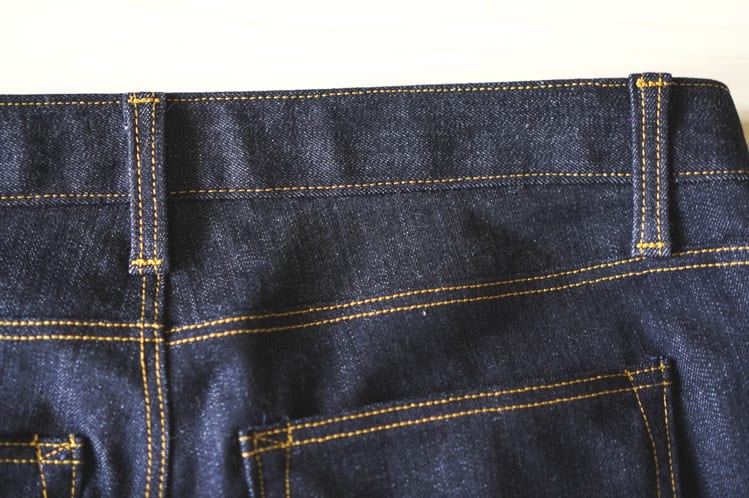
Once installed, you can trim the excess on the inside of the belt loops to prevent fraying.
Next up, buttonhole! Take your jean button and center it on your waistband above the fly. Mark a line a little bigger than the button so you’ll have room to get it in and out. I start the buttonhole about 1/4″ away from the waistband stitching. Make sure you do a test run first to make sure your topstitching thread tension is cooperating. If you can’t get a nice thread tension, use matching regular thread (or use a fun contrasting colour like Sallie did here).

If you have some Fray Stop

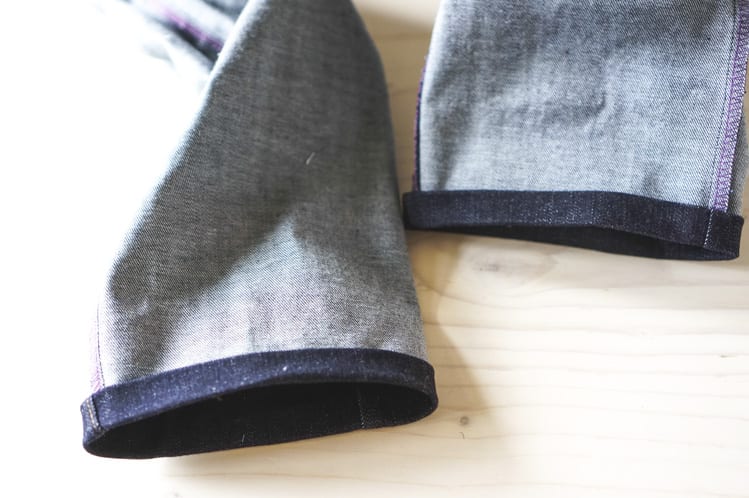
Finally, we are going to hem our jeans. This is easy peasy. Just fold each hem up 1/2″, press, fold again, and topstitch. Done!


Let’s give ourselves all a long, loud slow clap. You’ve all done amazing work! I want to wrap this sewalong up this week so I will be back tomorrow to talk rivets and buttons. Happy Thanksgiving to my southern neighbors!
Next up: Installing rivets and jeans buttons.
Related posts:
- GINGER SEWALONG PT 10: SEWING SIDE SEAMS & BACK POCKETS
- GINGER SEWALONG PT 11: SEWING THE WAISTBAND
- GINGER SEWALONG PT 12: BACK POCKET PLACEMENT