
GINGER SEWALONG PT 14: INSTALLING DENIM RIVETS & BUTTONS
Ahhhh…. the final post in our rather epic Ginger Sewalong series! I worried at times that I’ve been guilty of information overload but I hope I’ve helped to demystify the jeans making process for you. It’s been fun, hasn’t it? Making jeans is the best.
A few pieces of business before we proceed with the last step. Please be sure to upload your finished or progress pics to the Flickr page if you’d like to be included in the giveaway, or use the hashtag #gingerjeans on Instagram. You can also email me your blog posts or link to them in the comments. If you’ve been following along but are still unsure about this whole jeans making thing, you may want to look into taking an intensive Ginger workshop with me at next fall’s Camp Workroom Social. It’s going to be hella fun and I’m happy to lovingly hold your hand in person.
Now, on to the final step which will take your jeans from “I made these” to “I FRIGGING MADE THESE!” While you can use a regular button for your jeans, and skip the rivets all together, nothing really pulls this project together like a hammer and some brute force. Here’s what you’ll need:
- Metal rivets (get a few extra to practice with)
- A jeans button (again, practice with an extra one first!)
- A hammer
- A nail to make holes, or an awl
- A scrap piece of wood
- A sheet of strong metal like steel or a cast iron frying pan – you need something that won’t dent when you hammer in your rivets
- Wire cutters
- Optional: a rivet press
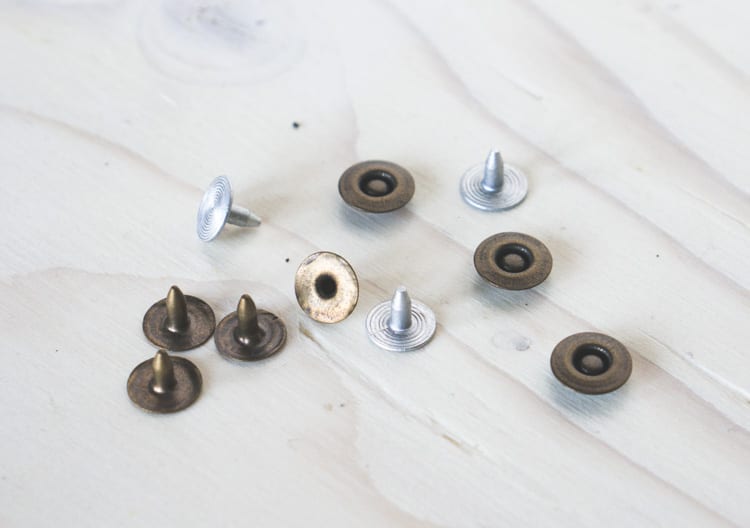
Check out my post on sourcing supplies if you need help finding rivets and buttons. As I said, it’s better when possible to get all metal buttons and rivets. Some buttons have hollow plastic bases which I just don’t think are as strong over time. As for rivets, they generally come with a solid or hollow post. I prefer rivets with solid metal posts because they are easier to trim down to size. In the photo below, the solid posts are in silver.
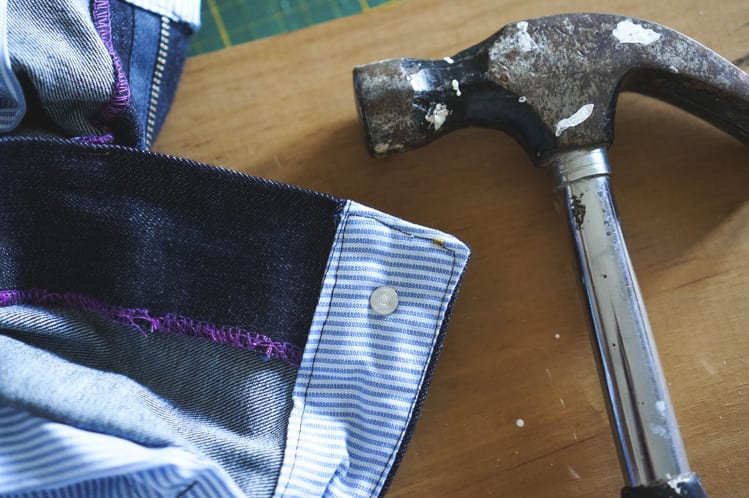
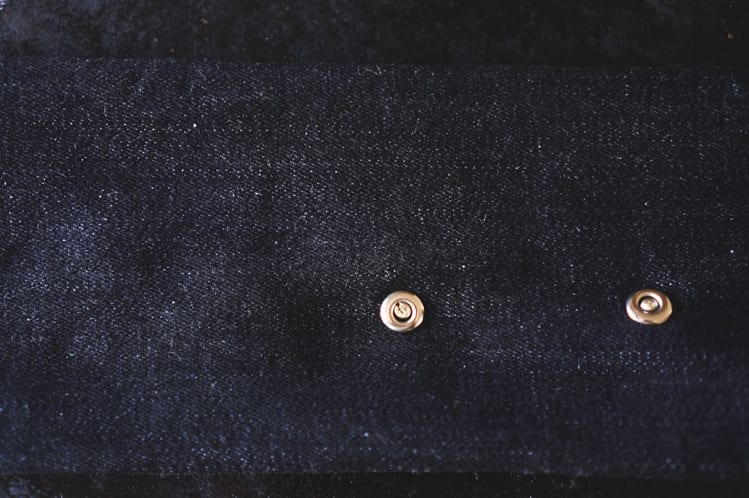
First up is the button. I highly suggest you practice on a scrap before going at your final jeans (hence why we are including an extra button in the Ginger Jeans denim kits). Do up your zipper and use a pencil to mark the location of the button. I always place the button on the left side of the buttonhole like you see below. No sense in centering it unless you want to give yourself a little breathing room at the waist.
You now want to make a hole in the waistband where you marked the button location. You can use a hammer and nail, but I prefer using an awl.
Push the button back through the hole you made.
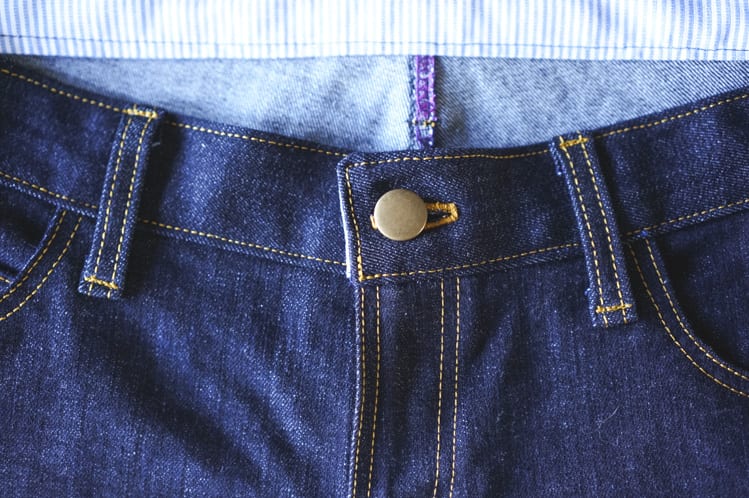
Now, on your spare piece of wood, place the button with the hole facing up, and turn your jeans over. Line up the button back post into the button hole. Try to keep this as straight as possible. With your hammer, give the button back a few light thumps. Once it catches and you’re sure it’s going in straight, hammer it in until it’s fully locked.
That wasn’t too bad, was it?
On to the rivets! The location of your rivets is really up to you but traditionally rivets are placed in 5 locations: along the topstitching where the front pocket meets the leg, the top corner of the coin pocket and the outer courners of the back pockets. Use your awl or hammer and nail to make your holes. You may need to use a little force – it can be tricky to make a big enough hole through numerous layers of fabric. I wiggle the awl in and out on both ends to make enough space. Try to make the hole in between your topstitched lines so you’re not severing that stitch.

Insert your rivet posts in the hole you just made. Take a look at how much of the rivet is poking through – if it’s more than a milimeter or two, you’ll want to trim it down with wire cutters. If the post is too long it will be hard to hammer in straight, and it may also dent or break the surface of the rivet once it has been hammered in. If you don’t have wirecutters, you can also “pad” the difference by adding a few layers of scrap denim to the rivet and trimming around the rivet post (see Tailor Taylor’s post for how to do that here). This is an example of what can happen to a rivet that is too long for the denim.

For this pair of Gingers, I had to trim down the rivet tip about 1 mm. I basically just cut of the pointy tip with my wirecutters.

If you have hollow rivet posts, it is a little trickier to trim them since they have a tendency to flatten when you use wire cutters. Use pliers to squeeze them back into a rounder shape after you have trimmed them.
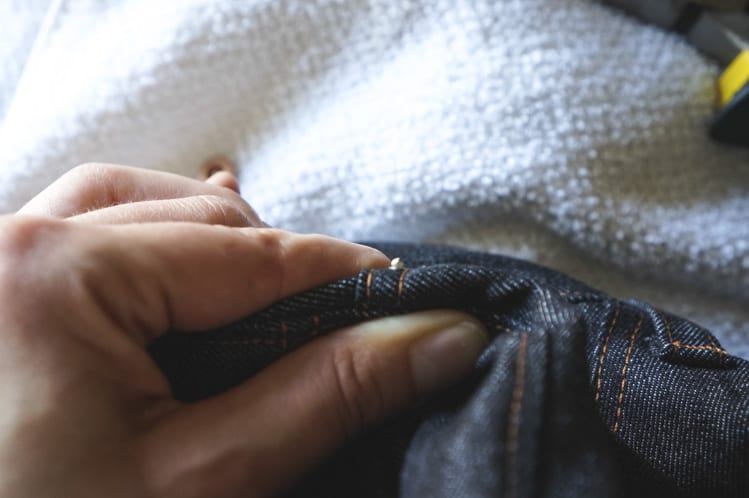
Once your post is ready, put the rivet face down on your cast iron pan or sheet of metal. Turn your jeans over and align the post into the hole as straight as possible. You can use your fingers to hold the surrounding denim taut, which helps to keep the post straight. Give a few gentle taps to connect them, and once you are sure it is reasonably straight, hammer until it goes all the way in.


And that’s it! You’ve officially made a pair of custom fit, beautiful jeans and I hope you’re blaring
Related posts:
- GINGER SEWALONG PT 2 – JEAN MAKING SUPPLIES
- GINGER SEWALONG PT 5: FITTING
- GINGER SEWALONG PT 8: SEWING A FLY FRONT ZIPPER