
Ice Cream, Macarons, and a little make over

Weather is a HUGE deal for me and Aaron. Or I should say seasons are a huge deal. As soon as the temp warms up, and we can keep the windows open all day long, we both seem to come alive. We're instantly more productive, and we finally can find the time and energy to realize all of the ideas we had been storing up all winter (we do the opposite of those squirrels with their nuts). The past couple weeks have been paint filled and positive. On some days we could start a project from scratch in the morning and have it photographed and in the shop by early afternoon. That would never happen in January or February. For some reason, the birds chirping in the trees, and the sound of itty bitty kids gleefully screaming on the playground down the block, inspires us to create. Well that, and the sunshine...and not having to blow into our fists to warm our fingers up. It was a crappy winter...but so far it's been a glorious Spring. The requisite Jersey humidity has not yet kicked in...and for that we are super thankful. I guess we express our thanks by painting a whole lotta new stuff!

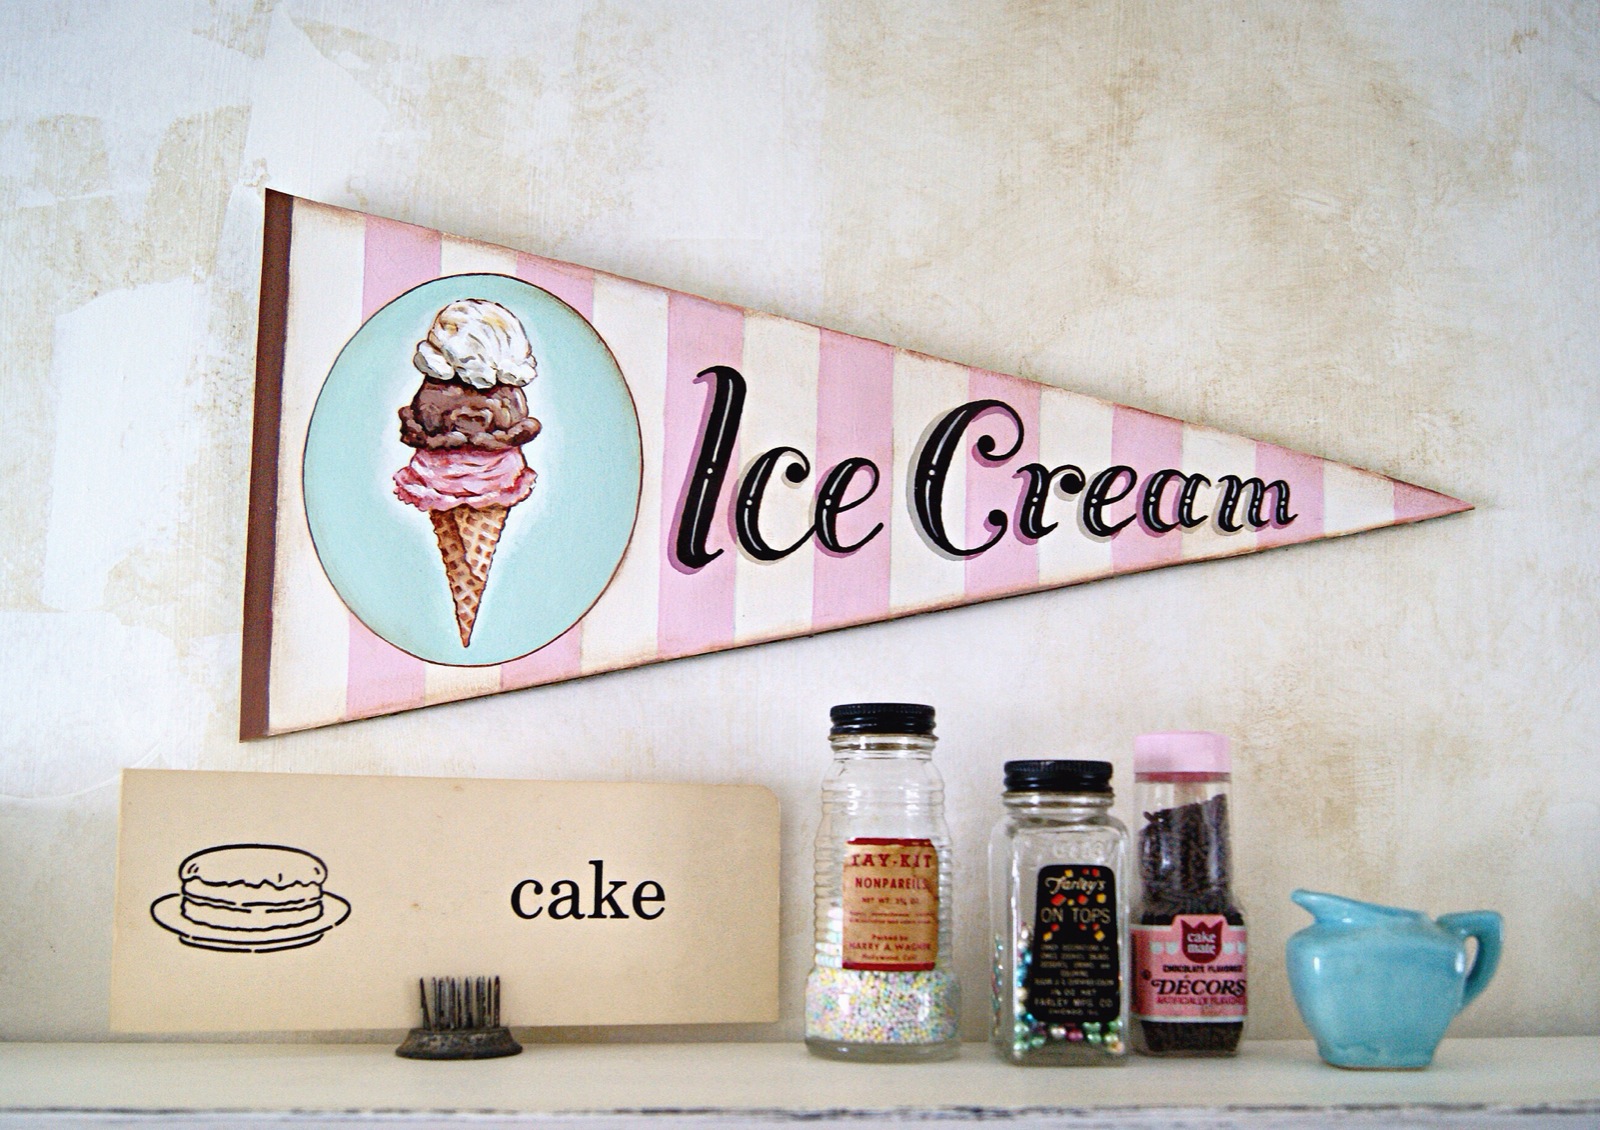
This Ice Cream pennant is our latest finished piece. Again, this is something I sketched up ages ago but could never find the time to bring to life. I'm a huge fan of vintage souvenir pennants. I loved going on class trips, or daytrips with my mom, or vacations with the whole family, and coming home with a pennant from whatever touristy place we had visited. So the idea for the Ice Cream pennant was to capture the feel of those souvenir pennants, but to celebrate a classic summertime treat instead of a tourist destination or sports team. We definitely root for Team Ice Cream.

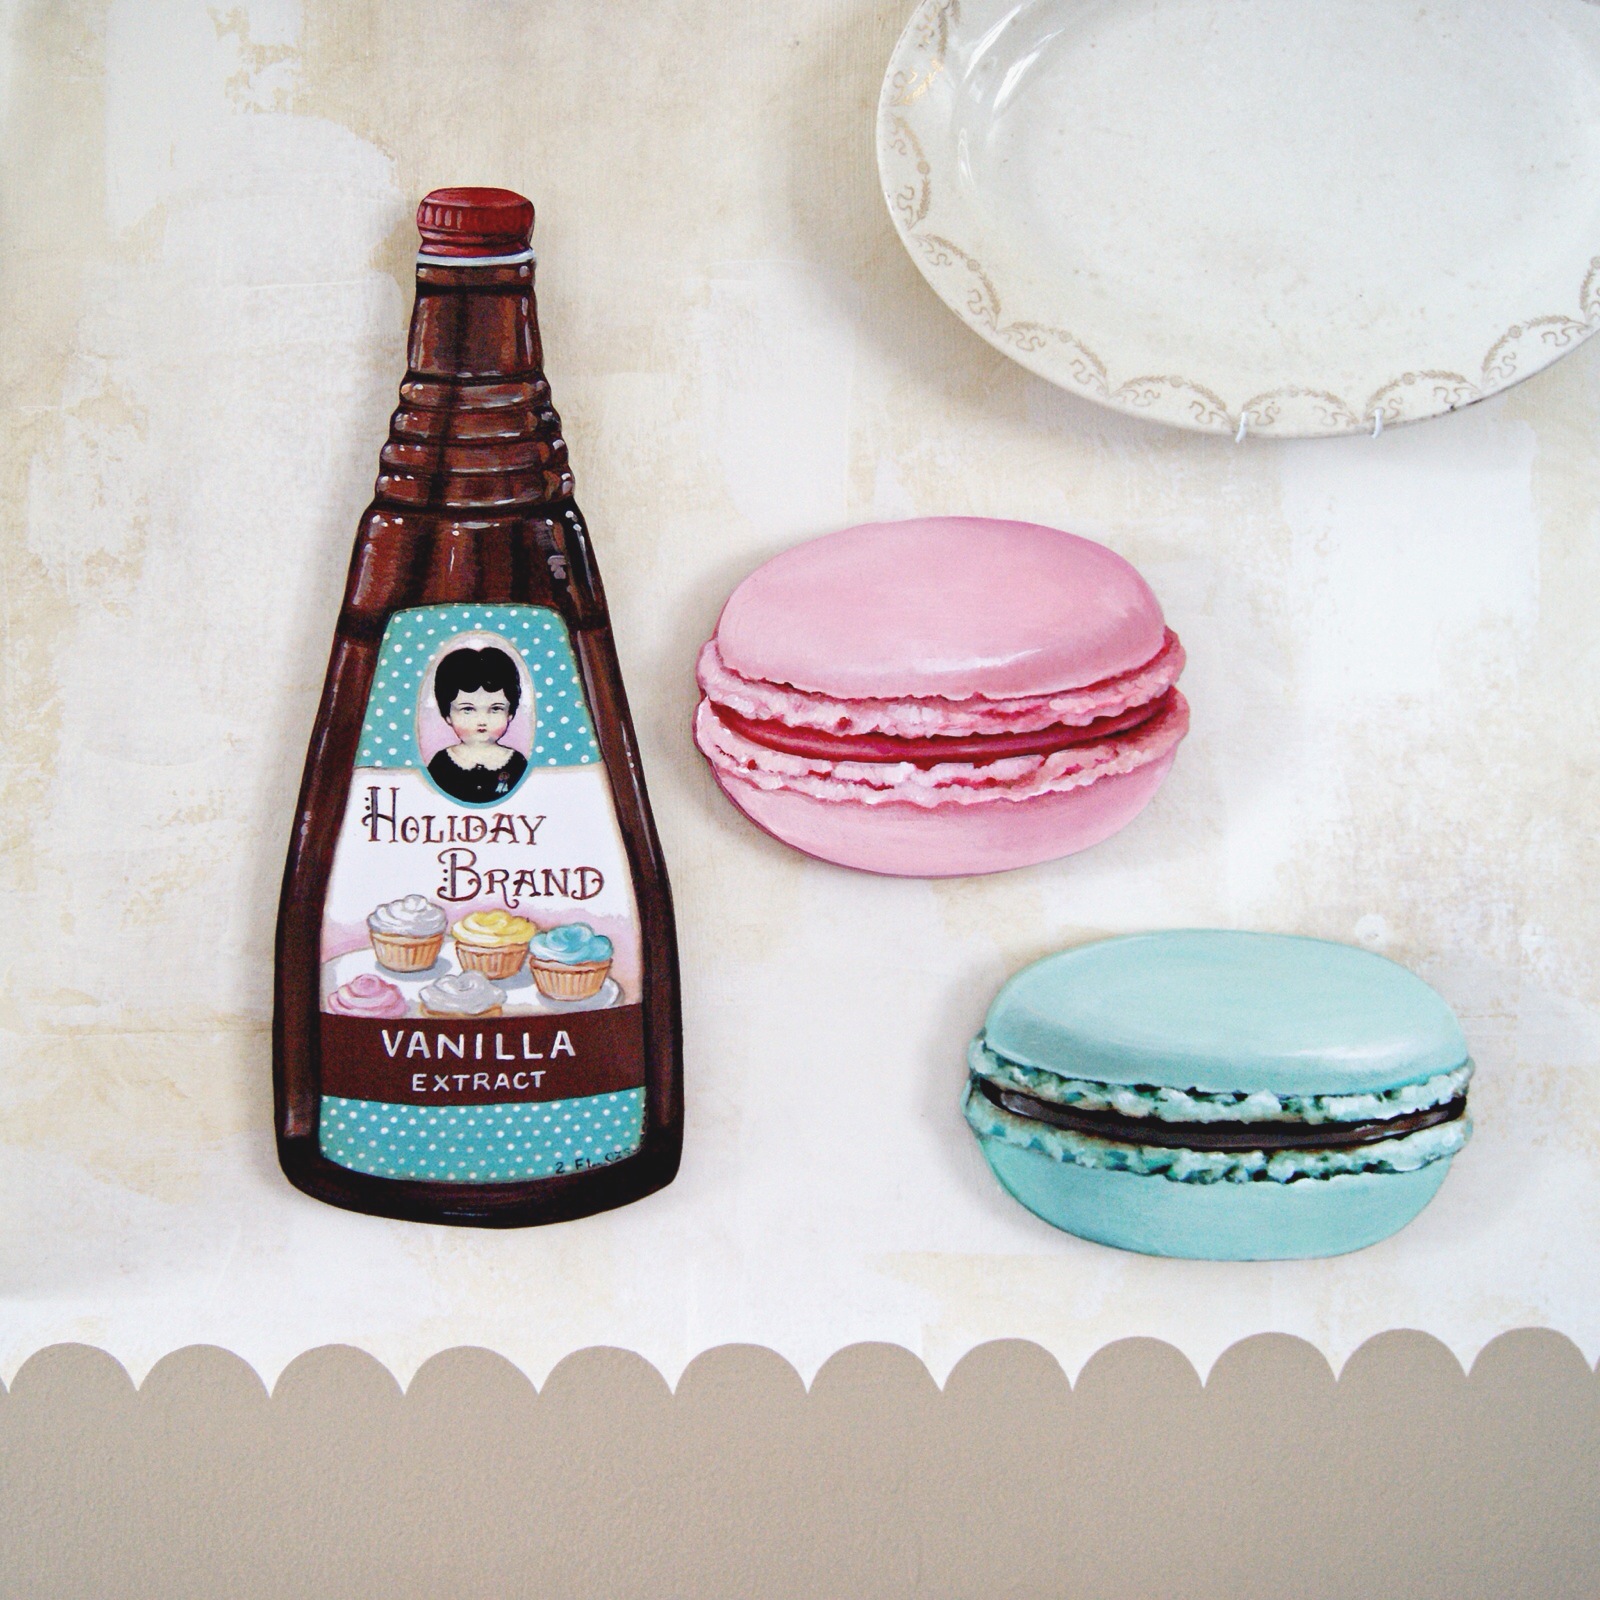
And yes...or I should say Yaaaaaaassssss! Macaron diecuts are finally here. We always wanted to paint a trio of 'em, so we started with the pink one that you see above, and told ourselves that we'd get around to doing the other two in maybe a few days or a week from now.


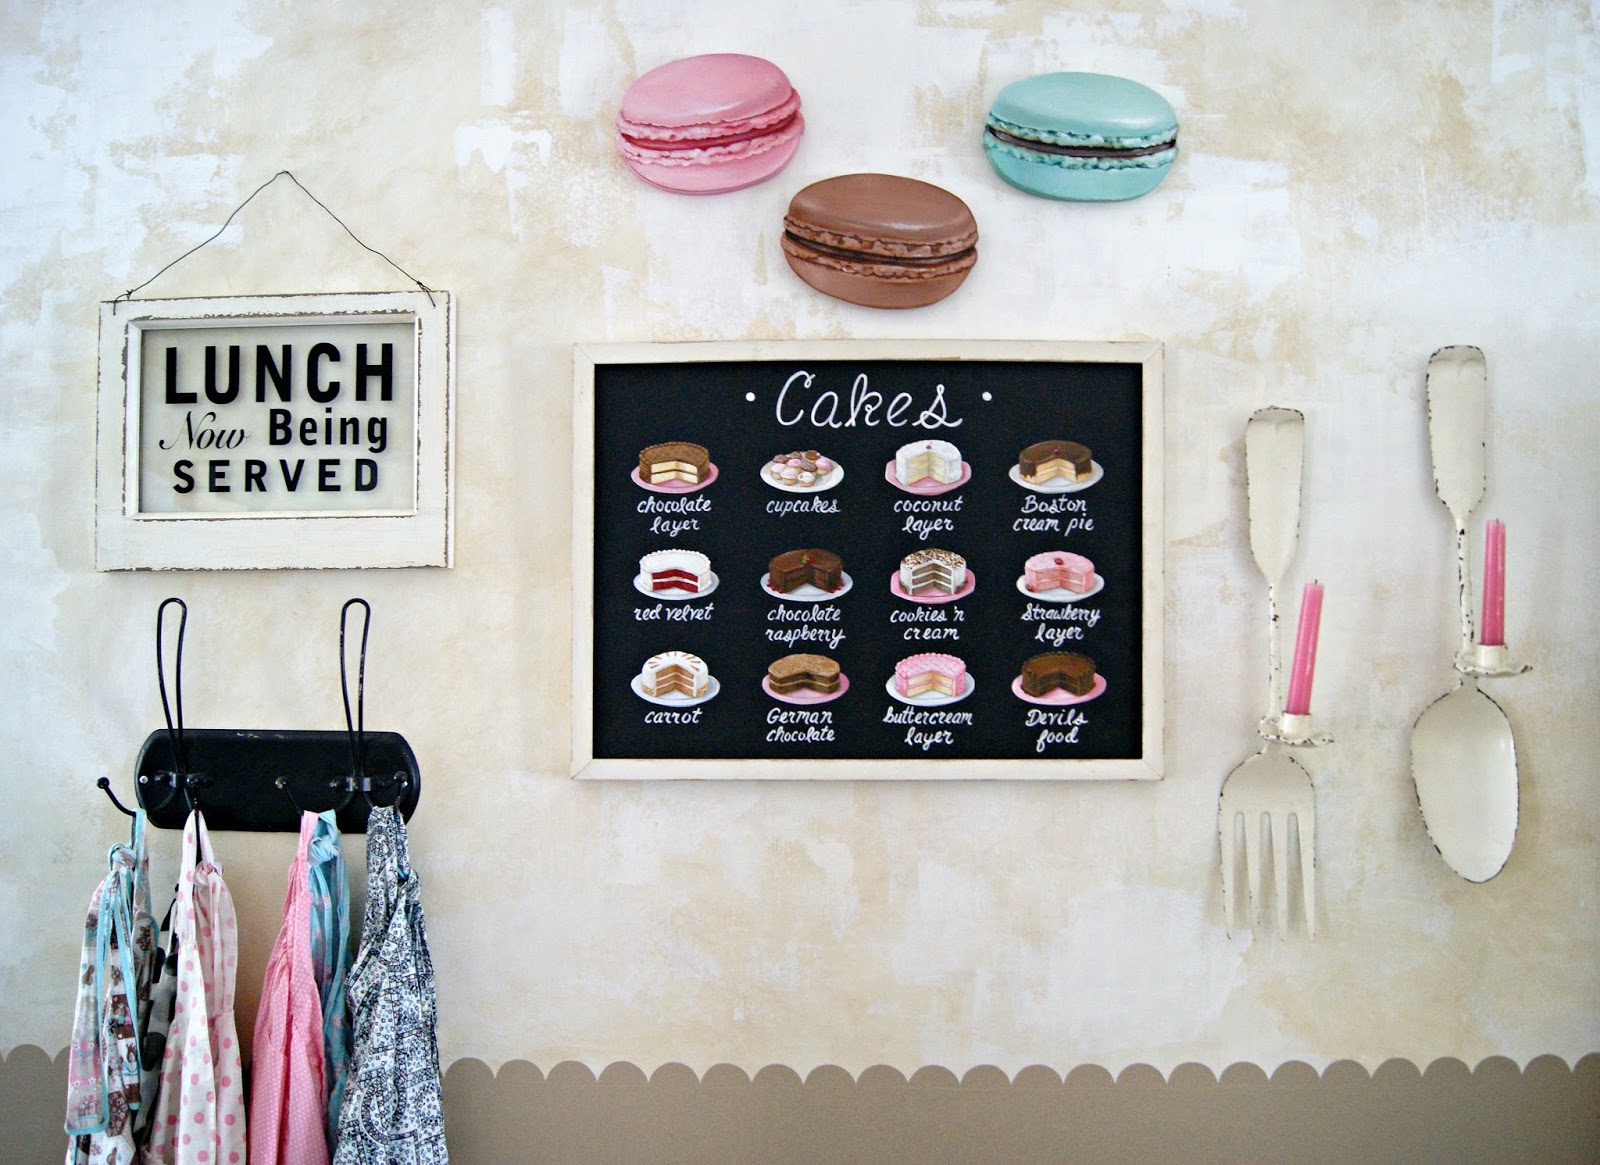
And pretty much before the paint was dry on the aqua one, we then did a chocolate/chocolate version. We love how they look up on our wall. Like giant flying macarons are coming in for a gentle landing. If UFOs looked like these I'd drive to Roswell tomorrow and wait in the desert with upraised arms.
And by the way...if you're interested...all this stuff and more is now in the shop. And there is still time to take advantage of our 20% off sale. Just use code: PIZZAPARTY.

And somehow, I've even been able to find time for some little personal projects! I picked up this super adorable piece when we were at Art is...You in Tennessee. Our friend Lesley was at the vendor table directly next to ours, and she gave this to me for a steal. When I originally brought it home and looked at it with all my stuff, I considered keeping it as-is...unpainted. I really love the look of the old wood. As-is it looks exactly how it would look if you pulled it out of a dusty attic...and I'm all about the dusty attic thing. But then I put a pic on Instagram and asked what everybody else thought I should do with it. In my head I was pretty much 50/50 on whether or not I'd paint it. But an overwhelming number of friends said I should paint or do something else creative with it. So, I took the pro-painting response as a little boost, and over the past couple days I got it done.

First off...that roof could never ever remain one solid color. Those squares were just screaming out to be "tile-ized". I love the random pattern of colors...varying shades of pink, some tan, some black. And little dollhouse-esque compartments like these lend themselves perfectly to collage backgrounds. I used some pages out a ledger from 1905!, some amazing little patches of vintage pink floral wallpaper, and a couple fave vintage photographs. Notice that I put the car pic where the garage would be! A hint on fitting your little squares of paper ephemera into their respective cubbies: always cut them a little small instead of trying to wedge them in there perfectly. In the end, a tiny space around the paper won't matter. And plus, after I sealed the whole piece with a clear coat and let it dry, I then brushed an antique wash (I actually call it a "dirt wash") into all the nooks and crannies. When the wash settles in around the outer edges of your collaged backgrounds it looks perfect. I'm definitely happy that I painted it.
Ok, just wanted to stop in for a quick progress report. I still have to share all the pics and details from the Country Living Fair. I'll be back very soon. In the meantime, we hope the season is treating you guys well. If you need us, we'll probably be painting.
xo, Jenny...& Aaron
More posts from Jenny Holiday and Aaron