
DIY Flamingo Halloween Costume for Toddlers!
This year, I had fully intended to buy Pottery Barn Kid's white swan costume as Harper's Halloween costume. I just loved it, though it did have a steep price tag (it's on sale now though!)
Weeks went by and I realized I had pink tulle leftover from Harper's first birthday party…then we went to the zoo, I saw the beautiful flamingos there and put two and two together. So, if you need a costume for your little one this Halloween… this tutorial is for you!
When I sat down to make this costume, I put all of the materials I had purchased at Michael's in front of me, opened up my laptop and checked out some of the flamingo costumes (store bought and DIY) that were already online.
I had decided the day before that instead of tulle, the costume really needed feathers, so I purchased three pink boas at the craft store and they're really what make the costume, so it's a good thing I went with those instead of tulle.
My original plan was to make some kind of headpiece that looked like a flamingo head, but I soon realized that was a) really complicated and may require more tools and materials than I had b) Harper would rip it off of her head anyway. So I was back at square one, just trying to come up with something as my crafting materials laid before me on our kitchen island.
I decided to do my own version of this tutorial. It allowed me to have all of the fluffy feathers, without a headpiece and still have that flamingo look. Win!
In terms of execution, I totally winged it. I got out my glue gun and scissors, and hoped for the best. I took me two tries to get the right beak shape, but I was very happy with the finished product.
Here's what you will need:
- Existing pink dress- this is an inexpensive one from H&M in a 12 month size
- Three feather boas (or more, depending on the age and size of your child)
- Light pink and black felt
- Glue gun
- Fabric scissors
- A couple of cotton balls
- Elastic
You'll want to start your project by laying out the dress and applying hot glue to where you want to stick the boa. I just did a little zig zag down the length of the dress until it was covered. I did have to add an extra row both front and back to account for fabric that had not been covered the first time around. Then, repeat this for the backside and you're done! This was by far the easiest part.

Next, I used a roll of packaging tape to trace a circle onto my light pink felt to make the head of the flamingo. I free handed the flamingo's beak, eyes and other parts of the flamingo's face and adjusted as needed.


After I had it all set up, I took a cotton ball and spread it out on the round head of the felt that made the flamingo's head. I guess it gave it some extra dimension/cushion. Then I used hot glue to put it all together.
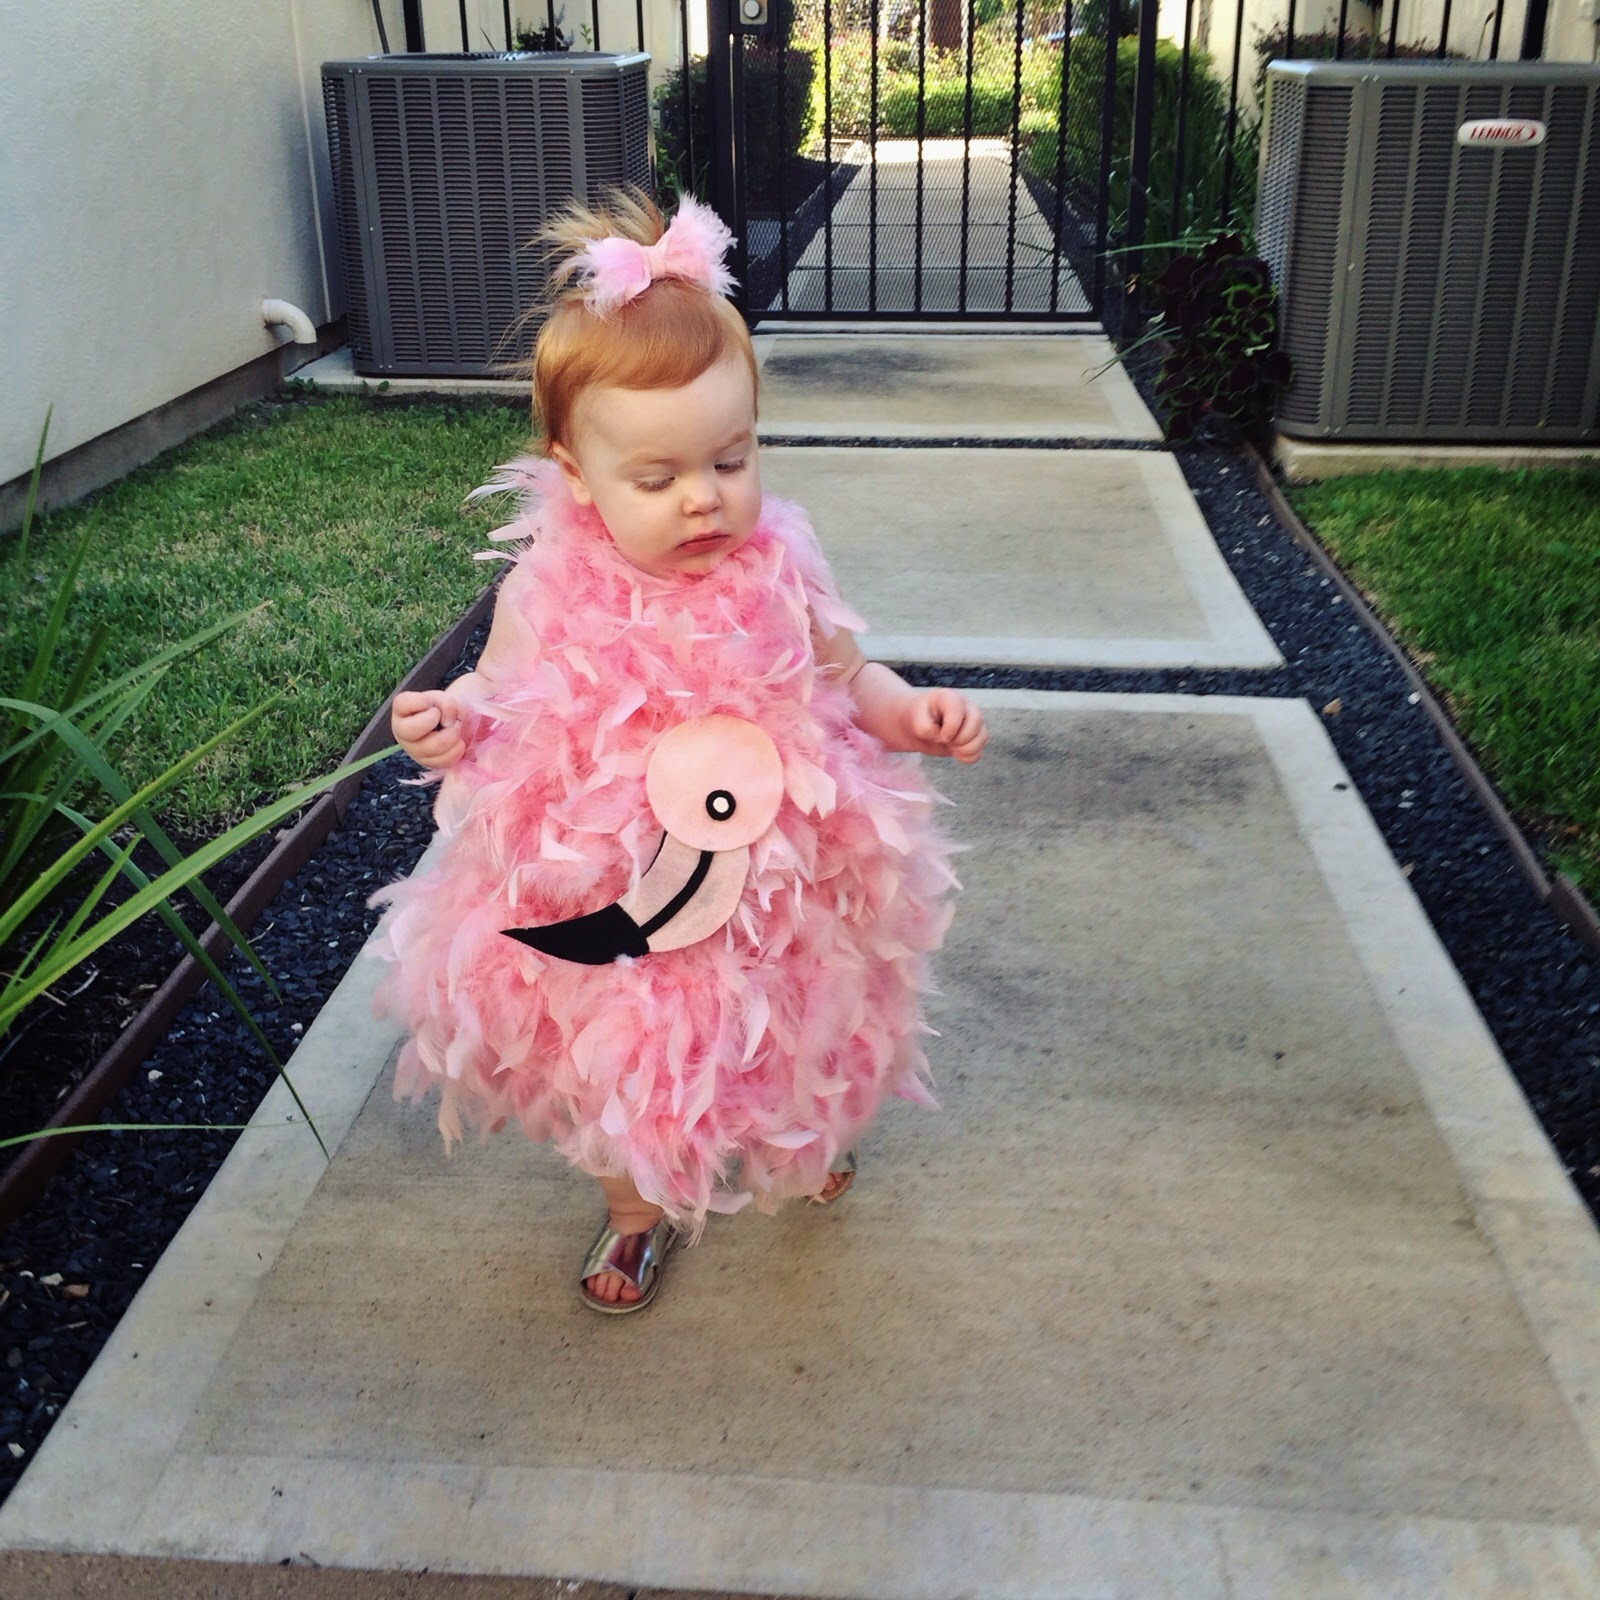
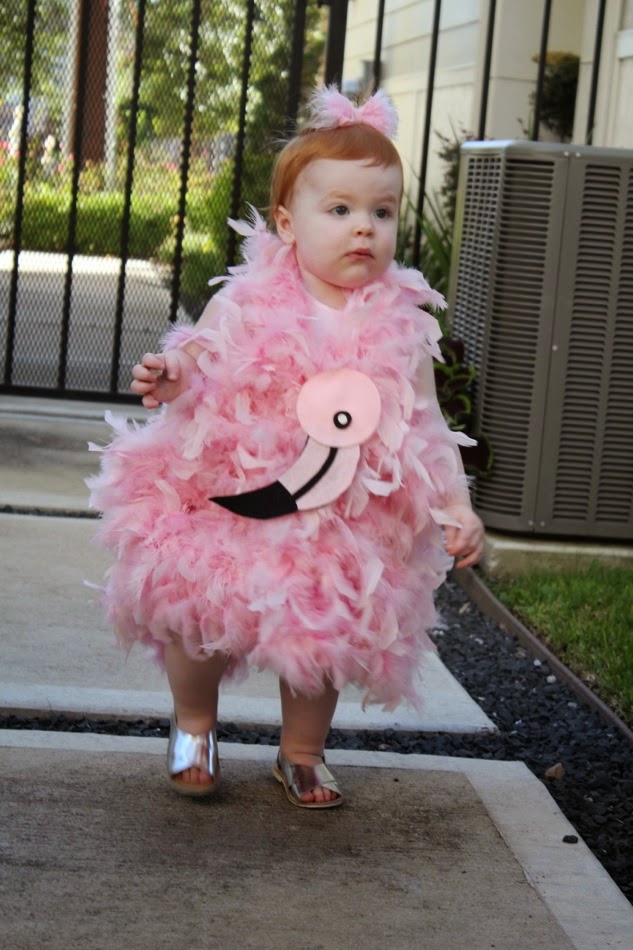
Here is the dress completed, front and back:
Here is the dress completed, front and back:


I didn't want Harper's head to be completely bare with such a fun costume, so I decided to make her a hair bow with some feather flair. I literally googled "how to make a felt hair bow" and I free handed the cutting I did based on the templates I saw in the tutorial I used.


Lastly, I made these flamingo feet and I affixed some elastic to them so they could go over Harper's shoes. Unfortunately, she wouldn't wear them…but they're a cute touch!

So, how did it turn out? I have to say it has been my favorite DIY to-date! Just look at this sweet little flamingo! I will have to figure out how much to adjust the length of the neck part so the flamingo head is positioned better, but I still have until Friday :)


Thanks for reading and hope you have a happy Halloween! Let me know if this tutorial worked for you. This entire costume probably took about an hour to make, not including the time it took to vacuum the feathers off of my floors..haha :) Happy crafting!
More posts from Veronika Javor Romeis