
Stacked Braids | Cute Braided Hairstyles
A few weeks ago, we posted a video called the Ladder Braid Side Ponytail, and it received a lot of positive feedback!
In fact, one of our fans, Ceridwin, adapted the feather braid technique to create a new, beautiful “stacked” braid look, and sent us a photo on Twitter!

I loved it so much that asked her to tell me exactly how she did it so that I could teach you! She agreed, emailed me her instructions, and here you go!
You simply create a large feather braid, with tiny strands coming off each stitch from both sides of the braid. You then go back and Dutch braid the feathered strands on top of the regular braid, and then pancake the latter. Further instructions are below…


Items Needed: Brush, rat-tail comb, spray bottle, 1 small hair elastic, hairspray {if desired}.
Time Requirement: 5-8 minutes
Skill Level: Medium
Step-by-Step Instructions:
- Begin by brushing the hair and pulling it to wherever you want the braid to lay. {In the video, I did the hair straight down the back, but a side braid would also be very cute.}
- Using all of your hair, section it into three strands and create the first “stitch” of a simple braid…
- After the first stitch, on every outside edge, you will begin creating a Feather Braid… {On the left-most strand of hair, pull out a sliver of hair off the top and lay it to the side. For a DIY, you can use a clip, teeth, or extra hands to hold the strands out of the way.} Also, for this braid, I chose to feather off larger strands at the top and smaller feathers as we worked our way down…
- Now cross that outside strand over the middle to become the middle strand….
- Then, go to the right-most section of hair and pull out a sliver of hair off the top and lay it to the side, and cross the remaining strand over into the middle…
- Repeat these alternating steps until you run out of hair.
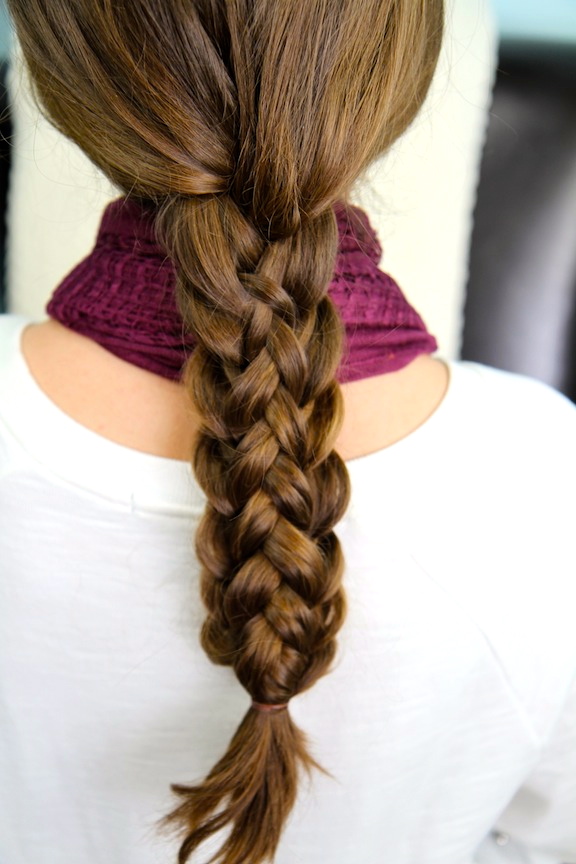
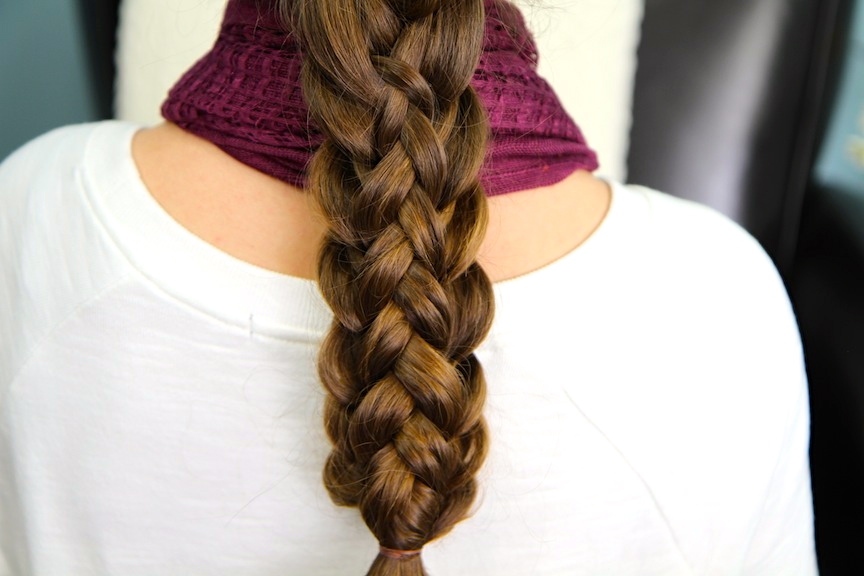
- Secure with an elastic. You should have a normal-looking braid with feather strands of hair coming off both sides of the braid all the way down. {Kind of looks like a feather, huh? LOL! That’s why we call it a Feather Braid!}
- Now, pick up the top two feather strands of the left and the top feather strand on the right.
- Begin a Dutch braid using those strands. {When you need to add hair into the braid, use ONLY the other feather strands of hair on both sides of the braid.}
- When you run out of feather strands, finish off with 2-3 stitches of a regular braid….
- Then, undo the original hair elastic and secure both braids together with that same elastic.
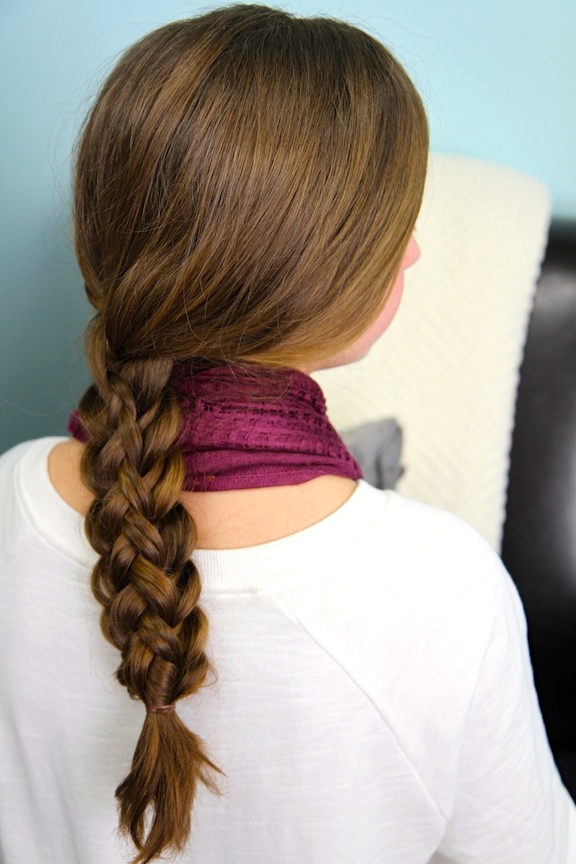
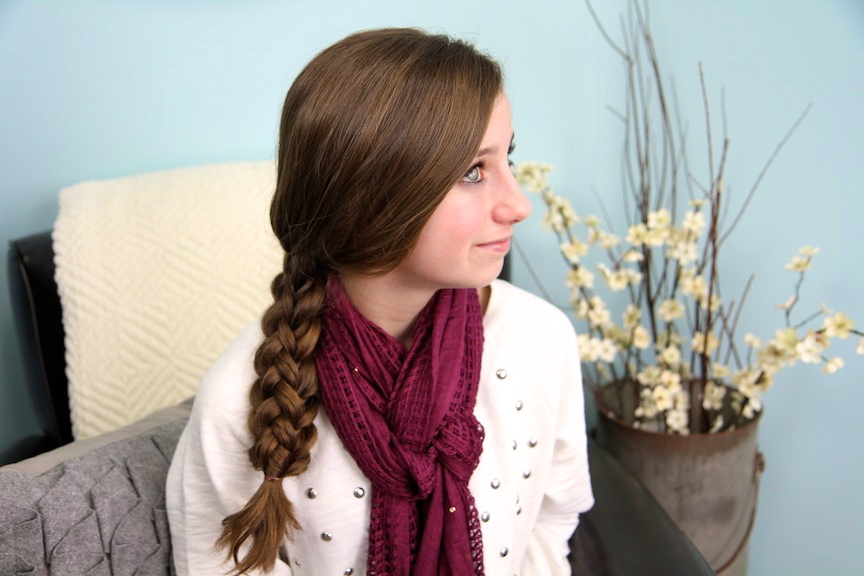
- You should now have two braids right on top of each other, the Stacked Braids.
- To help the Dutch braid stand out just a bit more, you may choose to “pancake” the bottom braid edges, as I did, by gently tugging on the elbows to make them a little more puffy. {This helps add to the overall illusion of braid awesomeness!}
Enjoy!

* Note from Mindy: Don’t forget to follow us on BlogLovin, a new easy-to-use blog reader!