
Simple Sew Brigitte dress Sewalong. 2: Cutting the fabric
Today we are going to cut our fabric for the Brigitte dress. There are two important things to be aware of here regarding the layout of your pattern pieces before we talk about cutting:
- The layout plan given in the instructions is not suitable for one-way fabric designs or for fabrics with a nap – you would need to ensure that your pieces are all placed the same way up on the fabric if you have a one-way fabric design.
- The layout plan given in the instructions is not suitable for fabrics with a vertical stripe print if you want a horizontally-striped dress. For example, the striped version on the front cover of Love Sewing magazine was cut on the cross-wise grain, not on the lengthwise grain. So when you buy a length of fabric, it will be a rectangle with two selvedges (factory finished, non-fraying edges) and two cut edges where the seller has cut your length. Normally when cutting fabric for patterns, the selvedges are folded together, and the fold runs parallel to the selvedges. For cross-grain cutting, the cut edges are folded together instead, so the fold of the fabric is running perpendicular to the selvedges. I hope that makes sense!
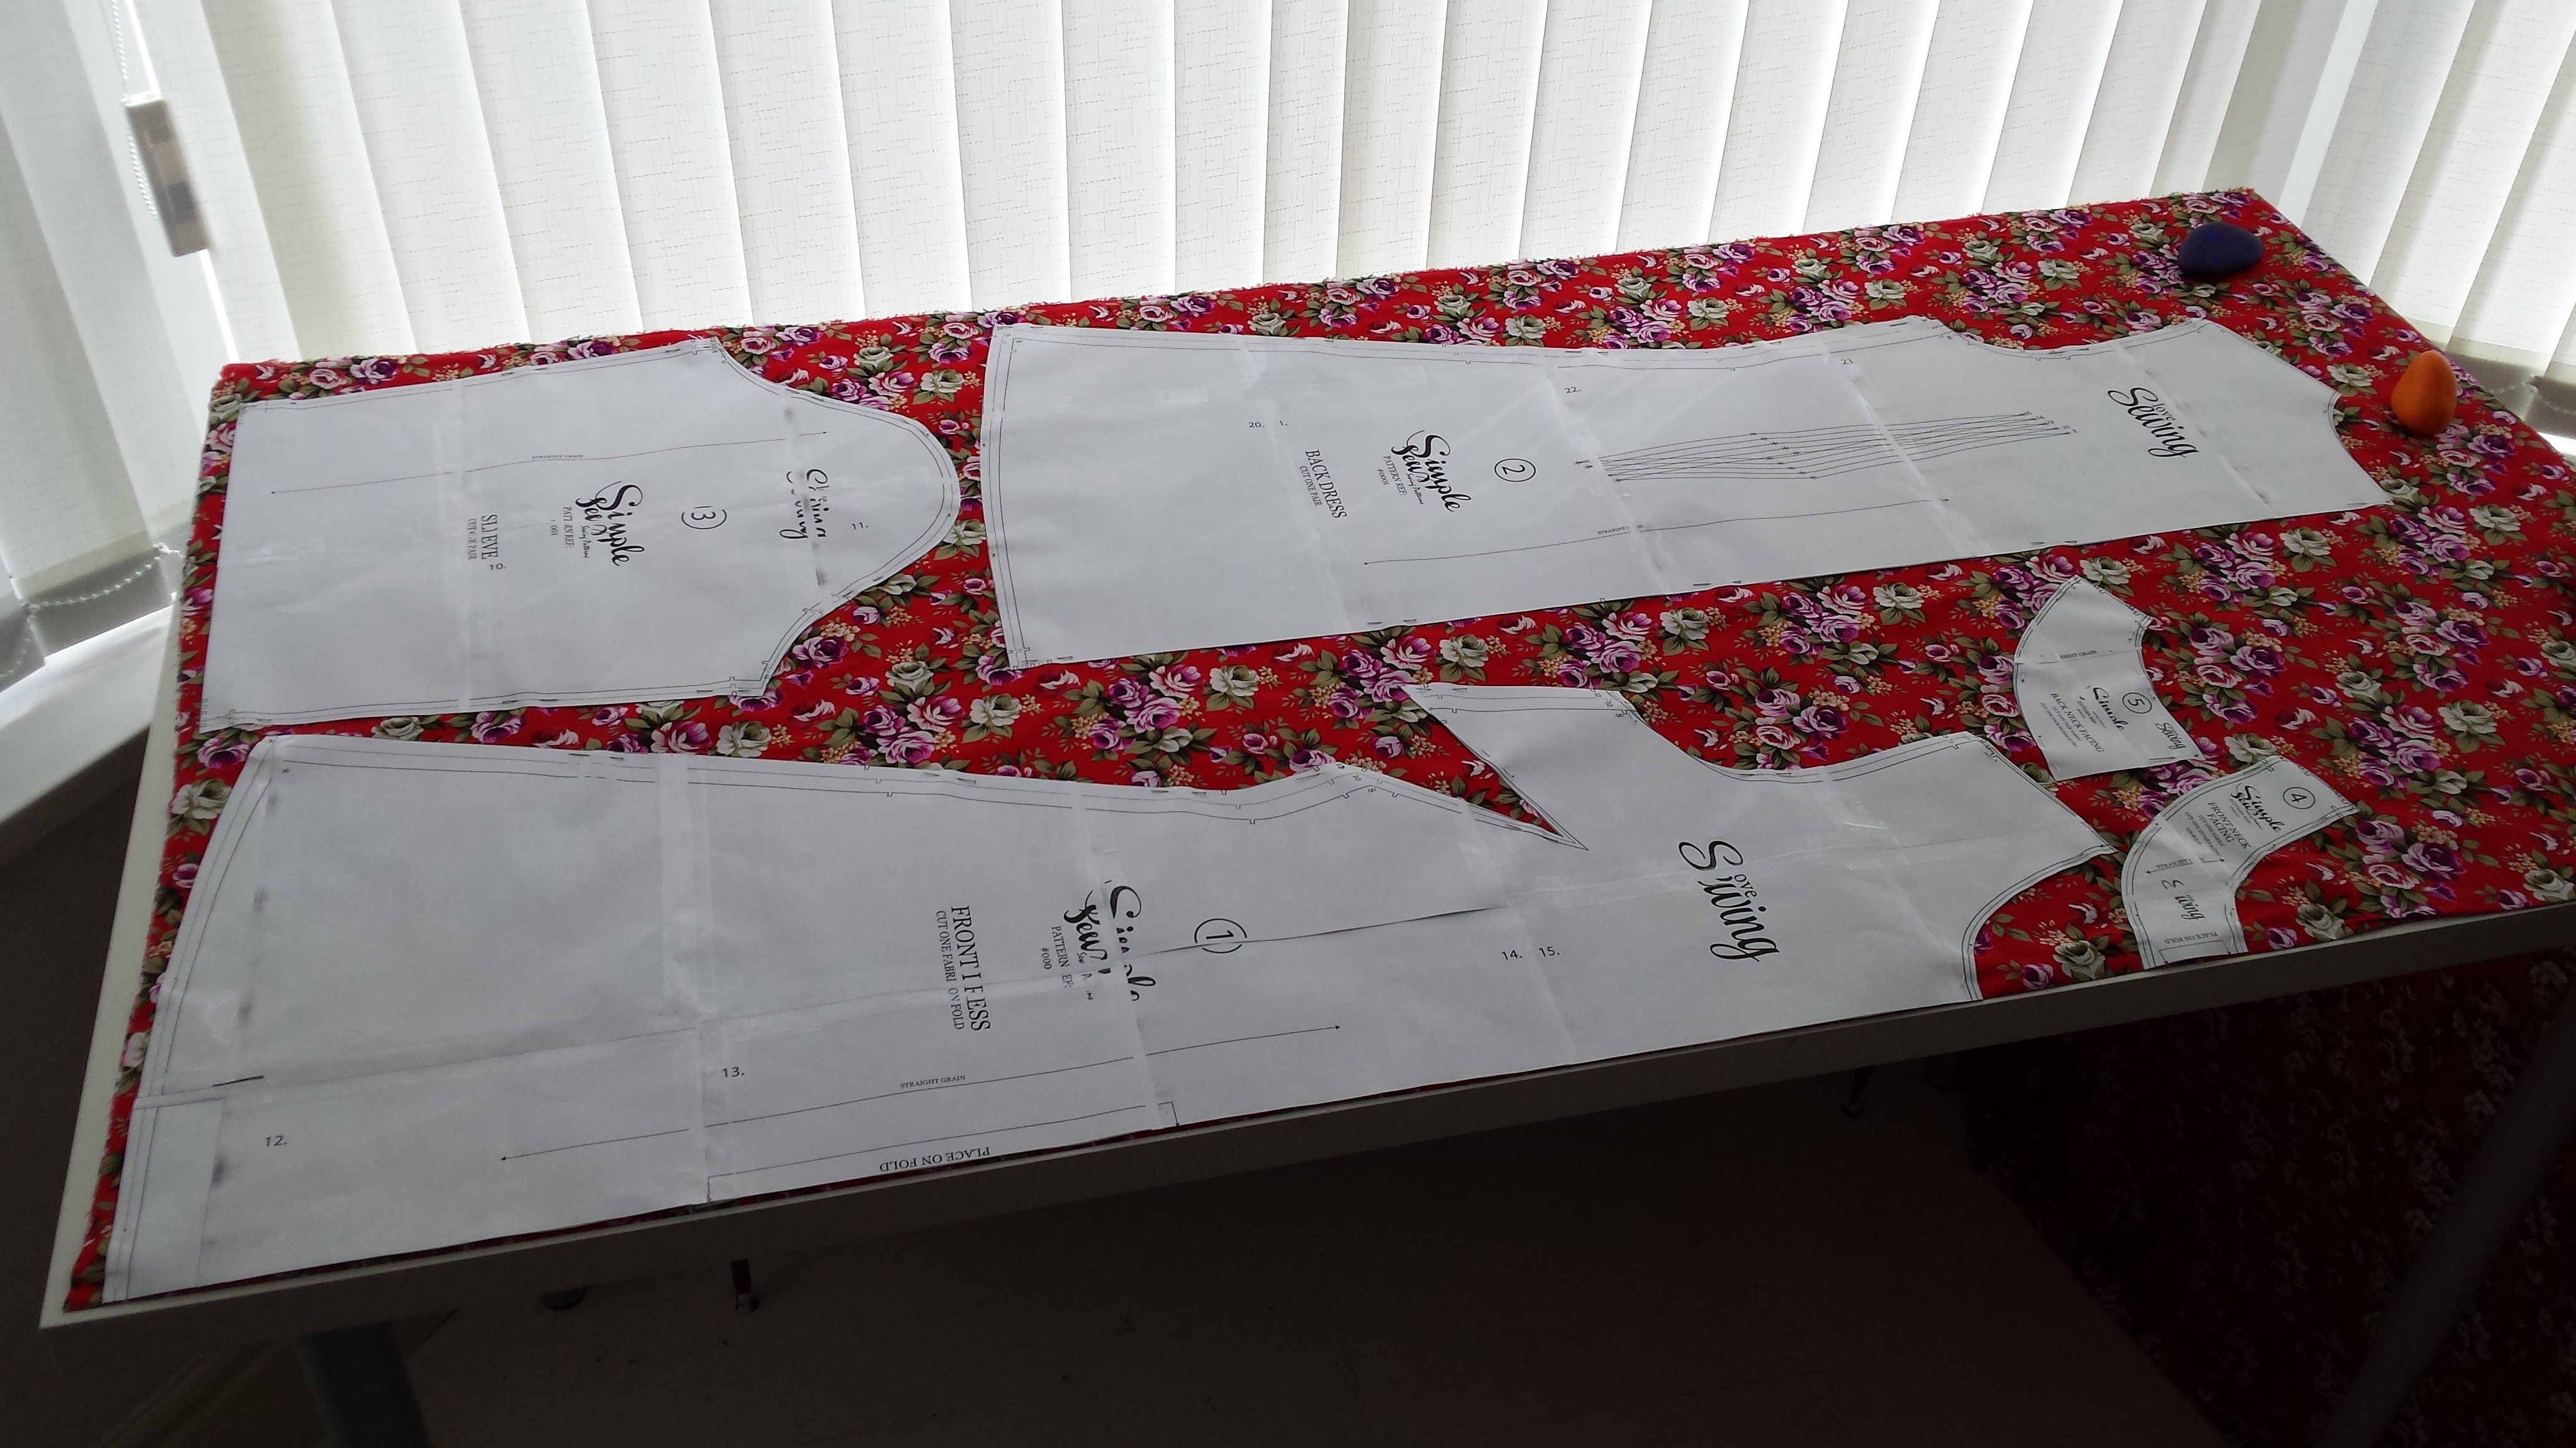
My fabric is 60″ wide with a one-way print, so this is what my cutting layout looked like. I only needed 1.5m for a size 12, so as you can see the fabric requirements are quite generous:

My cutting layout
For cutting out I pin the paper pieces to the fabric around the edges to hold them in place. If you are using your pattern pieces straight from the printer paper, use glass headed pins if you have them to protect your thumbs as pushing pins through printer paper and two layers of fabric is quite hard! I know this because that’s what I did, and ouch! You could also weigh down the pattern pieces with weights and use a rotary cutter, with a self-healing cutting mat underneath, if you prefer (be careful with that blade though, hey! You don’t want blood on your fabric, hahaha). Or, you could weigh down the pattern pieces and draw around them with tailor’s chalk or washable fabric markers. I find pinning easiest, because then I can move my pieces around once they are cut out and the pattern piece and the fabric remain pinned together.
Now – as regards cutting – there’s not much to say except that those bust darts may appear a bit strange, especially to more experienced sewists. I admit that at first I thought there was a mistake in the pattern, but no. These are not your traditional dart – so do just go ahead and cut along the outline.
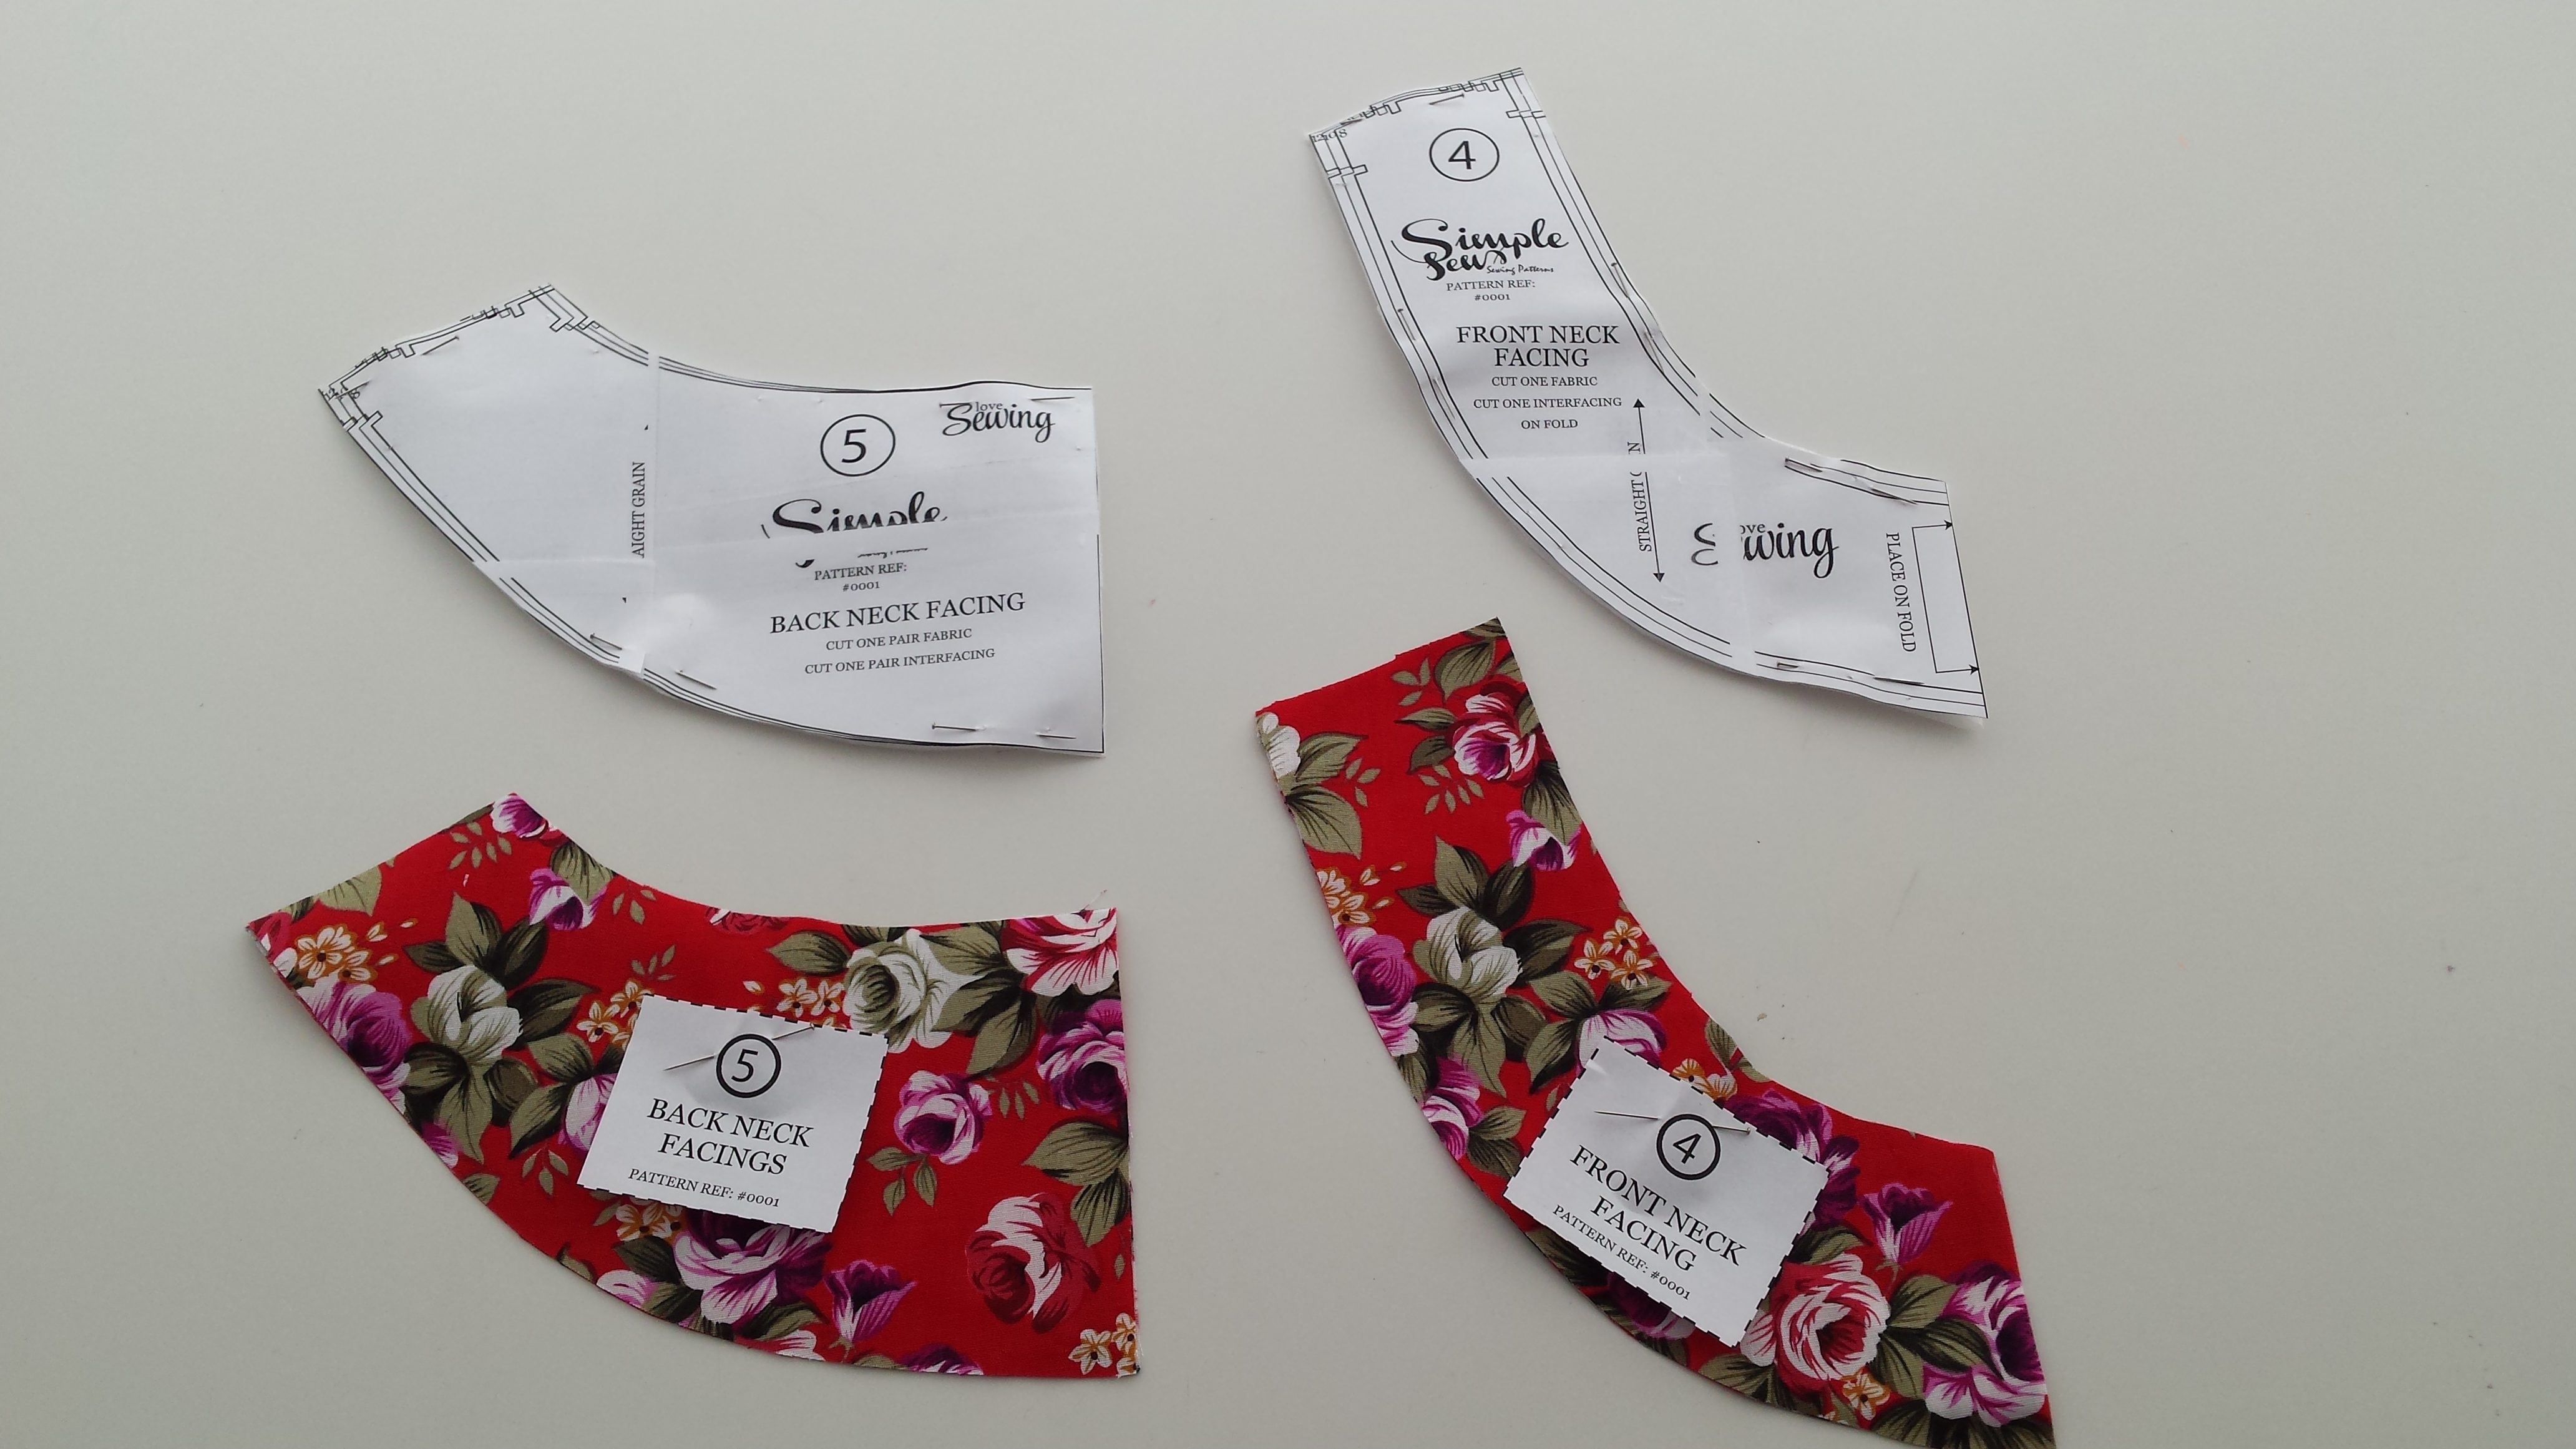
For the Brigitte dress, you not only need to cut fabric, but also interfacing. So once you have cut your front and back facing pieces from your fabric, you’ll need to remove the pattern pieces and use them to cut the same pieces out of interfacing. This is where those little labels come in handy, so you don’t get mixed up!

Facings cut from fabric and interfacing, and clearly labelled
Once you’ve cut your fabric and the interfacing, you’ll need to transfer the pattern markings to the fabric itself. There are lots of different ways to do this; what follows is the way I did it, but there are other methods which might suit you more, just try it and see!
Let’s take a look at the sleeve pattern. You should see two notches on one side at the top; these tell you that this part of the sleeve attaches to the back of the dress. There should also be two notches on the dress back pattern piece along the armhole: these two sets of notches will match up when you’re sewing the dress together. To mark my notches, I take my shears and do a tiny little snip in the edge of the fabric, and I mean tiny – just enough so you can find it but certainly not enough to go anywhere near the seamline.

Snip the notches so you know where they are on the fabric
I don’t know how your pattern pieces have turned out, but really there should be a single notch on the opposite side too, about where the papers overlap. My pattern didn’t have this notch, so I added it at the overlap point. Mark this with a single notch as you will need it for gathering later when you set the sleeves into your dress. I have indicated roughly where it should be with the aid of a silly pink heart in the photo below:

Cut a single notch around the part where the papers overlap
The other major markings you need to transfer very carefully to your fabric are the back darts. I did this by first of all inserting a pin through the pattern piece and both layers of the fabric at the four points of the dart, like so:

Insert pins into the four corners of your darts
I then remove the pattern piece carefully, being careful to replace the pins in the exact same spot. If you look very closely you can usually see the tiny little holes left by the pins, so stick ‘em back in quick and no one will ever know you dared to remove them! Alternatively, use traditional dressmaker’s pins and pull the head through the paper – that’s the cheat’s way, sshhhh! ;-) Now you are free of the paper, all you need to do is join up the corners of the diamond-shaped dart by drawing a line with tailor’s chalk or washable fabric marker. Use a ruler to keep it nice and precise:

Back darts, marked on the wrong side of your fabric
Repeat for the other back piece! Oh, and do this on the wrong side of the fabric preferably, as that’s the side that will be facing you when you sew the darts.
There are two other methods of marking darts like this that I regularly use: 1) use dressmaker’s carbon paper to trace the dart lines onto the fabric or 2) use tailor tacks to mark the darts. Any of these methods would be great.
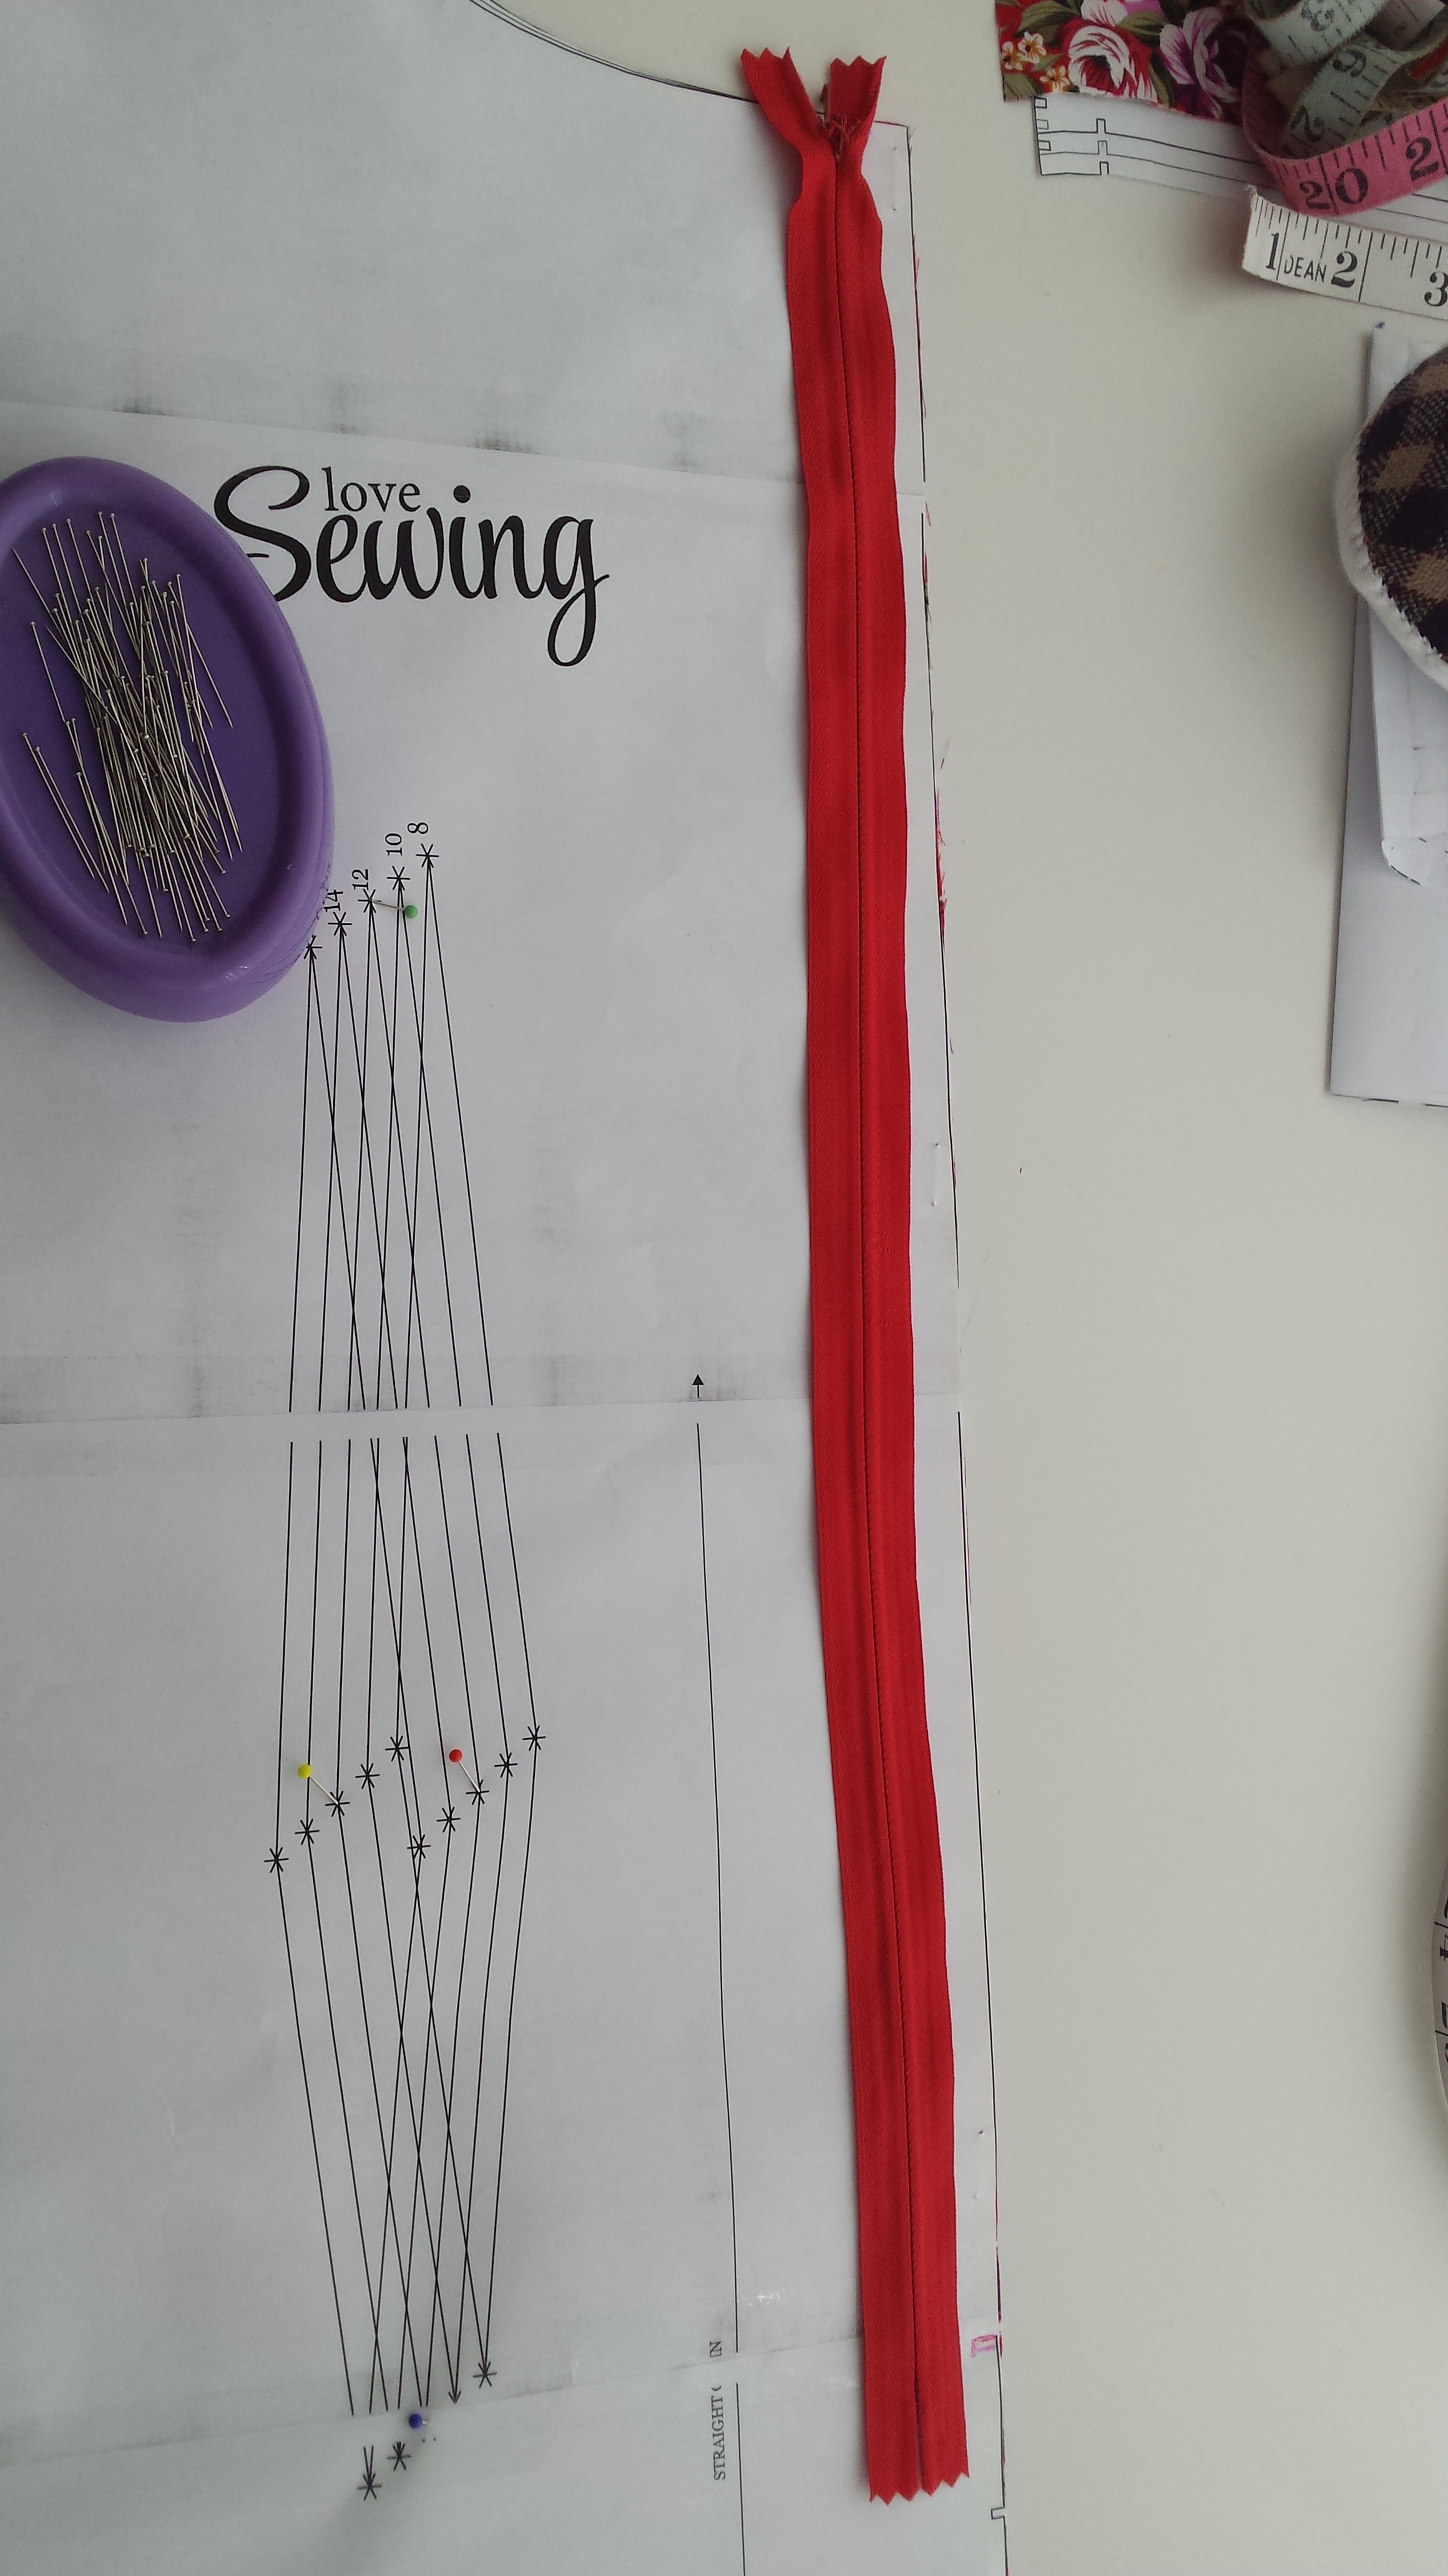
The other important notch to mark on your dress back piece is the zipper notch – you should find this along the centre back seam. I was using a zipper shorter than the recommended one because that’s what I happened to have in my stash (20″) – so I lined up my zip with the pattern and marked a new notch just above where my zip ends. If you’ve bought the 22″ zip recommended, all you need to do is snip where the pre-marked notch is.

Checking the length of my zip and marking a new notch on the centre back seam
So that’s it – you’ve got your fabric cut and you’ve transferred the notches and markings. You are ready to sew – hurray!
Any questions, don’t hesitate to comment. I shall be back on Thursday to talk you through sewing the front and back darts. Whoop whoop!