
Updating a Nightstand {Lowe’s Creative Idea}

The best way to give your room a makeover on a budget is if you can use your existing furniture. Notice that I didn’t say using it “as is”. Heck no! Update your solid furniture by adding moulding, paint and new feet!

(Pretty Handy Dog is already staking his claim on his preferred spot on the new bed.)
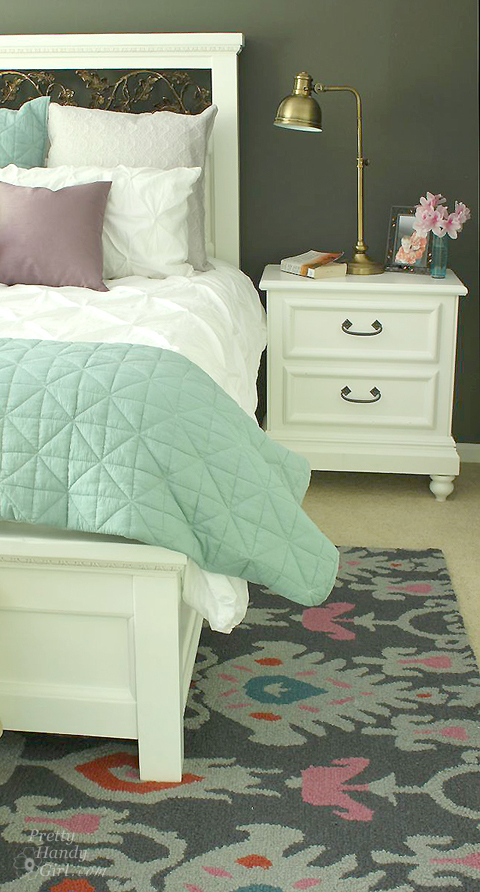
When I decided to build our new bed, I wanted to use our existing nightstand and vanity to save money. But, the nightstand was a little too short for the new bed height. By adding new feet and painting it the same color as our new bed, I was able to give the knotty pine nightstand a second life.
Materials:
- Nightstand
- Baseboard moulding
- Sanding sponge
- Wood putty
- Putty knife
- Zinsser BIN primer
- Paint (used Benjamin Moore Advance)
- Paint brush
- 4 Tulip Feet
- 4 Straight Leg Top Plates
- Gorilla Glue
- Hammer
- Finish nails
- Miter saw
Optional:
Instructions:
Start with a solid night stand. She may have some dated curves, but that’s nothing a little baseboard moulding can’t fix!

Remove the drawers. Clean out any dust bunnies and lost love letters out of the back.

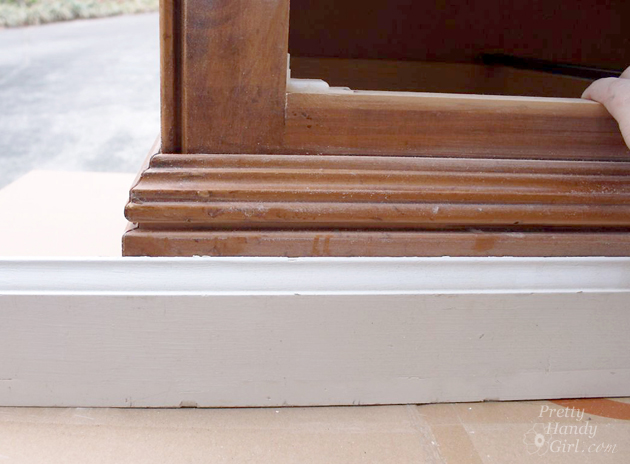
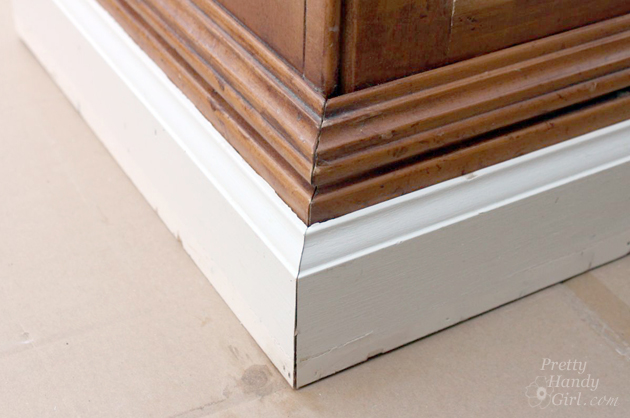
Cut an interior facing 45 degree angle into one end of the baseboard moulding. Line up the bevel against one end of the front of the nightstand. Mark the opposite corner of the base where you need to cut.

Cut baseboard piece for the left and right side of the night stand. The back of the baseboard will be a straight cut instead of a bevel cut.


Patch any nail holes with wood putty. (Side note: I also filled several of the “factory added” dimples on the dresser to give it a smoother finish.) Allow the putty to dry and sand smooth with the sanding block. Lightly sand the entire nightstand. Wipe off the sanding dust with a damp rag.

Prime the nightstand with one coat of Zinsser BIN primer. (I highly recommend a shellac-based primer for knotty pine furniture. It seals the knots and protects the sap from staining later.)

After the primer has dried, lightly sand the nightstand.
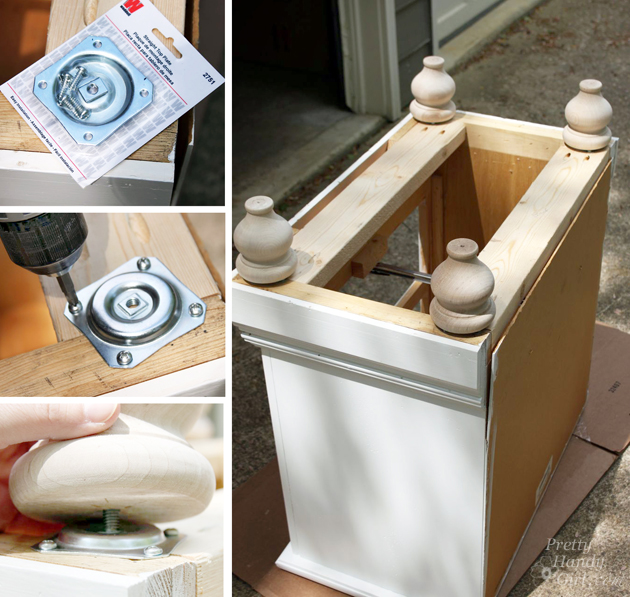
Turn the nightstand upside down and assess where you want the new feet to attach.


(Warning: Lego Movie reference! Did you happen to picture Batman & Wonder Woman?)
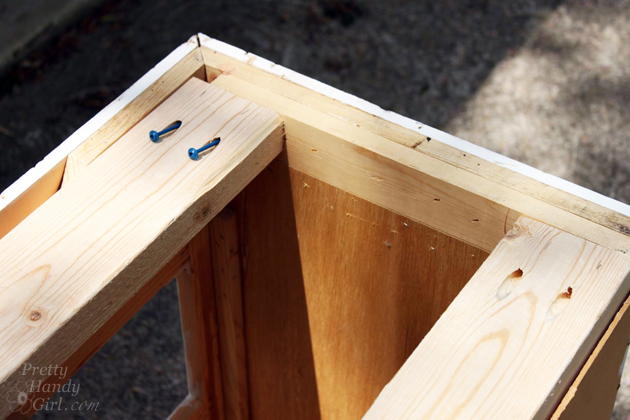
Then cut two 2×4 studs to fit into the base of the baseboard. Use a Kreg Jig to drill pocket holes into each end of the 2x4s.


Add straight top plates for the feet to the base of the nightstand. Screw the new tulip feet into the brackets.

Paint your nightstand and its new feet with at least two coats of paint.

For added protection you can finish with a coat of polycrylic. I used the Benjamin Moore Advance paint which has a hardener in it, so I skipped the poly top coat.

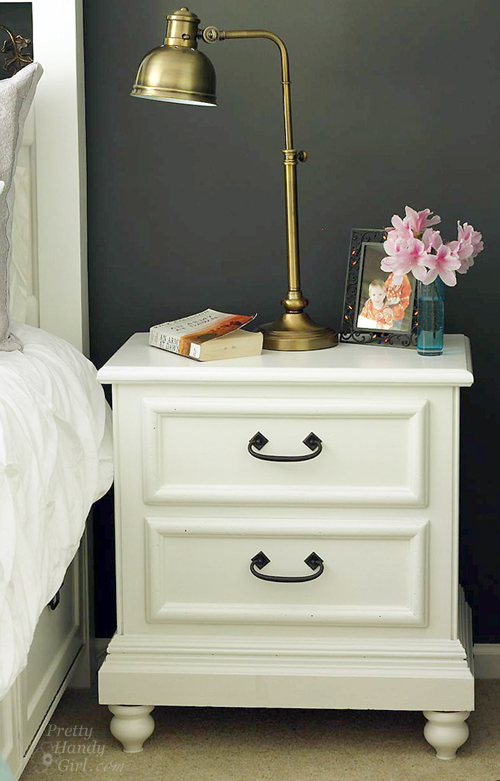
She’s a whole new lady now! She’s the perfect height next to our new bed. And I didn’t have to buy a new nightstand!

Look around your home. Do you have any pieces of furniture that you can transform with paint and new legs?

Want more furniture transformation ideas? Subscribe to the Lowe’s Creative Ideas magazine:
Or view more creative ideas from the Lowe’s Creative Idea bloggers!
There’s also a magazine app so you can have inspiration on the go! And, don’t forget to follow Lowe’s on Pinterest or on Instagram!

The post Updating a Nightstand {Lowe’s Creative Idea} appeared first on Pretty Handy Girl.