
No Sew Duct Tape Bag
this is a sponsored post but all opinions and the project are my own
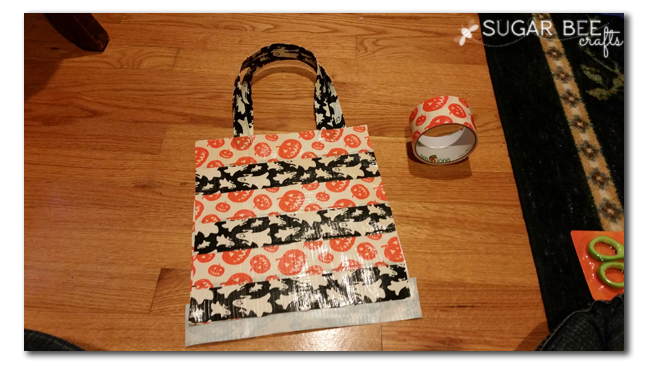
Heads up – Halloween is next week. Always on the 31st, yet it always sneaks up on me! Anyways, I love putting together last-minute crafts for it, so that’s what I have for you today – a No Sew Duct Tape Bag, perfect for Trick-or-Treating.

It turned out awesome and my kindergartener loves it! And the bonus – it glows in the dark – how fun is that?! if you this project and want to pin it to share, here’s a great image for that:

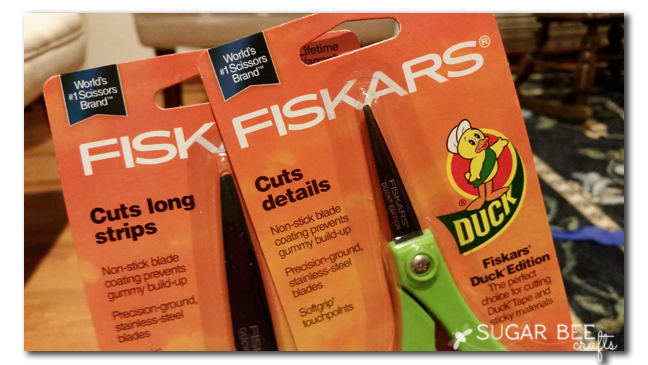
Let’s get started on the tutorial – first, supplies. You’ll need: Duct Tape and Scissors. That’s it:

But let’s talk about these scissors – I’M IN LOVE!! My one complaint about all the fun duct tape projects is the gummy, sticky scissors – they always put a damper on the fun. But for this project I was able to try out these new scissors from Fiskars made especially for Duck Tape. And wowza, they did an amazing job. I now consider them a must-have for any future duct tape projects – I wouldn’t consider cutting sticky without them. No sticky residue, no gummy blade – they cut fresh and perfect every cut. I was super super impressed.

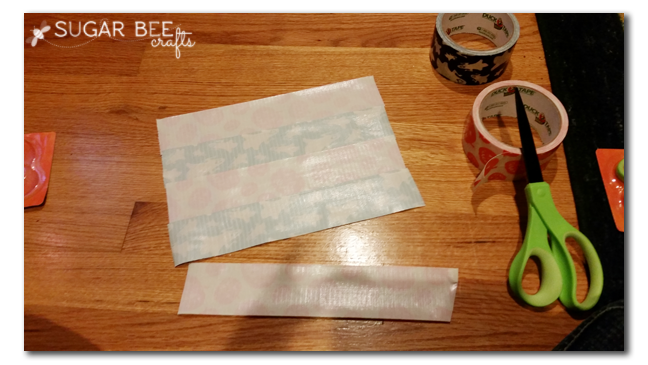
To get started, cut strips to the width that you’d like the bag. Slightly overlap them and press along that seam. Repeat to make another panel for the other side of the bag:

Set the two panels aside and make two handles. To do this cut three strips the length you’d like the handle. Then cut one in half lenthwise (this is a test of how awesome the scissors are – to be able to cut along a long length of tape is great).

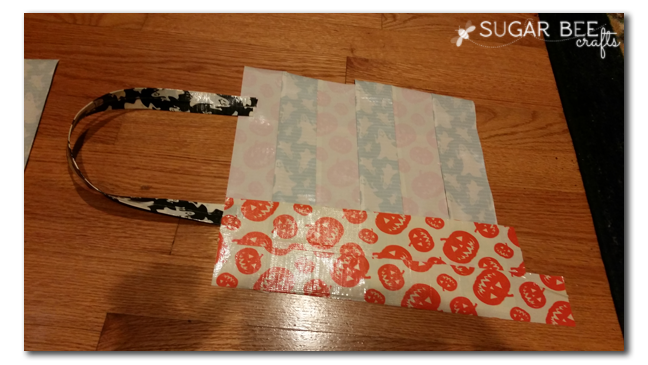
Put a piece of the cut strip in the middle of a non-cut strip as shown below – this helps reinforce the handle. Then fold the stick parts over and press them down. Repeat with the other strip so that now you have two handles.


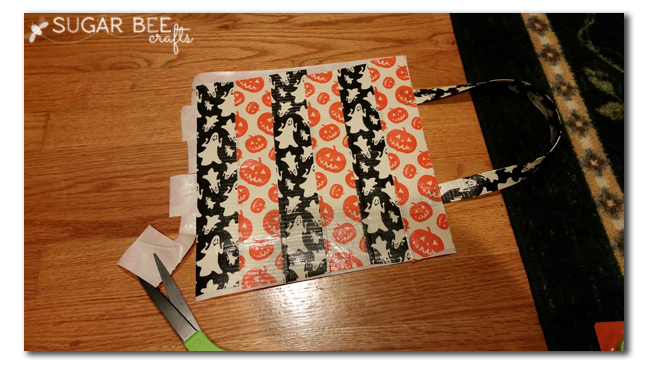
Now take more strips and use them to cover the exposed sticky side. You can overlap a little on the edges.


That’s it! See, you can totally make this! So fun in the Halloween Duck Tape for a Trick-or-Treat Bag.

I completely forgot to take pics of the mask (caught up in the Royals Game excitement) but all you need to do is put one long strip on top of another, with sticky sides together. Then cut in a curve for the nose and a couple of eye holes, and you’re good to go. Tape together in the back to hold it in place (of course)

I love how the mask matches the bag – perfect set!


If you love duct tape projects, you’ll want to check these out (links to the tutorials below the images)


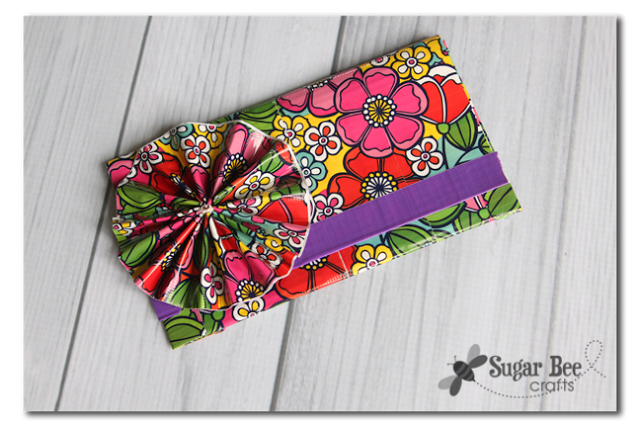
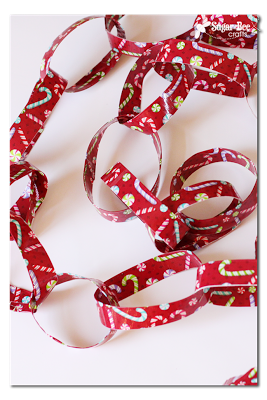
duct tape clutch | duct tape earrings | duct tape chain
The post No Sew Duct Tape Bag appeared first on Sugar Bee Crafts.