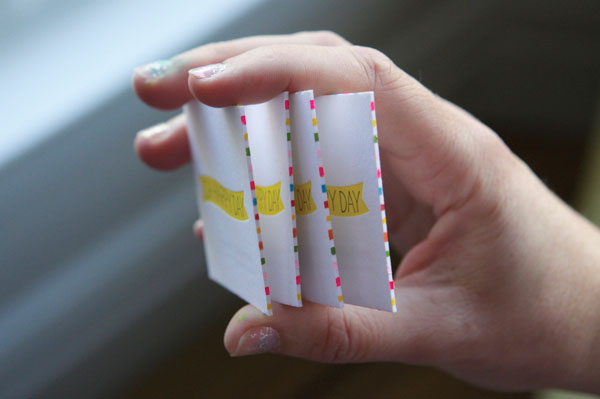
My New Cards + How to Edge Paint Stripes
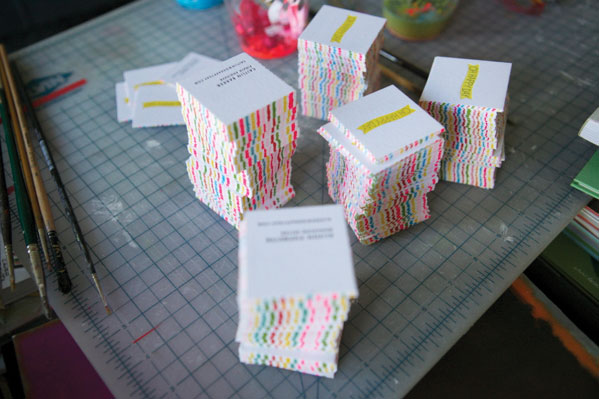
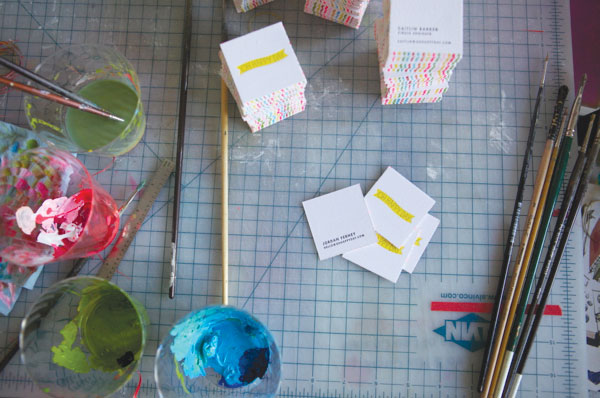
I’m a little embarrassed every time somebody asks me for a business card. Even though I have a letterpress I haven’t made myself business cards in 4 years! Last week I realized I have several conferences and meetings coming up in the next few months (like Alt Summit and Maker’s Summit) and decided to just make some really basic cards. Just a logo on the front and name and email on the back. After they were printed I felt like they needed a little something-something and got an idea for edge-painting stripes on the sides. I loved that when you separate the cards they look like they have little colored confetti around the edges. It was just an idea and I wasn’t sure if it would work but I was really happy with how it turned out. The one disclaimer is that it is really time consuming. Don’t commit to this project unless you need to start a new TV series on DVD.


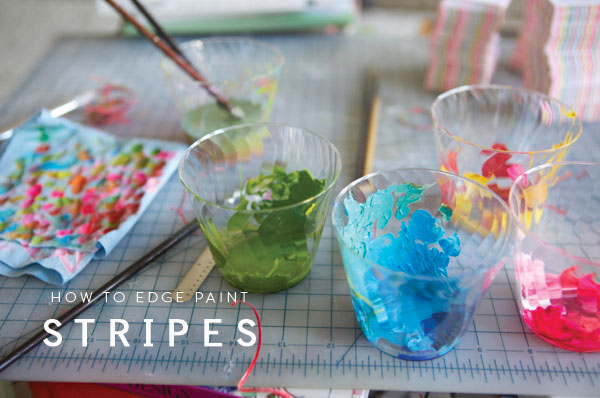
There are a few different techniques for edge painting. I have had the best results with the dry brush technique (over spray painting etc) For best effect the paper needs to be a thick stock. I usually use Crane lettra

Materials Needed: Artist’s Tape


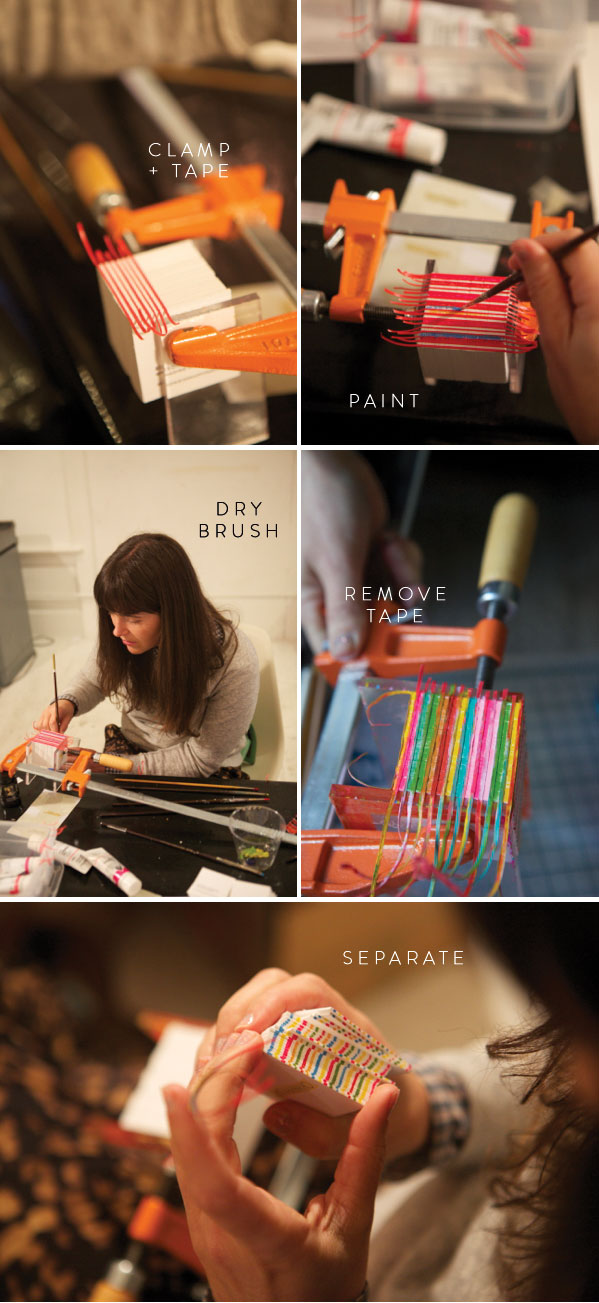
Step 1: Take a stack of cards and jog two sides into place so they are flat and even. Clamp the two acrylic pieces down to make the stack of paper nice and tight.
Step 2: Take painter’s tape and using a straight edge and exacto, cut into thin strips (make them the size you want in between the stripes.) Space out strips on both flat sides of the stack of paper.
Step 3: Paint each strip a different color using dry brush technique. Only put a little paint on the brush and put thin layers of paint until it is completely covered
Step 4: Remove tape, unclamp and separate cards so they don’t stick together. Voila!

