House Tour 2013 - Updated!
Welcome to my little 1930s bungalow! This post includes all the work I've done on the place up to the end of this year.
Come on in, enjoy a cup of coffee and I'll show you around!

Here is my new front facade complete with diy shutters, fresh aqua paint and new landscaping.
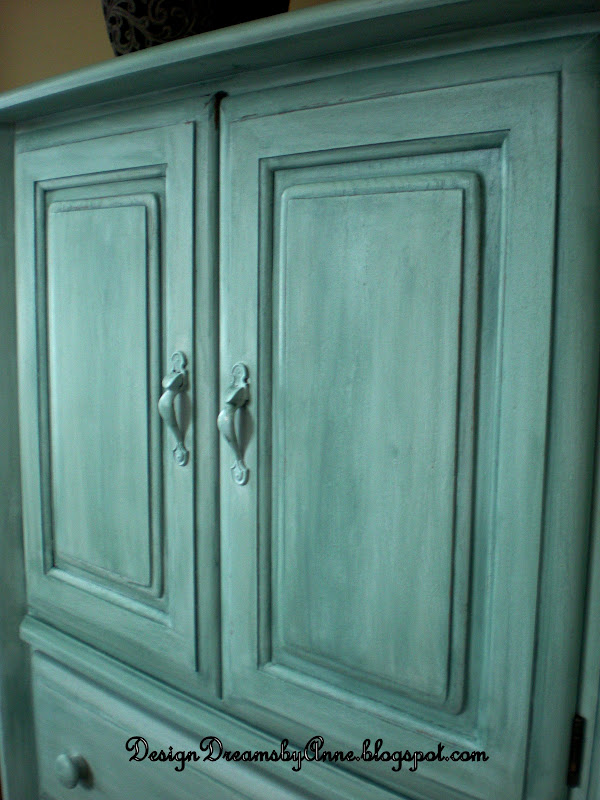
My kitchen, where to begin?? When I moved in, it needed cabinets, counters and appliances. I couldn't live with it the way it was, so the kitchen reno kicked off on the week after moving day. I bought stock cabinets and counters to save money and did a galley plan. I brought my sideboard into the kitchen for additional storage and counter space and painted it with a homemade paint that gives a chalk like finish.

Then I hung my pot rack on a wall beside my stove. It gives me so much hanging space and it's so handy!


and I stuck an inexpensive Ikea desk lamp into the rack to give me task lighting on the surface below. Works like a charm!
I installed a really deep one bowl sink, beautiful faucet, magnetic knife rack and extra lights. Then I added a veneer panel to the side of my fridge & painted it white to reflect more light. I don't like black appliances...
I installed a really deep one bowl sink, beautiful faucet, magnetic knife rack and extra lights. Then I added a veneer panel to the side of my fridge & painted it white to reflect more light. I don't like black appliances...


I built a pantry cabinet. I needed a custom size to fit the space I had, so building was my only option (plus I'm too cheap to pay those prices for a crappy MDF cabinet. Mine is solid wood!). ps this cabinet is only partially finished, still needs paint and a door for the bottom shelves.

I painted my bedroom and all the furniture in it, built a headboard from a vintage 5 paneled door and bought new linens for the bed. So love the space now!


Then I tackled my spare bedroom, making curtains and shams from tea towels I got in a clearance bin.


My laundry room was next on my list. I added a closet organizer and attached some salvaged doors to the tower to hide the "uglies".


I dragged my potting bench indoors and hung seed catalog covers on my dryer to doll it up a bit. My curtains are another clearance bin find - a twin sheet that I folded in half and attached to a rod with clips.

Then I bit the bullet and installed my own window over my new laundry tub - oh what a difference it made!! I built working shutters as a window treatment. Love it!


My biggest challenge so far was tearing apart the original 1930s bathroom and rebuilding the whole thing from scratch.


The main bathroom got a makeover based on a tablecloth I found in a clearance bin. I used it as a shower curtain!


My industrial-style side table (made it for $30!)
That little table redesign gave the inspiration for my dining room redesign. I refinished my table and found a second hand baker's rack that I refinished to match - voila! New dining room!

I have plenty left to do, but I'm so happy with how the house looks now. Hope you enjoyed the tour!
If you want more information on the transformations, click on one of these links:
Curb Appeal on a Dime
Kitchen
Guest Bedroom
Bathroom
Main Bathroom
Laundry
Master Bedroom
Living Room
Sideboard Makeover
Industrial Side Table
Coffee Table
Install a Window
$10 DIY Shutters
Dining Room
and if you want to see my 2014 challenge - click HERE
Don't miss another post! Follow me:


More posts from