
The Funnel Neck T-Shirt Tutorial
A number of you asked for a tutorial on my funnel neck top, so I thought I would skip the usual Thrifty Thursday post and show you how easy it is to draft this top.


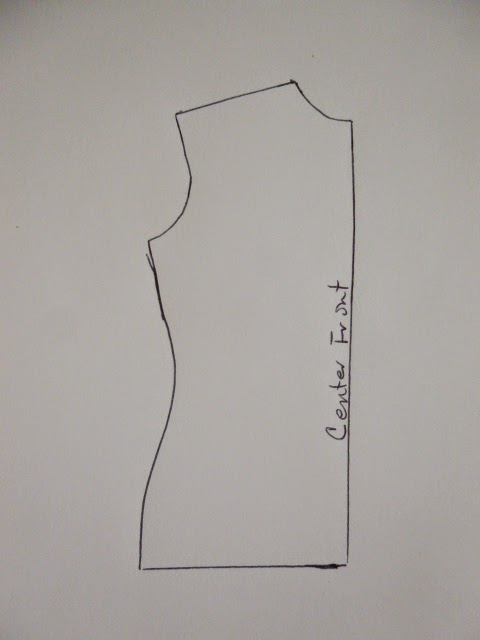
Extend the center front line and square a line up from the shoulder. Notice that the line that is squared up from the shoulder is not right on the edge of the shoulder but about 1/2 over. Also take note that for my drafting tutorials, there is no seam allowance included. I always add my seam allowance once I have finished drafting. The line that was squared up from the shoulder should be approximately 14" long. A little more or less will not be a problem.


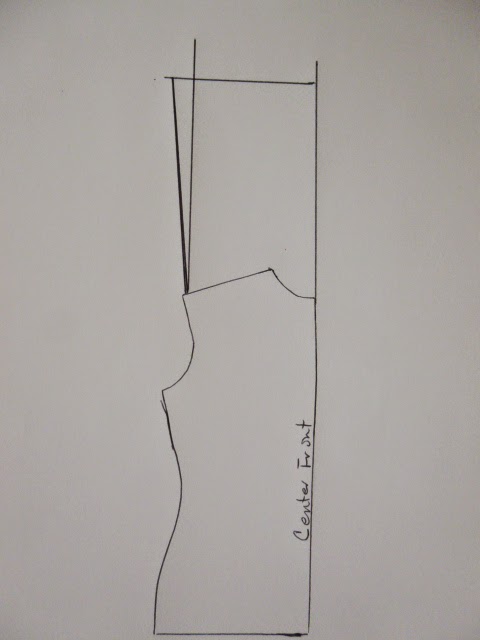
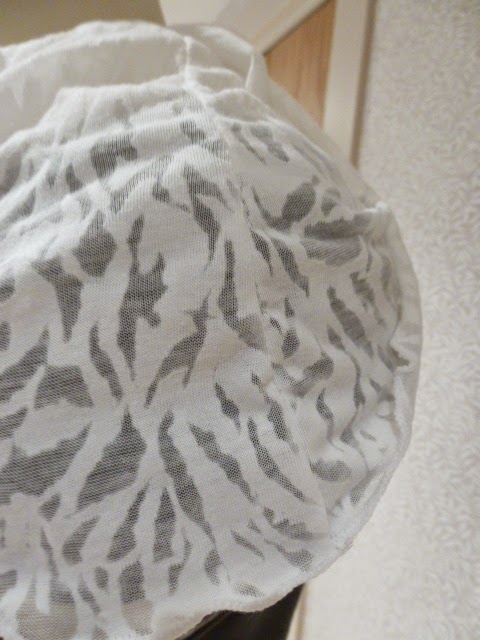
The funnel neck is wider at the top than it is at the shoulder. Come out from the shoulder line 1 1/2"and connect back to the shoulder.


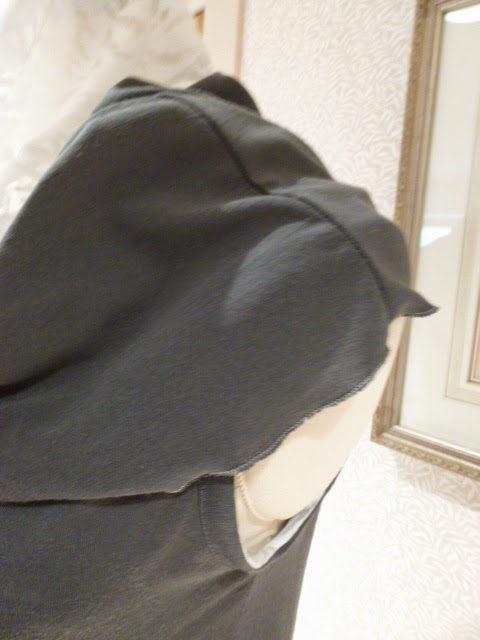
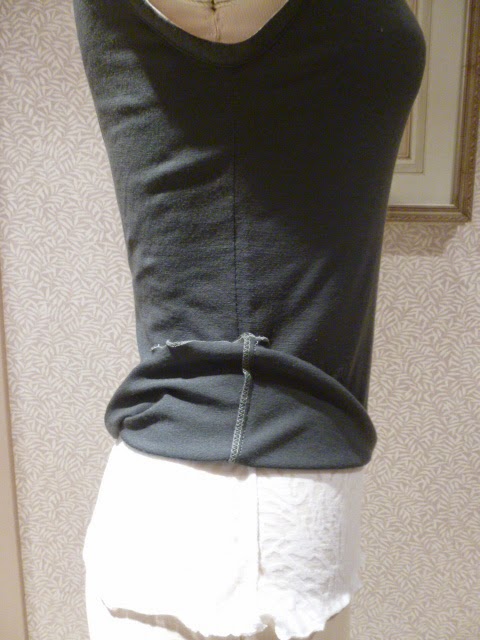
When sewing the top, sew the neckline with wrong sides together. Remember the funnel is going to drape down and we do not want the side seams to show.


If you would like to make one that is reversible, the inside piece will be sewn with wrong sides together for the side seams as well as the side seams of the funnel.


To finish the armhole, I cut a strip pf fabric 1" wide and long enough to go around the armhole. It was stitched to the back side with a 1/4" seam allowance and then flipped to the front and stitched in place.


The edges of my top were finished on the serger with a narrow hem. In order to get the frilly edge, I simply pulled the fabric as it went through the serger. Now you know just how easy it is to make this top. I'll try to model mine for this upcoming week's Me Made Monday and I'll show you both sides.
More posts from Rhonda Buss