Nan and her GIFT BLOCK
I have been getting many emails lately with thoughts of Christmas ideas....welll Nan came up with a lovely GIFT for those seeking a perfect block...so here you go ladies....
Hi! I'm Nan from Pots and Pins, with my favorite block for you! Thanks to Samm for letting me join in the tutorial fun! The clock is ticking, can you hear it?!? There are only 42 days until Christmas!!( editor note...we have a few more days than this) And in the nerve-center that translates to about 5 days of sewing time! Where does the time go?!? I like to make my Christmas gifts, and this year, thanks to my friend Helen, I found the perfect gift for almost everyone on my list! Let me show you...I think you're going to like it and you'll see just how versatile this gift can be!


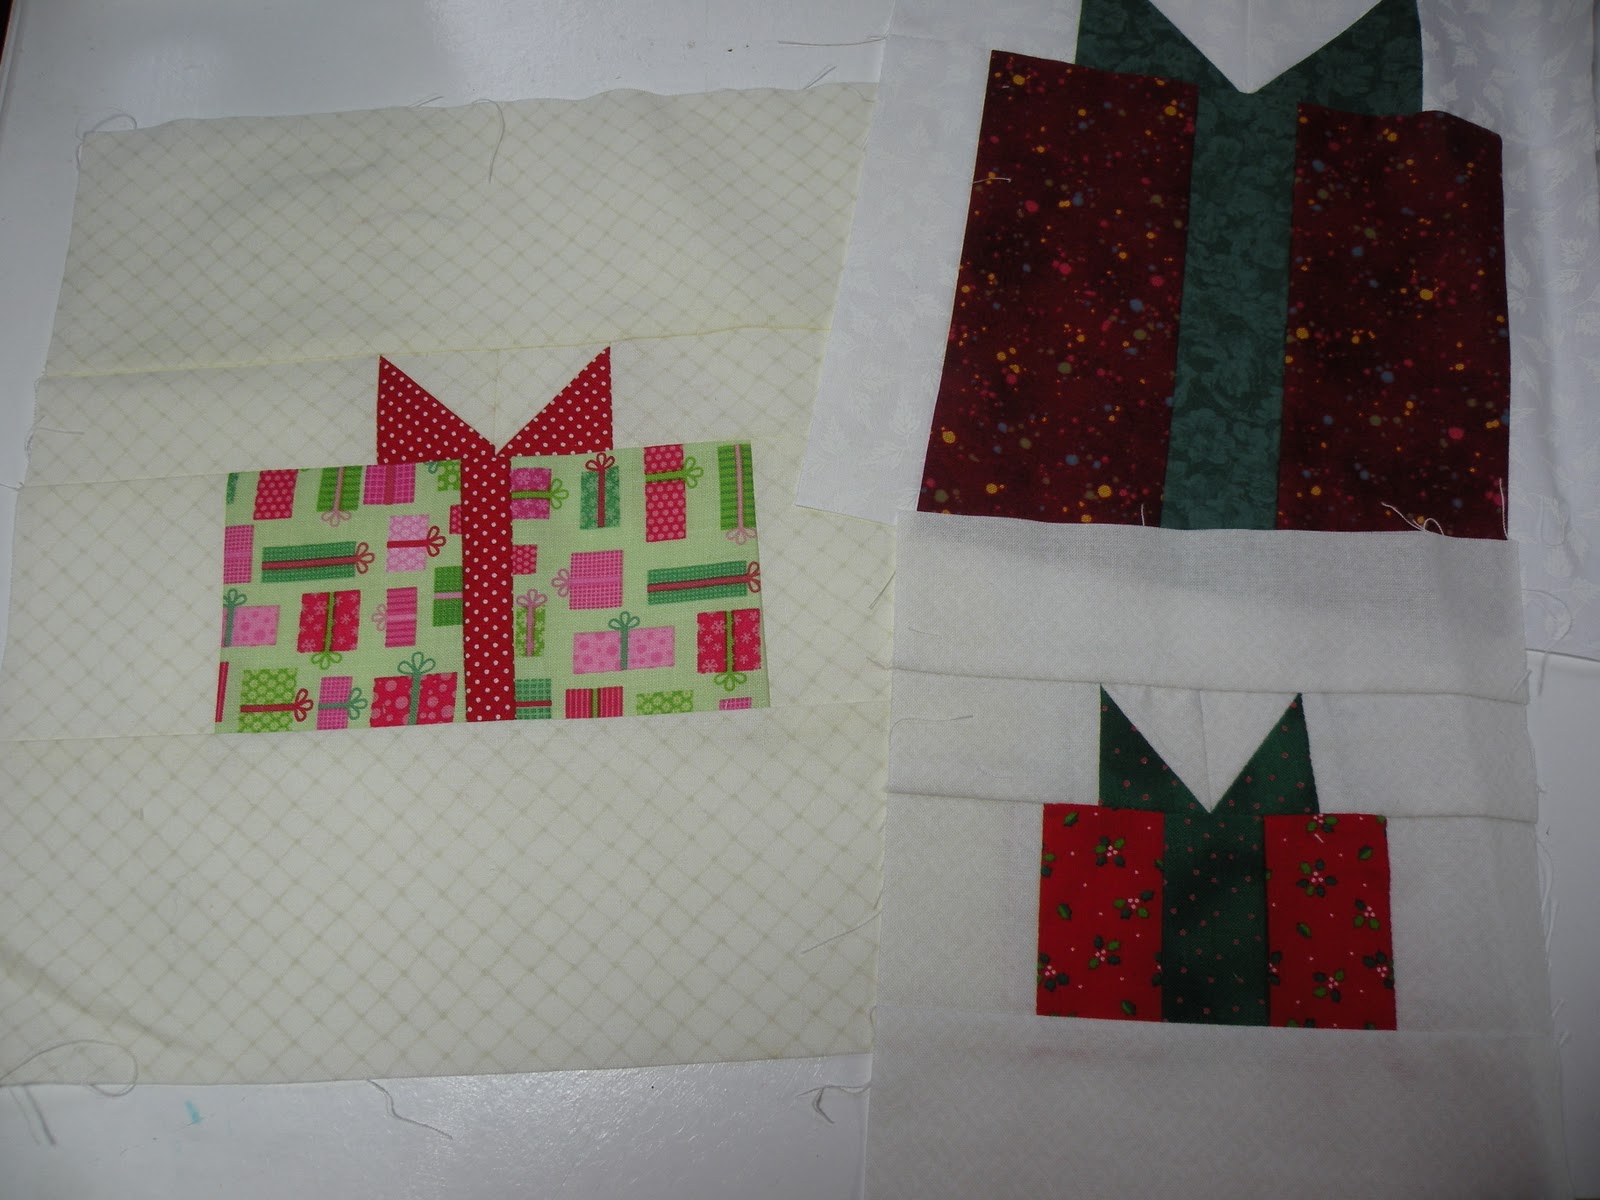
Helen is in my quilt group - she is a whiz-bang of a quilter! Last August she suggested we have a Gift Block exchange and she showed us all how to make this block. Pictured above are some of the gift blocks I received from my group - adorable, no? So today, I'm going to show you how to make the gift block...and some things you can do with it!

This is a great way to use up your scraps - and if you don't want to make a Christmasy gift block, think how cute this would be made into other colors, say for a birthday in the birthday gal's favorite colors or maybe in reds and pinks for Valentine's Day...your imagination is the limit! Put on some Christmas music and let's get started!
You will need three colors: The background fabric, which in this case is white. The "package" color, which is red and the "bow/ribbon" color, which is green. To make the basic block, cut:
4 squares from white background: 2 1/2-inches
2 strips from white background: 1 1/2-inches x 6 1/2-inches
2 squares from green bow/ribbon fabric: 2 1/2-inches
1 strip from green bow/ribbon fabric: 1 1/2-inches by 6 1/2-inches
2 strips from red package fabric: 3-inches x 6 1/2-inches

Wow, my fingers look huge! But then, they kind of go with the rest of me! Sew the strips together to form the base of the block; white to red to green, then the other red and white, see the picture below:

SEW easy! You can't mess this block up - believe me, I've tried! And now that you've got the base done, let's make the top:

Put one white square, right sides together, with one green square and sew diagonally, I just eyeball it but if you HAVE to then you can draw a line corner to corner, and sew on the line. Clip away the excess.

Repeat with remaining green square and another white square, making sure your "bows" are going in the right direction. Sew your bow squares together. Sew on the remaining white squares to each side.

Line up your bow strip with the center of the "ribbon." Pin in place, (yes, I actually said to pin something! I do pin, about 3 times a year, unless I can help it!) right sides together, and sew the bow strip to the package strip. Voila! Your gift block is now done! In the picture above you'll see that I opted to add another white strip on the bottom of my block, that's because I decided to use this block to make a hot-pad and I thought a white strip across the bottom would look better - but it is totally optional.

Let's pretend I have that binding stitched down...My new hot-pads will go perfectly with my new Christmas apron!

For the apron I used a restaurant-quality apron from Costco Business, sadly, it is only located in Seattle! But I know you can order these heavy-duty aprons on-line from many places. They usually come three to a package for about $8.00 - what a deal! I just sewed the block pieces together without any of the white background and then top-stitched it onto the apron with a zig-zag stitch...then I got carried away and added new ties and a ruffle at the bottom...seriously, who amongst you would not like to receive an apron and hot-pads for Christmas?!?! It's a GREAT gift! Of course, maybe you might take some gift blocks and sew them together around the cuff of a pillow case? Or how about making a big gift block to use for a new pillow on your sofa? Think how cute gift blocks framed with a couple of borders would be as placemats?! Or gift blocks sewn together as a table runner!!! See? The possibilities are endless! But maybe you want to make a quilt with your Christmas blocks...so with permission from my quilting friends, I'm going to show you what they did with their blocks.

This is Helen's quilt - she is definitely an over-achiever! Each block is different - different sizes and different colors - and isn't it all just so dang cute?!?


Helen's quilt reminds me of Cindy-Lou-Who down in Who-Ville...and I'm sure the Grinch's heart would not be two-sizes too small if he had this quilt to curl up in!

This is Barbara's quilt - all of her blocks are the same size but with different fabrics - they look great with a sashing that ties them all together! And I adore her border fabric! Reminds me of the original movie, Miracle on 34th Street - oh how I love the hustle and bustle of Christmas!

Two different quilts with the same blocks...both would look so great with me curled up under them! I don't know how I'm going to piece my gift blocks together - maybe with a simple Christmas tree block in between or maybe I'll use them at the bottom of a big Christmas tree as the center of my quilt?

Now that you have the basic block instructions, you can make any size gift block that you want - just enlarge or decrease the sizes of the pieces - it's YOUR block so it can be any size you want! Have fun and get busy...that clock is still ticking!
I think I'm a pretty good gift giver...the mister? Not so much. You see, the mister has Caveman DNA, which allows him to think the giving of a tree-stump-club is a thoughtful gift - not that's he's ever given me one of those but I know he has to fight the urge to do so! One Christmas he gave me a set of hammers and some packages of picture-hanging screws, beautifully wrapped in an Ace Hardware plastic bag...another year he was ecstatic when I opened his gift card for 6-months worth of car-washes which he had carefully glued to a bottle of Hub-cab cleaner! The mister needs some guidance when it comes to gift-giving. Every year, about two weeks before Christmas I put together a list of exactly what I want - complete with pictures cut out from magazines or store flyers with store directions and hours - and then I MAIL it to him at Global Headquarters where I know he'll open it! Believe you me, the mister is much happier with a step-by-step gift-giving guide...and so am I! Plus it cuts down on all the time I used to spend returning his gifts - now I get to spend that time sewing!

Okay, that's it for today - thanks to Madame Samm for another opportunity to bend your ear! Thanks, too, to my dear friends Helen Knopf and Barbara Moulton for allowing me to show you their amazing quilts. One day I hope to be able to make a "Helen Quilt" or a "Barbara Quilt"...that's my goal! Please give this block a go - it's just so dang darling and versatile! And in the meantime, come visit me at Pots and Pins where I'm either cooking up something good to eat or sewing my brains out! Either way it's all good!
More posts from