
Day 42: Stenciled Kitchen Towels DIY

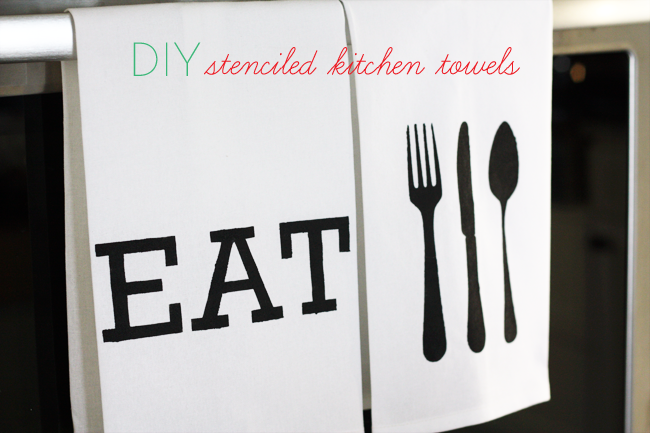
Day 42: Stenciled Kitchen Towels
I love the holiday season for lots of reasons. One of them is that it gives me the chance to make all kinds of things: decorations, treats, and, of course, really awesome handmade gifts. Gifts that are easy to make and look really great are a bonus. I made these cute, graphic stenciled kitchen towels for an annual gift swap my friend throws every year. The party’s coming up next weekend, and I’m so excited to finally give these cute towels to some lucky friend! Want to make your own set? Here’s how…
Supplies:
- clean, blank kitchen towels
- freezer paper
- scissors or an exacto knife (or a super cool, fancy paper-cutting machine)
- an iron
- matte black fabric paint
- a sponge brush

Directions:
- There are a couple of ways to get your freezer paper stencil ready. I used my magical paper cutting machine to cut out a big “EAT” and a big knife, fork, and spoon on pieces of freezer paper. If you don’t have a paper cutting machine, you can print out a big “EAT” and a big knife, fork, and spoon on pieces of regular printer paper, trace them onto your freezer paper, and cut them out with scissors or an exacto knife. The thing you need to keep in mind is that you are making a stencil. The insides of the letters that you’re cutting out are going in the garbage. You want the outside of the letters, so cut carefully! (You can download the EAT print HERE, and the knife, fork, and spoon print HERE.)
- With the iron set to high and the steam shut off, iron the freezer paper stencil onto the kitchen towel with the shiny side of the paper face down. It’ll stick!
- Carefully fill in the letters with black paint. Don’t glop the paint on, but make sure you fill each letter in completely.
- Allow the paint to dry, then peel the freezer paper stencil off the towel and discard it.
- Allow the paint to dry for at least 24 hours, then cover the painted area with a clean cloth or pillow case, and iron it again. This will set the paint so that the towels can be washed and dried.

If you’d like to see the other 50 DIY Days of Holiday Crafts, check out this link.
– Melissa, Lulu The Baker
P.S. This is the 4th year for my 50 DIY Days. If you would like to check out the past projects, you can click on these links (sorry for any broken links, it’s hard to keep up to date with all the posts… always a work in progress): 2011 // 2012 // 2013!
The post Day 42: Stenciled Kitchen Towels DIY appeared first on The Paper Mama.