
How to balance your face for flawless photos - tutorial
Hi there, gals and pals! If you follow me on Twitter, Instagram, Facebook or Prism *waves to US Government officials*, you may know that I'm swamped with helping my boyfriend out with his move to Dubai (if by 'helping' you really mean 'clinging to his leg wailing NERRRRRRR'), and packing my own stuff up to move house.
I haven't had enough time to prep a new post for this weekend, so am instead offering up this piece I wrote for Cosmopolitan.com.au earlier. More of a tutorial than a review, let me know what you think, and I might do more tutorials here!
I'm That Girl: the one who cannot take a good picture even if her collection of Paul Rudd gifs depended on it. A serial offender in party shots, I'm guaranteed to be frozen in time with bleary-eyes, chipmunk cheeks and a heavy dusting of canapé shrapnel, locked in mortal combat with my smart phone frenemies, Facebook, Instagram and Twitter. Sadly, it's not just me, with Puffy Face Syndrome attacks especially common in group scenarios, victims are named and shamed in morning-after party pics.

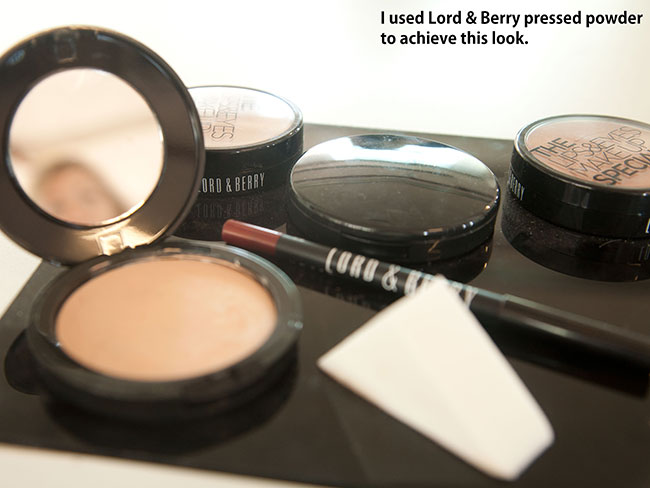
Improperly applied make-up is obviously entirely at fault here
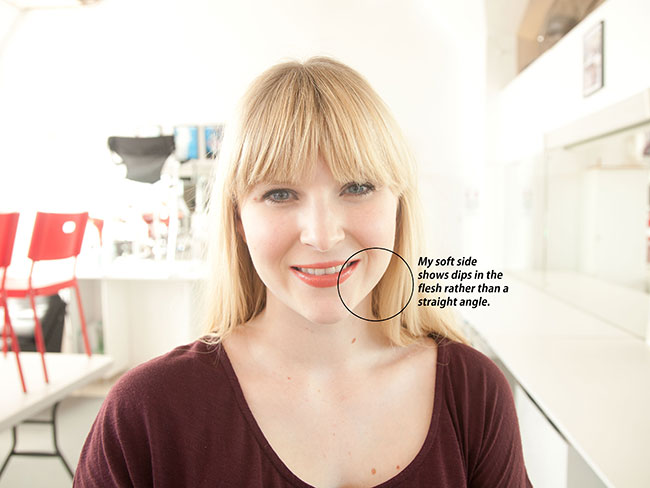
There's no time like the present, making right now the perfect time to take a stand against photographic face crime! No longer shall I be the one nursing my plate of bacon (to counteract the hangover), and a kale and beetroot juice (to counteract the bacon), spending all Sunday morning untagging another shameful FB album. I've just learnt how to contour my jaw and facial features for a more photogenic Michaela, and you guys, seriously this is too amazing not to share. These instant pep-up tricks ensure you'll have only good angles come camera time. You're on your own dealing with the party pie mouth crumbs though. Cameron-Jane Thomas, Director of Cameron Jane Make-Up Design says anyone can give good face just by learning your best angles and how to correct your faults. Everyone has a bad side. Not just that part of you that makes you snark about your friend's grotty new BF, or take the last Iced Vovo from the office cookie jar, but a weaker side to your lower face that can ruin even your very best Blue Steel You can work out your angled side (yay!) and soft side (nay!) by freeing up some mirror time to examine your jawline. You're looking for a difference along your jaw, with your better side appearing more slender when compared to your now slightly less loved soft side. My left side is noticeably less taut, while my right side hugs the bone more tightly, creating a more streamlined look.

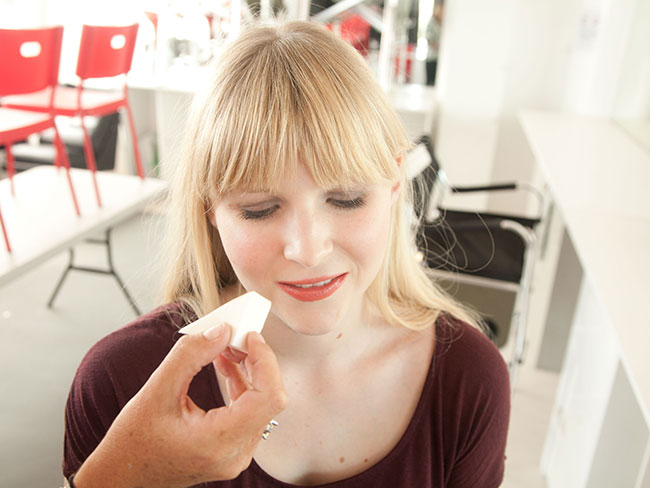
Once you work this out, you will not be able to stop staring at your saggy chin. Trust, I'm gazing at mine right now. Now we've found your flaw, let's fix it with contouring, the ultimate secret weapon in photo prep. First take a kabuki or small blush brush and pick a powder foundation (not bronzer - almost always too dark, with a Snog, Marry, Avoid vibe) one shade deeper than your regular base and lightly sweep under your soft side's jawline. Use the outer corner of your lip as a starting point , gently feathering just along your lower jaw and under your chin, following it up to that hard point a few centimetres below your earlobe. Then blend, blend, blend! Not pals with powder? "A one shade darker fluid foundation also works."

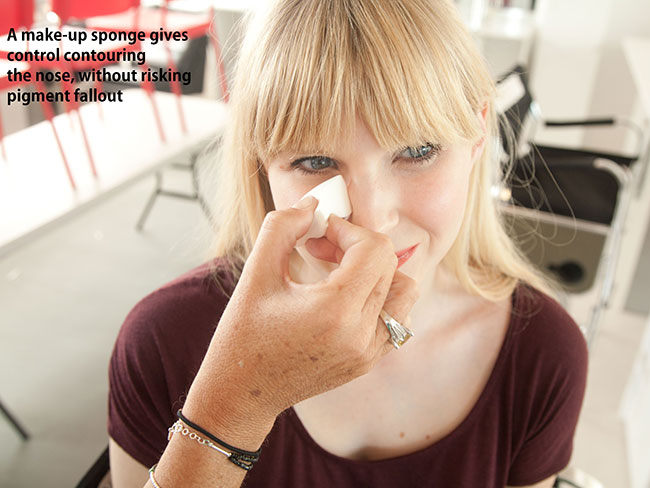
Ignore your OCD tendencies and resist contouring your angled side. Cameron-Jane says this technique is designed to lift and balance your face for a symmetrical look. Moving further up your face, Cameron-Jane points out that "a common mistake is shading both sides of the nose." This may fake a slimmer bridge, but unless you have perfectly centred features, the centre of your face will be off-kilter. For a surgery-free fix, grab a pencil and align vertically against your outer nostril. Note where it hits your eye, and repeat on the other side, noting which nostril lines up more closely to your eye's inner corner. This is the side you want to replicate.

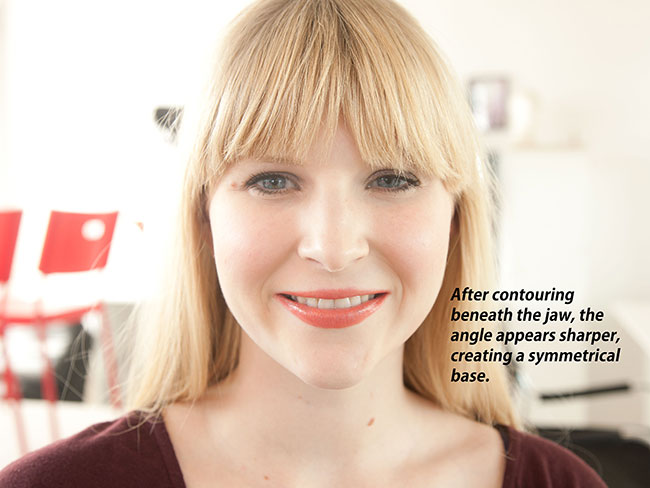
Create a mirror image by using that darker shade on a small powder brush or make-up sponge to buff the crease where cheek hits snoz on your wider side. You only need the teeniest bit of colour and blending is crucial. Ermahgerd, here's my after shot! Notice how the shading subtly shifts my former moonface to something more angled and slimline. I may have not been born with a jaw that could cut salted caramel, but my gawd, I can fake that business better than RuPaul.

Returning to the social battlefield? Ace your next photo op by angling your favoured side towards the camera, about 45 degrees. Lift your chin a smidgen to clear out any shadows and to prevent faux neck rolls. Standing in the middle of a group? Stare down that lens with slightly parted lips and ever so slight twist to hide that soft jaw. Again, tilt your face upwards, but maintain eye contact with the camera. This draws the focus of the photo to you, which is the whole point, right?

Godspeed, beauties, it's time to put your best face forward and snap your next profile pic. Smile, and say "Instagram!"
Original story published here.
More posts from Michaela Williams