
Free Crochet Pattern: Chocolate Easter Bunny Mini-Plush!


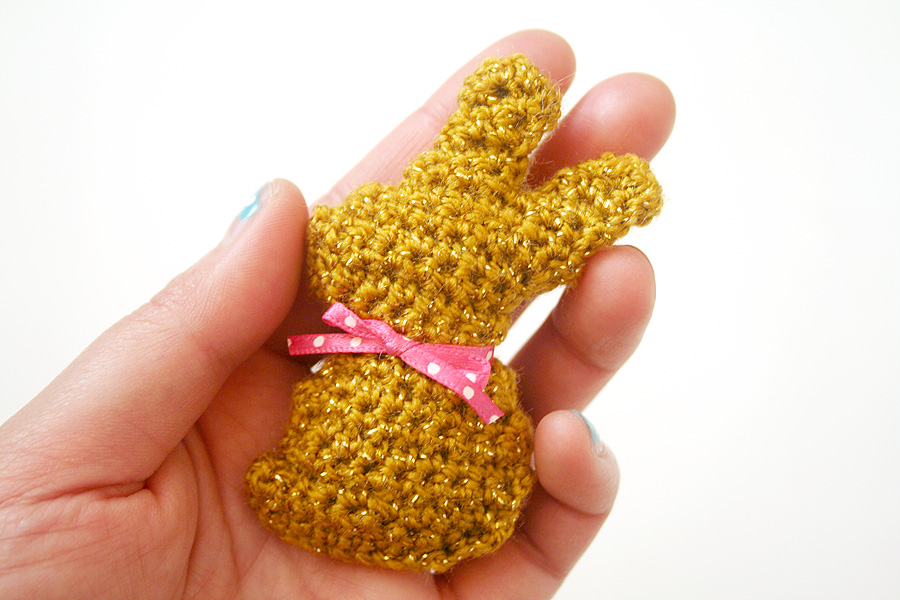
Wrap them up in a little bit of cellophane and ribbon for a cute presentation! Enjoy!

Chocolate Easter Bunny Mini-Plush
Designed by Twinkie Chan
Instead of using sc2tog or “dec” to decrease stitches in this pattern, I just skipped stitches instead to make the pattern as easy as possible!
Materials List
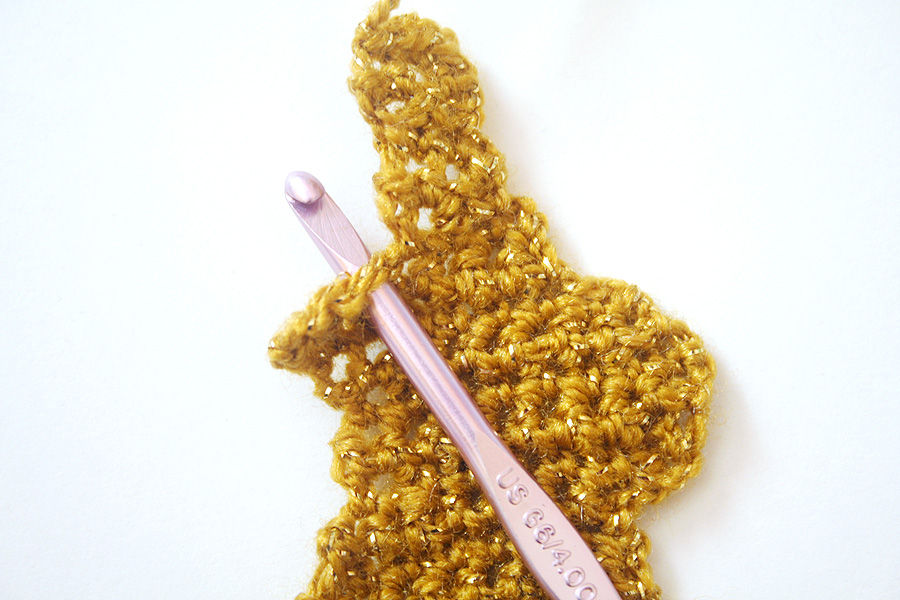
- Crochet Hook: I used an H8/5.0mm hook for worsted weight yarn, and a G6/4.00mm hook for Vanna’s Glamour
- Yarn: this is entirely up to you! I wrote the pattern for Lion Brand Vanna’s Glamour in Gold to make a small bunny, but you can really use whatever you want!
- Small amount of polyfill. You can also stuff your bunny with extra yarn of the same color you worked in.
- Optional: Small amount of thin ribbon to tie around your bunny’s neck.
- scissors or yarn cutter
- tapestry needle for weaving in ends
Gauge
Exact gauge is not essential in this pattern.
Finished Size
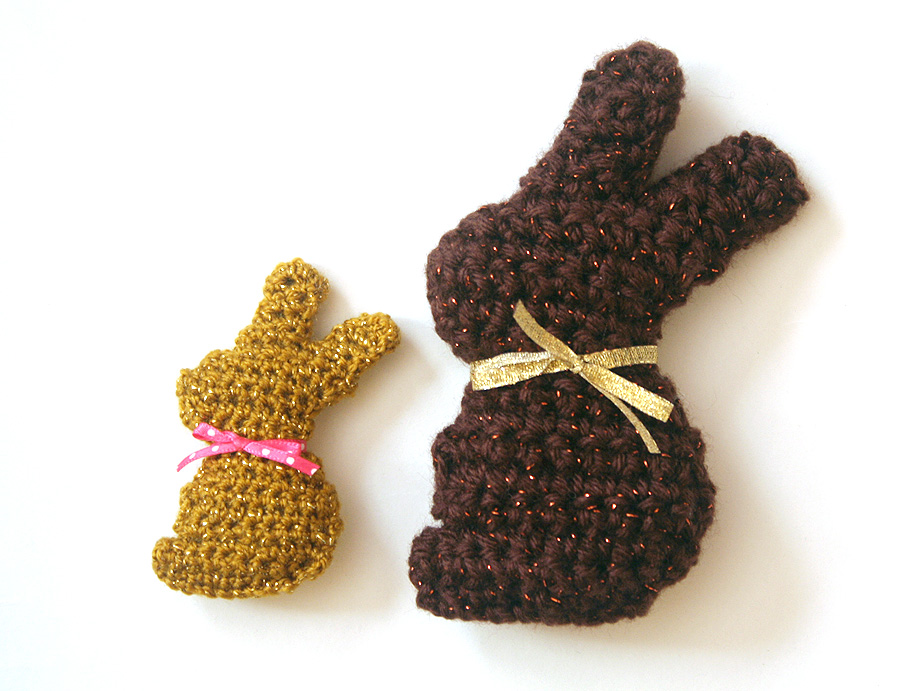
Using LB Vanna’s Glamour: approx 3 inches tall and 2 inches wide
Using LB Vanna’s Choice: approx 5 inches tall and 3 inches wide
Abbreviations
ch(s) = chain(s)
sc = single crochet
sk = skip
sl st = slip stitch
st(s) = stitch(es)
( ) = work everything in the parentheses into the next stitch

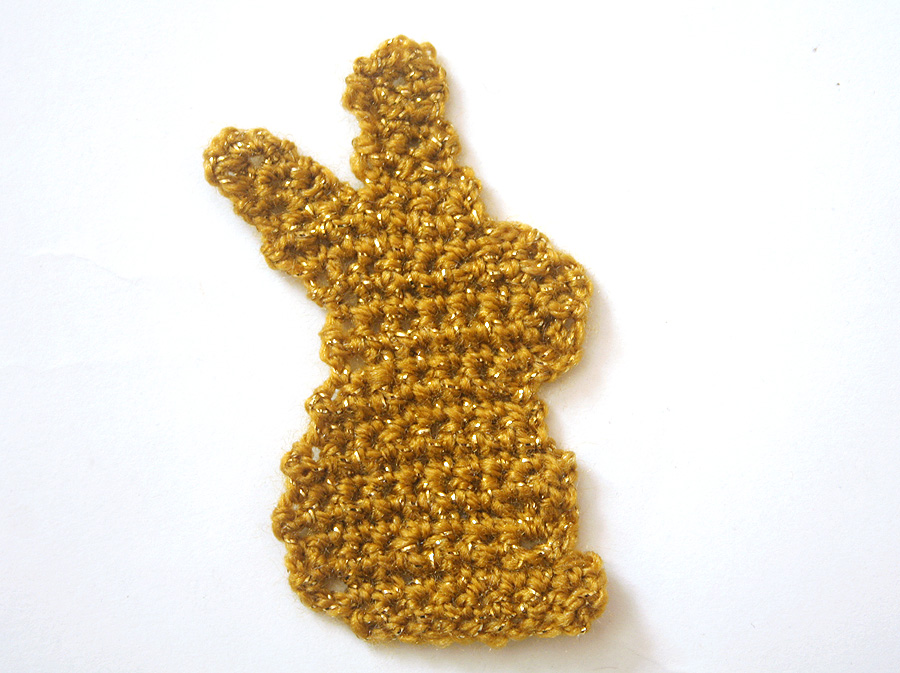
Bunny Side A
- You’ll be working Side A from the bottom of the bunny to the tips of the ears.
Ch 9
Row 1: Sk 1st ch, 8 sc. (8)
Row 2: Ch 1, turn. 7 sc, (2 sc). (9)
Row 3: Ch 1, turn. (2 sc), 5 sc, sk 1 st, 1 sc. Leave remaining st unworked. (8)
Row 4: Ch 1, turn. (3 sc), 7 sc. (10)
Row 5: Ch 1, turn. 1 sc in each st. (10)
ROw 6: Ch 1, turn. Sk 1st st, 9 sc. (9)
Row 7: Ch 1, turn. Sk 1st st, 8 sc. (8)
Row 8: Ch 1, turn. Sk 1st st, 7 sc. (7)
Row 9: Ch 1, turn. Sk 1st st, 5 sc. (2 sc). (7)
Row 10: Ch 2, turn. Sk 1st ch, (2 sc), 5 sc, sk 1 st, 1 sc. (8)
Row 11: Ch 1, turn. 1 sc in each st. (8)
Row 12: Ch 1, turn. 1 sc in each st. (8)
Row 13: Ch 1, turn. (2 sc), 5 sc, sk 1 st, 1 sc. (8)
Row 14: Ch 1, turn. Sk 1st st, 6 sc, (2 sc). (8)
Row 15: Ch 1, turn. 7 sc, leaving last st unworked. (7)
Row 16a: Ch 1, turn. Sk 1st st, 3 sc. (3)
Row 17a: Ch 1, turn. (2 sc), sk 1 st, 1 sc. (3)
Row 18a: Ch 1, turn. Sk 1st st, 1 sc, (2 sc). (3)
Row 19a: Ch 1, turn. (2 sc), sk 1 st, 1 sc. (3)
Row 20a: Ch 1, turn. Sk 1st st, (2 sc), sl st (3). Break off.
Re-join yarn into the next free stitch from Row 16.

Row 17b: Ch 1, turn. (2 sc), sk 1 st, 1 sc. (3)
Row 18b: Ch 1, turn. Sk 1st st, 1 sc, (2 sc). (3)
Row 19b: Ch 1, turn. Sk 1st st, (2 sc), sl st. (3)
Break off and weave in all ends.
You’ve now completed one side of your bunny.
Bunny Side B
Repeat Bunny side A, except, at the very end, break off leaving about a yard of yarn to sew your bunny together and weave in the other ends.
Assembly
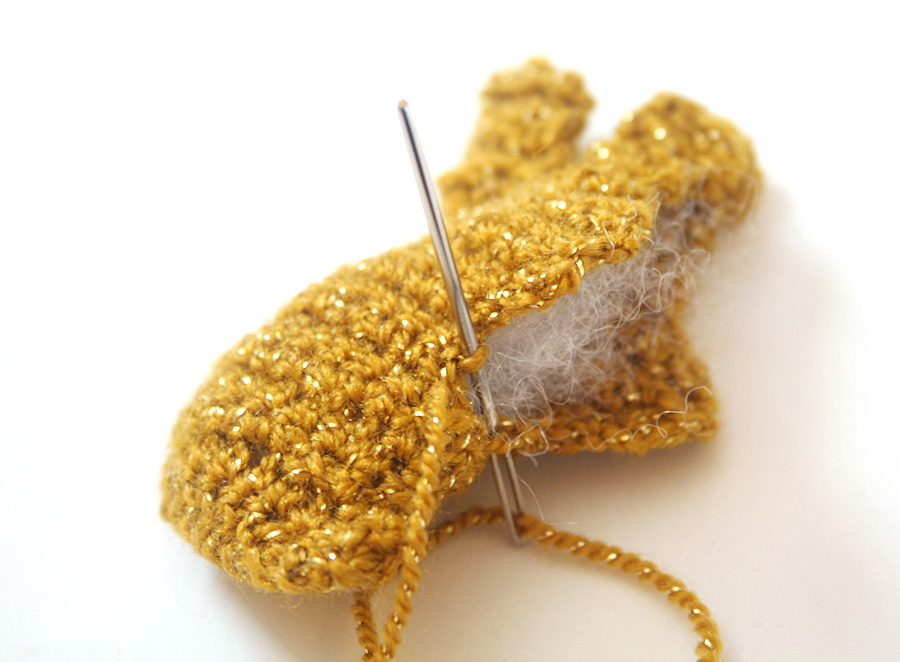

I like finishing mine off with a little red ribbon bow, which you can also sew or glue down for security.