
Make a Cottage Farmhouse Home Sweet Home Pillow
Make a Cottage Farmhouse Home Sweet Home Pillow
Happy February! I’m back again to share another easy project with you!
I’m not sure about you, but I’m ready for spring. The snow was great… until it melted and left us with a mud slush.
I’ve been feeling a little cooped up, so I decided to make a new pillow to brighten my spirits. Contrary to what my husband thinks, I’m not sure I can ever have enough pillows. And this one, well it’s one of my very favorites, just like my DIY rosette pillow.

I know sewing a pillow cover can seem a bit intimidating, but if you can sew a straight line, you can make a pillow cover. Truth be told, you could probably hot glue instead of sewing, but I find that each time I sew, I get better.
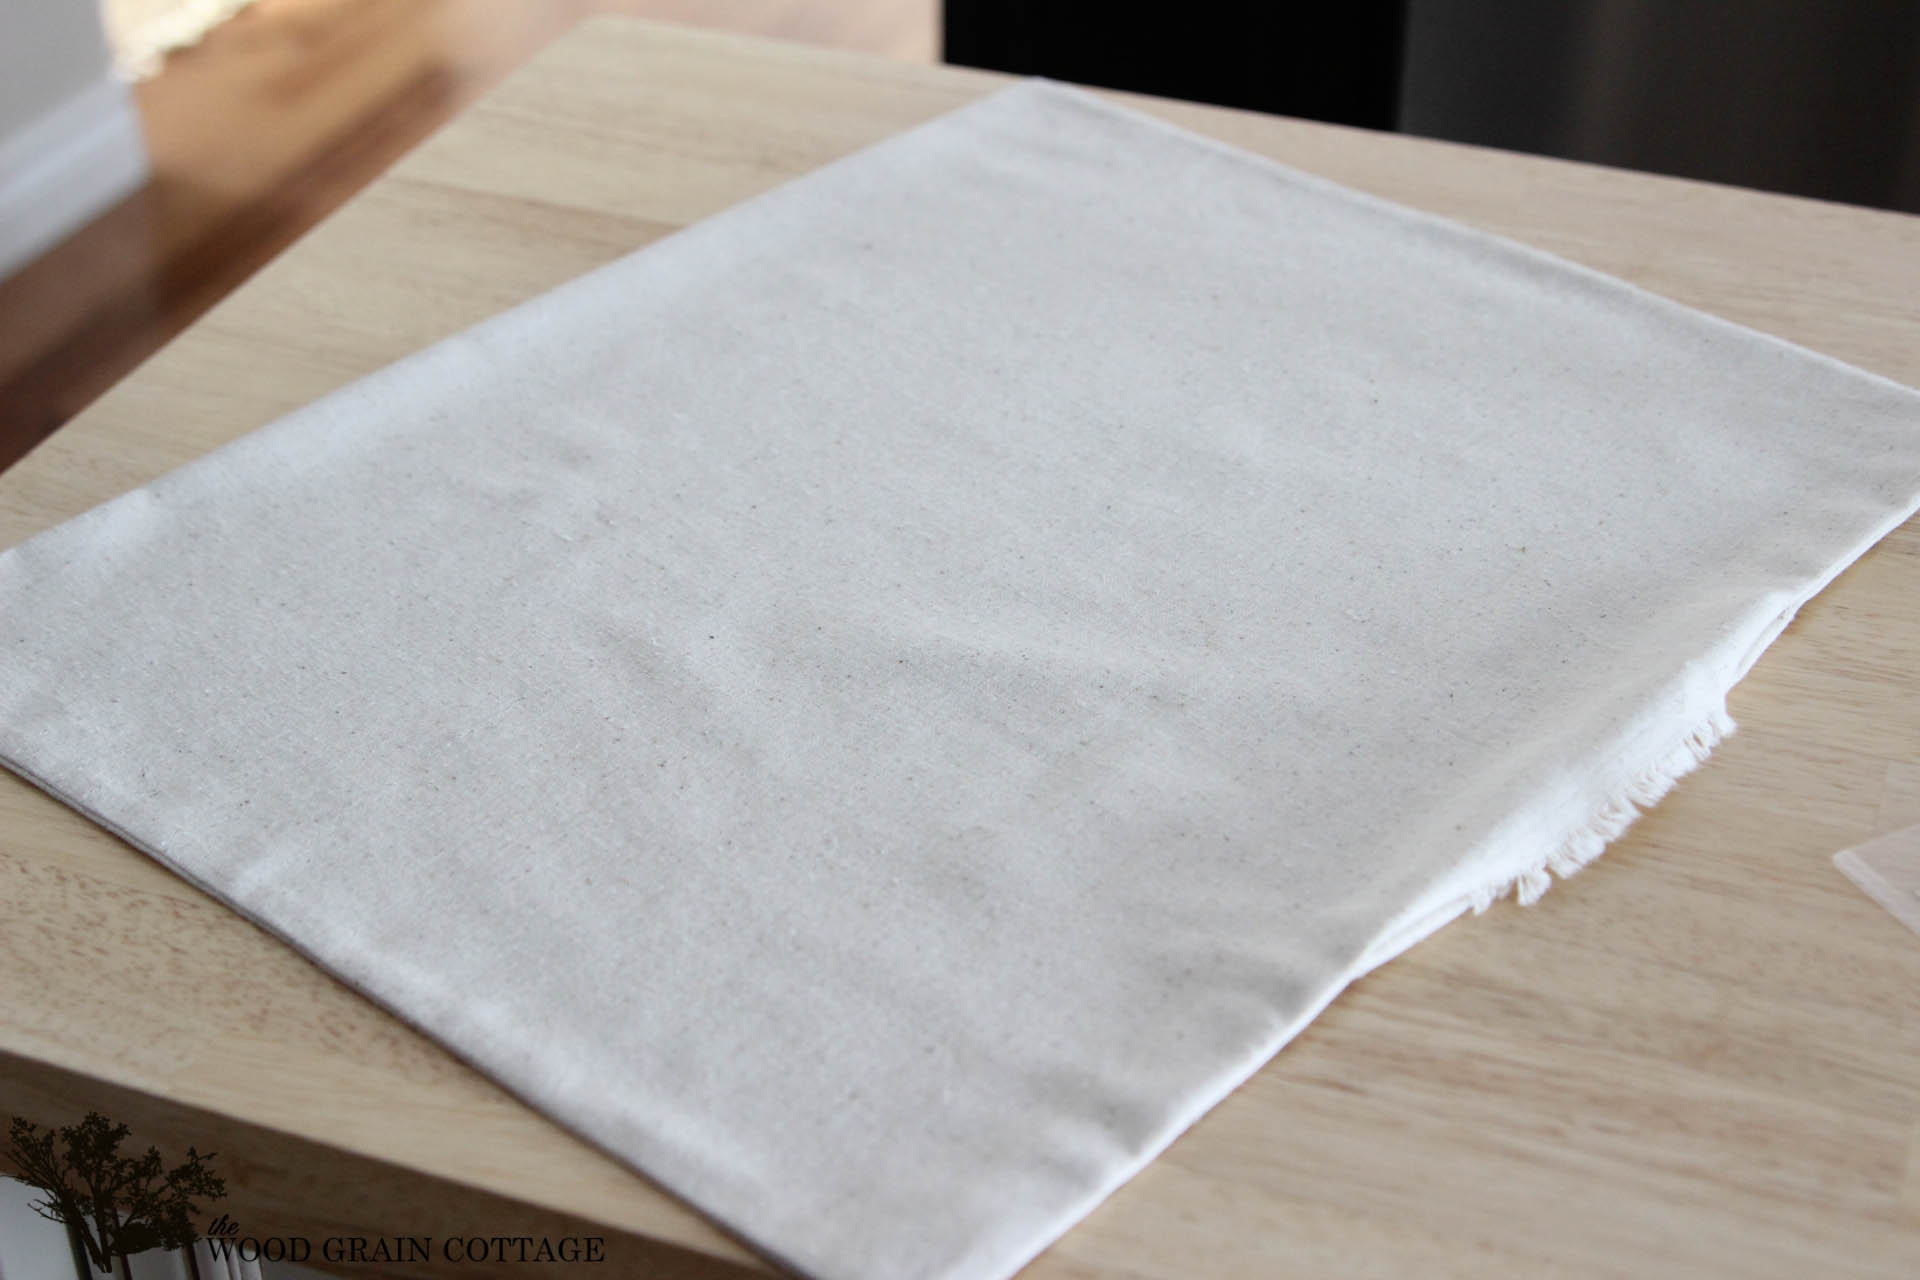
To make the pillow form, I followed my instructions for the DIY rosette pillow…

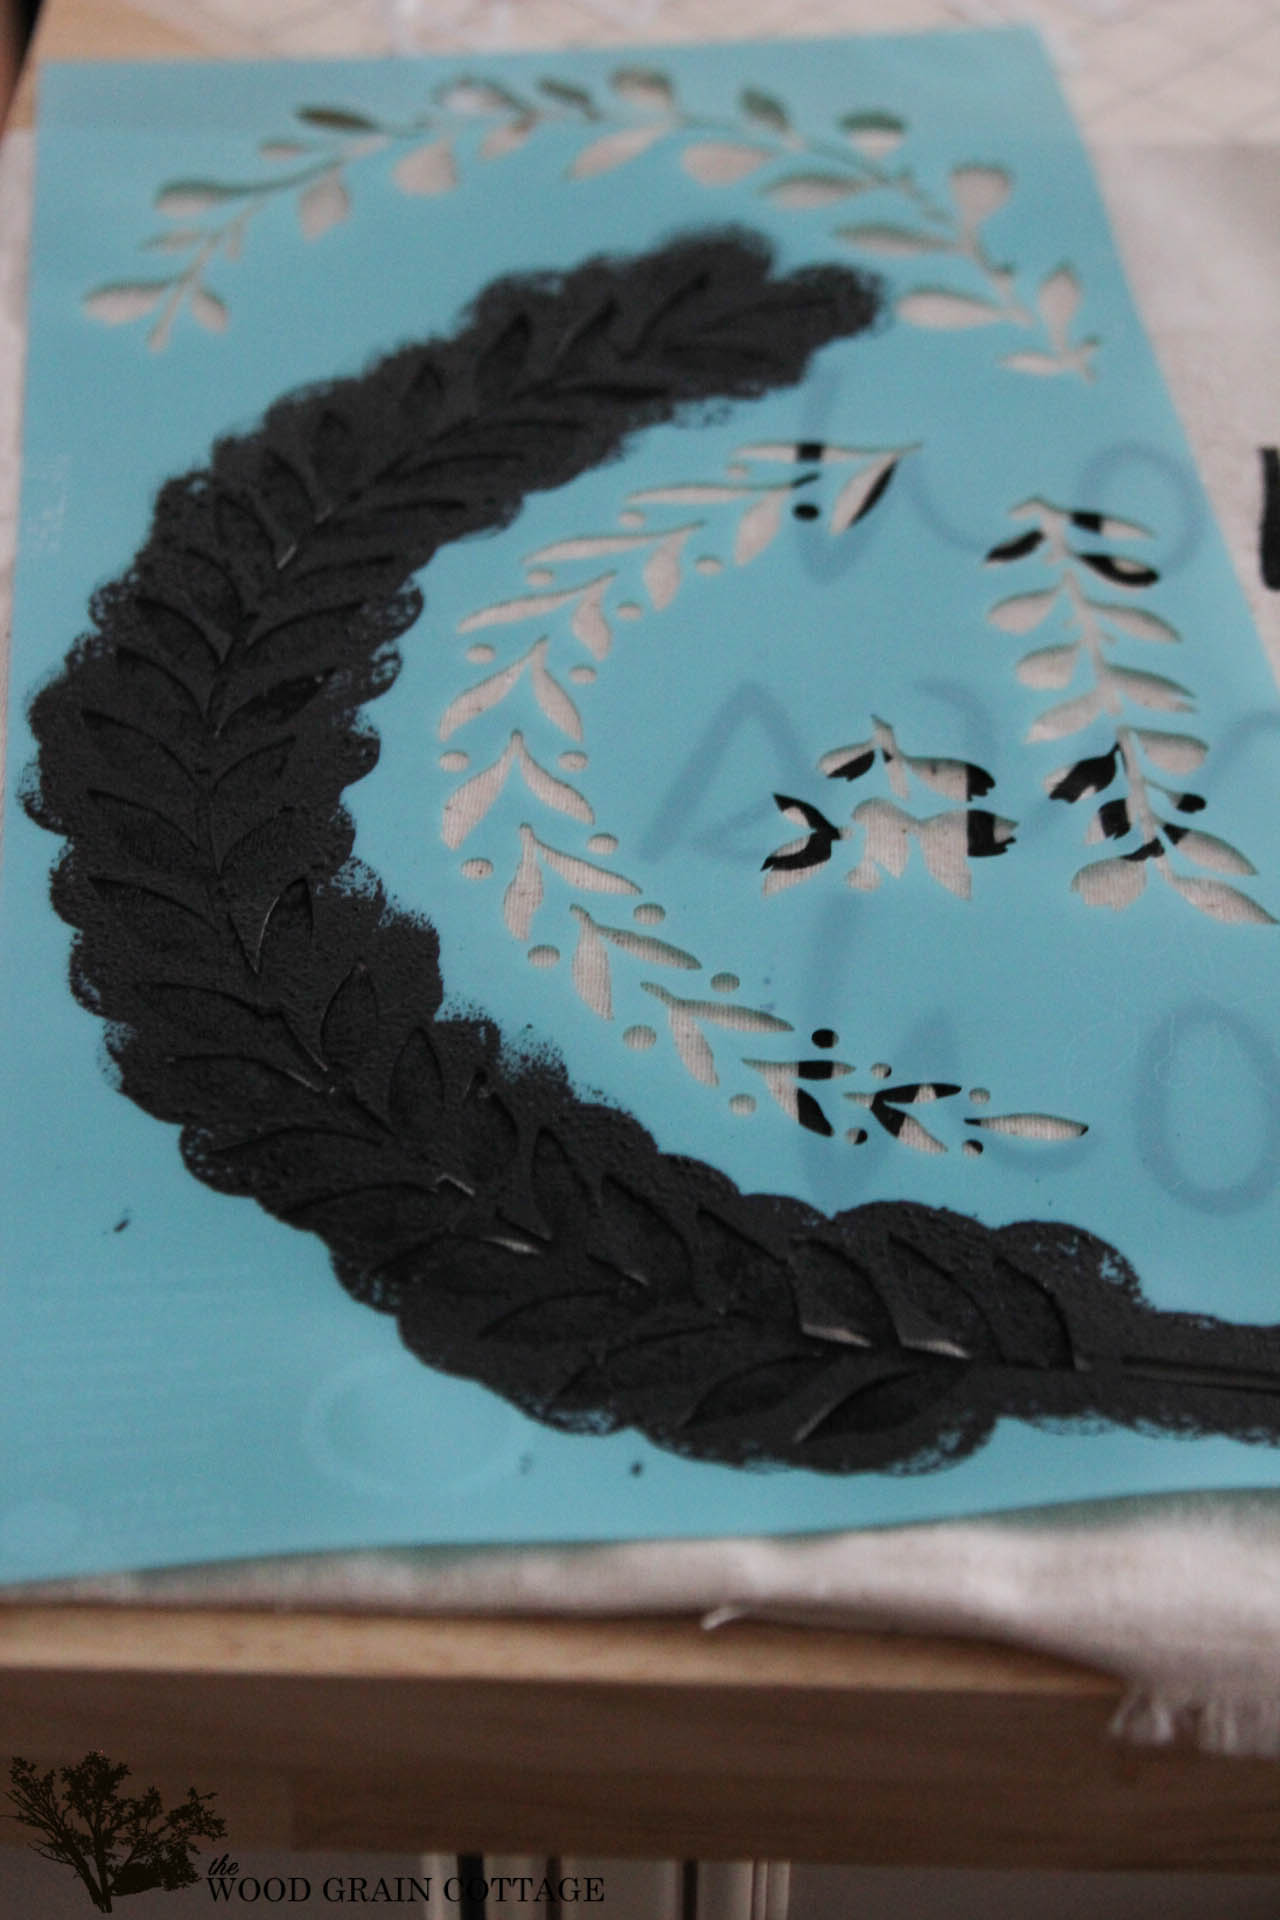
Then, I designed my wording in my Silhouette design studio and used the Silhouette to cut it out on freezer paper…


Once all the letters and edges were stuck really well, I used some black craft paint and dabbed it over the letters…

I covered the letters for the most part, but I did leave a few areas of the fabric showing through. Once I was done with the paint, I peeled off the freezer paper…


Once I finished painting, I washed the stencil to remove any paint, then flipped it over and placed it on the other side of the wording…

I did the exact same thing as the opposite side, and was I was done, I let the paint dry for a few hours.
Once the paint was dry, I began stuffing the form…


If you didn’t want to sew it with a machine, you could easily hand stitch it closed, but I find the machine much quicker!
I couldn’t be happier with the finished result:


It looks great in our living room reading corner, which has quickly became one of my favorite corners in our home…


And because I love everything to do with home, here are a few other projects you can find at our place:


DIY Wood Slab Sign:

Until next time… You can find me on Pinterest, Facebook, Instagram and Twitter!
And be sure to stop by The Wood Grain Cottage to say hi!
