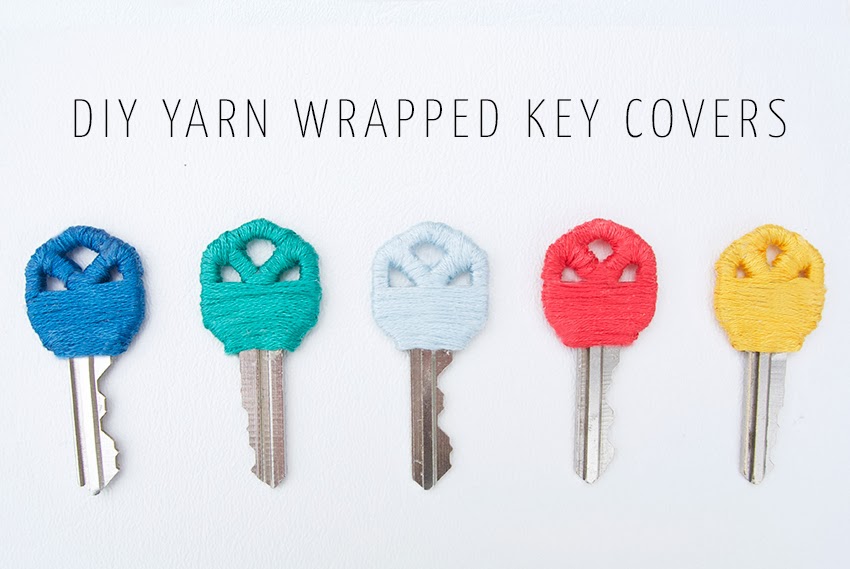
DIY: Yarn Wrapped Key Covers


I know I've made some unique (and unusual) projects over the years including this pistachio shell necklace and these cereal box notebooks, so you can imagine how many times I get asked, “how do you come up with these ideas?!” Well folks, I think it’s time to answer that question! My process is pretty simple: (1) research (2) inspiration (3) create. And since the "key" ingredient (see what I did there?) to finding inspiration is the research phase, I partnered with Bing for a behind-the-scenes look at how I came up with today's project! Bing challenged me to use their search tool, where I'm able to earn credits to redeem some amazing gift cards just by searching! Pretty cool, right?

After meeting the awesome group of ladies from Bing last month (and winning a tablet!), I decided to give it a try. It’s been about 4 weeks and I can tell you that I’m hooked!
Bing’s search functionality is super visual with lots of images, which makes it easier for me to find inspiration quickly. But the icing on the cake is definitely the Bing Rewards program. I can’t believe I didn’t know about this! You can earn credits just by searching the web. That’s all! Then you can redeem them for gift cards to some amazing stores like Amazon, Starbucks, Sephora, Fandango and more. Bonus: Bing Rewards just launched on Apple iOS and Android phones and tablets so you can build up your credits wherever you are.

So here is how today's project was born...
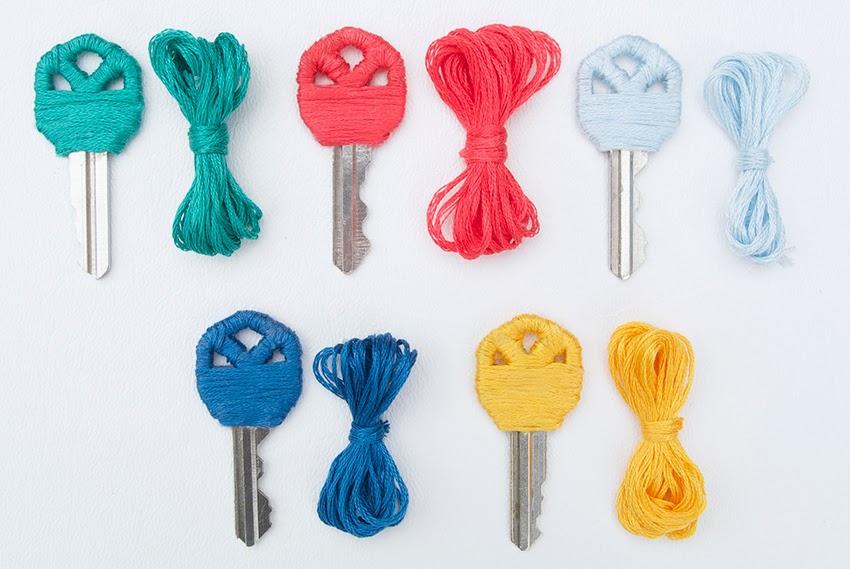
I had a bunch of embroidery floss laying around so I decided to use them for my next craft. I used Bing to search for inspirational images of other projects made from embroidery floss. After browsing a few pages, I noticed a lot of accessories like jewelry and pens being wrapped with yarn, so that got me wondering what little object I could jazz up. A few minutes later, it hit me! And that is why all my keys are now color-coded with yarn!
Now let's get started!


Steps:
• Add a thin layer of glue to both sides of the key's bow (aka the top part). It's easier to apply a small amount of glue then add more as you go.
• Find the center of your embroidery floss and place it on the bottom of the key's bow.
• Working your way to the top, start wrapping the embroidery floss around the key cover, alternating between the two sides of the yarn. Add more glue as needed and continue wrapping.

• If your key has multiple holes at the top like mine, you’ll need to individually wrap around them too (see images below).

• Secure the first end of the embroidery floss by gluing it to the rest of the yarn. Cut any access yarn off if needed. • Wrap the remaining end around until the key is completely covered. • Glue the end to secure.

And now for some online shopping! I’ve racked up quite a few points so I treated myself to
some Amazon gift cards through Bing Rewards. Thank you, Bing!


This post was created in partnership with Bing. All opinions are my own.
I'm required to disclose a sponsored partnership between our site and Bing. I have been compensated in exchange for this post in the form of payment, product or experiences.


More posts from