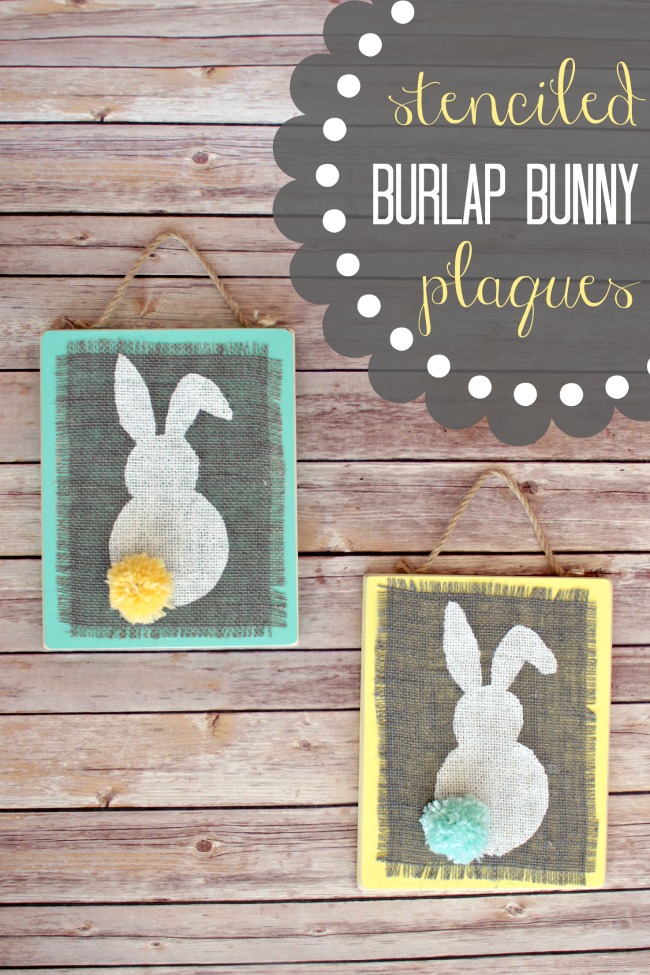
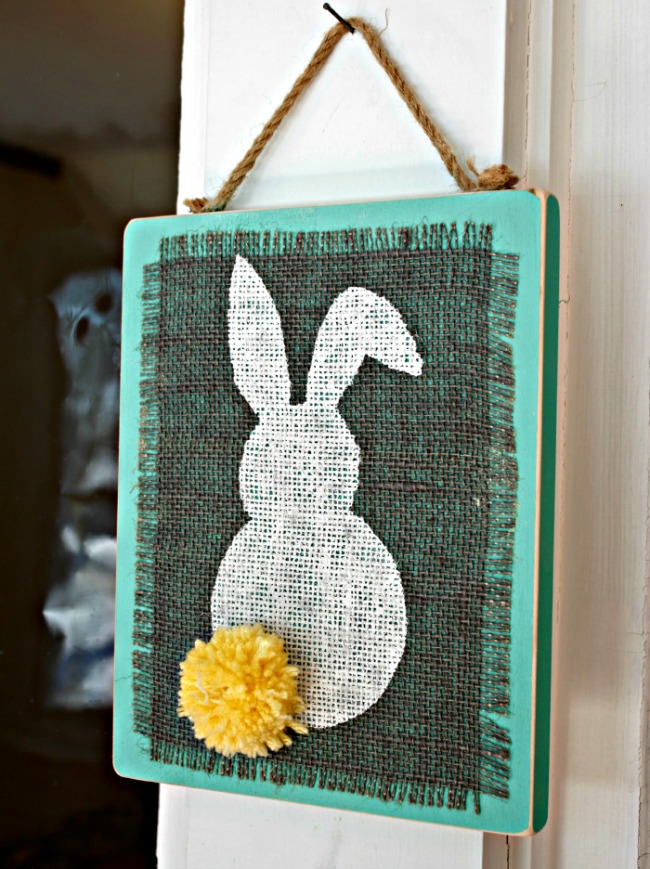
Stenciled Burlap Bunny Plaques
Hi there! It’s Katie again from View From The Fridge. I’m so glad to be back here at Oh My! Creative this month. Today, I thought I’d share an easy Easter Decor project … Stenciled Burlap Bunny Plaques.


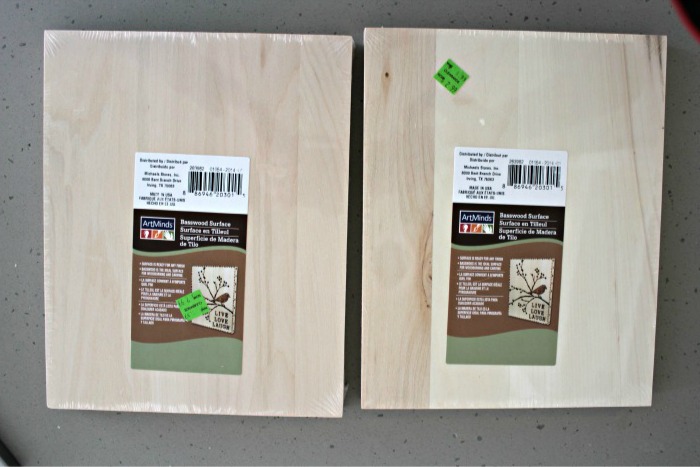
CLEARANCE BURLAP PLAQUES
$2.99 each is a good price … AND it meant I could use my 40% off coupon on something else (because there’s always something else)!
If you’ve seen my project, then you may notice a couple things I love and seem to gravitate towards:
- Burlap anything …
- Stenciling (probably because my free-handing skills are lacking … at best).
- Shabby Chic Decor
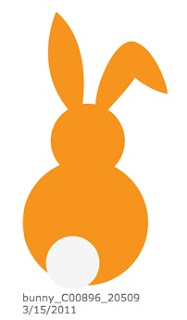
With these things in mind for this project, my idea was born … stenciled burlap plaques! Now, I needed a stencil (and, as of now, I still don’t own a Silhouette or Cricut). I did, however, find this fun bunny silhouette shape online that is CUTE and simple enough to create a handmade stencil out of:

Supplies:
- That bunny shape above printed and cut out
- 8″ x 10″ piece of wood (my clearance finds)
- Adhesive vinyl sheet
- ~7″x 9″ piece of burlap with ends frayed (to easily fray your burlap, after cutting simply start pulling out individual threads from each side)
- Craft paint: plaque colors (I used yellow and light turquoise) and bunny color (white, in my case)
- Pouncer (sponge brush for stenciling)
- Rope or ribbon for hanging plaque
- Yarn
- Spray Adhesive
- Sandpaper
- Staple gun
Step-by-Step:

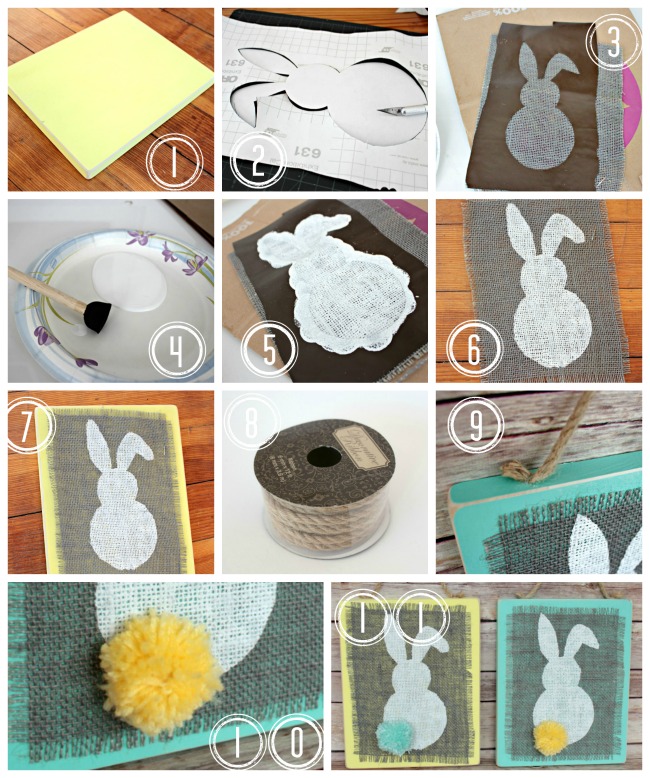
- MAKE PLAQUE: Paint your plaques with craft paint, let dry, then sand edges and corners for a distressed look.
- MAKE STENCIL: Trace bunny shape onto back of adhesive vinyl, then carefully cut out using a craft knife.
- STENCIL: Stick vinyl onto center of burlap piece.
- Using a pouncer and white craft paint,
- Apply paint to inside of bunny (using a ‘pounding’ motion to apply paint rather than brushing motion)
- Allow paint to dry for 10-15 minutes, then remove stencil.
- Once paint is fully dry (at least another hour or so), spray back of stenciled burlap with a generous coat of adhesive and place burlap in center of plaque (adhesive sticks quickly, so make sure burlap is centered from the beginning).
- I used rope to hang plaque (you could also use ribbon, twine, yarn, etc).
- Using staple gun, staple piece of rope to top of plaque (one staple on each side).
- Make yarn pom tail (detailed instructions for making pom poms can be found in this post) and glue in place on plaque.
- Finished!
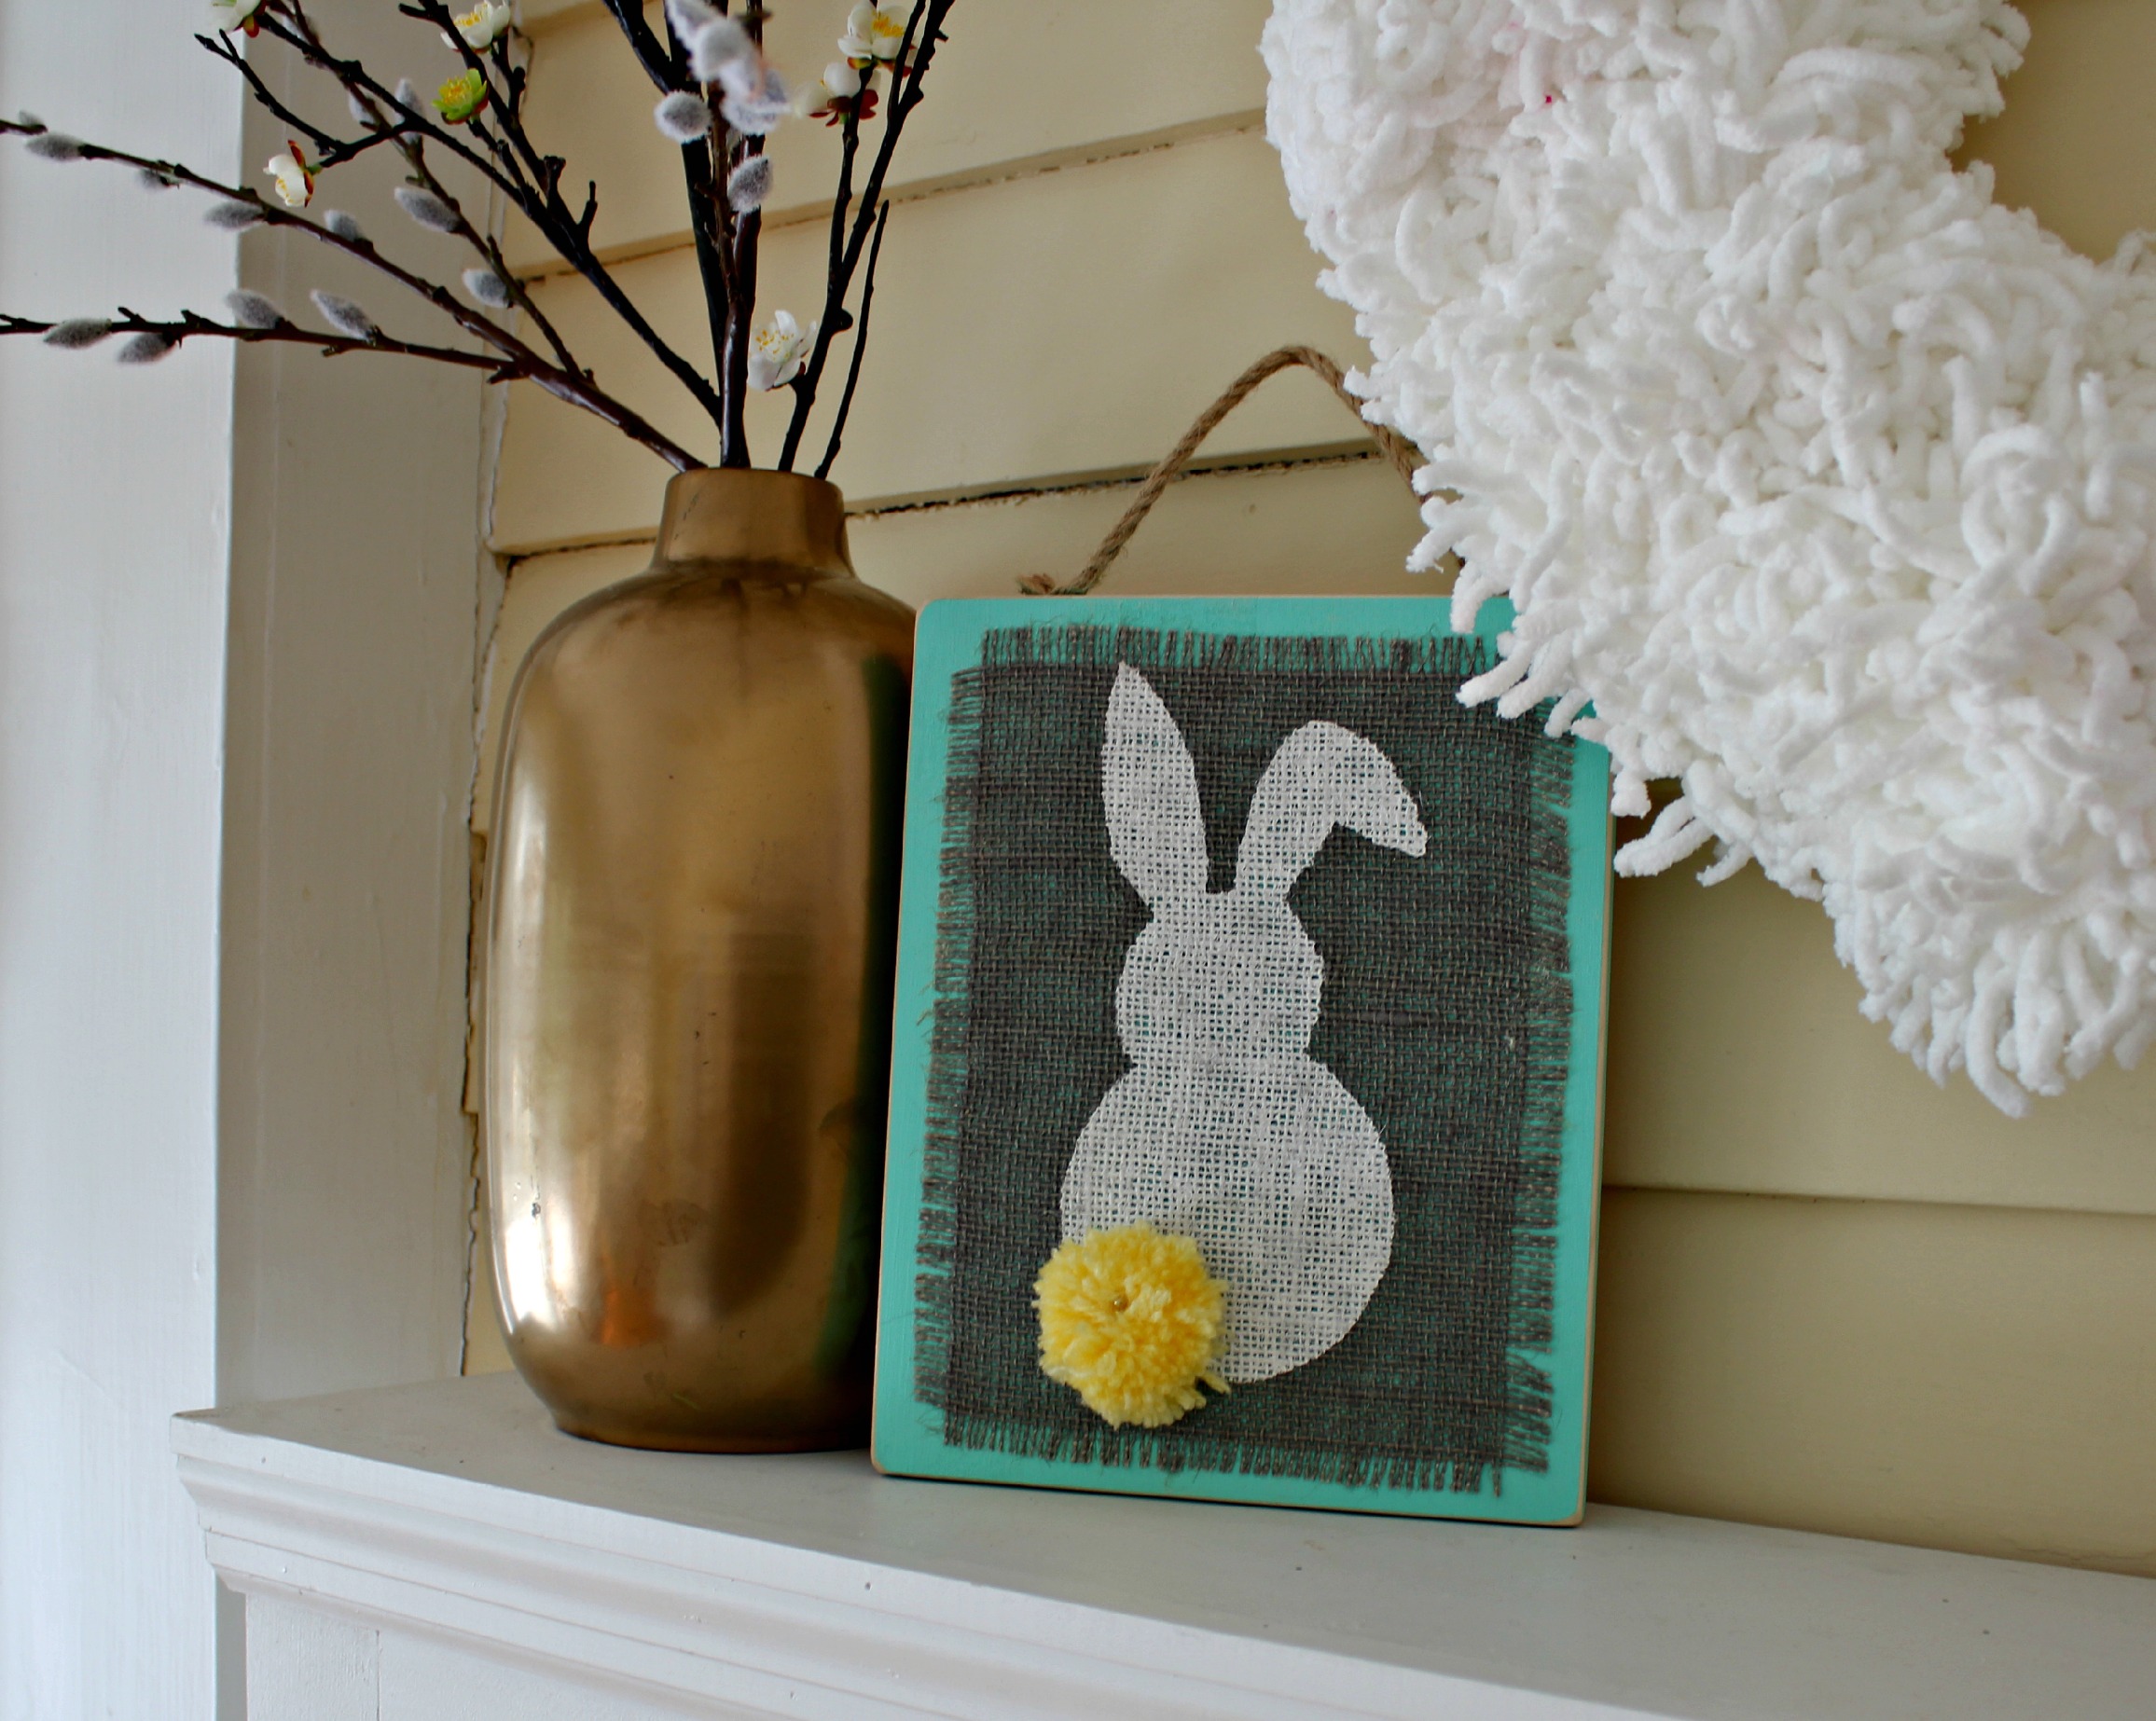
You can hang these plaques together:


One of the best parts about this craft? You probably have most of these supplies laying around already! You can definitely use a scrap piece of wood for the plaque (instead of buying them from Michael’s as I did). Don’t have any adhesive vinyl laying around? You could also make a stencil out of cardstock. Just make sure to secure it to your burlap with some tape, and focus on ‘pounding’ on the paint (up and down motion) to achieve nice crisp lines.
Thanks so much for having me here today! I hope all of you are enjoying your Spring so far! Have a wonderful Easter, and I’ll be back next month with more craftiness! Until then, I’d love for you to stop by View From The Fridge, say ‘hi’, and see what else I’ve been up to!
The post Stenciled Burlap Bunny Plaques appeared first on Oh My Creative.